
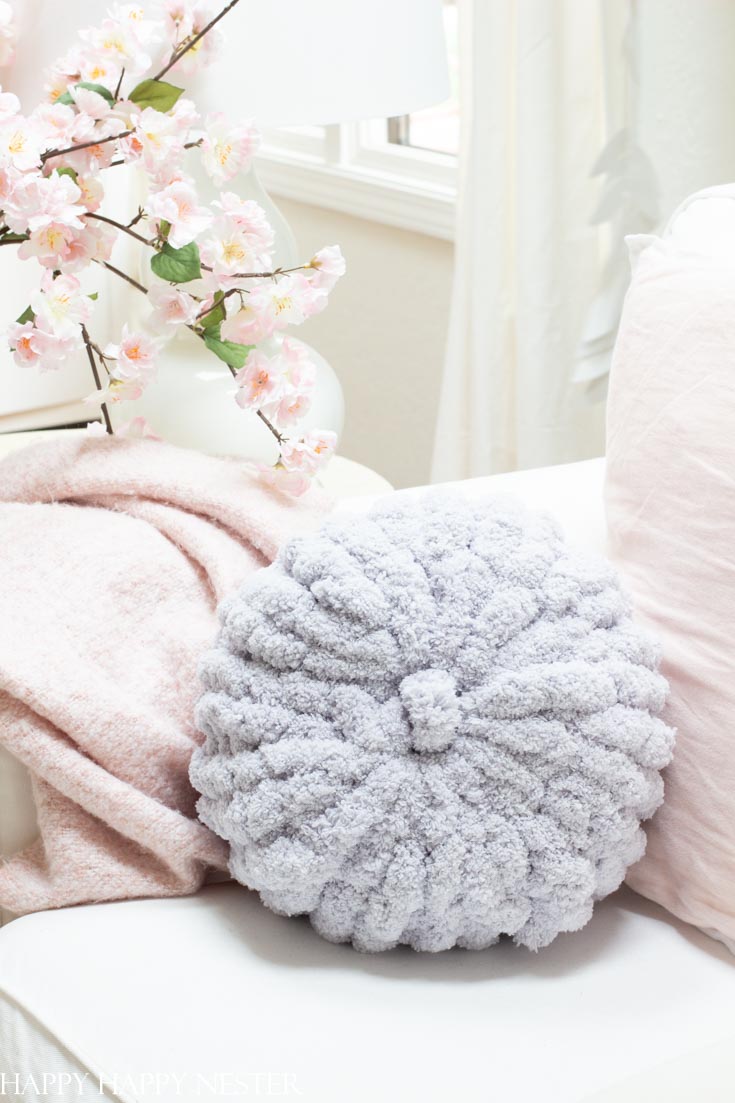
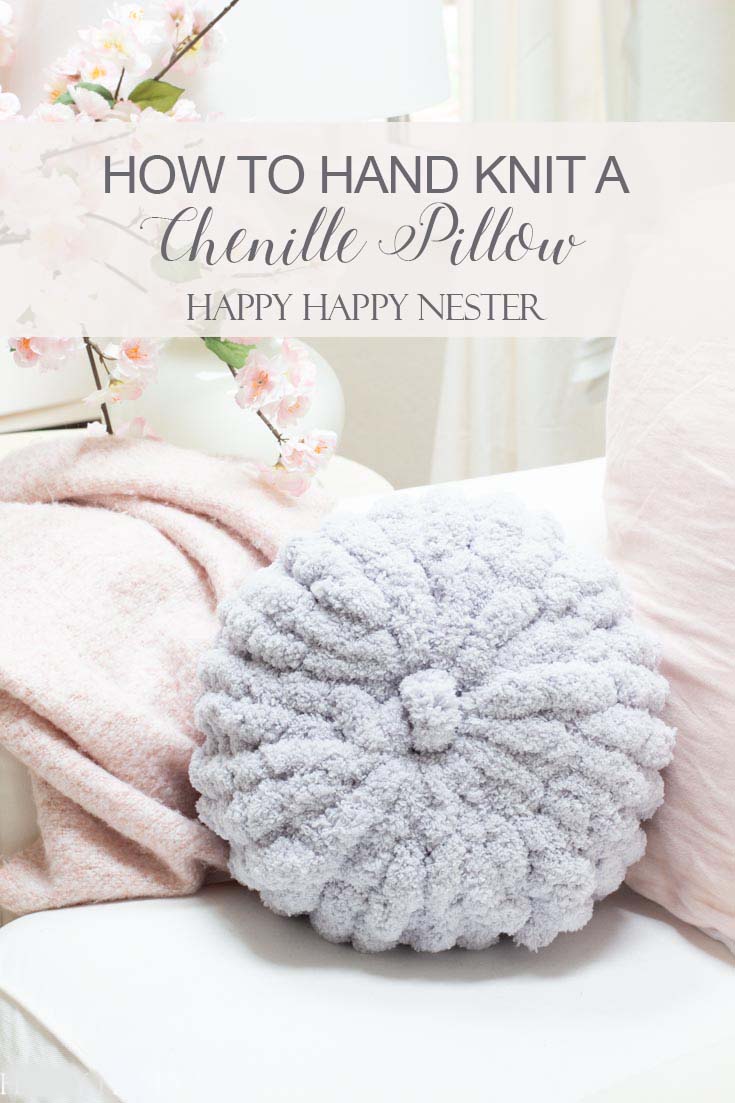
Have you ever wondered how to hand knit a pillow? This is my first project and I’m happy to say that you’ll love this easy it is to make. If you want to knit but are afraid of needles, then this post on How to Hand Knit a Pillow is for you! I never was great at knitting, but for some reason, this whole arm knitting and hand knitting trend are right up my alley.

A while ago, I tackled the whole chunky arm knit blanket thing. The wool yarn on that project is so thick and soft and the blanket is stunning. After my first attempt of arm knitting, I quickly realized that I like knitting without knitting needles.
* The following post contains affiliate links.
Ok, maybe you have a few questions about this unique way to knit. So, let’s get these questions answered.
What kind of yarn can I use for this pillow?
For this pillow and a chunky blanket, you’ll want some thick yarn. You can make it with wool or the chenille. I made mine with jumbo chenille, and I think if you use the thick wool, the directions might be slightly different since the yarn is thicker. I guess you don’t need as many stitches.
If you need a resource for the chenille yarn, I love Larissa from BeCozi. She supplies me the yarn for my projects.
What do I need to hand knit a pillow?
All you need to for this project is some jumbo chenille yarn, polyfill pillow stuffing, and scissors: no knitting needles or complicated instructions. Just watch my video below, and you’ll have your pillow done in no time.
How long will it take me to make this pillow?
Well, to be honest, I did watch Larissa’s video a couple of times. I made the pillow maybe three times and unraveled it since, with my first attempts, the stitches were a bit too tight. There is a fine line between too tight and too loose. But, once I got the process down, it took me under an hour to make the pillow.
Are there any difficult stitches?
After you figure out how to cast your chain, there are two other tricky parts. Casting on your first row of stitches is a tiny bit confusing, and then collapsing the project is a bit tricky. Watch my video to see what I’m talking about. But basically, there are three stitches, casting on, knitting and finishing.

Here’s what you’ll need to hand knit a pillow
2 skeins of Jumbo Chenille (each skein contains 8 oz and approx 19 yards)
scissors
ruler
*After watching the video, make sure to check out the instructions below.
Instructions
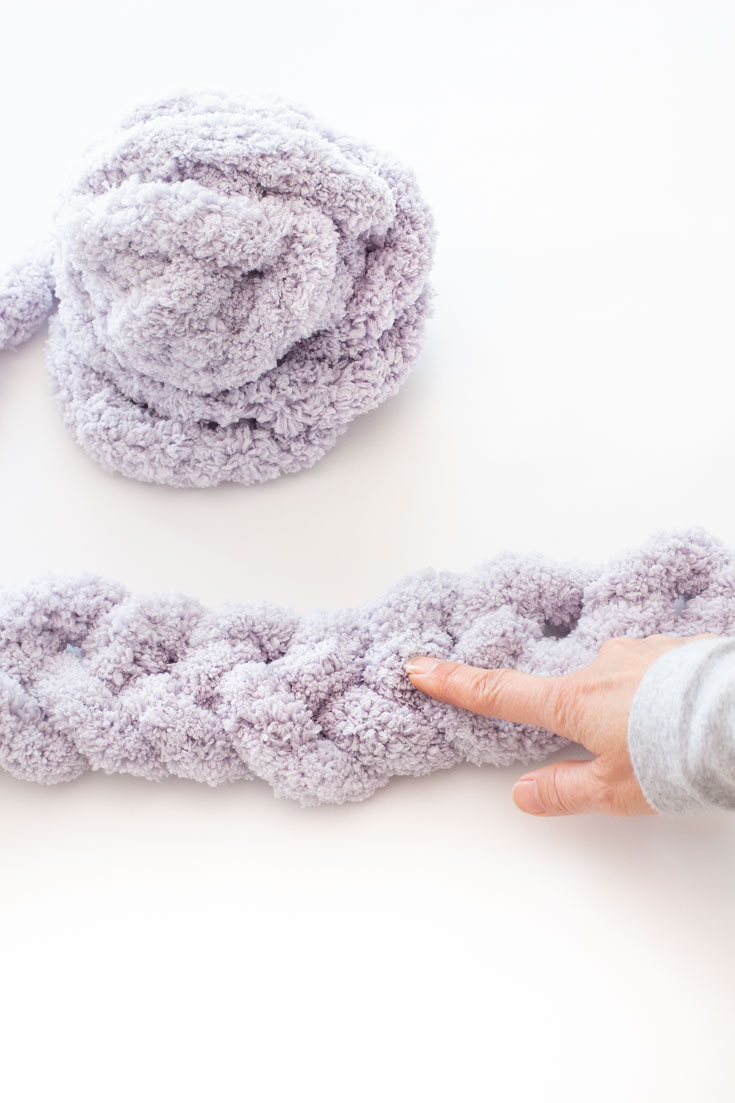
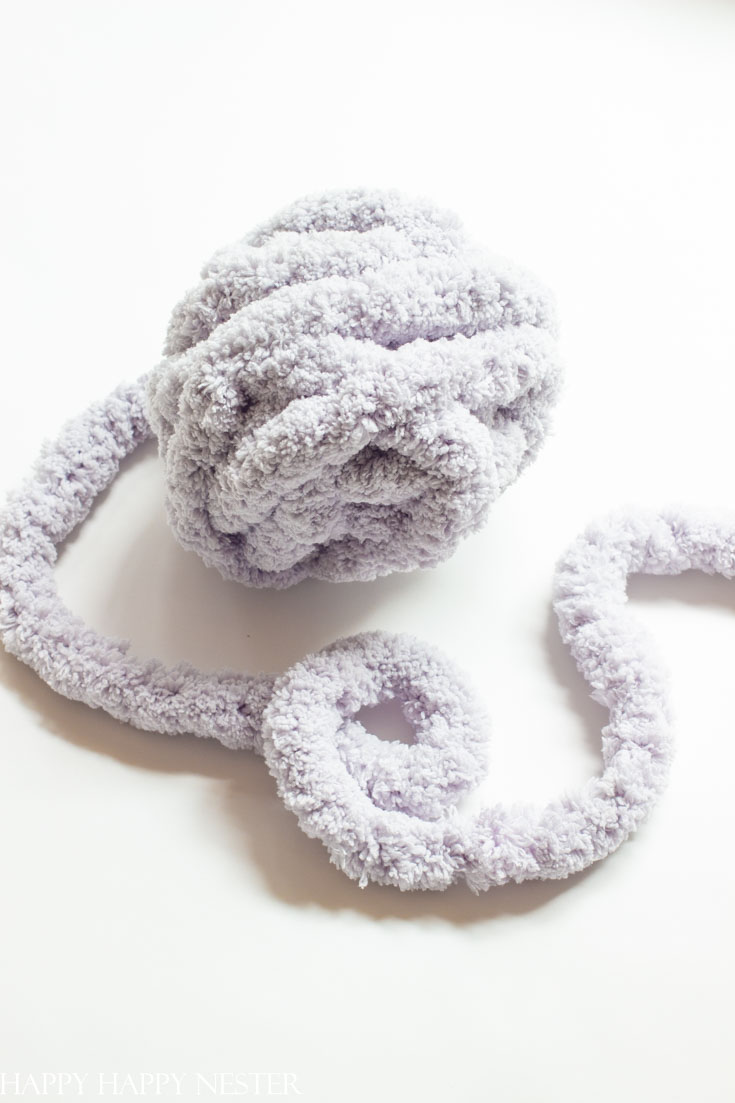 1. Unravel Yarn
Either keep it in a pile or roll it all up into a ball.
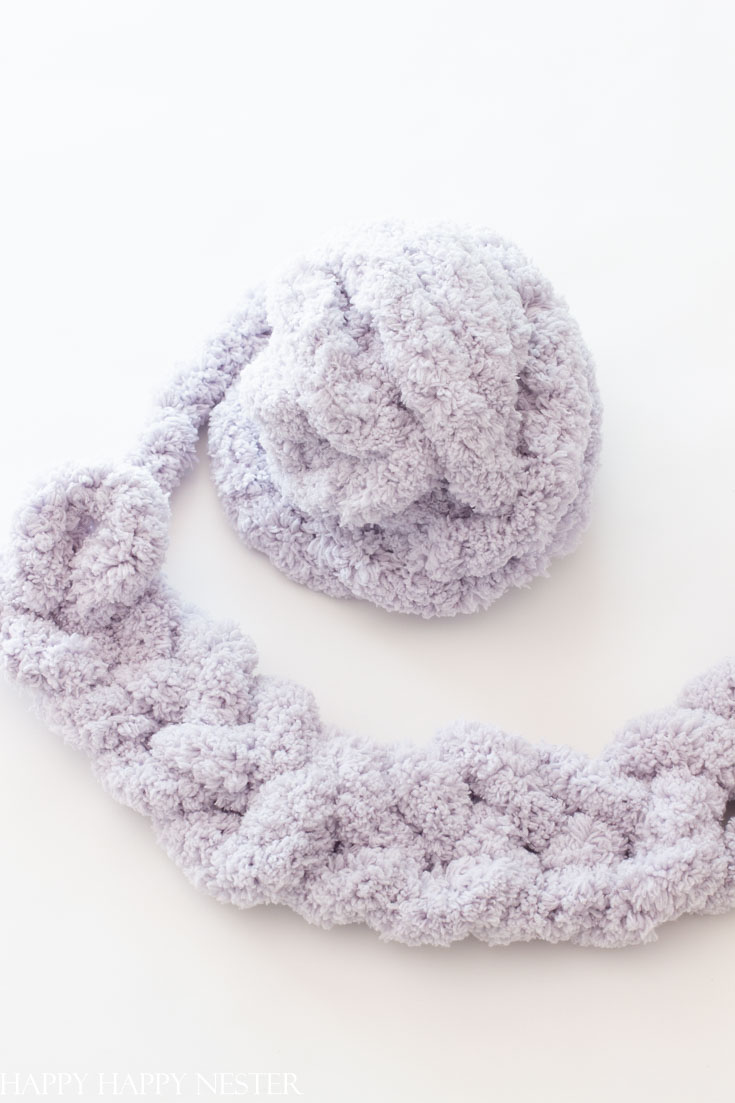
2. Make a Chain – Cast on 13-16 stitches.
Your project will have your working yarn and tail. Leave a tail of about 13-16 inches, and from there, you’ll start your first simple loop. I found that a loop of about 6 inches was the right size.
Then through that loop, you’ll pull your working yarn through it to create another loop. You’ll repeat this for 13-16 loops.
3. Flip The Chain Over And Begin Stitching The First Row
So, now you are looking at the backside of your chain.
Ok, let’s get started on how to hand knit a pillow.
When you look at the chain there are two stitches, one on the right and one on the left. Then there is a stitch in the middle of them, this is the stitch you’ll be working the yarn through. 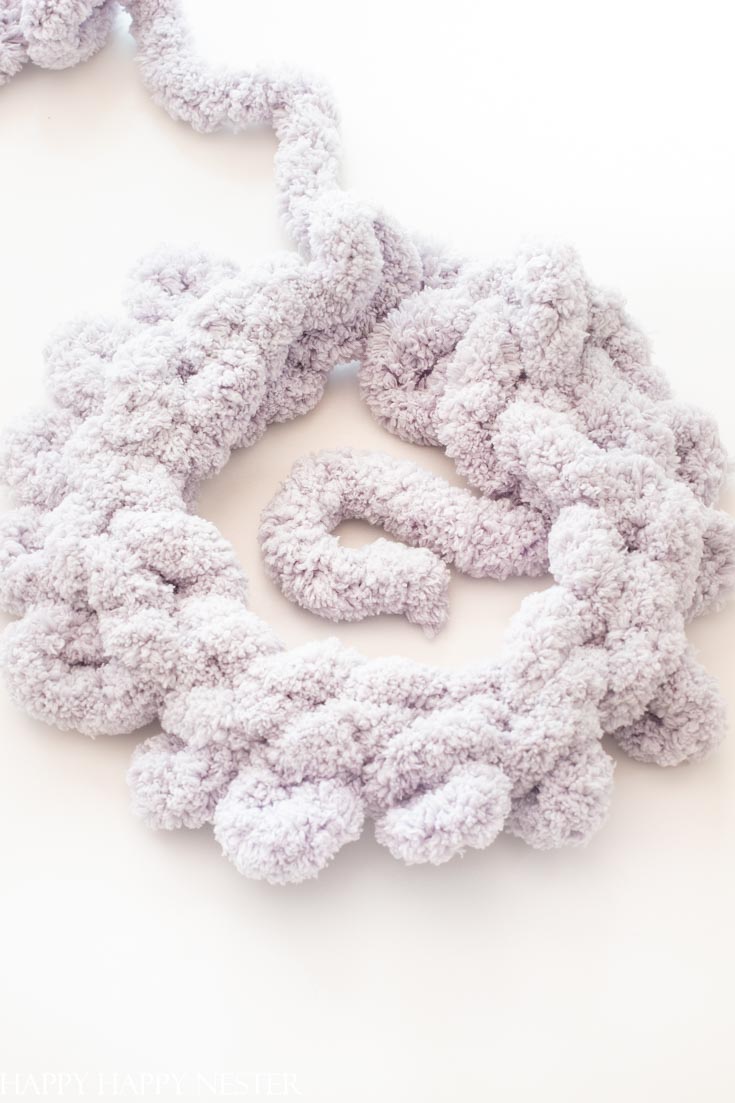
5. Now Connect The Chain
But first, let’s take your chain and puts the ends together to form a circle.
6. Create Two Rows of Stitches
Then place your tail in the center of the circle. Then take your working yarn and pull it through the first loop after the tail. This will connect your chain into a circle. As your pillow is laid out flat knit in the circle two rows. The video shows how to do this step pretty nicely.
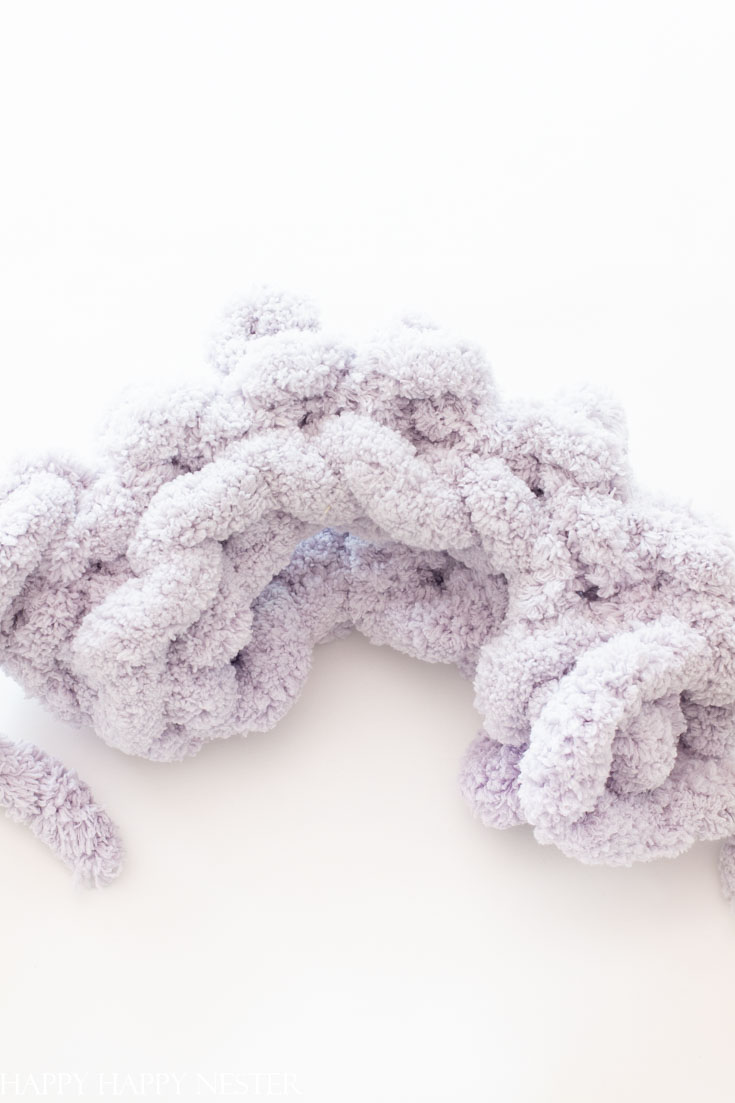
7. Now Bring the Sides Together
This step is a bit tricky. Once you finish your second row of stitches, place the top and bottom edges together. So, in other words, you have a shape like a taco. Then begin stitching, just like step five. But now your pillow is no longer flat but in a collapsed circle. The stitches now will be tighter since it isn’t spread out like a doughnut. Why are all my references food? Maybe I’m hungry!
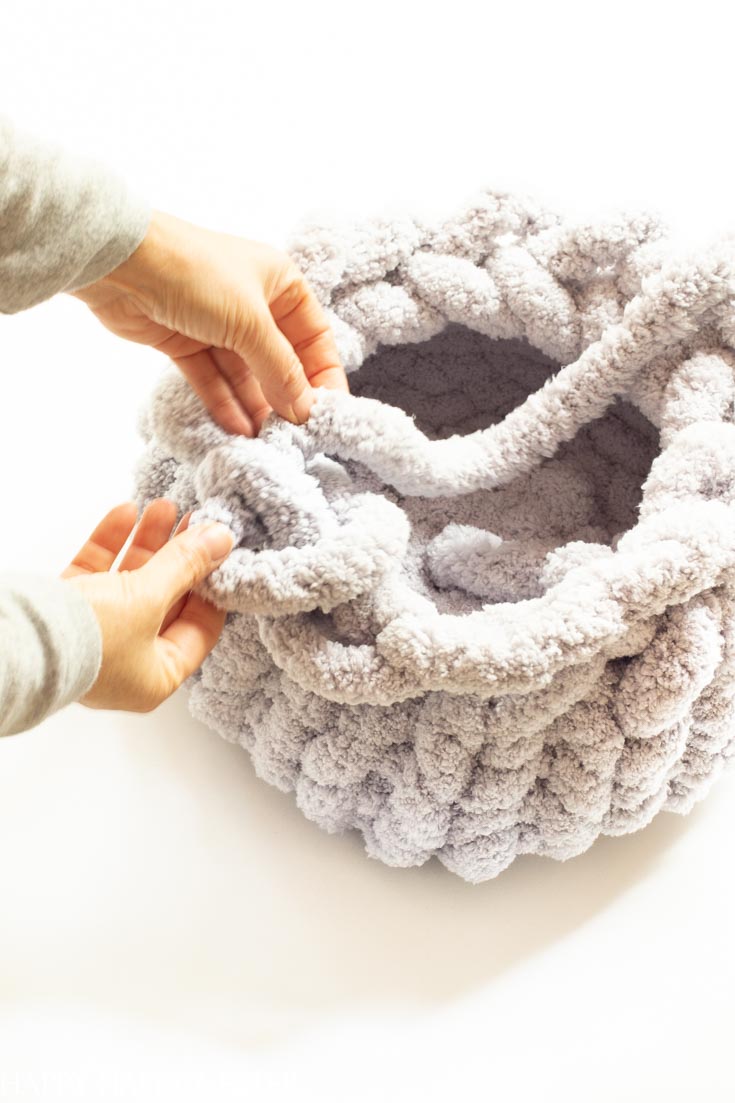
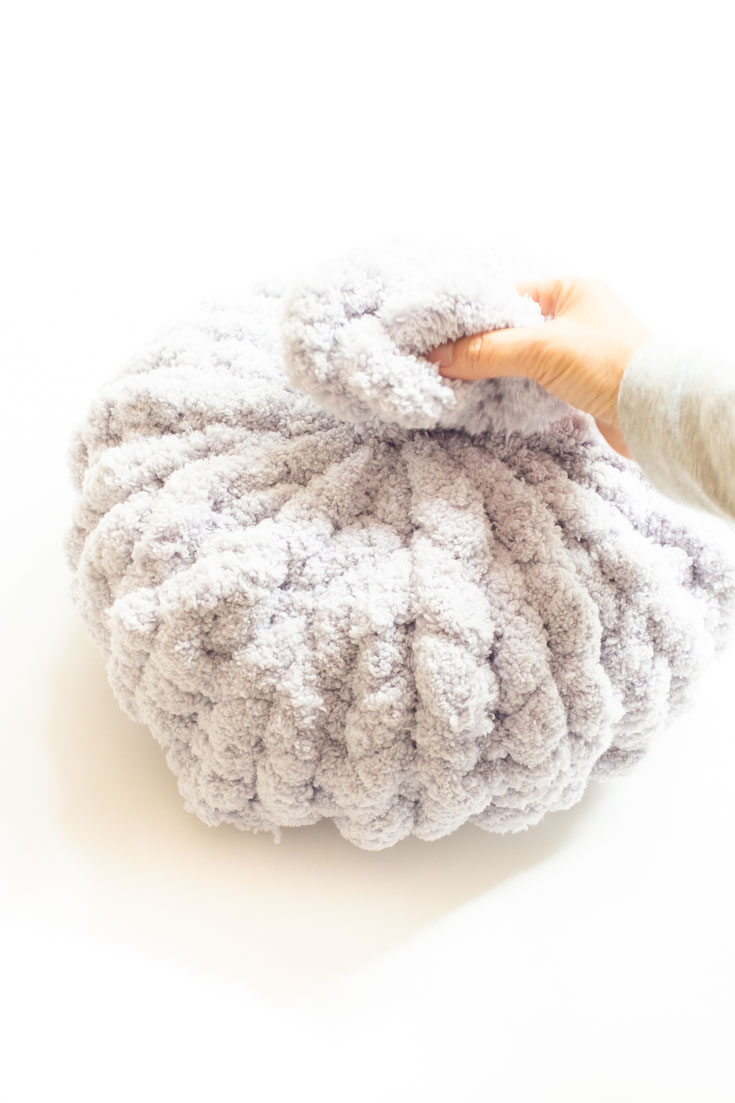
8. Finish off the bottom
complete six rows of stitches. Then to finish the bottom you will turn your pillow upside down. Grab ahold of the tail and pull it through each outer stitch. Weaving it through each one. Pull yarn gently as you go and cinch up the bottom until you have gone through every loop and there no longer is a hole. Place the tail through a stitch and then pull it through the hole to the inside of the pillow. Then knot the tail and let it just sit inside the bottom of the pillow.
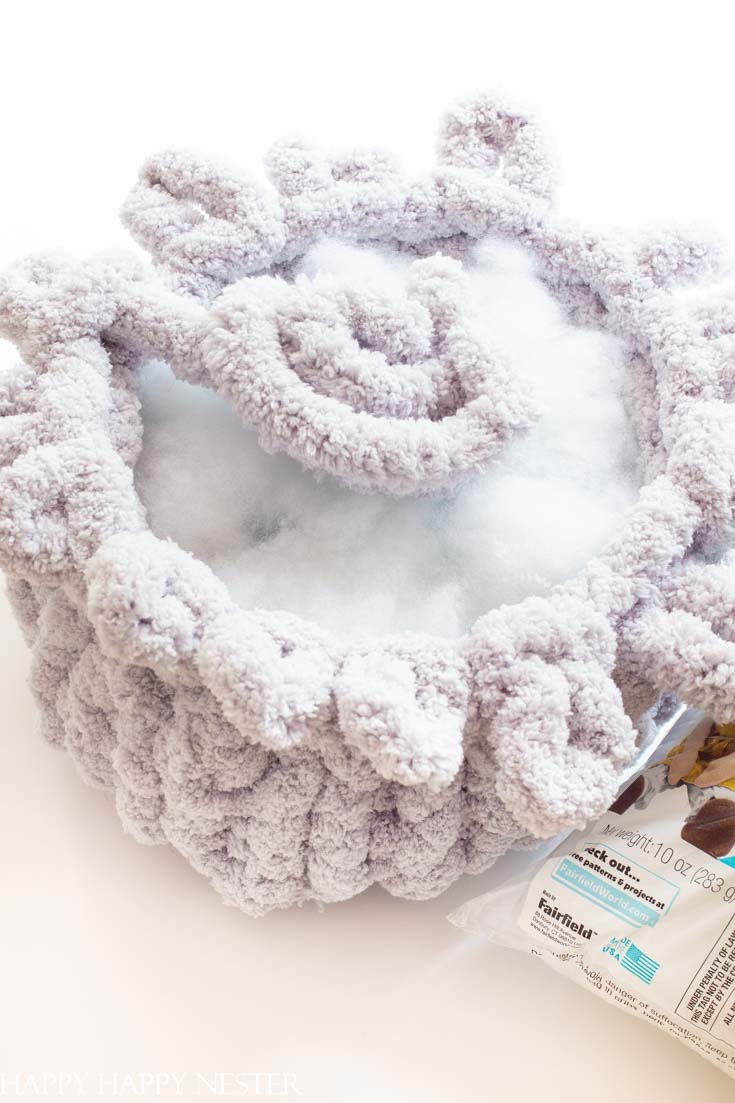
9. Fill the pillow with polyfill
If you want a soft pillow, then use a small amount of fill. If you would rather have a firm pillow, then fill it tightly.
10. Finishing off the top of the pillow
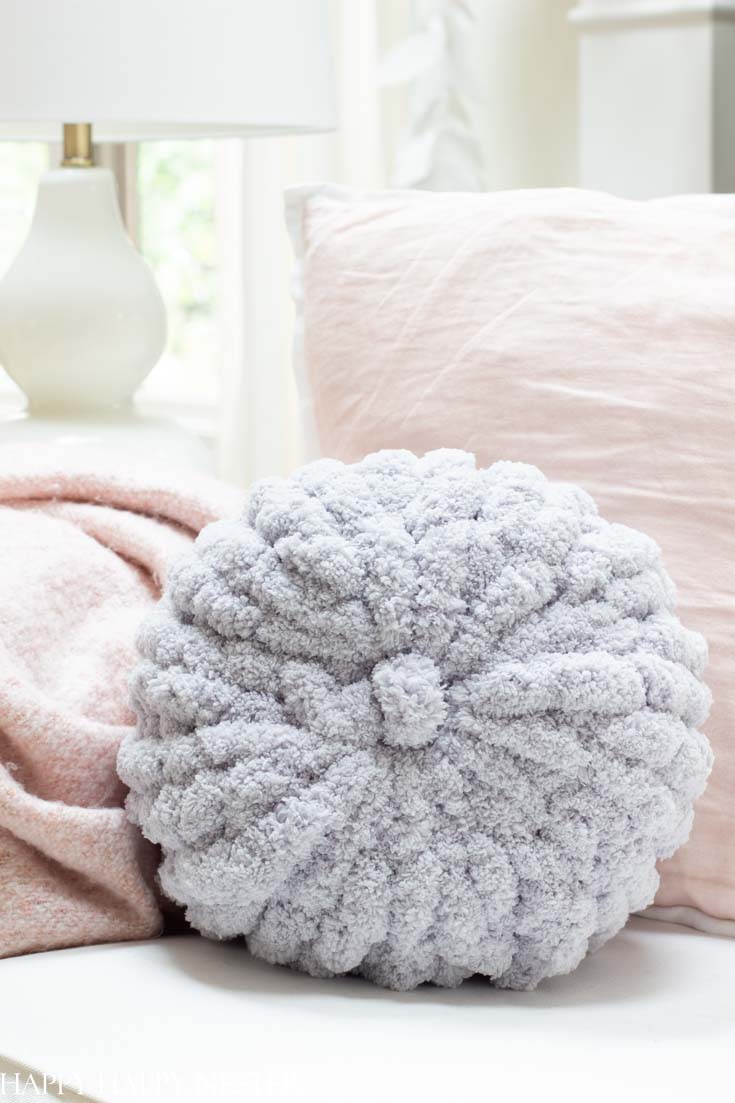
Take the working yarn and thread it through the outside stitches and then cinch it together, so it closes up the hole. Then knot the end so that it doesn’t fray. Next, make a knot and place it through the hole. You’ll create a little middle for the pillow and it will resemble the middle of a flower.
So now that you know how to hand knit a pillow let’s check a few more of my projects.

Here is another easy hand knit project. It is a fun wool wreath that seriously takes a couple of minutes to make. Also, it is so classic that it goes nicely with every season and decor.
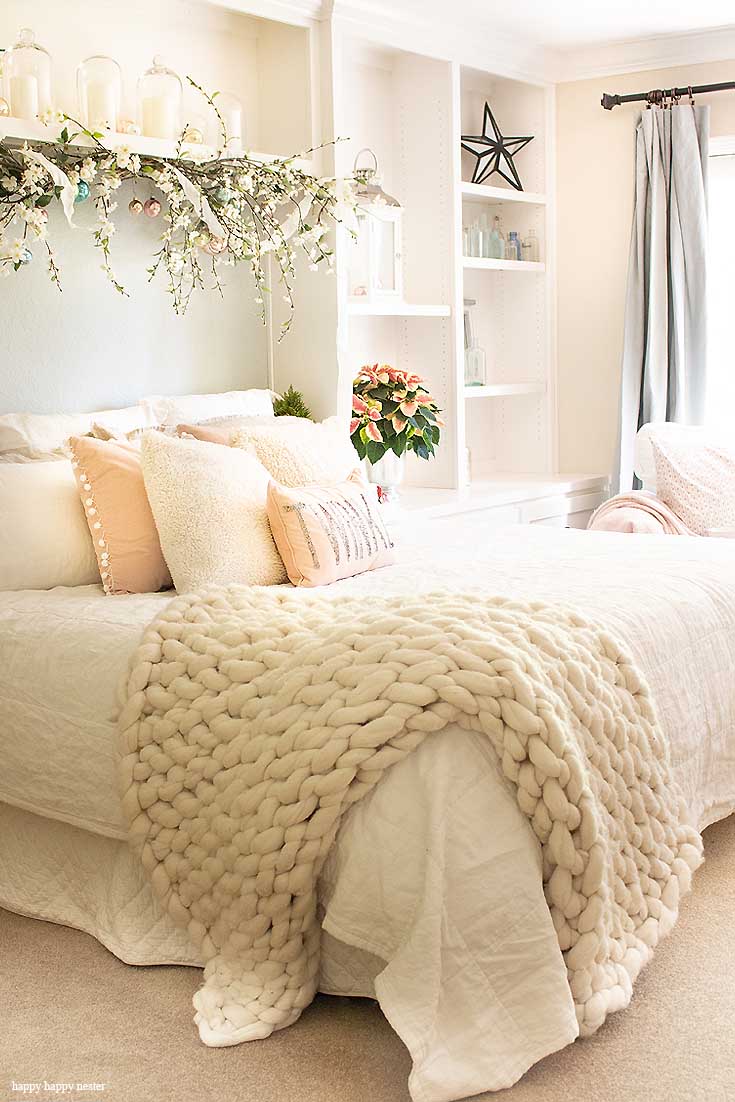
Ok, that’s a wrap on How To Hand Knit A Pillow in a nutshell. It is so adorable and pretty easy to make. It is an excellent introduction to knitting without needles. Next, you are ready for arm knitting a chunky blanket. I’m planning on teaching it in my Nester’s Circle. This is a private membership that is over on Facebook. It is $15 a month, and you can find out more over on this page.
Happy Crafting!


- Best Recipes for Breakfast - April 11, 2026
- Overnight Oats Recipe with Yogurt - April 10, 2026
- Springtime Throw Pillows - April 8, 2026


Sharon Uchida
Hi Janine,
I’m a reasonably proficient traditional knitter and excited to try this new-to-me form of knitting. This pillow looks like a great starter. My question is, the instructions call for 2 skeins of yarn; at what point is the second skein added, and how is it joined?
Be well and stay safe,
Sharon
happyhappynester
Hi Sharon,
I’m so happy you want to make this adorable pillow. I was supposed only to use one skein, but I made mine larger, so I dipped into the second skein. I just tied the ends into a knot and then just kept knitting. Since it is a pillow, it won’t get much wear and tear, so I feel the knots will hold. Let me know how it goes. I would love to see yours when you’re finished. Thanks for the lovely comment and question. I had to fix my written instructions since I made a mistake.
Sharon Uchida
Thanks, Janine, for the quick response. I too live in the Bay Area, so I’ll have to order my yarn from BeCozi since I can’t go out. One more question. About what diameter did your pillow turn out to be? Can’t wait to get started!
happyhappynester
Hi Sharon,
Good question! The diameter of my pillow is roughly 13 inches in length.
Glad you can have a project while you are home during this time of the virus. So glad you live here in the Bay Area too! We are practically neighbors!
Happy Knitting!
Janine
Carolyn
Thanks for the directions! I am able to follow all the steps but as I work it the little Loops keep slipping back in and coming undone before I can get back to them. Should I put pencils or something in the loops to keep them from slipping back in as I work my way around? Even being very gentle the chenille is super slippery.
happyhappynester
Hi Carolyn,
I’m so happy you are making the chenille pillow. I’m glad the instructions are helpful. Maybe try pulling more yarn for your loops so that they don’t slip and go away. If you watch the video, you can see that my loops are about 3-4 inches in length. I hope this helps. Let me know if that works. My daughter stole my pillow, and she has it in her room. I guess she loves it!
Phyllis
To make a larger diameter pillow do I just make a longer chain?
happyhappynester
Yes, the longer the chain you start with, the bigger the pillow! Good luck, Phyllis!
Da
Hi! How do I prevent my polyfill from leaking out? It’s my first time knitting and I’m not sure about my gauge. If it’s a loose knit, will I need to put in a lining? And if so, should I just put in a piece of muslin from the top of the stuffing and tuck it into the bottom; or, put in the muslin first, then fill with polyfill and then just overlap the edges of the lining and finish the pillow?
Sorry for such a long question, but my anxiety over the stuffing leaking out, is sorta preventing me from starting!
Janine Waite
Hi Da,
The stitches are tight enough to keep the stuffing in, so it’s not an issue. I hope this helps and you have a chance to make this cute pillow!