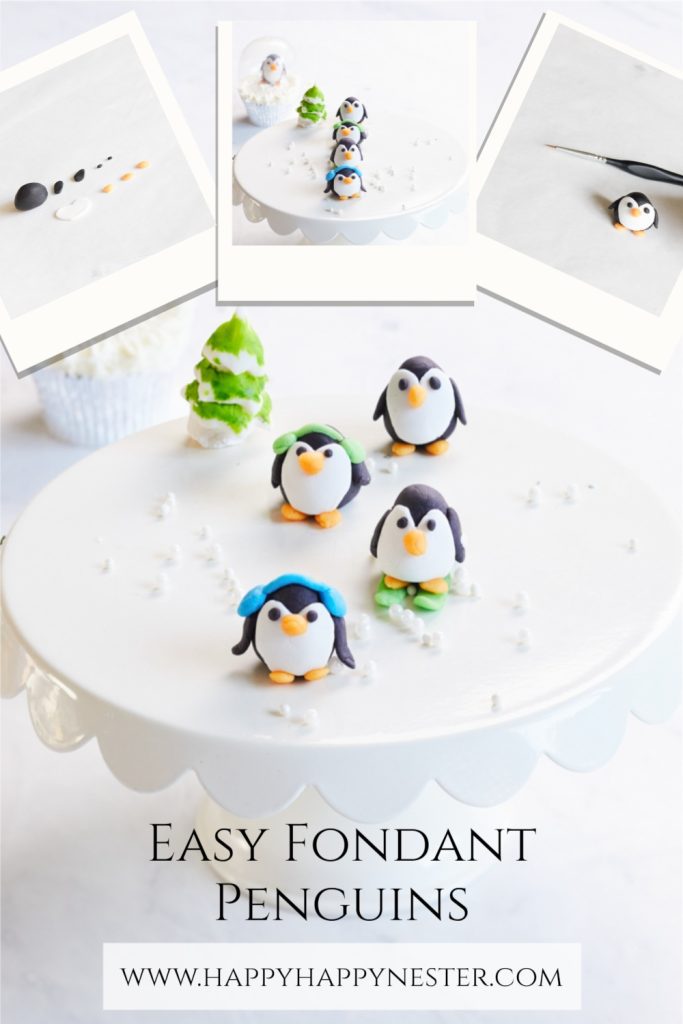
Learn How to Make a Fondant Penguin Topper in this easy step-by-step tutorial. These cute penguins are perfect for cupcakes and cakes for the holidays! Decorating a cake or cupcake with fondant animals is such a quick and easy way to elevate a dessert.
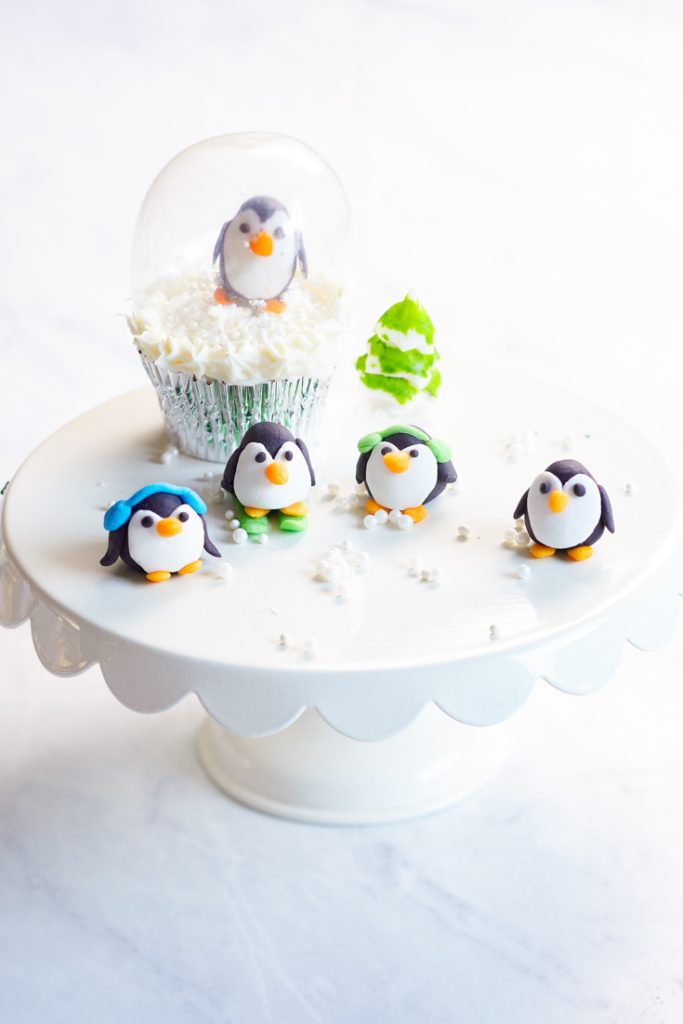
I had no idea how simple these fondant penguins are to make. Adding a few winter accessories creates such cuteness to their attire. I love that not only are these penguins adorable, they’re also edible and tastes like sweet icing.
I’m super happy with how this project turned out. I hope that I can devote more time and blog posts to sharing more recipes this year. In the meantime, here are some that might interest you.
- Savarin Cake Recipe
I love to bake, and most days, you’ll find me in the kitchen. And when I’m not baking, I watch shows like The Great British Baking Show.
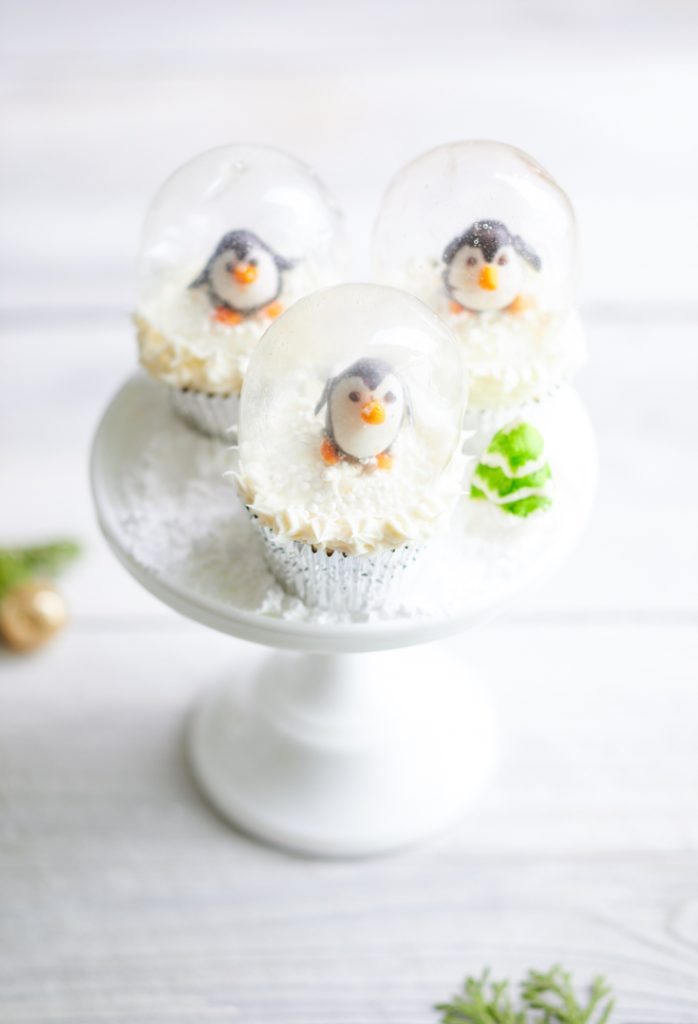
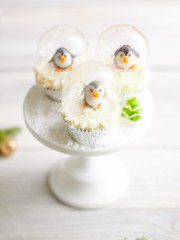
They made some sugar and gelatin globes on one of the many episodes that I watched. When I watched that video, I knew that I would make one. Over the holidays, I finally made some snow globe cupcakes with penguins.
I made the snow globes but struggled a little in coming up with the best way to make the penguins. It turns out that I didn’t have the colored fondant. I could add food coloring to it, and all would be good.
I ended up adding a ton of black to the white fondant only to achieve a light gray color. Long story short, I ordered some colored fondant, and the project got so much easier.
The right supplies are everything when it comes to success!
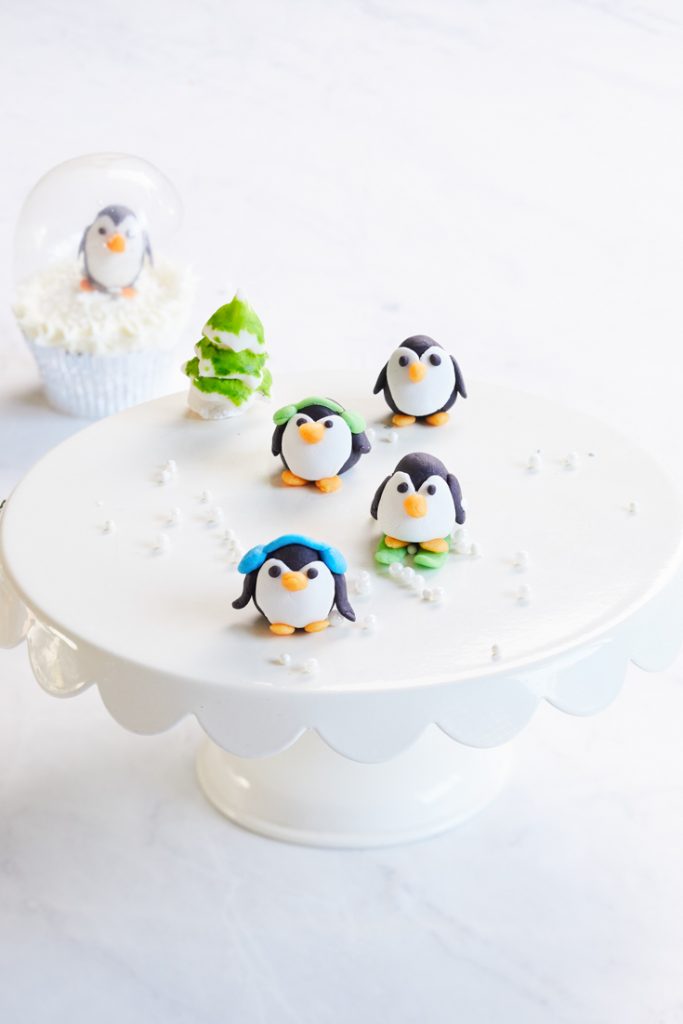
So, today, I’m sharing how to make a fondant penguin topper. I know it’s a bit late, but I wanted to publish the best way to make these adorable cake decorations.
I’m sure that if you have children or grandchildren, you’ll love these adorable edible animals.
I love that the penguins make me smile, and they have so much personality!
How to Make a Fondant Penguin Topper for Cakes and Cupcakes
*The following post contains affiliate links
Supplies:
pairing knife
pen
small bowl
Directions:
Before you start working with fondant, I found that it’s best to warm it in your hands.
The warmth of your hands creates a more pliable fondant. The more you stretch it and form a ball, the easier it is to shape and roll.
Also, don’t panic if your fondant is old and stiff. Instead, work with it for a couple of minutes to make it pliable.
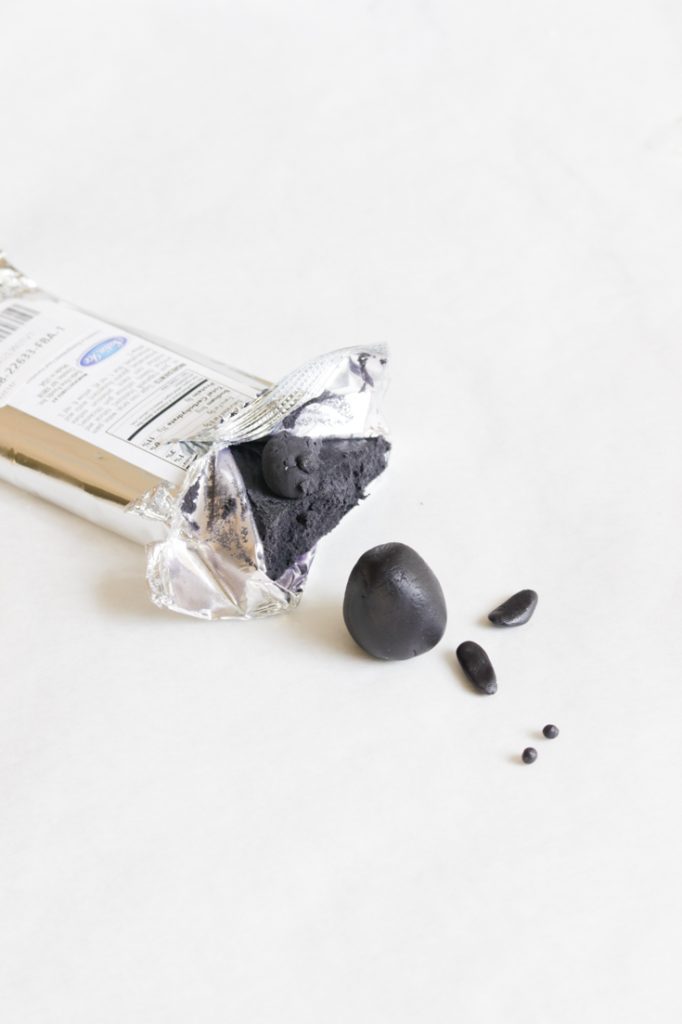
Step 1 – Make the Penguin Body
The shape that you’re trying to recreate is an egg.
I made my penguin’s body one inch wide by one inch tall.
Next, make a pair of eyes and a pair of wings. The wings are about half an inch long.
And by the way, I wore gloves when working with the black fondant since the dye comes off on hands and fingers.
Step 2 – Make the Beak and Feet
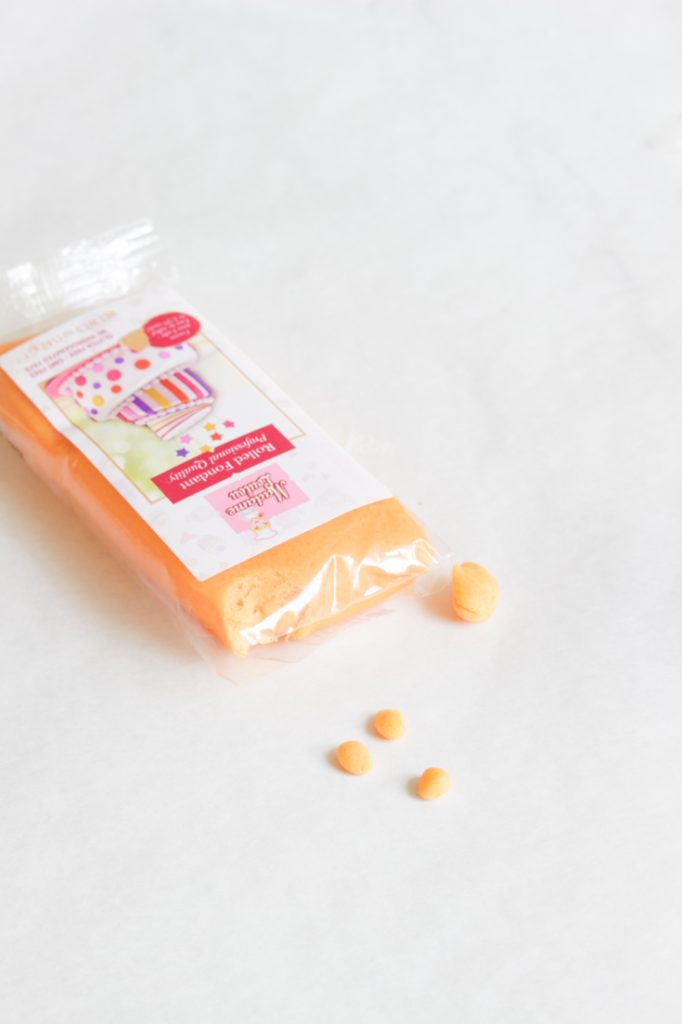
I made the beak and feet out of my orange fondant. And when I made them, I did place them on the penguin’s body to get a sense of whether the sizing was proportional.
I also made sure to make the section of the feet that goes under the body flattened.


Step 3 – Make the White Stomach
This part is a bit tricky.
Place a piece of parchment on your kitchen counter and roll the white fondant out. You’ll want a somewhat thin sheet of fondant.
Next, you’ll make a pattern for the penguin’s white stomach. You’ll do this by cutting a small piece of the paper and placing it on the stomach area of your penguin’s body. Again, you’ll want to make a shape that looks like an unfinished heart.
Then you’ll place that template on top of your rolled-out fondant and outline it with a toothpick. The toothpick will create an indentation guide that you can now cut out with your pairing knife.
Also, I forgot to show that when you cut this piece, you’ll go straight across the bottom, which will create a heart with a flat bottom. You can see what I’m talking about in the next photo.
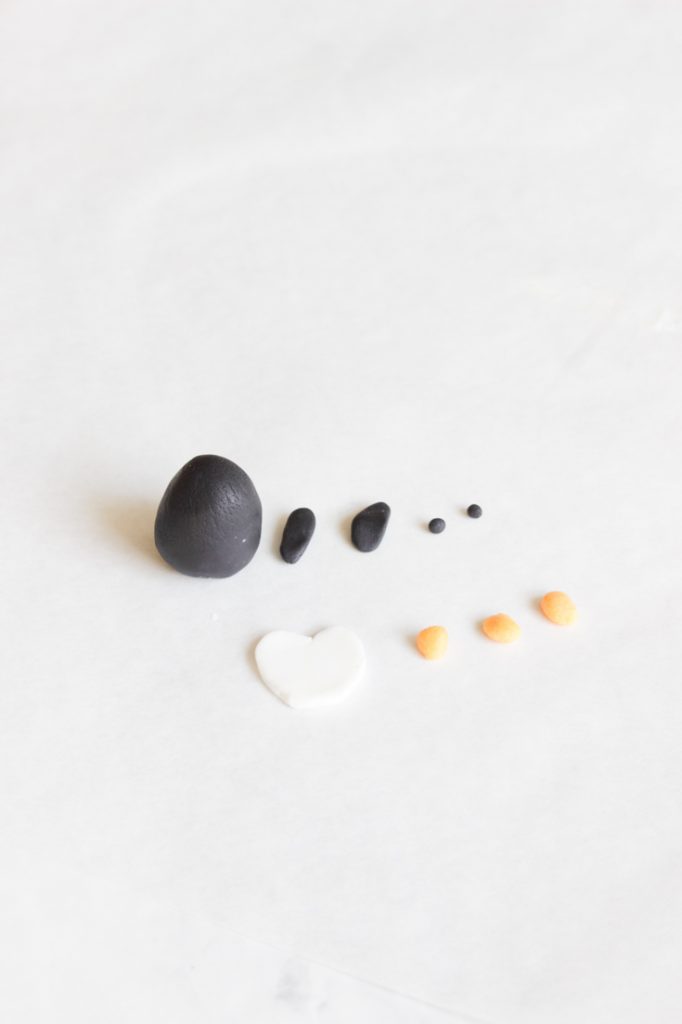
Shape and smooth all your penguin’s body parts before attaching them. Also, make sure the penguin’s body stands up and is balanced. Then, you can push it down and mold it on the tabletop to create a more stable bottom.
Step 4 – Build and Attach the Penguin
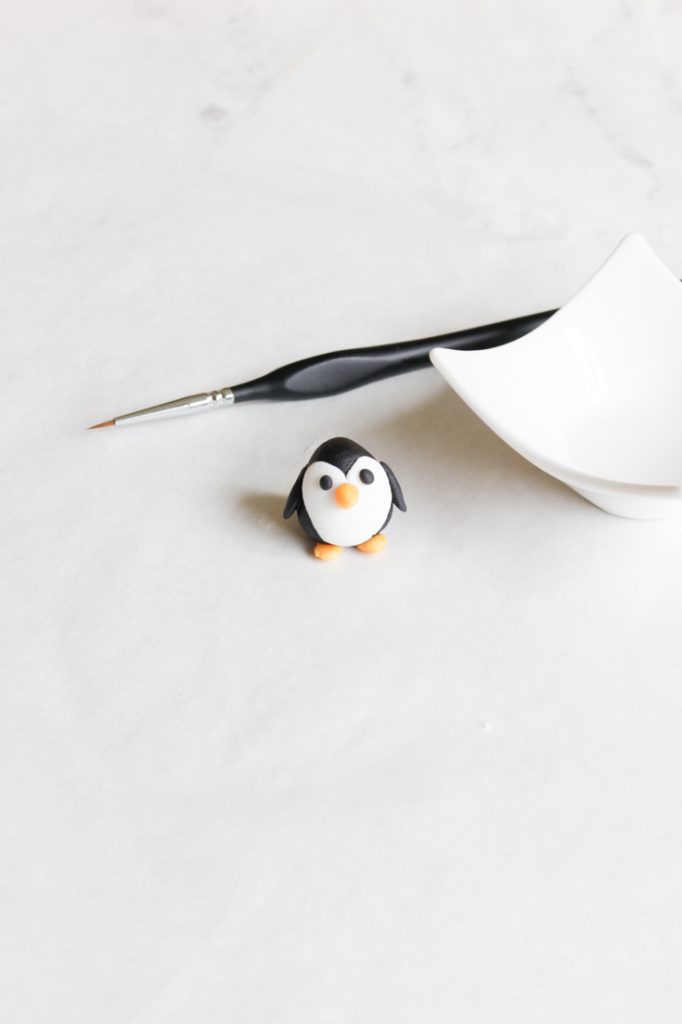
Fill a small bowl or glass of water. Next, using your paintbrush, cover the backside of the white stomach and attach the wet side to the penguin’s black body. You can reposition it, so don’t panic if you need to recenter the fondant.
Next, dab a small amount of water where you want to attach the beak. I placed the beak in the top half of the body. Push the beak a tiny bit to ensure it adheres to the penguin. Then you’ll want to attach the eyes next to the beak.
Attach the wings (I did flip up the ends a tiny bit) and the feet with water as well. If the penguin topples over, push down on the penguin’s body. The pressure will mold the feet so that they become balanced.
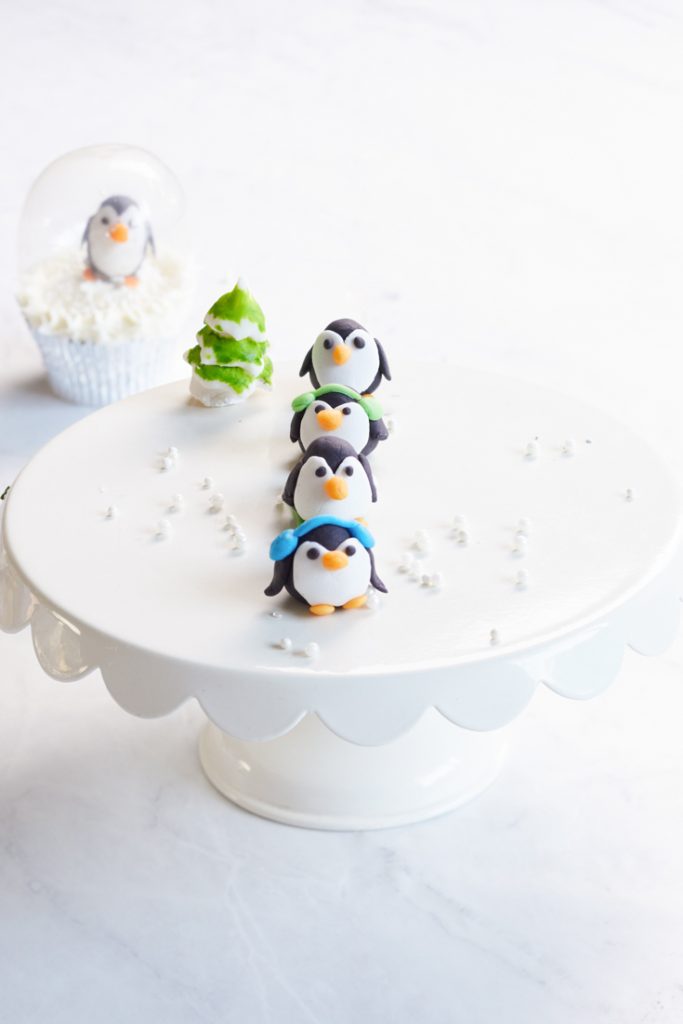
And once everything is attached, you can add some cute winter accessories. For example, I made ear muffs and skis.
Frequently Asked Questions About Fondant Penguins
Is water enough to attach the fondant?
Yes, the water is excellent attaching the fondant. The water dissolves a little of the fondant and turns to sugar. That, in turn, makes it a great glue!
Is fondant edible?
Fondant is mostly sugar, water, and vegetable oil, and it tastes like cake icing. It is edible.
Does the fondant dye your hands?
I found the light-colored fondant didn’t dye my hands. But, the black fondant’s dye did come off on my hands. So I wore some gloves to protect my hands and fingernails. The dye does wash away eventually, so you can choose if you want to protect your hands.
How do you attach the penguins to a cake or cupcake?
You can place a portion of a toothpick on the bottom and then insert the rest of the toothpick into the cake or cupcake. A bamboo skewer would do the same job. If you use a toothpick or skewer, remember to remove it before serving your dessert.
What is the best way to store fondant?
I wrap my fondant in plastic wrap, placing it in a plastic baggie. An air-tight container would do the same thing as a plastic baggie. I think that wrapping it tightly with plastic wrap is an important step. The less air gets to the fondant, the more likely it won’t dry out.
After I made a fondant penguin topper, I realized that there is so much more that I can add to them!
Have fun decorating them, and enjoy placing them on your festive cupcakes and cakes.
Cheer and happy creating!


- Chocolate Covered Quinoa Recipe - February 5, 2026
- Valentine’s Day Gifts from Amazon - February 4, 2026
- My Favorite Cleaning Items from Amazon - January 28, 2026
Leave a Reply