• Skip to main content
  • Skip to header right navigation
  • Skip to site footer
  • About
  • Contact
  • Boutique of the Week
    • Facebook
    • Instagram
    • Pinterest
    • Twitter

Happy Happy Nester

Weekly Inspiration for Your Nest

  • Recipes
    • Appetizers
    • Breakfast/Brunch
    • Desserts
    • Dinners
    • Drinks
  • Crafts
  • Decor
  • Shop
    • Fall Decor
    • Kitchen
    • Pillows
    • Holiday Decor
  • Amazon Store
  • Recipes
    • Appetizers
    • Breakfast/Brunch
    • Desserts
    • Dinners
    • Drinks
    • Snacks
  • Crafts
  • Decor
  • Shop
    • Fall Decor
    • Kitchen Favorites
    • Pillows
    • Holiday Decor
  • Saturday Chitchat
  • Boutique of the Week
  • About
  • Contact
  • Facebook
  • Instagram
  • Pinterest
  • Twitter

See What’s Trending…

Cakes

Cookies

Dinners

Wreaths

Drinks

Home › Crafts › How to Make A Paper Orchid (Wafer Paper)

How to Make A Paper Orchid (Wafer Paper)

Crafts
By Janine Waite · Published on May 7, 2021
Affiliate Disclosure: This Post May Contain Affiliate Links.

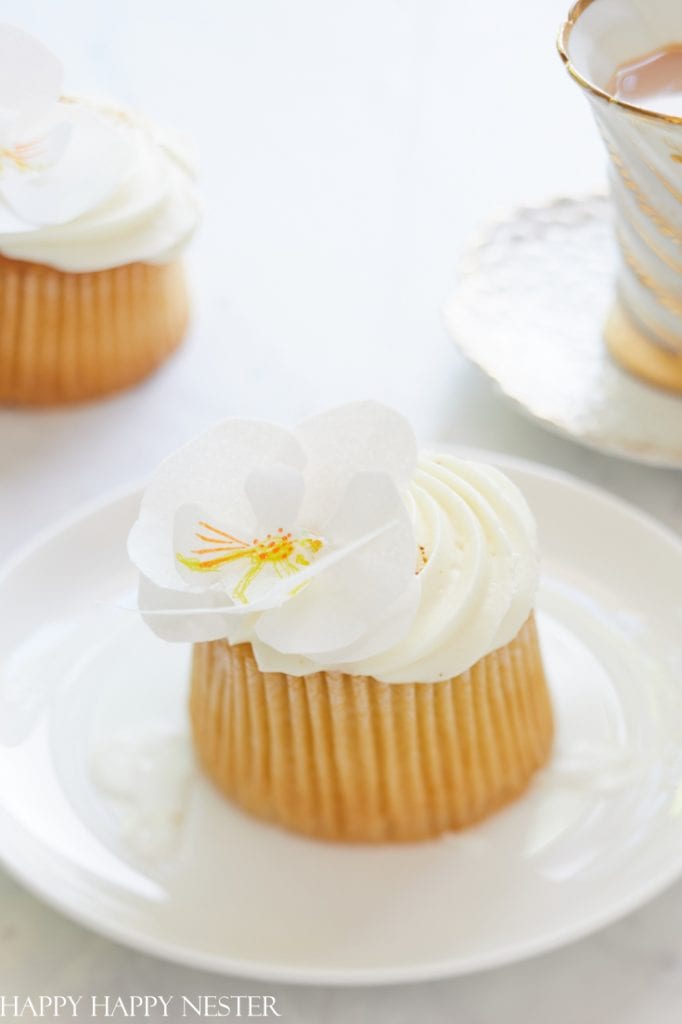
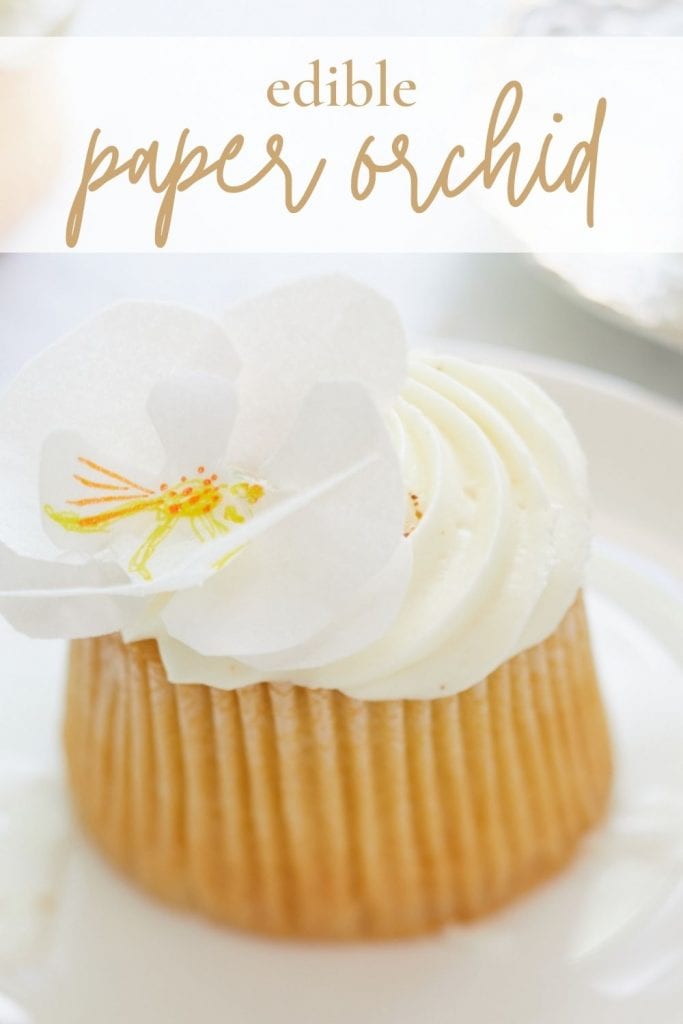
This project of How to Make a Paper Orchid is so simple. Place these pretty edible wafer paper flowers on top of cupcakes, cakes, or desserts.

orchid paper diy
Photo: My Photography

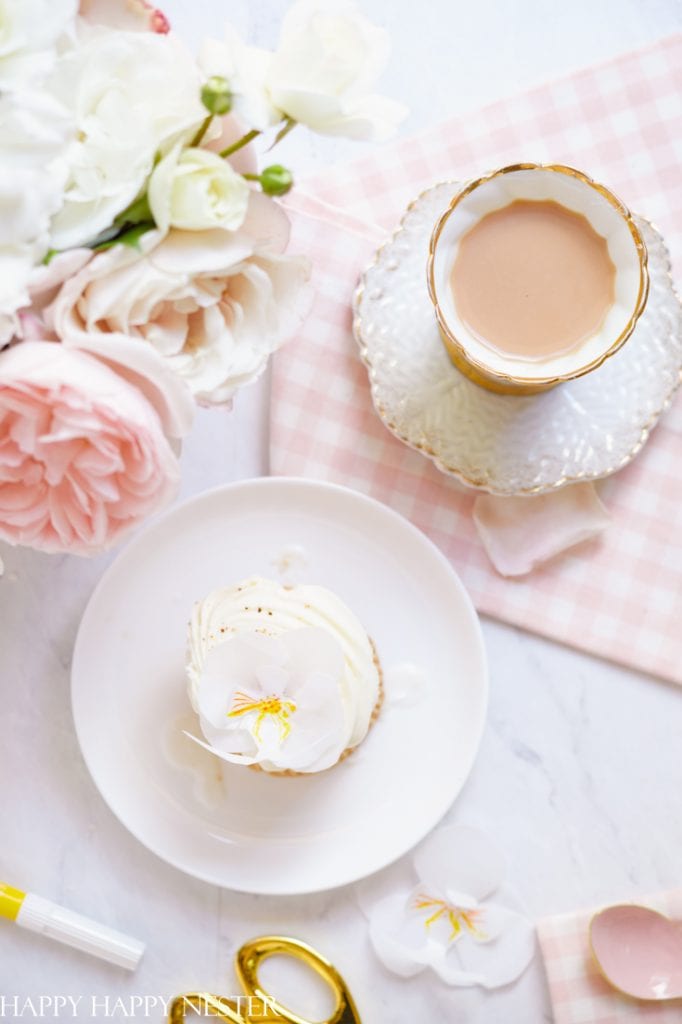
If you don’t own a beautiful Phalaenopsis Moth Orchid, this is the best next thing to place on your desserts. Learn how to make this easy paper flower!

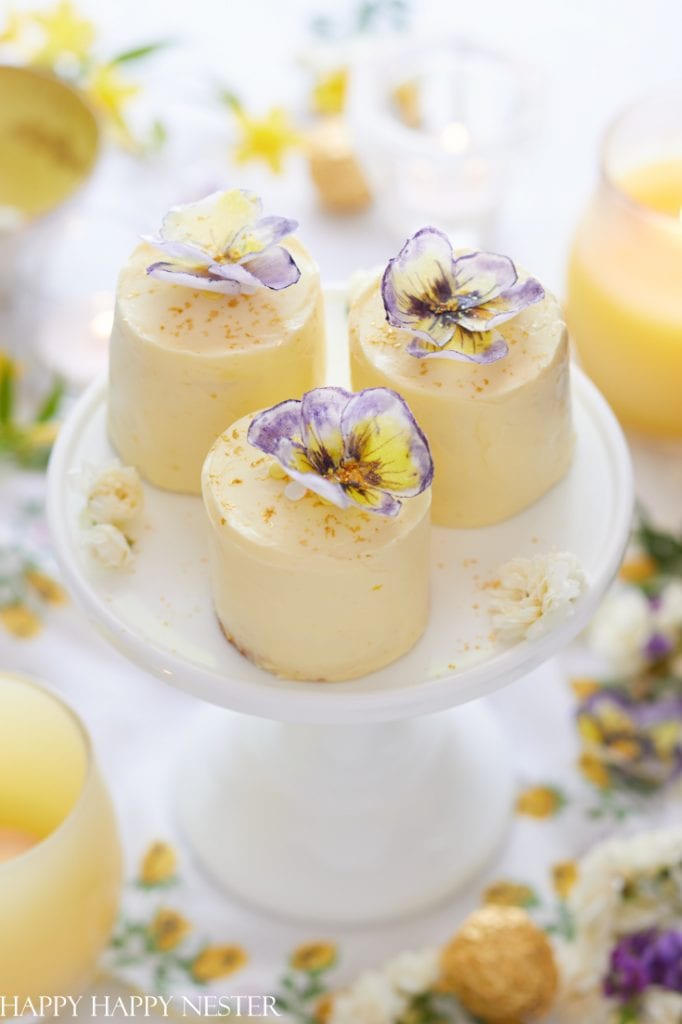
I am not one to make icing flowers for cakes, but now I’m enamored with wafer paper flowers. As some of you know, I recently made some pansy wafer paper flowers.

wafer paper flowers diy

Today’s moth orchid is easy. It only has three petal pieces that need to be cut out. I attached the petals with water, and then I placed them on the hardened cupcake frosting.

If your frosting is fresh and moist, I will place some barriers between the frosting and the flower. It might be good to put another piece of wafer paper on the cake and then attach the flower to the wafer paper. I’ve always attached my flowers to dry frosting.

edible wafer paper flowers
Photo: My Photography

I know that you can apply petal dust to your orchid, and I will add them to my second version. This project is a simplistic orchid, and if you are new to papermaking, it pretty easy.

Orchid Supplies

*The following post contains affiliate links

Orchid Template (download them by signing up for the Newsletter below)

Wafer Paper ( I bought the thin wafer paper, and I may buy the thicker one next time)

Petal Dust ( I ended up using gold dust, but you should use the yellow petal dust)

Clean Watercolor Brush

Edible Colored Markers ( I used an orange food marker to make the dots)

Scissor

Water

How to Make a Paper Orchid

paper orchid tutorial

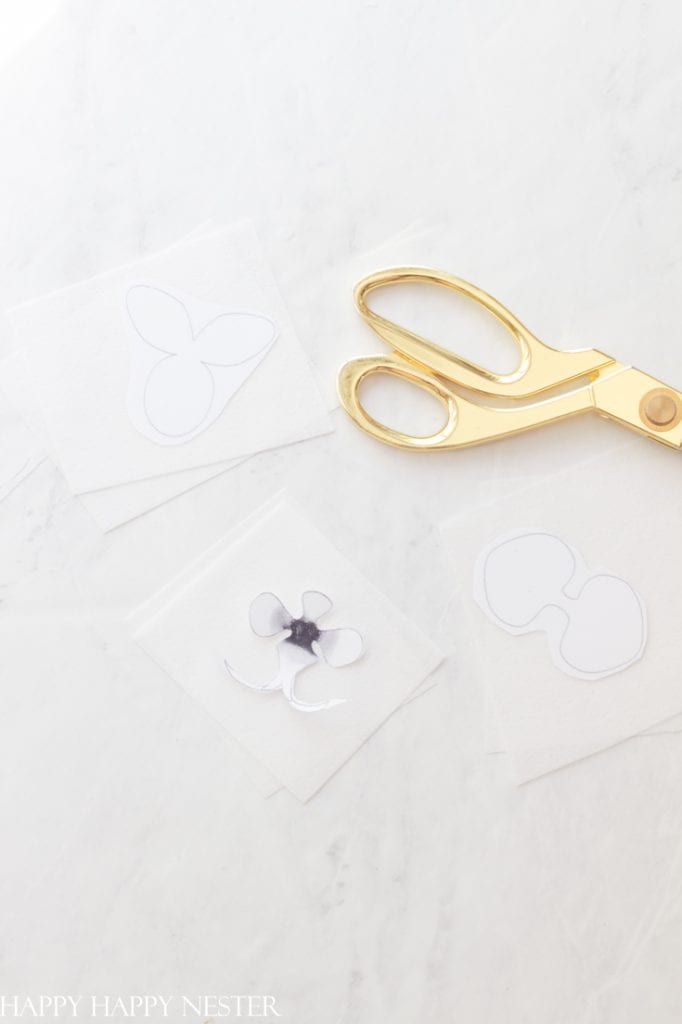
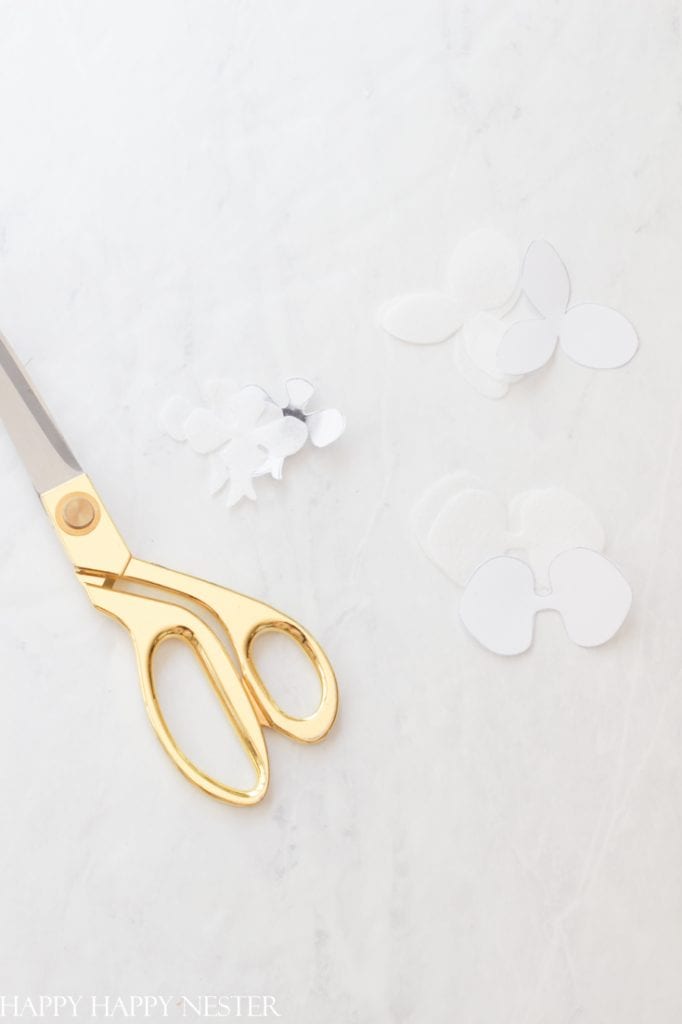
Step 1 – Cut Out Petals

You’ll be cutting out three petals. But for each set of petals, we will double the paper, so it will turn out you’ll be cutting six total.

cake decorations

Step 2 – Double Petals

Add a very light layer of water to your petals. Then take the duplicate petal and attach the second petal. Do this for each of the three petals. Allow petals to dry.
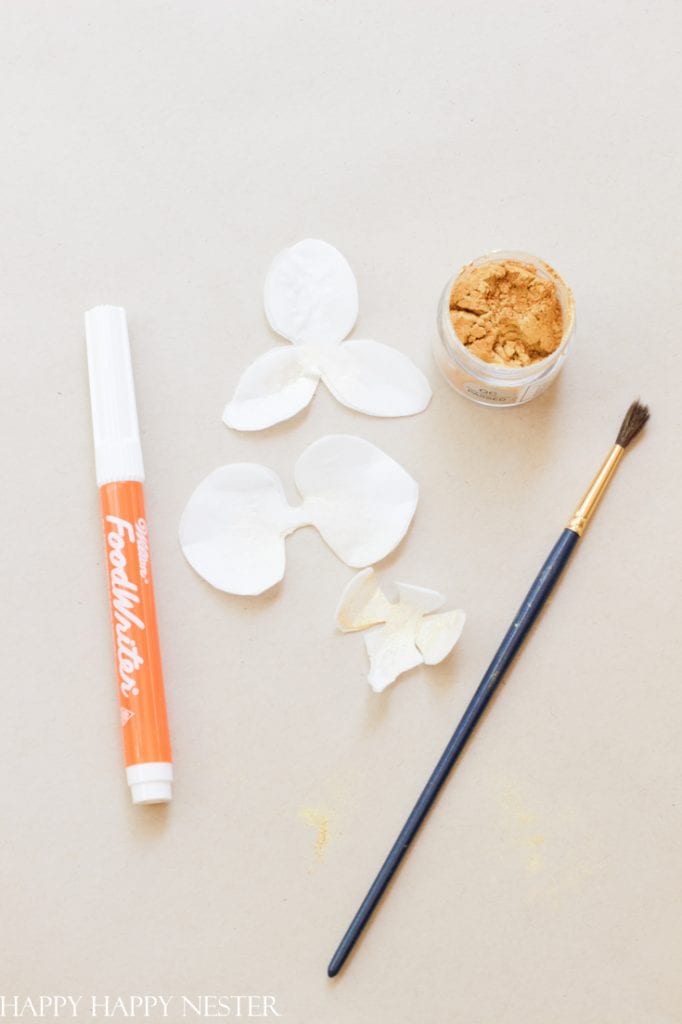
paper orchid diy

Step 3 – Add Color

Add color to the middle petal. You can use a food coloring pen or petal dust. You’ll use a light yellow color. Brush on and let dry.

paper orchid tutorial
edible paper flowers

Place orange dots in the middle lip petal. Use a food coloring pen.

what is wafer paper?

Step 4 – Mold the Lip (middle petal)

Gently mold the top petal to point downward and the two side petals to point inward. Gently squeeze the bottom of the lip and pinch the side together. Then curve the bottom upward towards the middle.

edible paper flowers

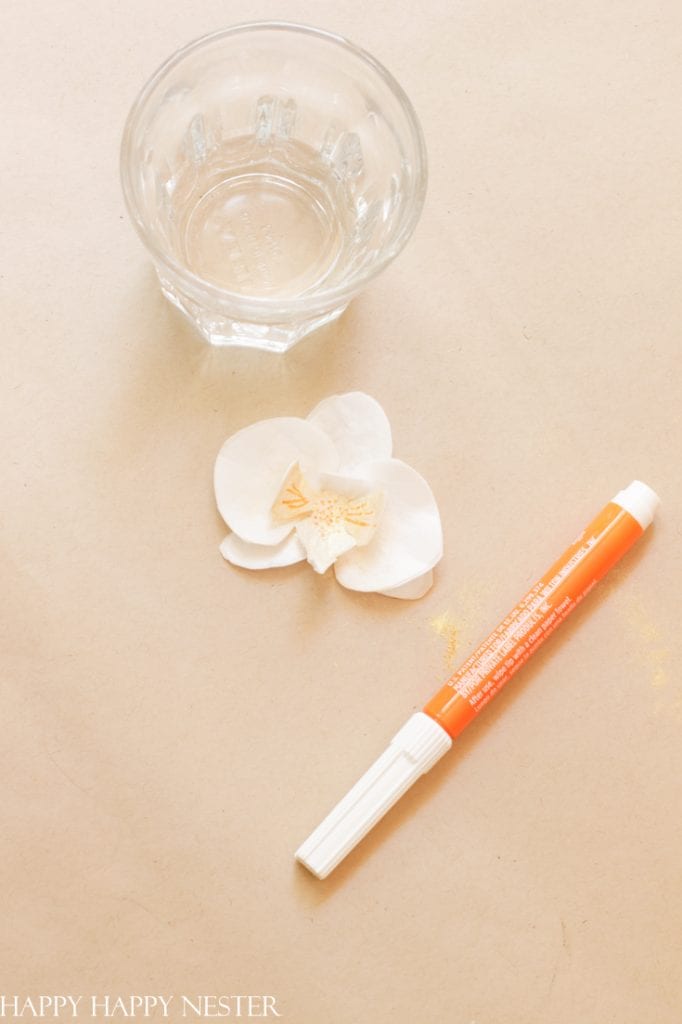
Step 5 – Attach the Petals

Here is the order in which the flower petals attach. The bottom of the orchid is the three petals with the bigger petal on top.

Then place a small amount of water in the middle of the three petals and put the two petal paper on top. The two petals are in between the three petal pieces of paper, like the above photo.

The final petal is the lip petal. Add a tiny amount of water to the two petals and place the lip on top. Press together. Allow drying.

paper orchid tutorial

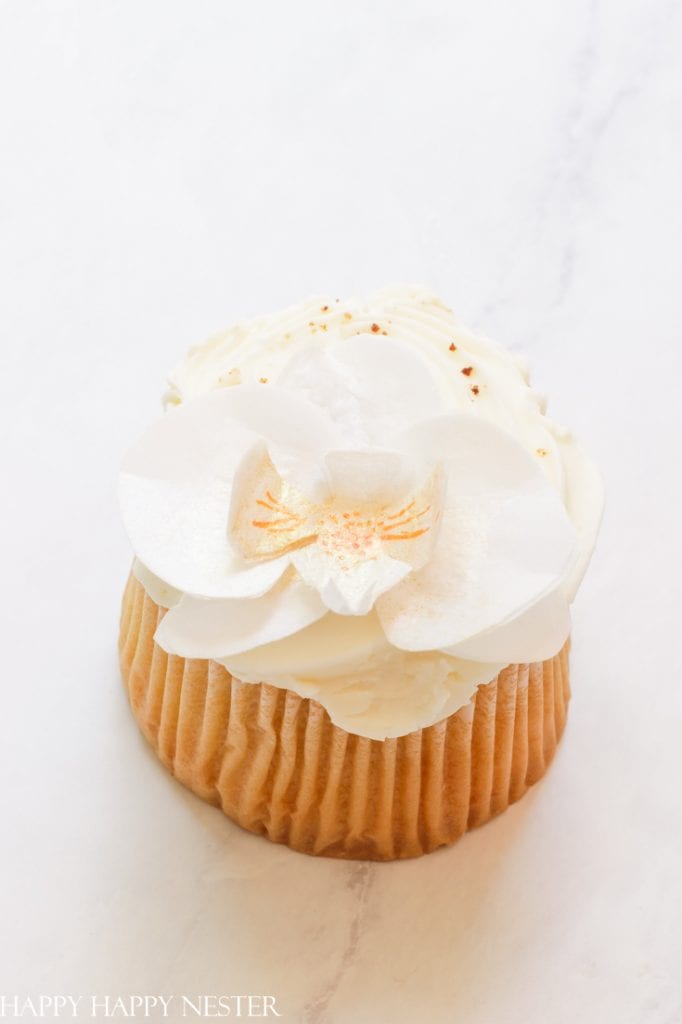
Now with summer just around the corner, we will have friends over for dinners. I’ll be making more dinners and desserts. I’m excited to add my paper orchids to my cakes and cupcakes.

I love how my passion for flowers and cakes have come together!

Enjoy your spring day!

Cheers,

signature
pin it button
how to make paper orchid pin
  • Author
  • Recent Posts
Janine Waite
Follow me
Janine Waite
I named my blog Happy Happy Nester because I love everything related to the home. I’ve always enjoyed decorating my surroundings. Get cozy and stay for a bit, thanks for visiting!
Janine Waite
Follow me
Latest posts by Janine Waite (see all)
  • 50+ Mother’s Day Brunch Ideas - May 9, 2025
  • How to Make a Tender Juicy Steak - May 8, 2025
  • My Favorite Flower Crafts - May 3, 2025

You May Also Like

  • wafer paper flowers tutorial
    Wafer Paper Flowers Tutorial
  • how to make paper poppies
    How to Make Crepe Paper Flowers
  • mini layer cakes
    Mini Layer Cakes Easy Tutorial
  • the best etsy paper flower shop
    The Best Etsy Paper Flower Shop

Sharing This!

  • Facebook
  • Twitter
  • Email

Reader Interactions

Leave a Reply Cancel reply

Your email address will not be published. Required fields are marked *

Recipe Rating


Sidebar

Janine the Nester

Hello from the Nester

We love everything related to home, so get cozy and stay for a bit. Thanks for visiting our blog. Learn More...

Reader Favorites

The Best Crunchy Crispy Chocolate Chip Cookie

This Italian Cream Cake has a pumpkin cream cheese frosting that makes this a winning combination. This dessert is perfect for the holidays.

Italian Cream Cake with a Twist of Pumpkin

French Apple Custard Tart with Puff Pastry

DIY Paper Flowers Tutorial (Tissue Paper)

Upcycling Tin Cans with Scrapbooking Paper

How to Make a Paper Flower Wreath DIY

Popular Categories

  • Cakes
  • Cookies
  • Dinners
  • Wreaths
  • Organizing

Join Our Newsletter

Join our mailing list to receive the latest news and updates from our team.

You have Successfully Subscribed!

AFFILIATE DISCLOSURE:
I am grateful to be of service and bring you content free of charge. In order to do this, please note that when you click links and purchase items, in most (not all) cases, I will receive a referral commission. Your support in purchasing through these links enables me to keep my design and customization prices ridiculously low and empower more people worldwide to blog with less worry and less hassle.
Happy Happy Nester is a participant in the Amazon Services LLC Associates Program, an affiliate advertising program designed to provide a means for sites to earn advertising fees by advertising and linking to amazon.com.
Thank you! :)
-Happy Happy Nester

Our Guide

Join Our Newsletter

Join our mailing list to receive the latest news and updates from our team.

You have Successfully Subscribed!

  • Facebook
  • Instagram
  • Pinterest
  • Twitter

Recipes

Appetizers
Breakfast/Brunch
Desserts
Dinners
Drinks

Crafts & Decor

DIY
Gardening
Holiday
Wreaths

About

About The Nester
Contact
Privacy Policy

Copyright © 2025 · Happy Happy Nester by Janine Waite · Privacy Policy

↑ BACK TO TOP