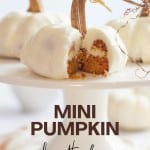
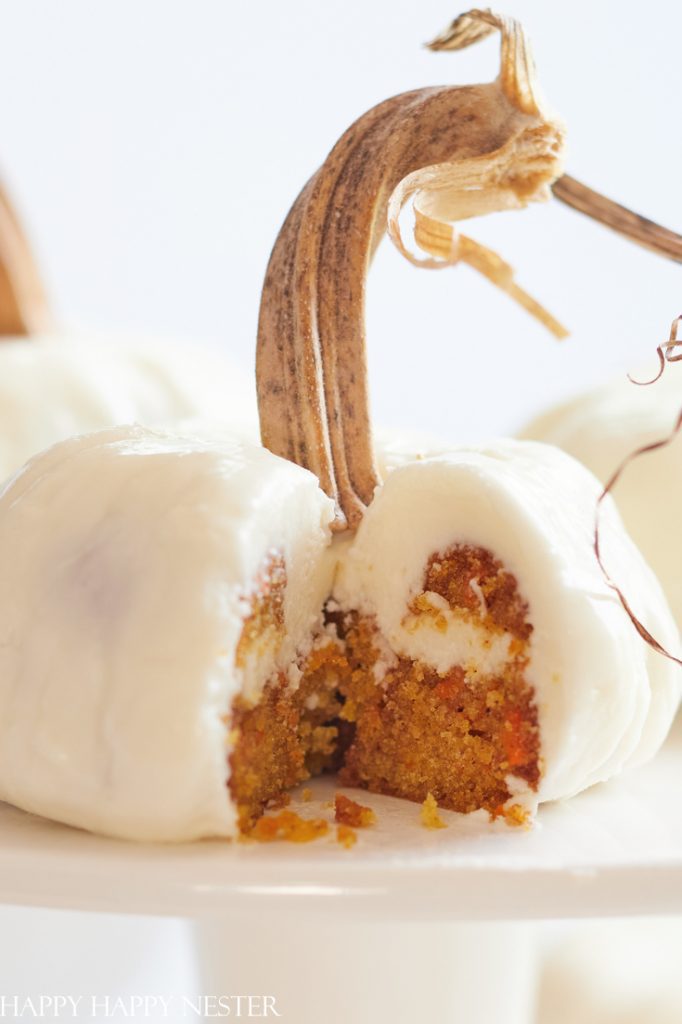
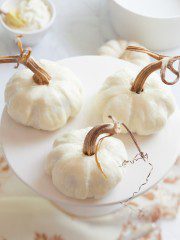
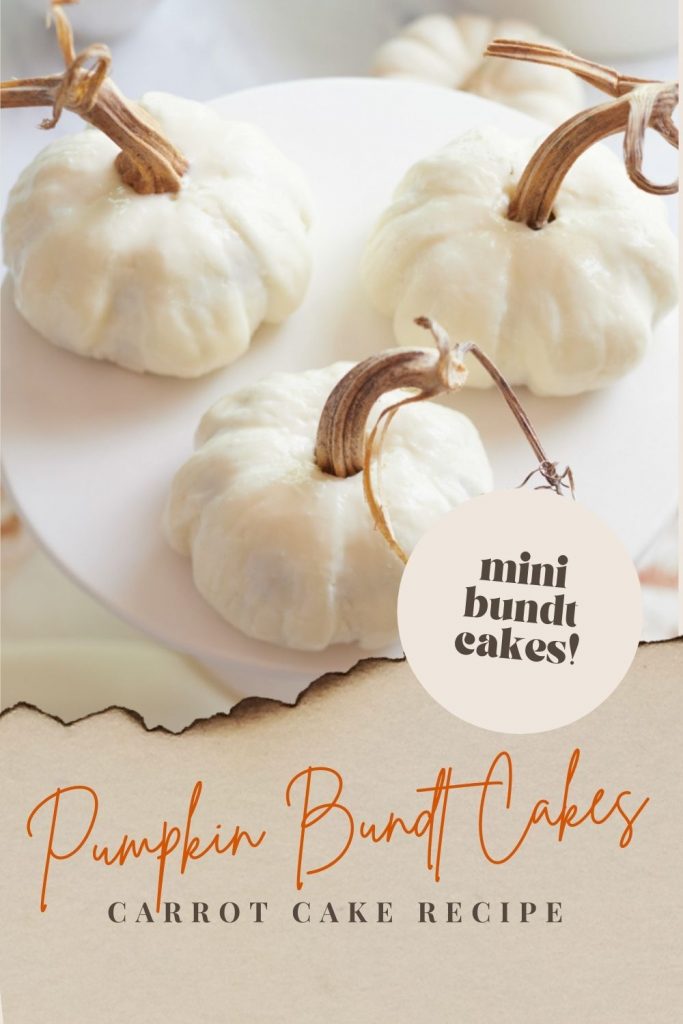
These cute Mini Pumpkin Bundt Cakes are my moist carrot cake and cream cheese frosting recipe. It’s the perfect dessert to share with family and friends this season! And besides, these cakes are shaped like a pumpkin, making them even more impressive and adorable!
I have been searching for a new, delicious recipe for Fall, and I can now say that the search is over because these pumpkin cakes are incredible. The taste of the sweet cream cheese frosting melts in your mouth, along with the inviting flavor of carrot cake! You will be coming back for seconds (or thirds)!
Oh! How I love this time of year. The leaves are changing color, the weather is cooling down, and baking in the kitchen is more fun than before.
If you know me by now, you might have guessed that I thoroughly enjoy baking and creating new recipes for my good friends and family. Here are some of my latest recipes on the blog to join me on my baking journey!
- Crumbl Sugar Cookie Recipe (copycat)
- Fudgy Oatmeal Bars Recipe
- Italian Cream Cake with a Twist of Pumpkin
Mini Pumpkin Bundt Cakes
I’m sure you’re wondering how I even came up with this idea of creating a mini pumpkin bundt cake. Here’s my story.
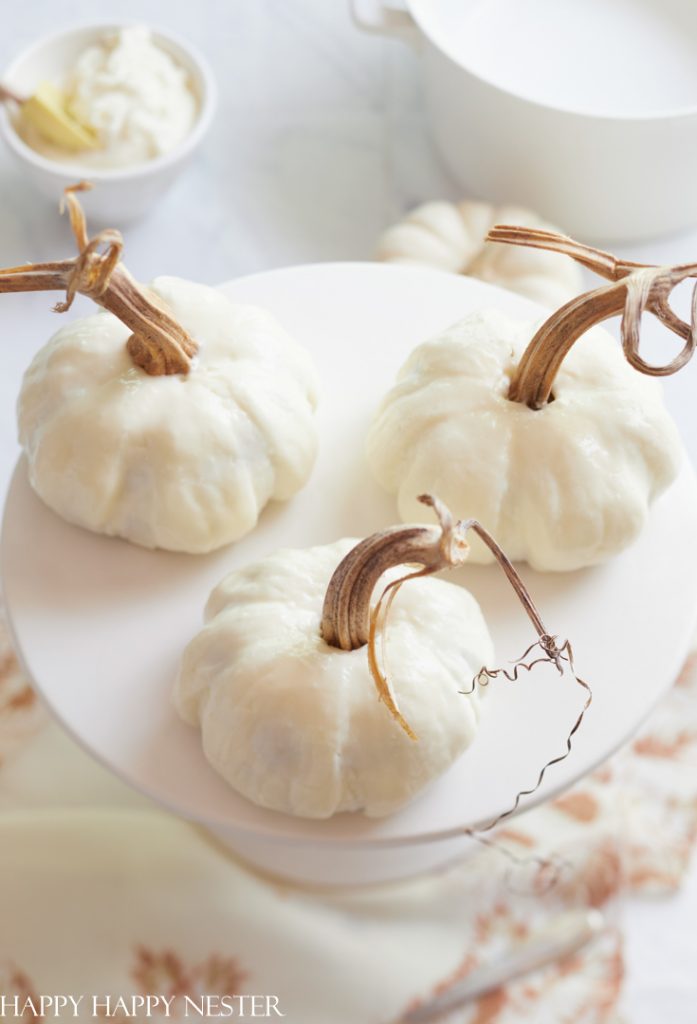
Long story short, I ordered a bundt cake from the company Nothing Bundt Cakes, and I fell in love with the mini dessert. After that, I wanted to try and recreate my mini cake with a twist. So I decided to bake these treats and decorate them to look like pumpkins for this Fall.
It turned out perfectly now that I figured out a great technique. In my recent version, I made the frosting a bit stiffer, which is much nicer to sculpt and shape. You only have to place the cakes in the freezer once to harden the frosting. You see, you want it cold and hard so you can shape the pumpkin frosting to look more realistic.
So come on, and let’s pumpkin things up a bit!
Here’s What You’ll Need to Make these Adorable Pumpkin-Shaped Bundt Cakes
- Mini Bundt Cakes Pan
- Real Pumpkin Stems (Small)
- Parchment Paper
- Carrots
- Sugar
- Cooking Oil
- Flour
- Cream Cheese
- Egg
- Salt
- Cinnamon
- Baking Soda
- Vanilla Extract
- Crisco
- Butter
- Powdered sugar
- Milk
- Vanilla Extract
A Few Notes About This Bundt Cake That Looks Like a Pumpkin
Icing Colors: If you want to create these festive fall desserts but want to make them orange or another color, that will work. Add the food color you like to the cream cheese frosting.
It would be fun to choose some fall colors and make some pumpkin-shaped cakes.
Pumpkin-Shaped Bundt Pans:
You know, ever since I started making those cute mini pumpkin-shaped cakes, Nordic went ahead and released a pan for it! Now, they’ve got this excellent pan that lets you bake six cakelets with two unique leaf designs, two identical acorns, and two adorable little pumpkins.
Save some time and purchase this excellent pan. Here’s the shopping link to one! I plan to buy one.
But in the meantime, if you only have mini-bundt pans, let’s look at how you can make a bundt cake look like a pumpkin!
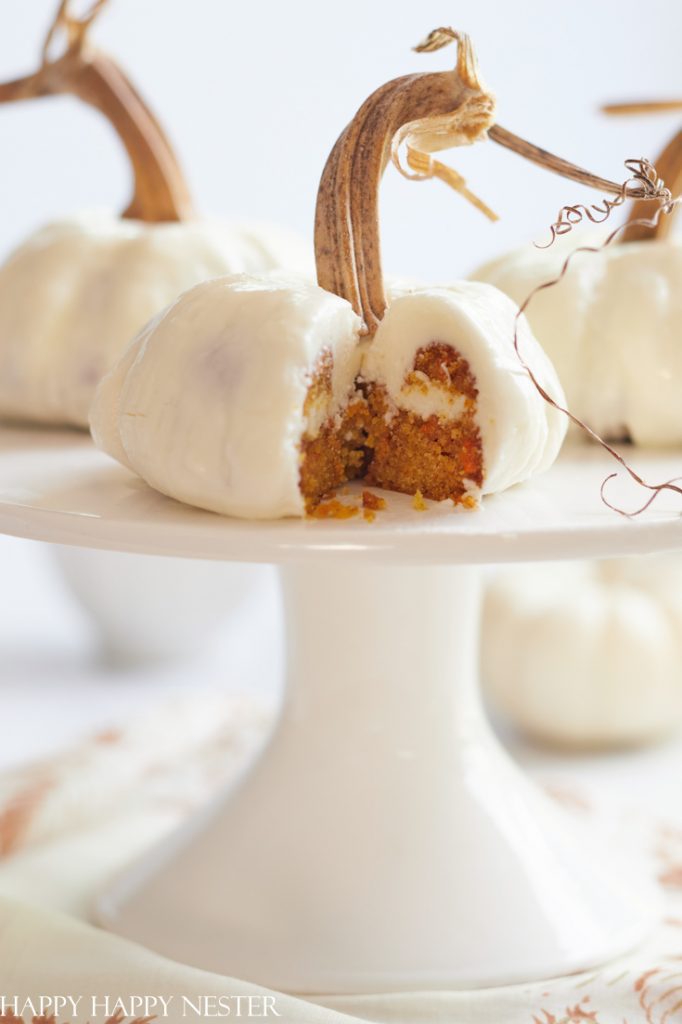
Carrot Cake: I get it! Even though I should probably make a pumpkin-flavored cake with those pumpkin-shaped cake pans, I can’t resist my love for my carrot cake recipe. I’m thinking in the future, I might just whip up another batch using those Nordic pumpkin pans and try out a pumpkin-flavored recipe, too!
More Baking Tips For Pumpkin Mini Cakes
- Make sure to use Teflon mini bundt pans when baking. I find using this specific type of pan will create a nicely shaped bundt cake. If you plan to make many of these cakes, I recommend purchasing a couple of these pans.
- Once you have the desired number of baking pans, cover the inside and middle of the pan with Crisco. This way, the Crisco allows the flour to stick to the pan. Also, when it comes time to take out the cooked mini cakes, it is easier for them to come out of the pan.
- After covering the pan with Crisco, you cover the inside and middle with flour. This step helps when it’s time to take the cakes out of the pan because, with flour, these treats will come out easier.
- When the timer goes off, and it’s time to take the pan out of the oven, do so, and gently turn the pan upside down so the mini cakes can come out of the pan smoothly without the worry of falling apart.
- If your mini cakes do not come out as quickly as you had hoped, try taking a toothpick down the sides of the pan and the middle hole as well. Then, remove the cakes slowly out of the pan. By doing this, you are separating the cake from the pan in hopes of the dessert coming out in one piece.
Tips on Making A Pumpkin-Shaped Cake
- I ended up changing my technique, and here is the revised version.
- You’ll want to take your baked bundt cakes and trim off the bottom of the rounded cakes. Turn the cake upside down; the cut side is now on top. Frost the cut end.
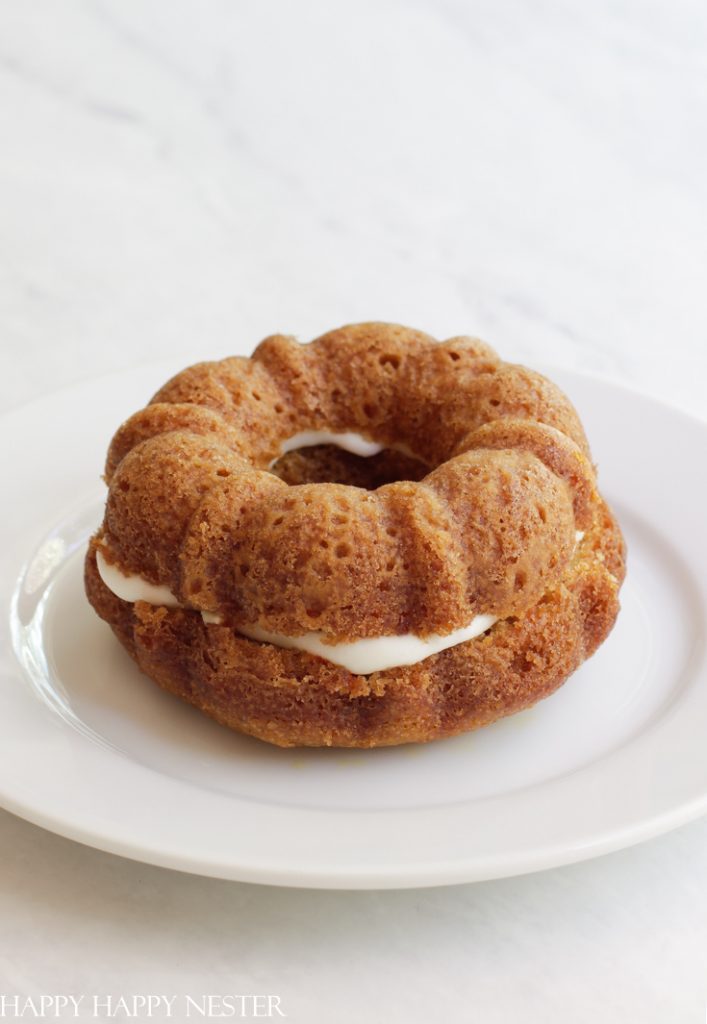
- Cover the frosted cake with another trimmed bundt cake. The two cut ends will face teacher other with a layer of frosting in between them. (This photo is of the old version)
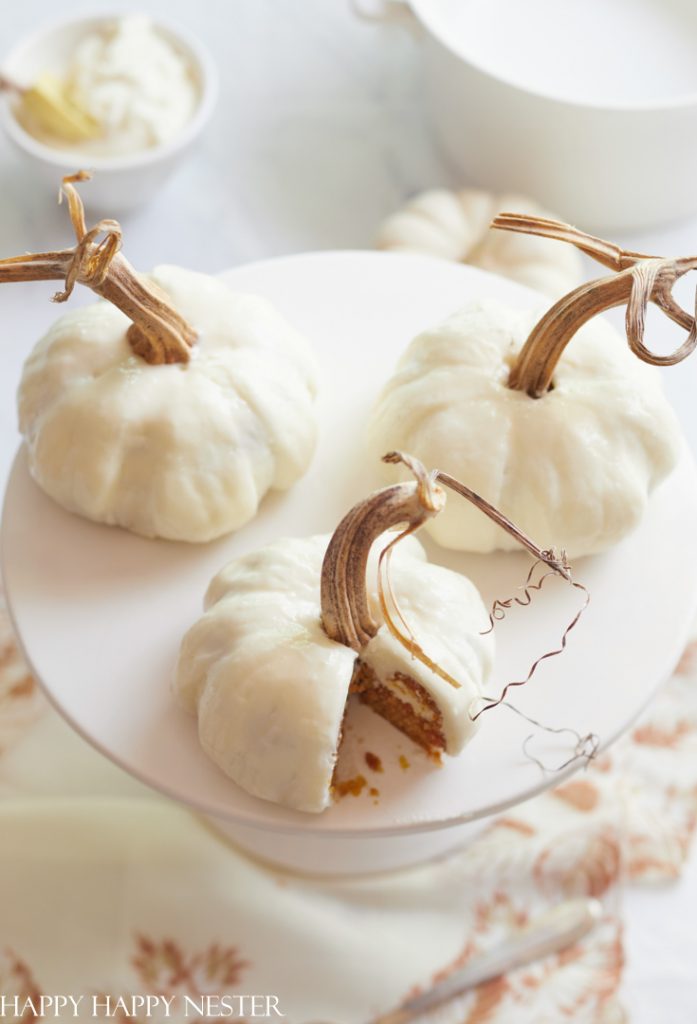
- Frost the bundt cake and place it on a piece of parchment paper. When you smooth over the final bit of frosting, you can begin to shape the pumpkin. I dipped my butter knife in a glass of water to create a smooth frosting. I also, made the horizontal ridges of the pumpkin at this stage.
- Once you’ve created the pumpkin, you will place your cakes in the freezer for a couple of minutes.
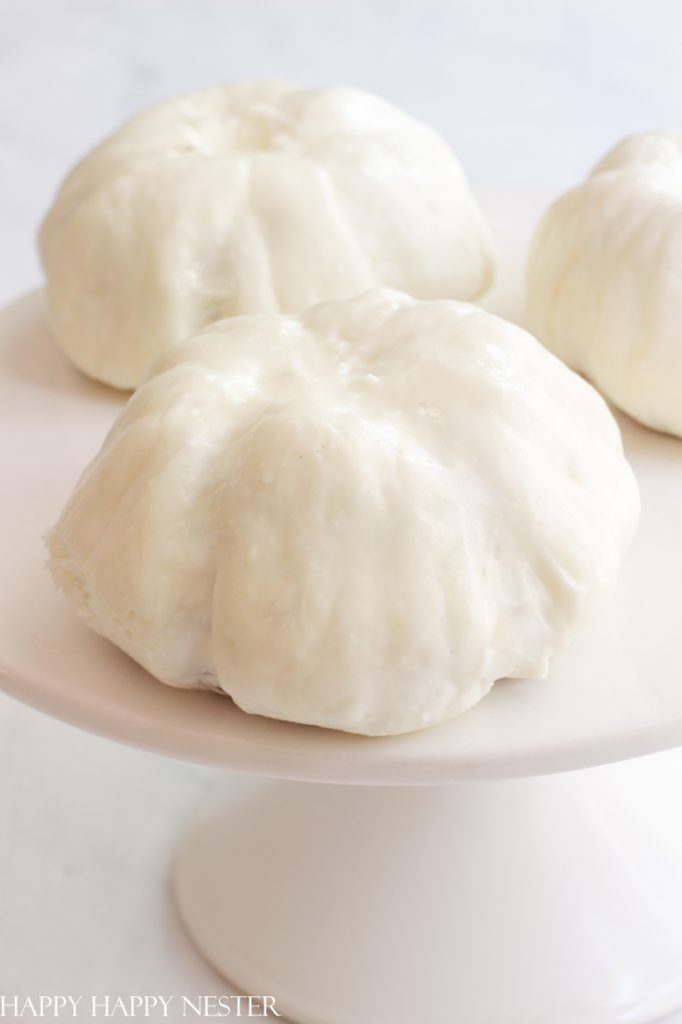
- Take the cakes out of the freezer, and shape the cake with your hands to create pumpkin curves. To make shaping easier, dip your fingers in a little cold water, then place your hands on the icing to begin shaping your cake.
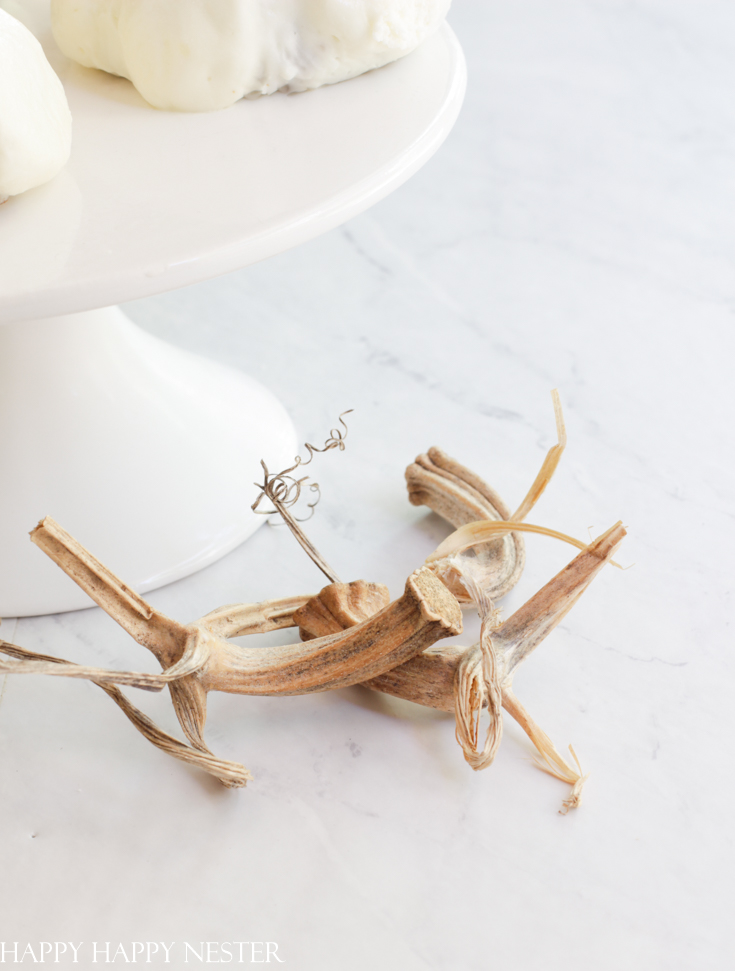
- After you have finished shaping your cake to your liking, place and real pumpkin stem on top, then refrigerate them. Take them out about an hour before serving, and enjoy!
Mini Pumpkin Bundt Cake Recipe
Ingredients
Cake
- ¾ cups carrots shredded
- ½ cup sugar
- 6 tbsp cooking oil
- ½ cup flour
- 2 oz cream cheese room temperature
- 1 egg
- ¼ tsp salt
- ¼ tsp cinnamon
- ½ tsp baking soda
- ¼ tsp vanilla extract
Frosting
- ⅛ cup butter room temperature
- 3 oz cream cheese room temperature
- ½ lb powdered sugar
- ½ tsp vanilla extract
- 3 real pumpkin stems you can use cinnamon sticks if you like
Instructions
Cake
- Preheat oven to 350°
- Prepare mini-bundt pans. Grease and flour the inside of the bundt cakes form.
- Place wire whisk on the Kitchen Aid mixer.
- Beat together the cream cheese and sugar until smooth.
- Add carrots and beat them together.
- Next, add egg and beat until smooth.
- Now, alternate adding the flour and oil to the cake batter.
- Add salt, cinnamon, baking soda, and vanilla to the mixture. Beat well.
- Pour batter into pastry bags or a pancake squirter.
- Fill bundt pan about halfway to the top of the hole.
- Bake at 350° for 20 minutes.
- Remove from oven and place on a cooling rack for 5-10 minutes.
- Take a toothpick and move along the edges between the cake and the pan. This will help loosen the cake from the pan.
- Turn the pan over and gently move the cake back and forth in the mold. And with your hand, gently try and pop out the cake from the pan.
- Place on cooling rack right side up.
Frosting
- Cream together the room temperature butter and cream cheese.
- Slowly add powdered sugar and vanilla.
- Beat until smooth.
Constructing Pumpkins
- Once you remove your cakes from the pan, trim their rounded bottoms with a sharp flat knife.
- Turn the cake upside down and the cut side is now on top. Frost the cut end. Place a layer of frosting on the top of the cake. And place the other cut bundt cake on top. The two cut tops will be together with a layer of frosting in between them.
- Place the cake on a piece of parchment paper.
- Frost the cake. Once the cake is totally frosted, sculpt with a butter knife. Dip the knife in water to make a smooth surface. I molded the cake like a pumpkin and created horizontal valleys with the frosting.
- Place your cake on a tray or plate and put them in the freezer. You want the frosting to become solid so you can mold and shape the pumpkin once it's cold.
- Once the frosting has hardened, take it out of the freezer and smooth out the frosting with a wet finger.
- After sculpting your cake, place the pumpkin cake in the refrigerator to set it one last time. Before serving, place a real pumpkin stem on the top of the cake. Serve cake at room temperature.
Nutrition
Can I Freeze My Pumpkin Shaped Bundt Cake?
Someone asked me over on Instagram if you can freeze these cakes. And my answer is yes! So, ensure the frosting is firm by placing them in the fridge, then wrap them in plastic wrap, tin foil, or a large plastic Ziploc bag. Then, if you serve them for Thanksgiving, take them out about two to three hours before your meal and thaw them.
The only thing you don’t want to do is refreeze them. I guess the milk will develop some bacteria from the refreezing.
FREQUENTLY ASKED QUESTIONS:
Mini pumpkin bundt cakes require specific mini bundt cake pans to achieve their unique shape and size.
Grease and flour the mini bundt cake molds thoroughly, or use a non-stick cooking spray to ensure easy removal.
Cream cheese frosting or a simple powdered sugar glaze with a hint of cinnamon
Yes, you can freeze mini pumpkin bundt cakes in an airtight container for up to three months. Thaw and add fresh frosting when ready to serve.
Absolutely! You can use alternative flours and dairy-free ingredients. I use Violife Dairy Free Cream Cheese, and it tastes great! There are many gluten-free flours to choose from as well.
If you want to up your fall desserts this year, I hope you can create these mini pumpkin bundt cakes.
This dessert is guaranteed to make your heart and tastebuds happy this Autumn season! Not only are these cakes delicious, but they will fill your home with the mouthwatering smell of carrot cake and sweet cream cheese frosting.
Fall will be in the air in your cozy home.
Cheers, friends, and have a great day!


- Easy Homemade Breadsticks Without Yeast (25-Minute Recipe!) - July 24, 2026
- Lazy Saturday Morning Breakfast Ideas - July 18, 2026
- Lemon Blueberry Crumble (With Creamy Mascarpone) - July 16, 2026
")


Rachelle Rubio
Adorable, and they look like the perfect amount for dessert.
happyhappynester
Rachelle,
It is the perfect amount for dessert and it’s so fun! Thanks for your sweet comment!
Coco in the Kitchen
These are ADORABLE!
And I love that I don’t need molds for them!
Sharon
Genius! I hought you were going to tell us you used fondant as the icing and the way you used the frosting was so clever! Thanks for a great, adorable dessert. 🥰
Janine Waite
Hi Sharon,
The cake and icing are so tasty. Yes, I’m not a fan of fondant either! You’re so welcome and thank you for your visit and lovely comment!
Jennifer Howard
These are insanely cute!!!! I cannot get over how realistic they look!!
Renae Frey
These cakes are the cutest cakes ever! I love them.