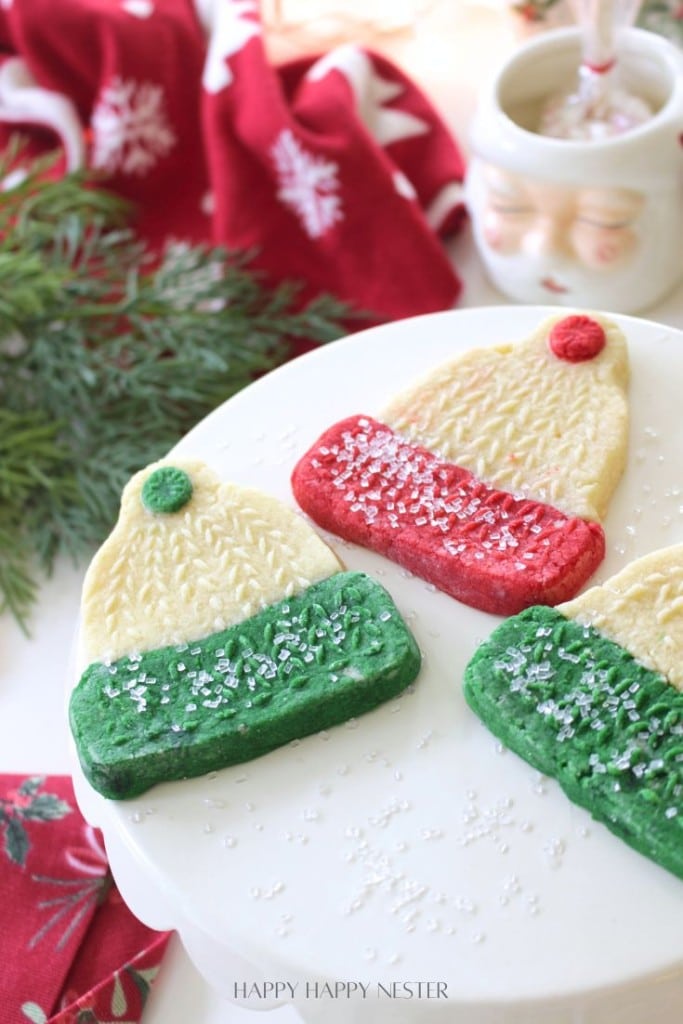
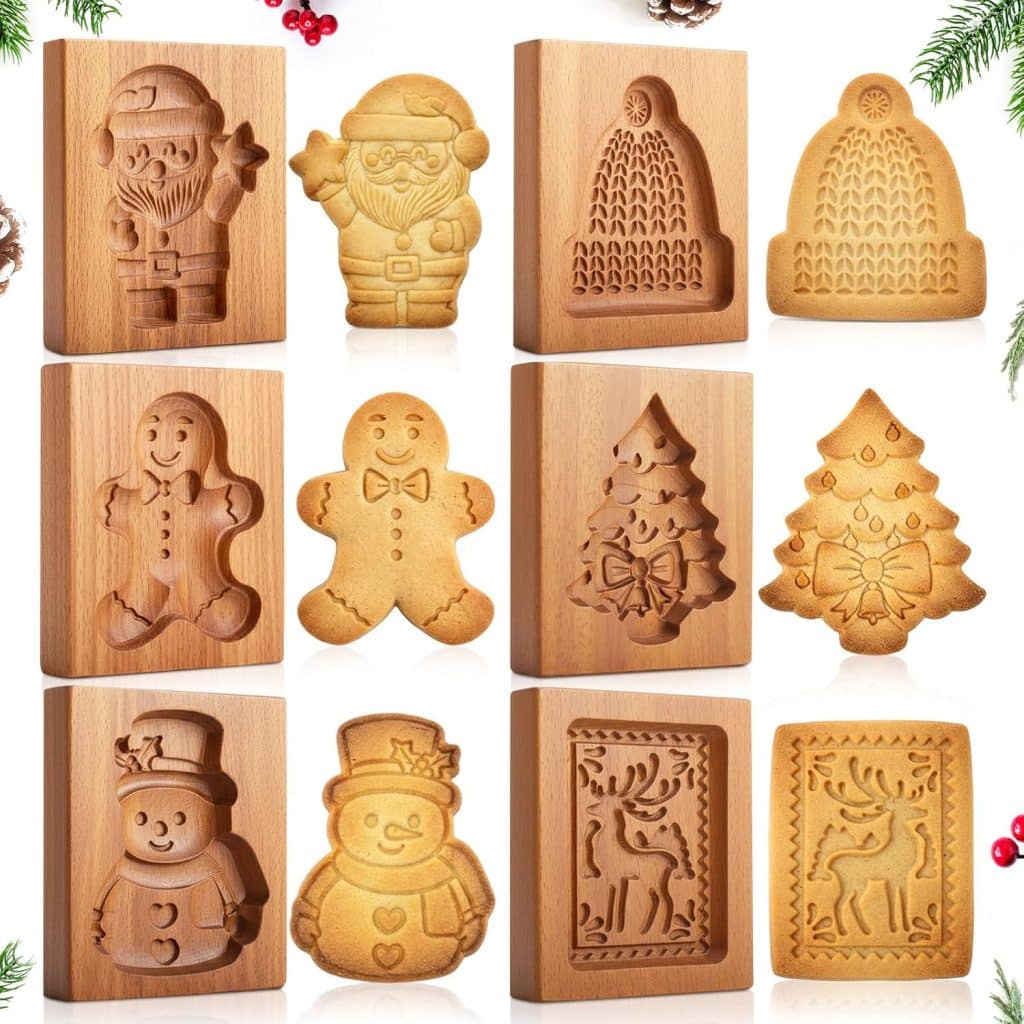
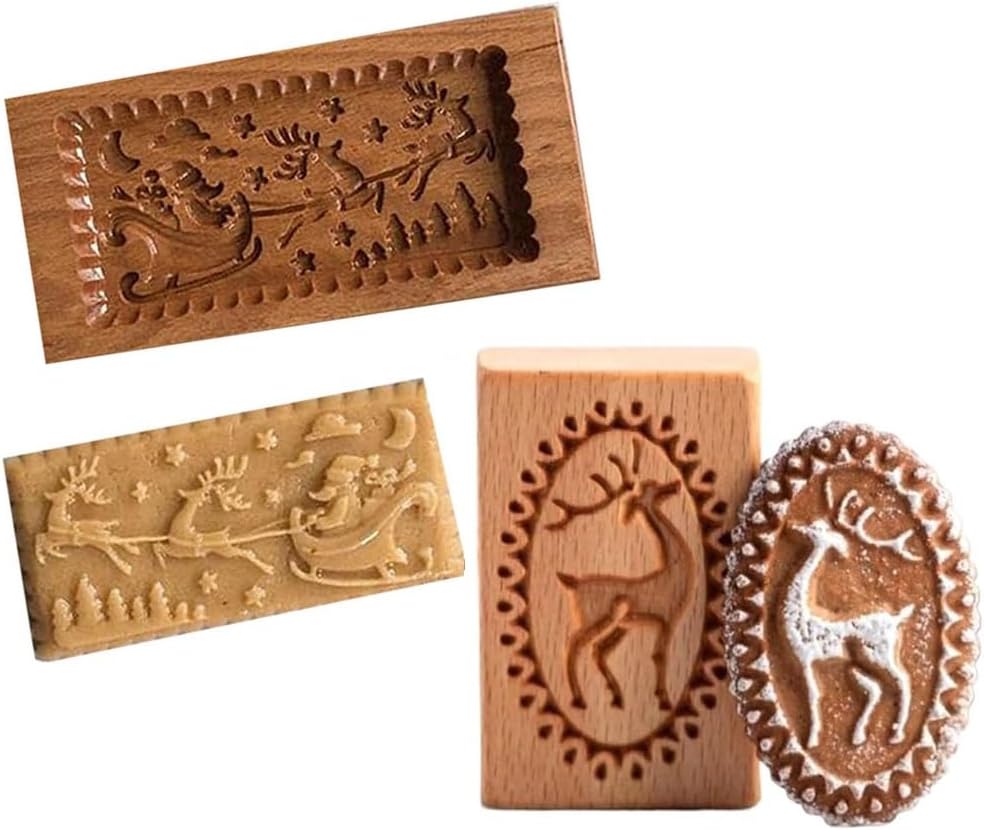
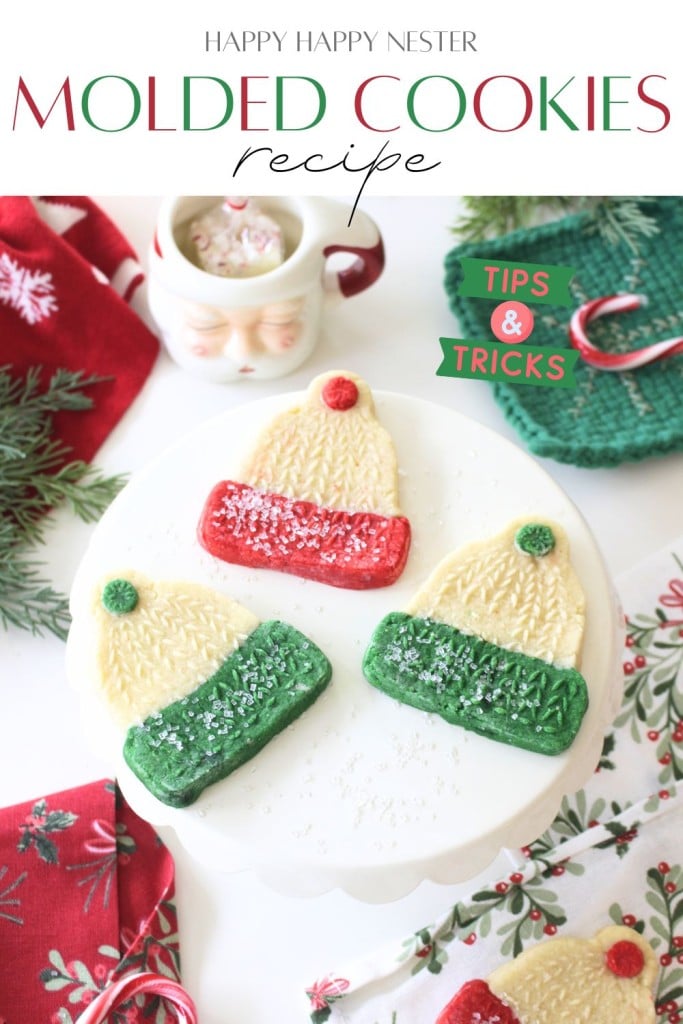
Molded Cookies Recipe fans will love this charming winter toque hat cookie that holds every little detail from the mold. These cozy, cold-weather–inspired cookies bake up beautifully with crisp edges, clean lines, and that sweet handmade charm we all adore during the holiday season. Whether you’re gifting them, decorating them, or simply enjoying a festive baking day, this molded cookie dough makes it easy to get a perfect release and a picture-worthy design every time.
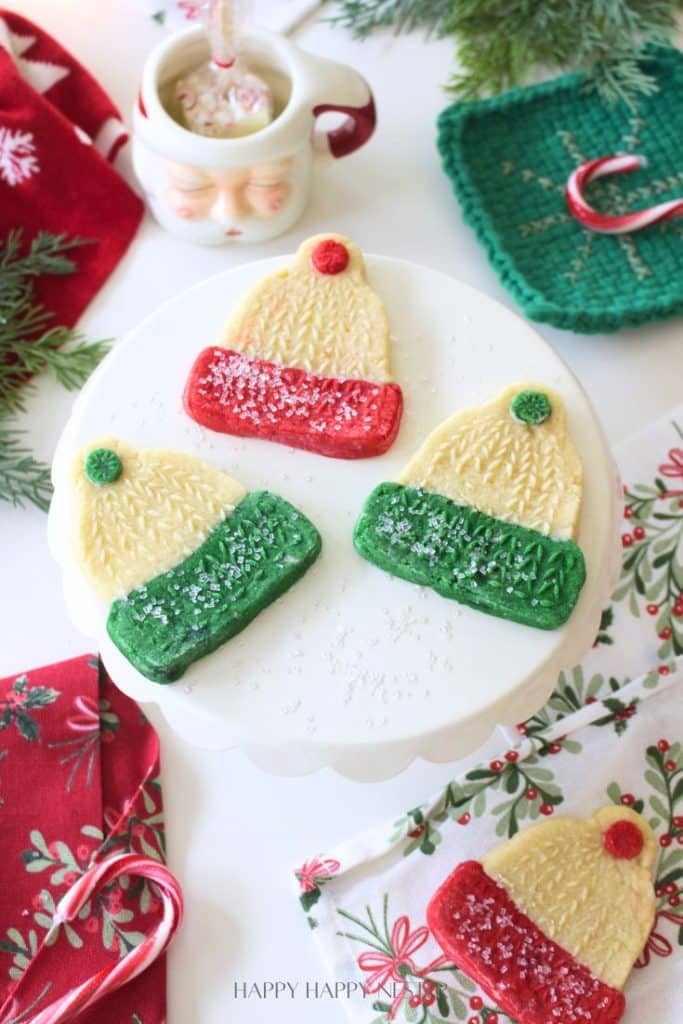
I’m so excited to share this Molded Cookies Recipe with you today because these little winter toque hat cookies turned out absolutely adorable! I used one of my wooden cookie molds, and it captured every tiny detail of the hat—from the fluffy brim to the little pom-pom on top. They’re such a fun cookie to make for Christmas, and the red and green dough adds the cutest festive touch without needing any decorating at all. If you’re diving into your holiday baking, you might also love some of the other Christmas cookie recipes on my blog—there are so many cozy treats to inspire your next baking day!
Gingerbread House Mug Topper Recipe
And while you’re here, make sure to check out my friends’ Christmas cookie recipes down below—there are so many fun, festive treats that will give you even more yummy baking inspiration for the holidays!
What is a Molded Cookie?
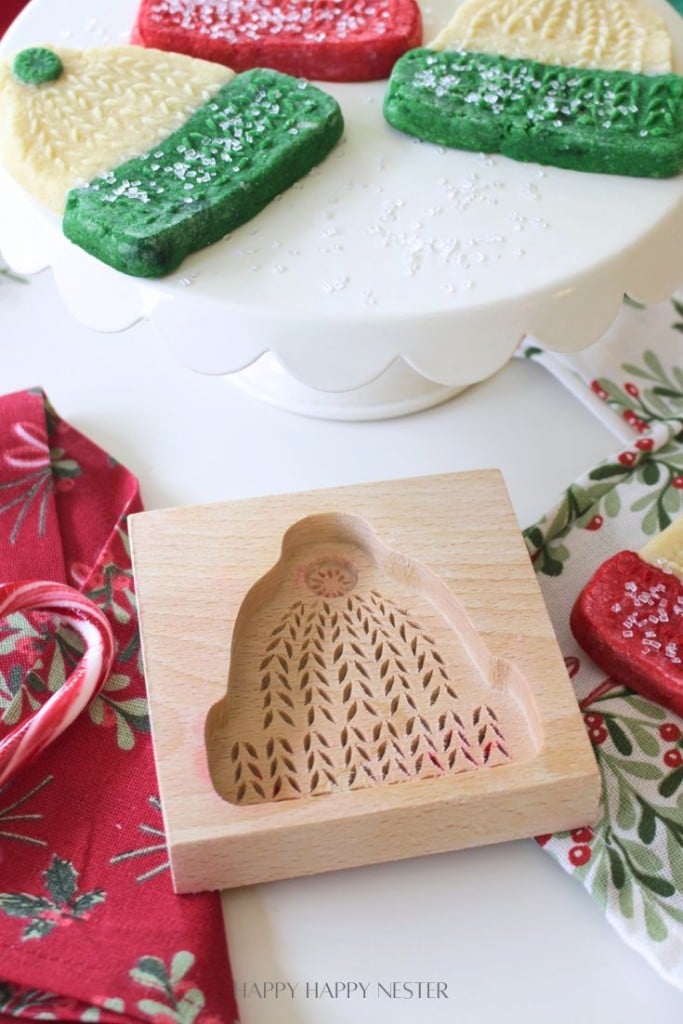
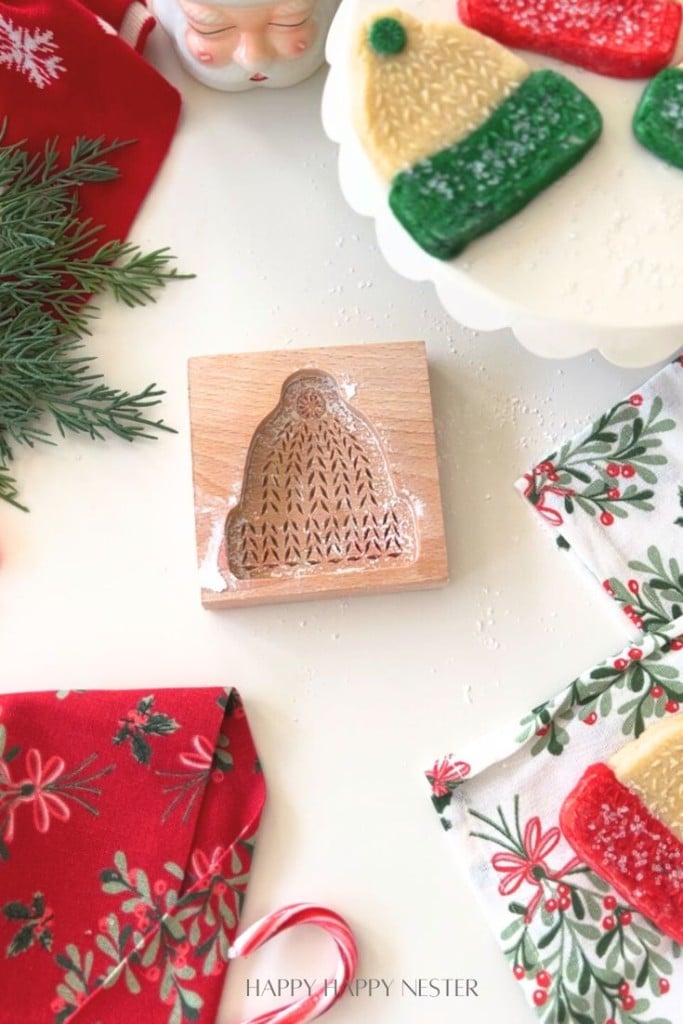
A molded cookie is simply a cookie that gets its cute shape and design by being pressed into a cookie mold. Instead of rolling and cutting the dough, you press it right into a wooden, ceramic, or silicone mold and let it pick up all those tiny details. Then you pop it out, bake it, and the design stays beautifully crisp. It’s such a fun and easy way to make cookies that look extra special without needing a lot of decorating.
Why You’ll Love This Molded Cookies Recipe
They hold gorgeous detail.
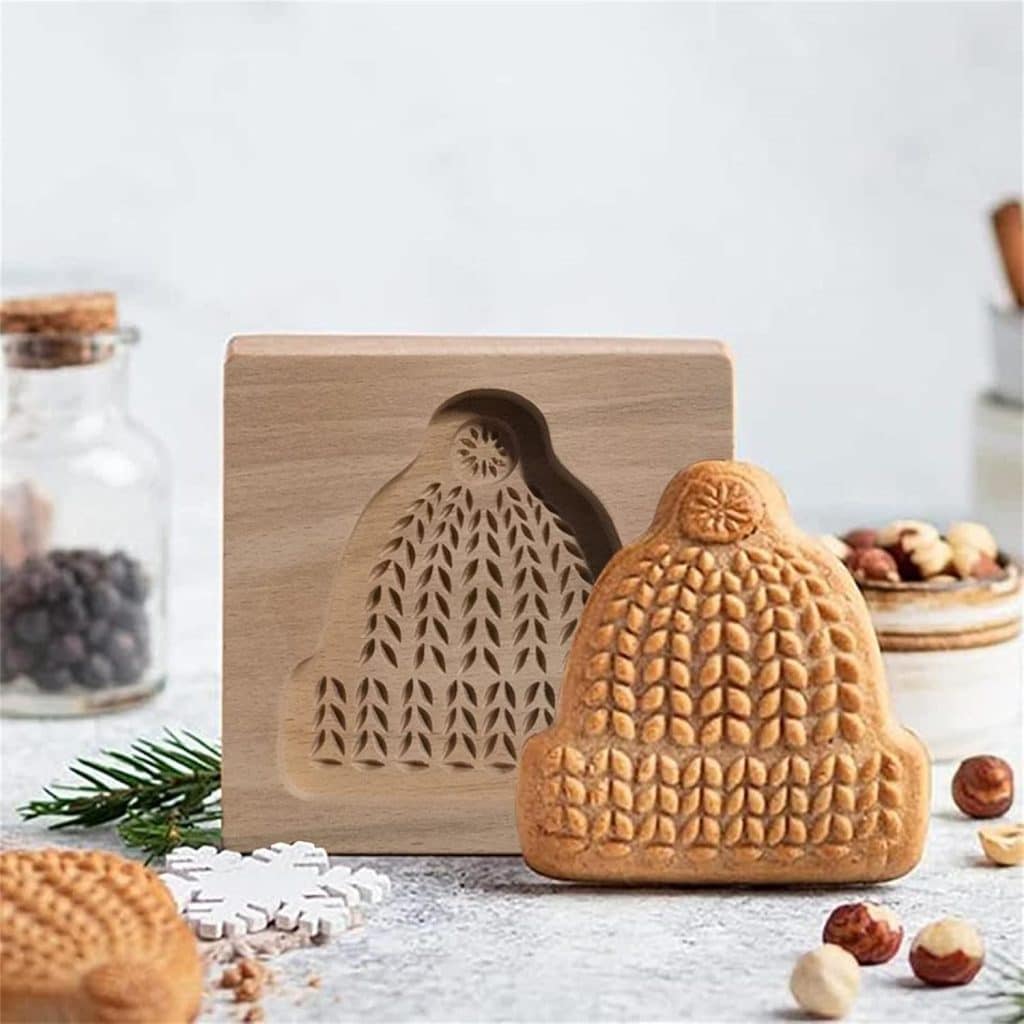
Wooden cookie molds create the prettiest designs, and this dough captures every tiny groove of the winter toque hat pattern. Once baked, the lines stay crisp and clear—no extra decorating needed!
The dough is easy to work with.
This recipe makes a firm but soft dough that presses beautifully into molds, releases cleanly, and bakes without spreading. It’s perfect for beginners and seasoned bakers.
Three festive dough colors make them irresistible.
I used plain dough for the hat and added strips of red or green dough for the furry brim. It’s such a fun way to add color without icing, and the contrast looks adorable once the cookies bake.
Perfect for holiday baking and gifting.
These molded cookies have that sweet, old-world charm that feels so cozy during the winter season. Package a few in a tin, tie on a cute ribbon, and you’ve got the loveliest homemade gift.
No fancy decorating needed.
Since the mold does all the work, these cookies look beautifully detailed right out of the oven. Just bake, cool, and enjoy—so simple!
Fun to make with kids or friends.
Pressing dough into molds feels like crafting, and choosing different dough colors makes the process even more creative. It’s an easy, cozy baking day project everyone will love.
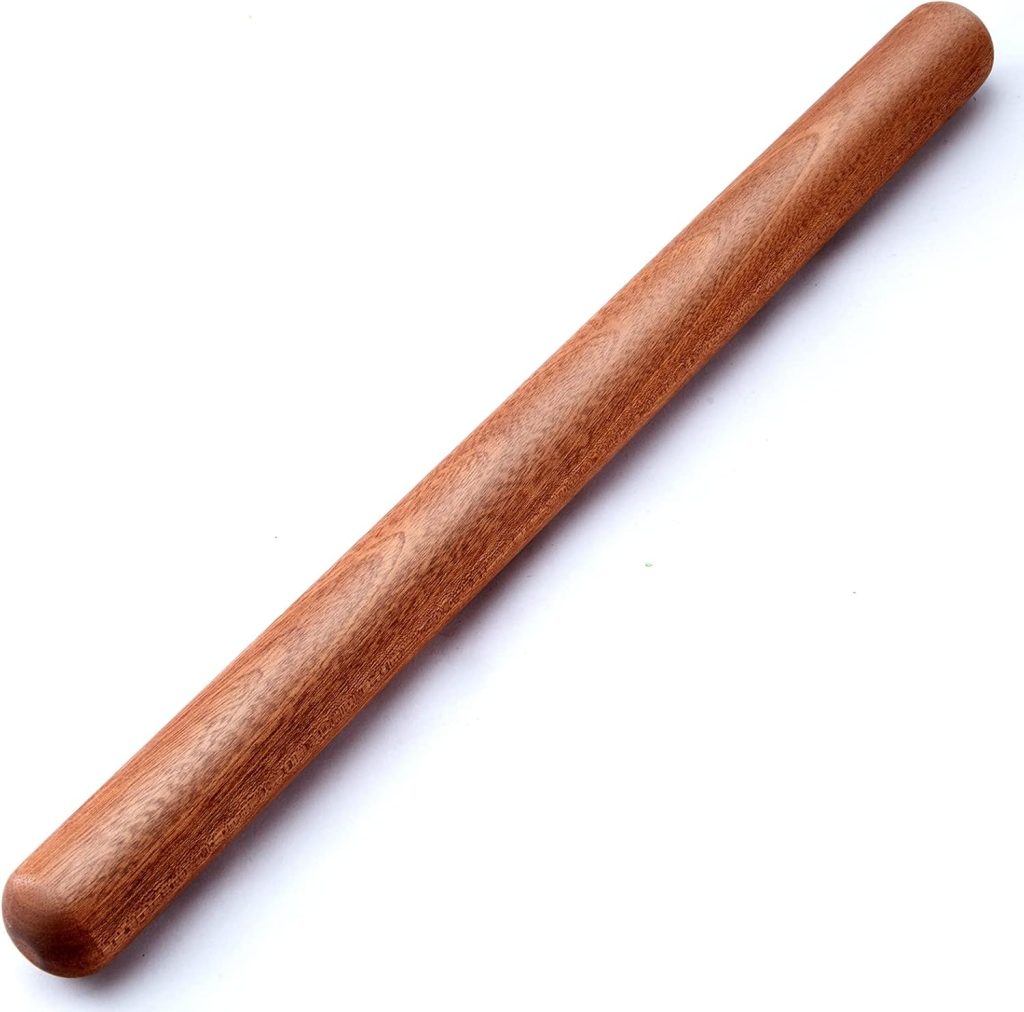
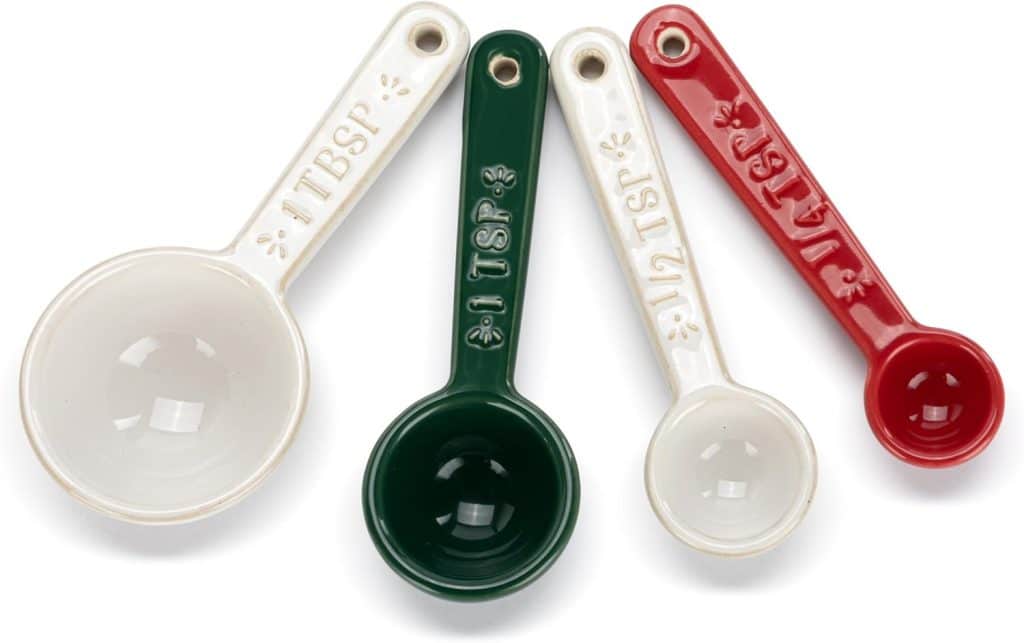
Tools You Need
- Wooden cookie mold (describe the winter toque hat mold)
- Mixing bowls, hand or stand mixer
- Gel food coloring (for red + green dough)
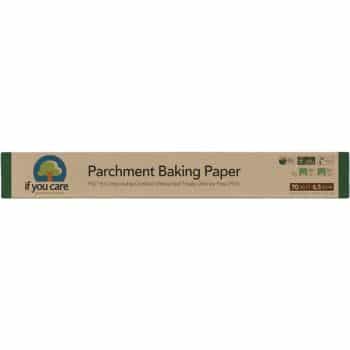
- Baking sheets + parchment
- Cornstartch for dusting mold
Mold-Friendly Sugar Cookie Recipe
(Perfect for wooden molds, carved molds, and presses)
Molded Cookie Dough Ingredients
- Unsalted Butter
Adds richness and helps the dough press smoothly into the mold without sticking. - Granulated Sugar
Sweetens the cookies while keeping the texture firm enough to hold the mold’s details. - Egg
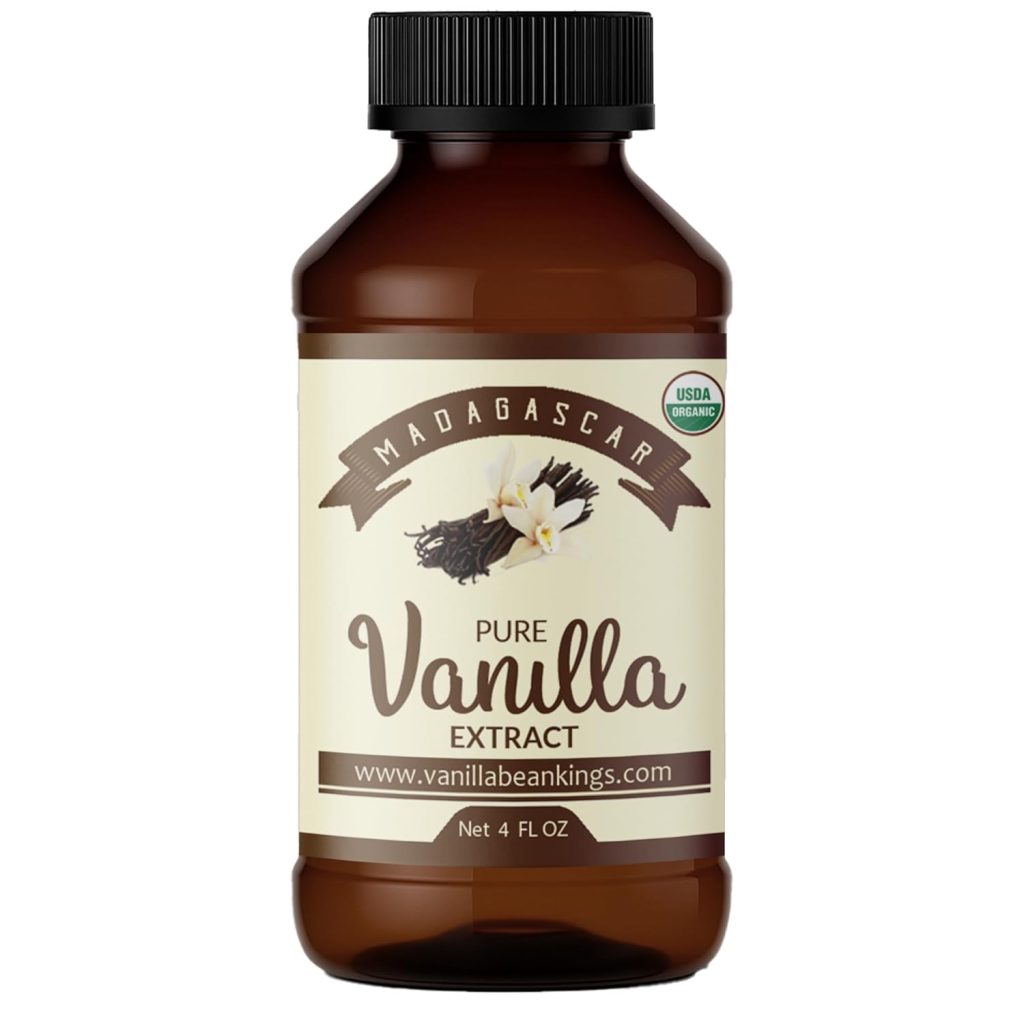
Binds the dough together and gives the finished cookie a tender but sturdy structure. - Vanilla Extract
Adds warm, classic flavor that complements the simple buttery dough. - All-Purpose Flour
Creates the main structure of the dough and prevents the cookies from spreading. - Cornstarch
Helps the dough stay firm, smooth, and clean-releasing so every molded detail stays crisp. - Salt
Balances the sweetness and enhances all the warm, buttery flavors.
Why this dough works
- Low moisture → prevents spreading
- Slightly chilled butter → helps hold the carved details
- A touch of cornstarch → gives a clean release from molds
- No baking powder → keeps the design crisp
Molded Cookies Recipe
Ingredients
- 1 cup unsalted butter slightly chilled
- ¾ cup granulated sugar
- 1 egg
- 1 tsp vanilla extract
- ¼ tsp almond extract optional
- 2¾ cups flour
- 1 tbsp cornstarch
- ¼ tsp salt
- red gel food coloring
- green gel food coloring
Instructions
Step 1 – Make the Dough
Cream the butter and sugar for about 1 minute, just until combined (don’t whip). Mix in the egg and vanilla (and almond extract if using).In a separate bowl, whisk together the flour, cornstarch, and salt. Add the dry ingredients to the butter mixture and mix until the dough comes together.Step 2 – Divide & Color the Dough
Divide the dough into two equal portions.Take one of those portions and divide it again into two equal smaller parts.Leave the larger original portion plain — this will be the neutral-colored hat base.Color one small portion red and the other green, kneading in gel food coloring until fully blended. To achieve the vibrant red and green cookie dough color, I add several drops of dye. Wrap each portion and chill for 20–30 minutes, until cool but still pliable.Step 3 – Prepare the Wooden Mold
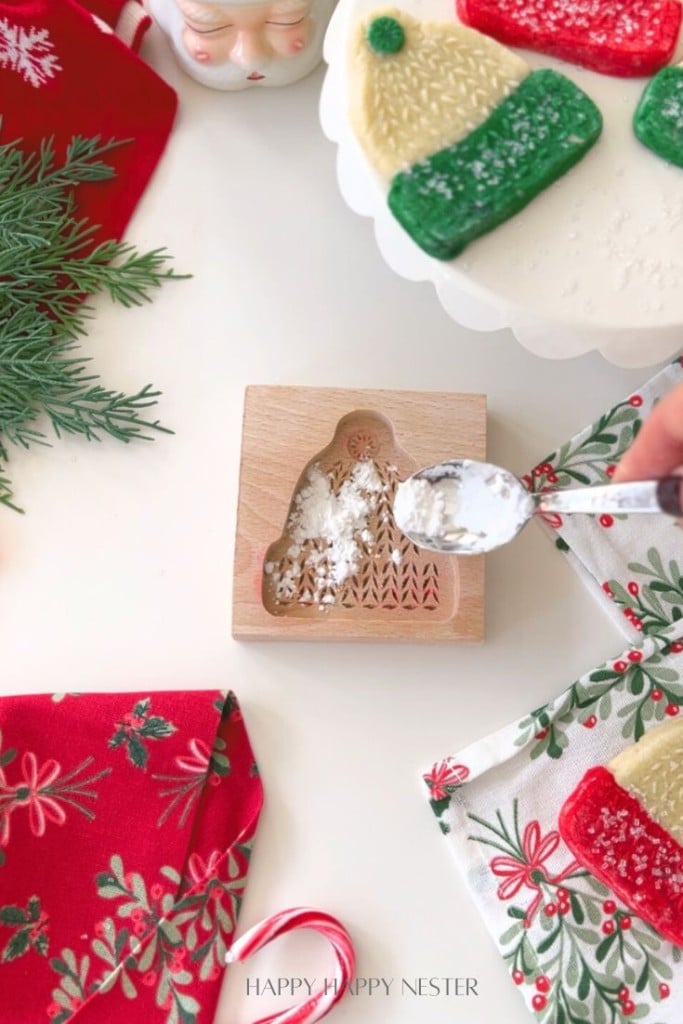
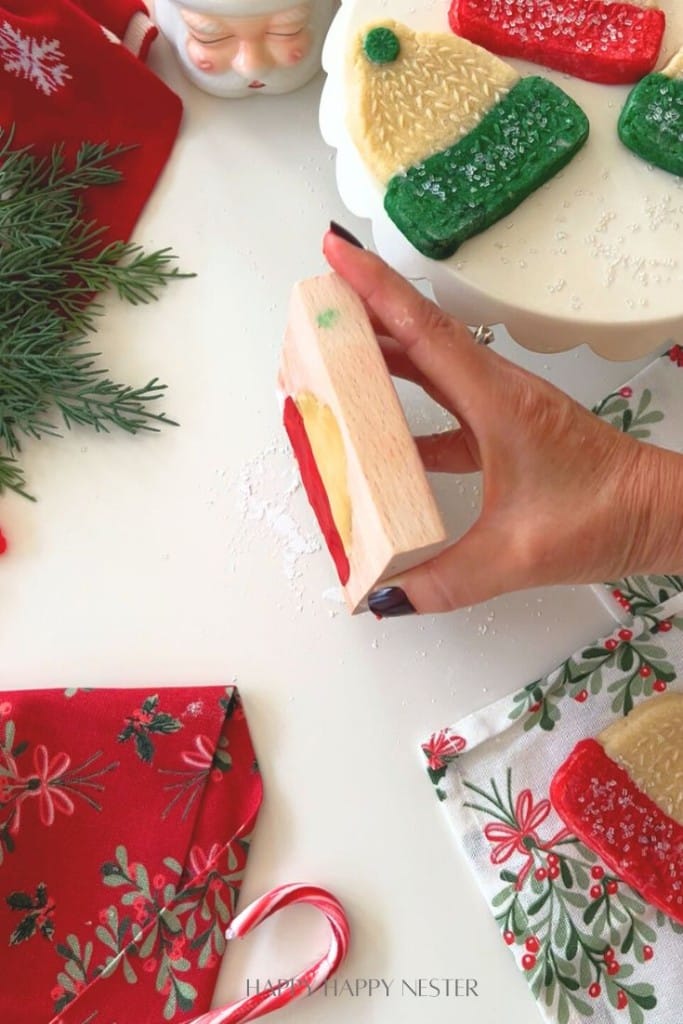
Lightly dust the mold with flour or cornstarch, tapping out all excess so the details remain crisp.Step 4 – Press Dough Into the Mold
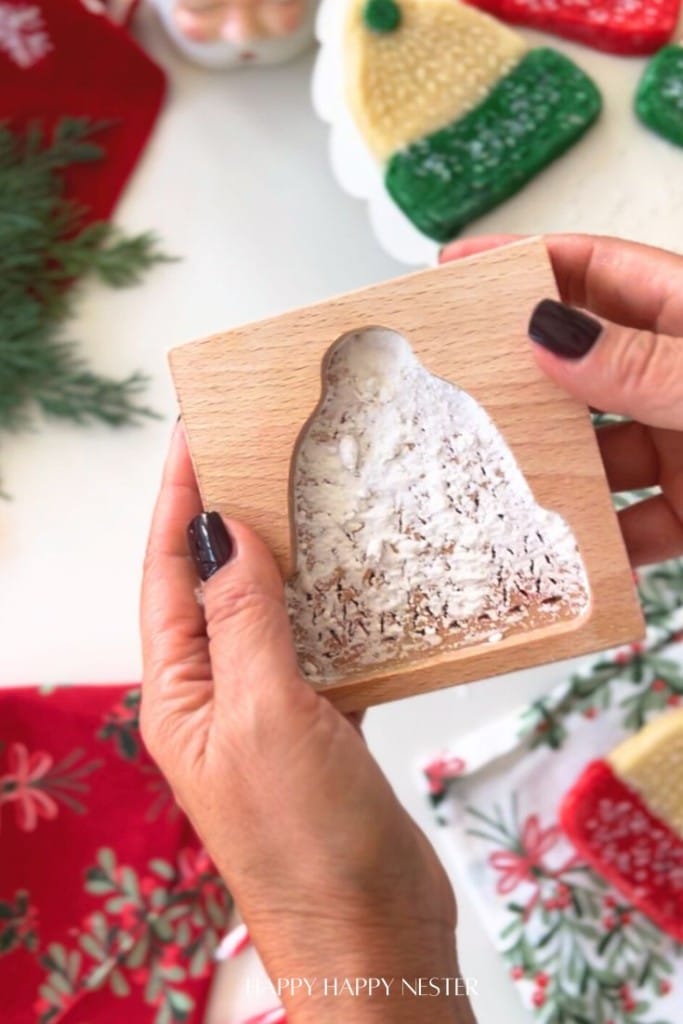
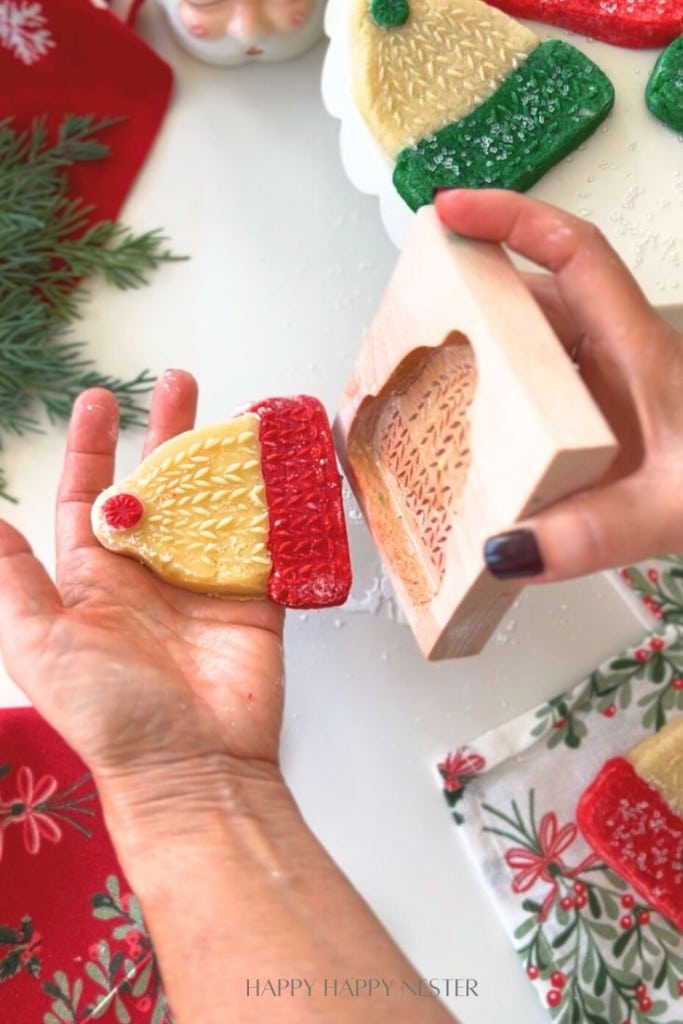
Use small pieces of dough so you can place the plain dough in the hat area and the red or green dough in the “furry” brim section. Press firmly into every crevice. Level the back with a knife or offset spatula.Step 5 – Release the Cookie
Turn the mold upside down so the cookie faces the counter and give it a tap. Then tilt the mold and use one edge to give a firmer tap on the counter—this usually pops the cookie right out. You may need to give it a couple of strong taps.Step 6 – Chill Again
Transfer molded cookies to a baking sheet and chill for 30 minutes to help retain the details.Step 7 – Bake
Bake at 350°F for 10–12 minutes, or until the edges are pale golden. Let the cookies cool completely on the baking sheet.
Nutrition
Molded Cookie Recipe Instruction
1. Cream the butter + sugar lightly
Beat together for about 1 minute — just until combined.
You don’t want a fluffy mixture (air = spreading).
2. Add egg + extracts
Mix until the egg is mostly incorporated but don’t over-beat.
3. Add dry ingredients
Whisk together flour, cornstarch, and salt.
Add to the butter mixture and mix until a soft but workable dough forms.
4. Chill briefly (optional but helps)
Wrap and chill for 20–30 minutes.
You want the dough cool, not hard.
How to Use the Dough in Wooden Cookie Molds
1. Prepare the mold
- Dust with cornstarch or flour, then tap out ALL excess.
2. Make the Dough
Cream the butter and sugar for about 1 minute, just until combined (don’t whip).
Mix in the egg and vanilla (and almond extract if using).
In a separate bowl, whisk together the flour, cornstarch, and salt.
Add the dry ingredients to the butter mixture and mix until the dough comes together.
3. Divide & Color the Dough
- Divide the dough into two equal portions.
- Take one of those portions and divide it again into two equal smaller parts.
- Leave the larger original portion plain — this will be the neutral-colored hat base.
- Color one small portion red and the other green, kneading in gel food coloring until fully blended. To achieve the vibrant red and green cookie dough color, I add several drops of dye.
- Wrap each portion and chill for 20–30 minutes, until cool but still pliable.
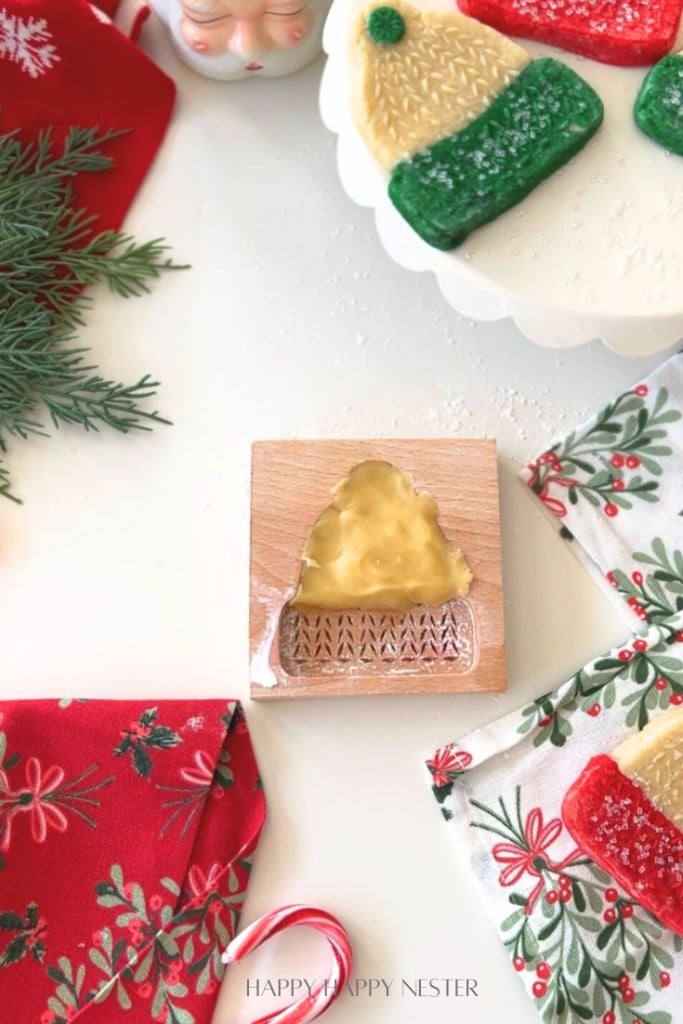

4. Press dough firmly into the mold
- Use a tiny ball of dough and press into the little pom pom section of the cookie mold.
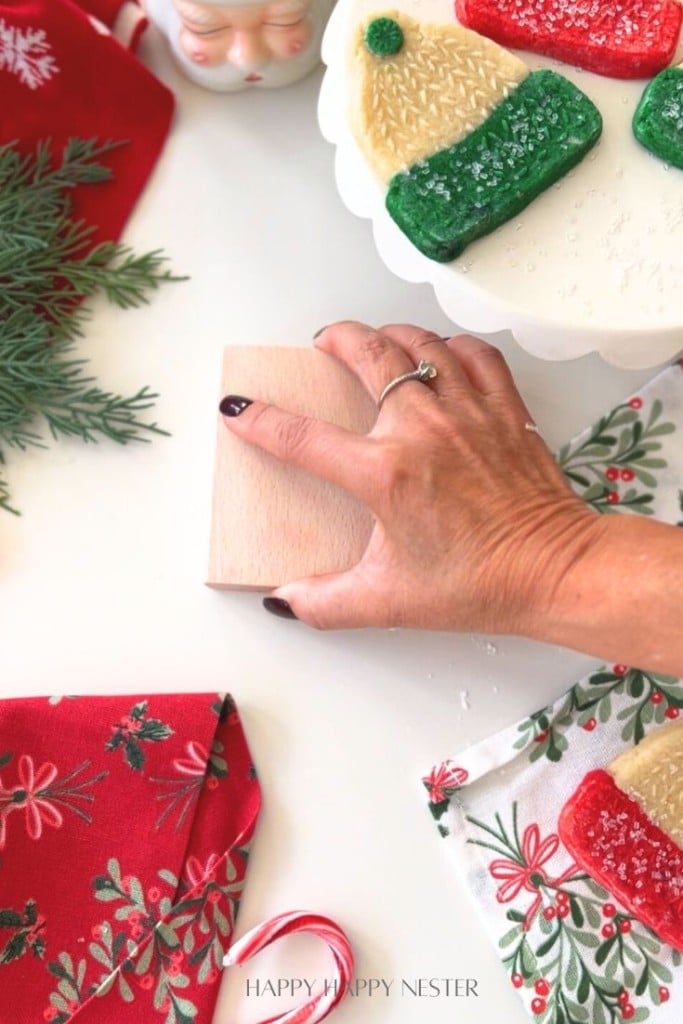
5. Release the cookie
- Turn the mold upside down so the cookie faces the counter and give it a tap. Then tilt the mold and use one edge to give a firmer tap on the counter—this usually pops the cookie right out. You may need to give it a couple of strong taps.
- The cookie should drop cleanly.
- If it sticks: dust the mold a bit more OR chill the dough slightly longer.
6. Chill molded cookies again
Place molded cookies on a parchment-lined baking sheet and chill 30 minutes before baking.
This sets the details beautifully.
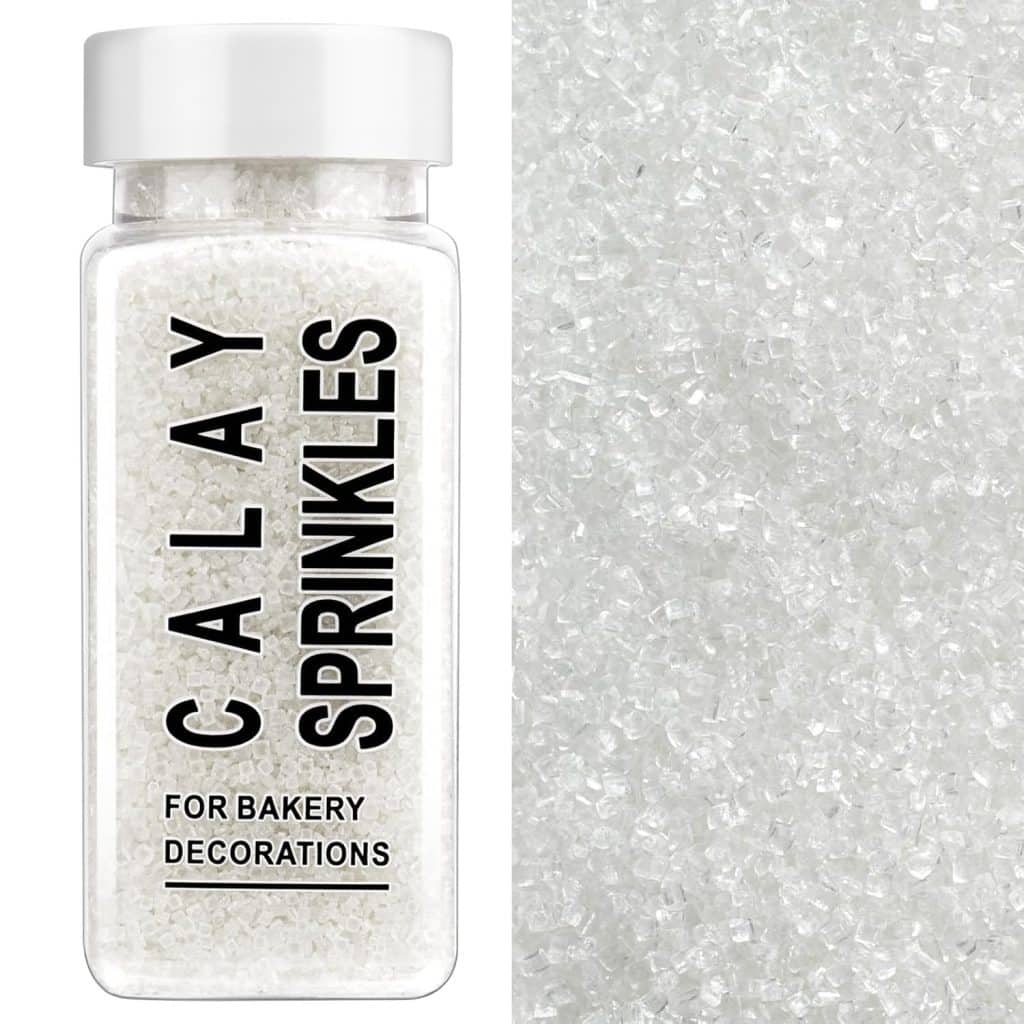
You can add a few sprinkles to your cookie at this point.
7. Bake
Bake at 350°F for 10–12 minutes, depending on thickness.
The edges should remain pale with just the faintest golden color.
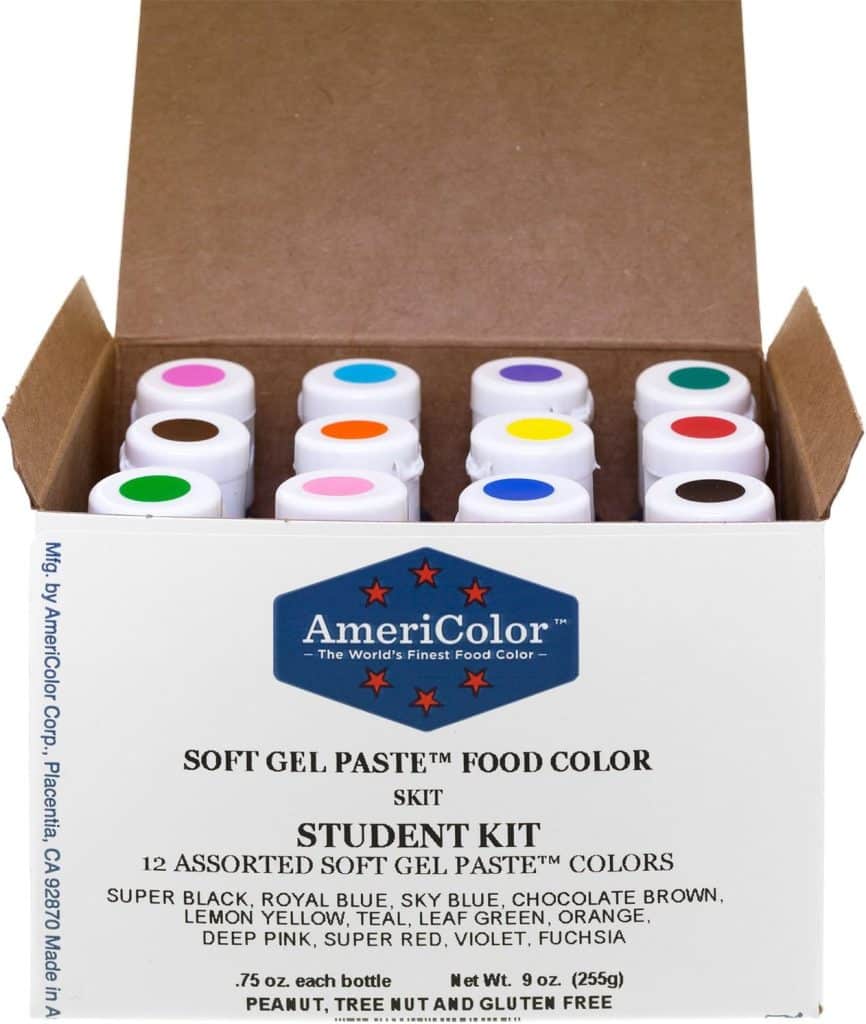
Why It’s Important to Use a Good Gel Food Dye (Like Americolor)
1. Gel dyes don’t change the dough texture
Liquid food coloring adds moisture, which can make molded cookie dough too soft, sticky, or difficult to release from the mold. Gel dyes keep the dough firm and workable.
2. You get bold color with just a tiny amount
Americolor gels are highly concentrated, so you only need a drop or two. This prevents overworking the dough and keeps the structure strong for detailed molds.
3. Colors stay vibrant after baking
Some dyes fade or brown in the oven, but professional-quality gels hold their shade beautifully, even at higher temperatures.
4. Gels blend smoothly without streaking
They incorporate into dough evenly, giving you clean, consistent red and green colors—especially helpful for your toque hat designs.
5. The dough stays stable in the mold
High-quality gel colors won’t soften the dough, so the fine details of your wooden mold stay crisp and sharp.
6. A little goes a long way
Since you use so little, the dough flavor stays perfect—no chemical taste that cheaper dyes sometimes add.
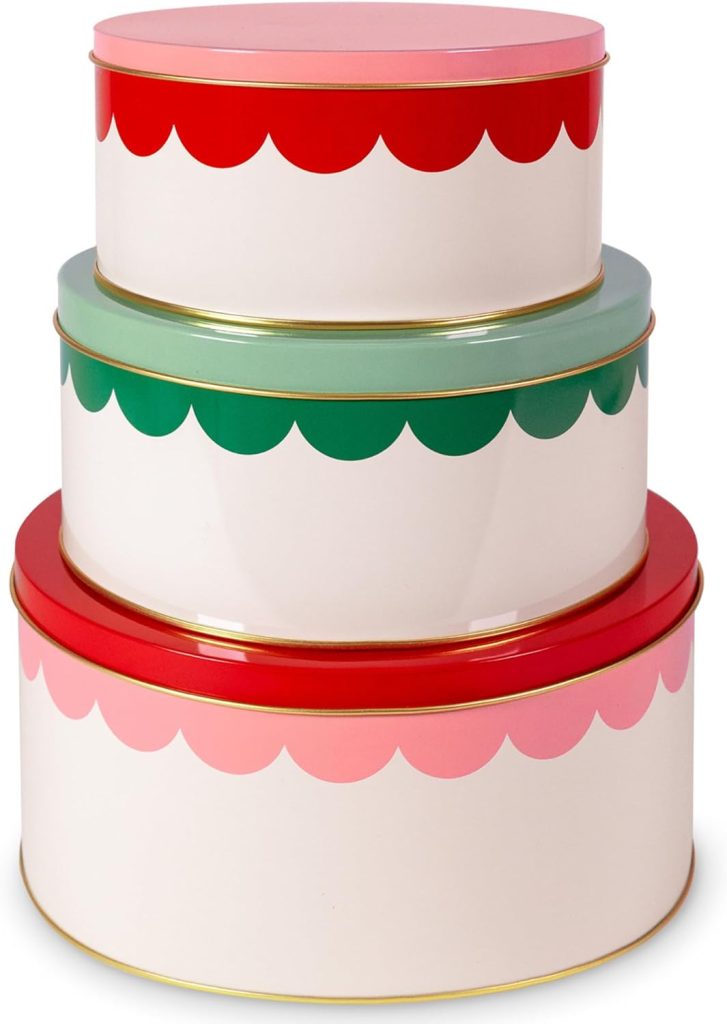
How to Store Molded Cookies
- Airtight container, room temp, up to a week.
- Freeze unbaked molded dough for later.
Frequently Asked Questions
Your dough may be too warm or soft—chill it for 10–15 minutes, lightly dust the mold with cornstarch or flour, and press the dough in firmly to help it release cleanly. Also, make sure to tap the side of the mold firmly against your counter.
Use a dough with cornstarch and chill it well before molding; this keeps the shape firm so every little detail of your wooden mold stays crisp while baking.
Yes, silicone works too, but wooden molds typically give the sharpest, most detailed impressions and are easier to tap for release.
Yes—slightly chilled dough presses more cleanly, releases better, and helps prevent spreading in the oven.
This usually means the dough was too warm; chill the shaped cookies for 10–20 minutes before baking to help them keep their mold definition.
Yes! Almond extract, orange zest, or vanilla bean paste can be added without affecting how well the dough holds detail.
Keep them in an airtight container at room temperature for up to a week, or freeze the unbaked molded dough for easy holiday baking later.
Definitely—this dough works beautifully with wooden, ceramic, and silicone molds for any season or design.
Tips & Troubleshooting for the Best Molded Cookies
Chill your dough just enough.
You want the dough cool and firm, not rock-hard — this helps it press cleanly into your wooden mold and release with crisp detail.
Dust the mold lightly—don’t overdo it.
A thin coating of cornstarch or flour keeps the dough from sticking, but too much will blur the details of your design.
Press the dough firmly and evenly.
This ensures the pattern transfers beautifully and that the red or green brim blends seamlessly with the plain dough in your winter hat design.
If the dough sticks, freeze it for a few minutes.
Just 3–5 minutes in the freezer helps the dough pull away from the mold easily without damaging the design.
Chill the shaped cookies before baking.
A quick chill (10–20 minutes) keeps the cookies from spreading and helps the molded details stay sharp in the oven.
Use gel food coloring for the best colors.
Gel colors won’t water down the dough, which means your red and green brims stay vibrant and the dough’s texture stays perfect for molding.
Bake on parchment for the cleanest edges.
Parchment prevents the cookies from browning too much on the bottom and keeps the shape nice and tidy.
Let cookies cool completely before moving them.
Molded cookies are a bit delicate when warm, and the details become more pronounced as they cool.
If cracks appear, the dough may be too cold.
Let it warm up for just a minute, then press it again — a slightly softened dough fills every part of the mold.

Tap images to shop!


I hope you have so much fun making these adorable molded cookies! For the longest time, I’ll admit I was a little intimidated by wooden cookie molds because I worried the dough would never release. But once I learned to give the mold a light dusting of cornstarch and to firmly tap it on the countertop, everything changed — that’s truly the secret to popping the cookie out perfectly every single time. Now I use my molds with confidence, and I hope this recipe inspires you to try them too. Happy baking, and enjoy your sweet little winter toque hats!
Blogger’s Best Christmas Cookie Recipes
To Die For Christmas Cookie Recipes | My 100 Year Old Home
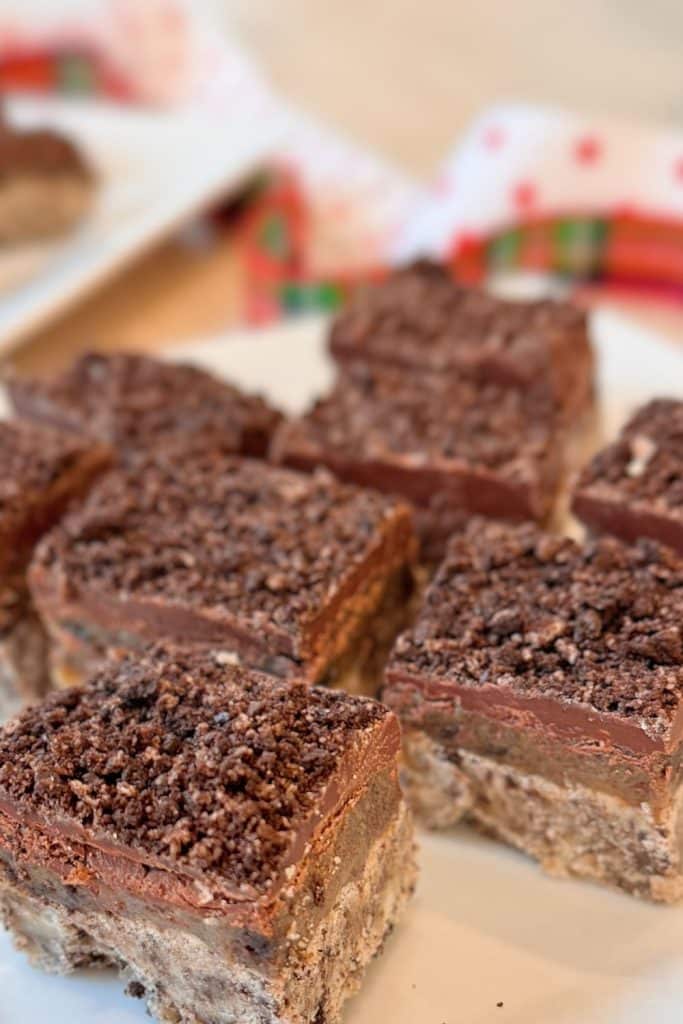
There’s nothing quite like baking Christmas cookie recipes that fill your home with the smell of butter, sugar, and pure holiday joy. I’ve created two that might top them all: my Cookies ’N’ Cream Millionaire Shortbread and Peanut Butter–Stuffed Cookies.

Christmas Red Velvet Crinkle Cookies | My Sweet Savannah
These Christmas Red Velvet Crinkle Cookies are soft, fudgy, and dusted in powdered sugar like fresh snow. Made with a simple cake mix hack, they come together fast but look completely bakery-style — the perfect easy holiday treat.
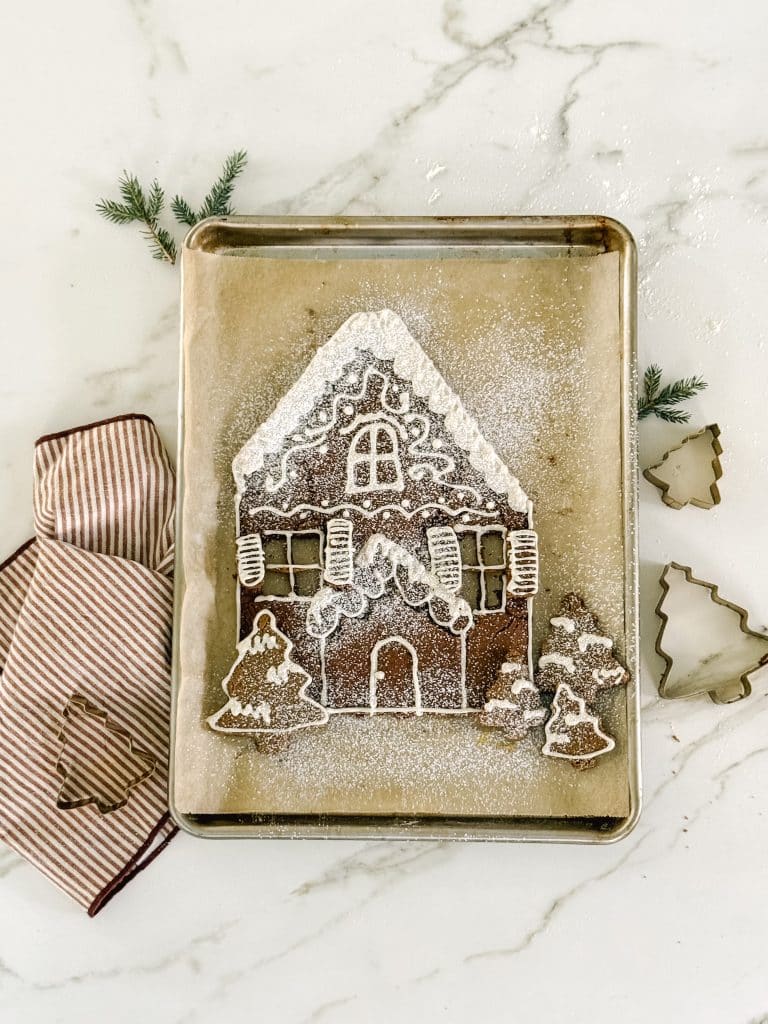
Sheet Pan Gingerbread House Cookie | Finding Lovely
An easy way to bring a festive gingerbread house to your home without the traditional work of bringing one to life. Bake it, decorate it, eat it! An easy and lovely holiday treat.


- Springtime Throw Pillows - April 8, 2026
- Cherry Blossom Cookie Recipe - April 3, 2026
- Amazon Simple Porch Decor - April 1, 2026


Leave a Reply