• Skip to main content
  • Skip to header right navigation
  • Skip to site footer
  • About
  • Contact
  • Boutique of the Week
    • Facebook
    • Instagram
    • Pinterest
    • Twitter

Happy Happy Nester

Weekly Inspiration for Your Nest

  • Recipes
    • Appetizers
    • Breakfast/Brunch
    • Desserts
    • Dinners
    • Drinks
  • Crafts
  • Decor
  • Shop
    • Fall Decor
    • Kitchen
    • Pillows
    • Holiday Decor
  • Amazon Store
  • Recipes
    • Appetizers
    • Breakfast/Brunch
    • Desserts
    • Dinners
    • Drinks
    • Snacks
  • Crafts
  • Decor
  • Shop
    • Fall Decor
    • Kitchen Favorites
    • Pillows
    • Holiday Decor
  • Saturday Chitchat
  • Boutique of the Week
  • About
  • Contact
  • Facebook
  • Instagram
  • Pinterest
  • Twitter

See What’s Trending…

Cakes

Cookies

Dinners

Wreaths

Drinks

Home › Uncategorized › Make Your Own Dry Erase Board

Make Your Own Dry Erase Board

Uncategorized
By Janine Waite · Published on Jun 16, 2014
Affiliate Disclosure: This Post May Contain Affiliate Links.
we all are acquainted with these generic dry erase boards. they are pretty straight forward and quite boring. well, i wanted something different for our family room.  i was researching all the different types of solutions and even came across a type of dry erase paint.  well, my family helped me in this department since they were all writing on my glass tabletop!  so, when i saw the better homes and garden project of making a dry erase board with glass, i totally felt stupid not figuring this out on my own.  this design is so incredibly cool since you can pick out your own personal color.  well, actually that also makes the project a little difficult since there are so many paint colors to choose from!  once you pick out your color, choose out a frame that you want for the board.  i happened to have an aaron brothers frame that i bought with their great sale of buy one frame and get the second one for a penny.  next, you’ll have to clean off the glass with windex.

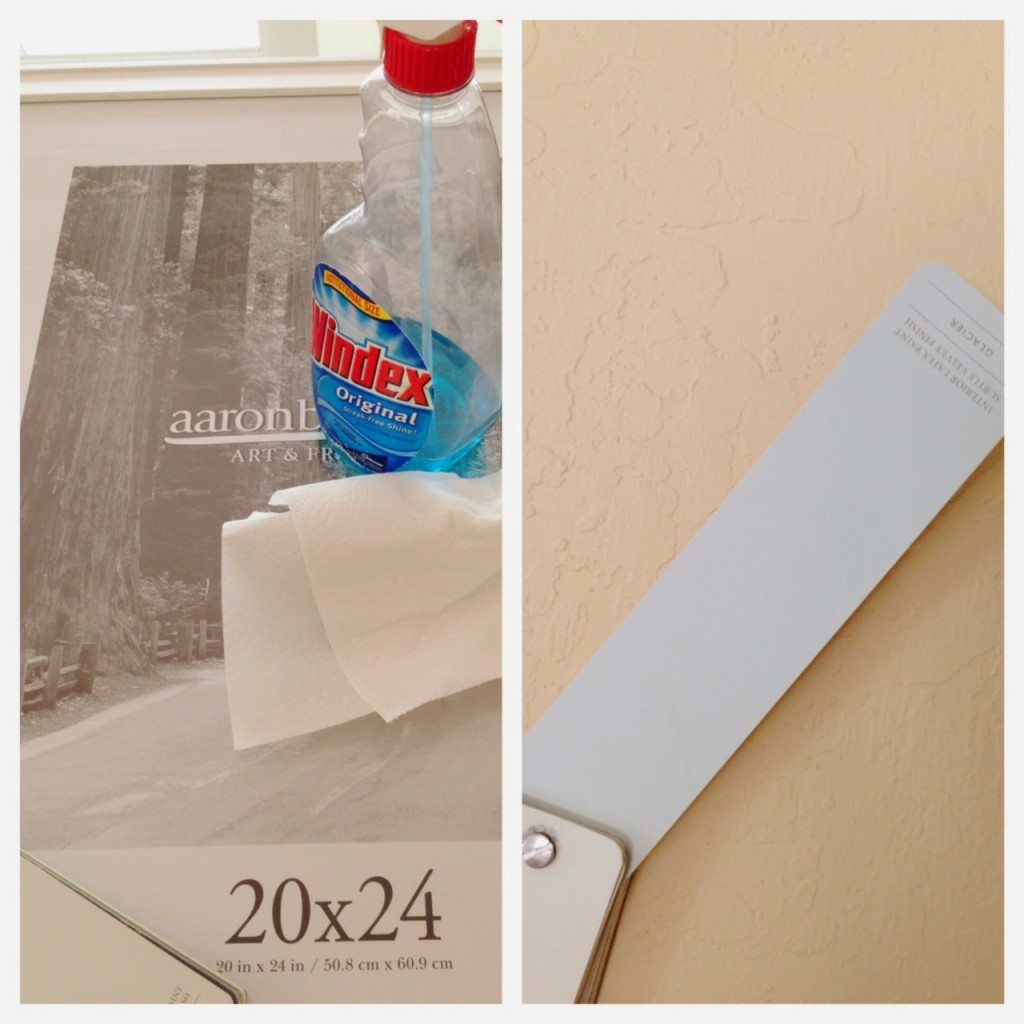
this is the paint that i used first. it is glacier from restoration hardware.

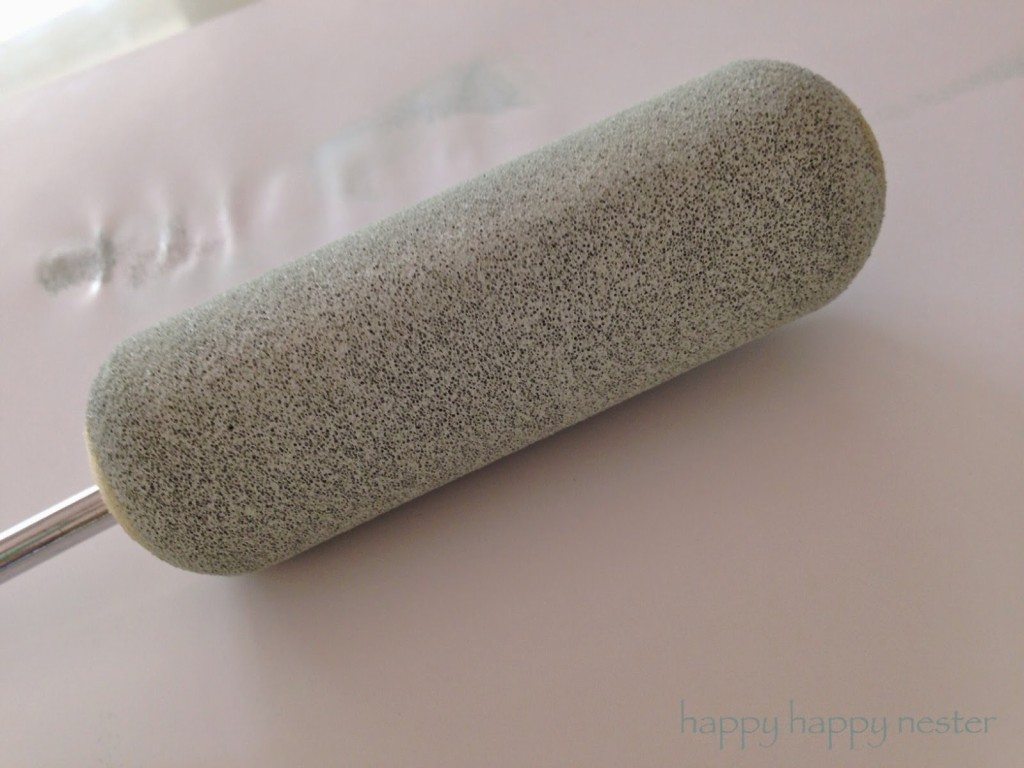
i used a roller since i wanted the surface to be smooth. and you’ll paint only one side of the glass. i ended up putting 2 layers of paint on the glass so that it was opaque and no streaks were visible.  let the paint dry (according to the instructions) before painting the second layer. 
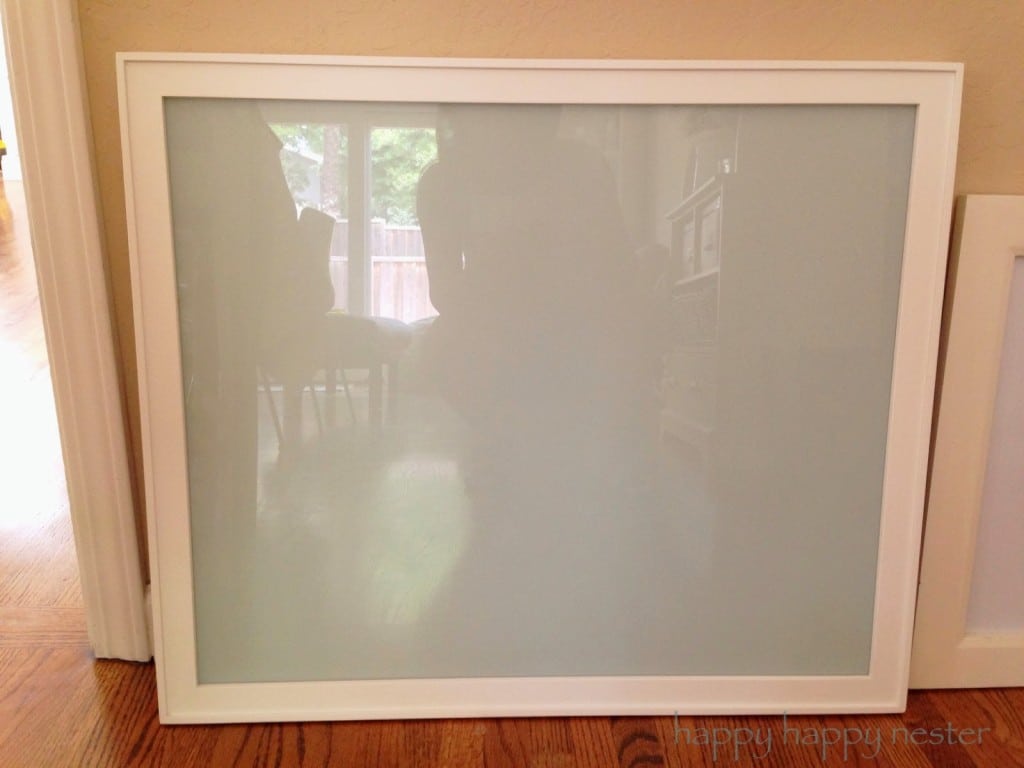
then, just place the glass back in the frame with the non painted side facing out. here is how my board came out with a darker blue, the glacier blue was way too light and just looked like the hue of the glass. this color just kind of sat on top of our tan wall color and really didn’t add anything to the room.  i wanted a little bit more of a pop!  

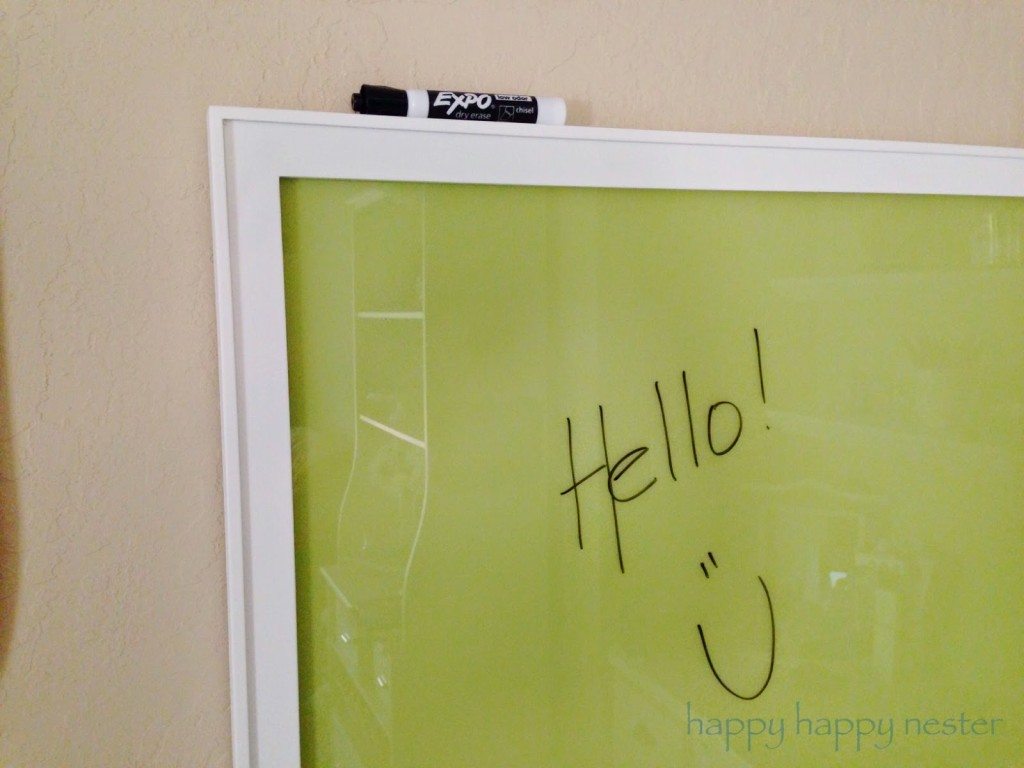
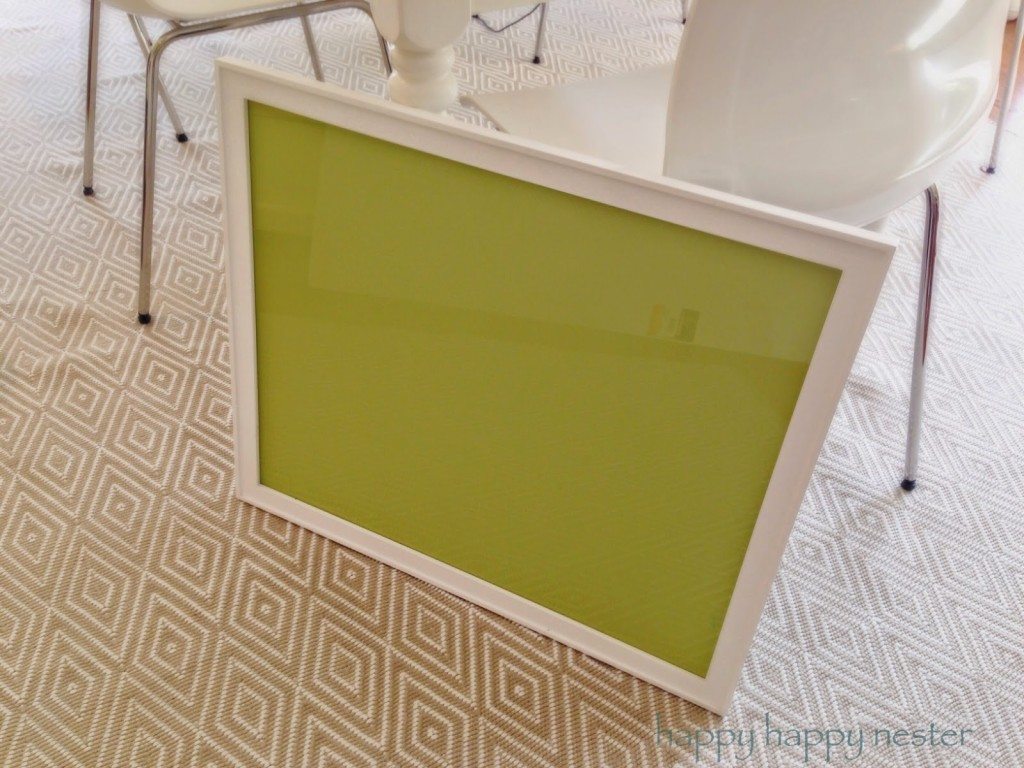
well, hello green!  this color is from benjamin moore and it is called, dill pickle green. it is just the color i was looking for.  i have quite a bit of this accent color in the room.

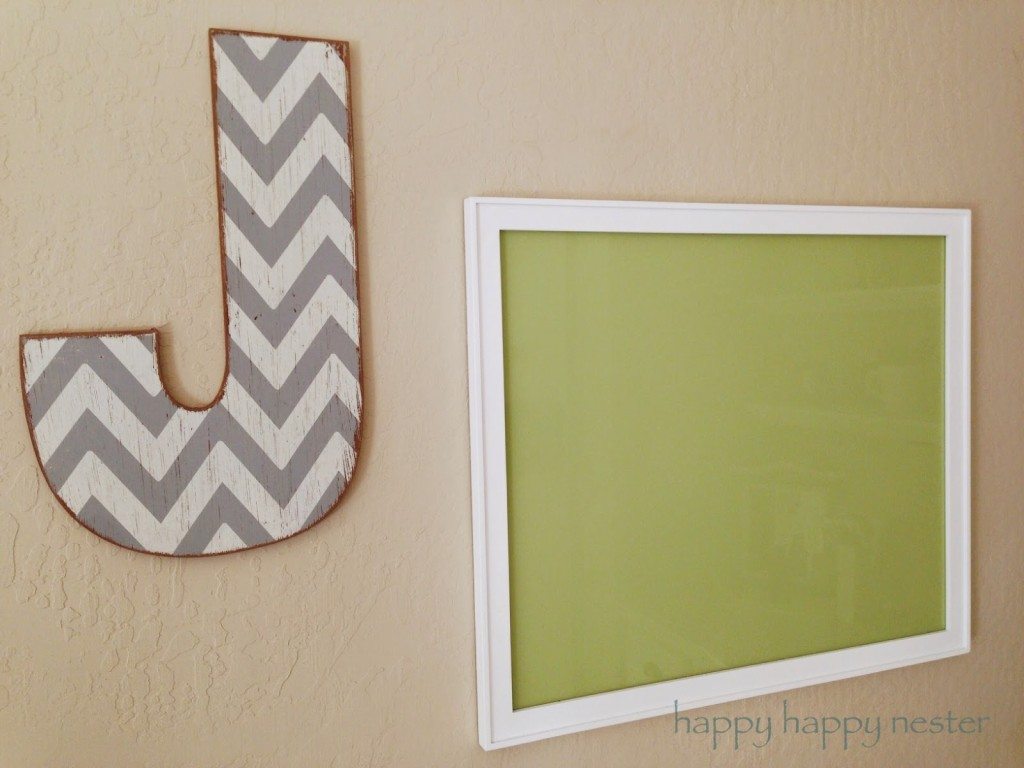
it is also adds a nice contrast to the tan walls and plays nicely with the grey chevron print on the my letter j.

my daughter had fun drawing this colorful picture of summer!  we use the standard dry erase markers. my son wants me to make him one that is black and then he will use fluorescent marker, which should be fun.  i hope i have inspired you to make your own fun dry erase board. if you wish to receive my latest projects please sign up for my blog. thanks for stopping by!

  • Author
  • Recent Posts
Janine Waite
Follow me
Janine Waite
I named my blog Happy Happy Nester because I love everything related to the home. I’ve always enjoyed decorating my surroundings. Get cozy and stay for a bit, thanks for visiting!
Janine Waite
Follow me
Latest posts by Janine Waite (see all)
  • Outdoor Oval Rugs and More - May 21, 2025
  • My Favorite Chocolate Recipes - May 17, 2025
  • Flower Cookies Recipe - May 16, 2025

You May Also Like

  • fall chalkboard art diy
    How to Create Easy Chalkboard Art
  • gourmet appetizer
    Trader Joe's Charcuterie Board
  • halloween charcuterie board
    Halloween Charcuterie Board
  • how to make felt hydrangea flowers
    DIY Felt Hydrangea Flower Tutorial

Sharing This!

  • Facebook
  • Twitter
  • Email

Reader Interactions

Leave a Reply Cancel reply

Your email address will not be published. Required fields are marked *

Recipe Rating


Sidebar

Janine the Nester

Hello from the Nester

We love everything related to home, so get cozy and stay for a bit. Thanks for visiting our blog. Learn More...

Reader Favorites

The Best Crunchy Crispy Chocolate Chip Cookie

This Italian Cream Cake has a pumpkin cream cheese frosting that makes this a winning combination. This dessert is perfect for the holidays.

Italian Cream Cake with a Twist of Pumpkin

French Apple Custard Tart with Puff Pastry

DIY Paper Flowers Tutorial (Tissue Paper)

Upcycling Tin Cans with Scrapbooking Paper

How to Make a Paper Flower Wreath DIY

Popular Categories

  • Cakes
  • Cookies
  • Dinners
  • Wreaths
  • Organizing

Join Our Newsletter

Join our mailing list to receive the latest news and updates from our team.

You have Successfully Subscribed!

AFFILIATE DISCLOSURE:
I am grateful to be of service and bring you content free of charge. In order to do this, please note that when you click links and purchase items, in most (not all) cases, I will receive a referral commission. Your support in purchasing through these links enables me to keep my design and customization prices ridiculously low and empower more people worldwide to blog with less worry and less hassle.
Happy Happy Nester is a participant in the Amazon Services LLC Associates Program, an affiliate advertising program designed to provide a means for sites to earn advertising fees by advertising and linking to amazon.com.
Thank you! :)
-Happy Happy Nester

Our Guide

Join Our Newsletter

Join our mailing list to receive the latest news and updates from our team.

You have Successfully Subscribed!

  • Facebook
  • Instagram
  • Pinterest
  • Twitter

Recipes

Appetizers
Breakfast/Brunch
Desserts
Dinners
Drinks

Crafts & Decor

DIY
Gardening
Holiday
Wreaths

About

About The Nester
Contact
Privacy Policy

Copyright © 2025 · Happy Happy Nester by Janine Waite · Privacy Policy

↑ BACK TO TOP