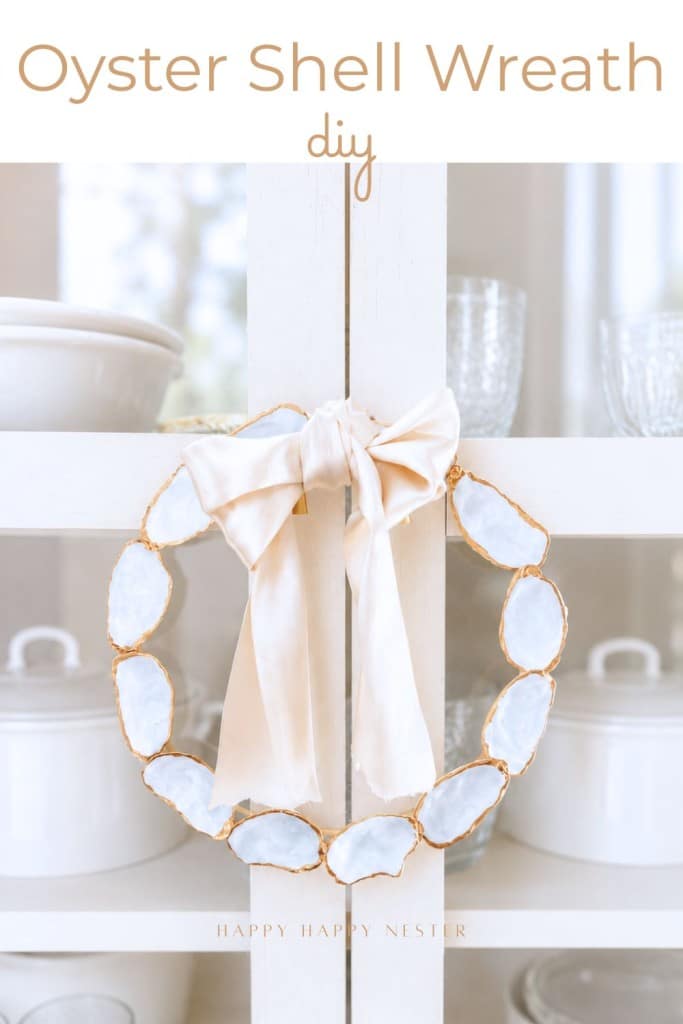
Oyster Shell Wreath DIY is a beautiful way to add coastal charm to your home with a relaxed, beachy feel. Perfect for summer decor, coastal farmhouse style, or a front door wreath, this easy seashell craft uses natural oyster shells and a simple wreath base to create an organic, textured look. It’s a fun and creative DIY that brings those breezy seaside vibes right into your space.
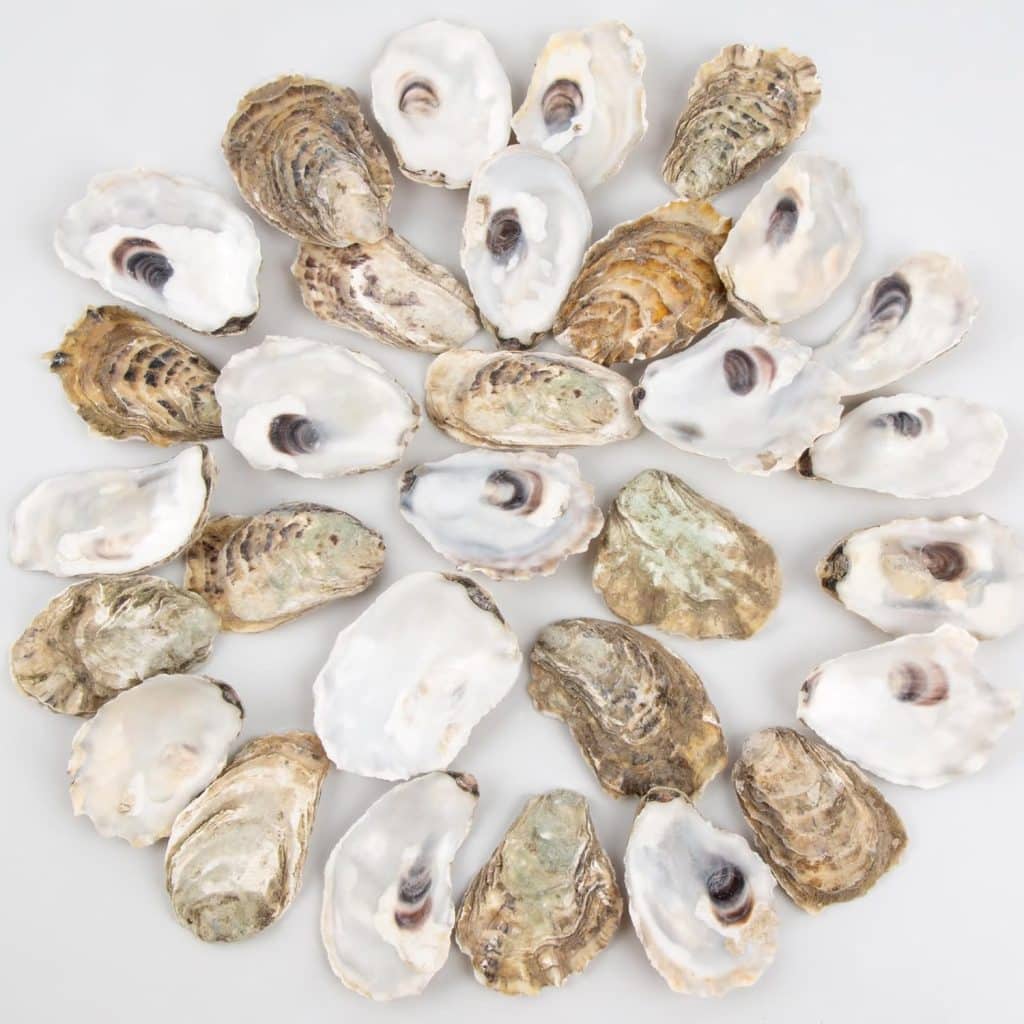
I’ve always loved decorating with oyster shells—they have such a naturally beautiful, coastal feel. Whether you leave them in their organic state or paint them a soft pale blue like I did here, they bring a light and airy look to any space. For this project, I gathered some smaller, flatter shells (I’ve linked the ones I used), but if you have your own collection from the beach, that makes it even more special. This wreath came together with a breezy, summery vibe, and it’s such a fun way to add a touch of coastal charm to your home. Let’s get started on this easy and beachy wreath project!
Why You’ll Love This Coastal Oyster Shell Wreath
This coastal oyster shell wreath is one of those projects that looks high-end but is surprisingly simple to make. With just a few materials and a little creativity, you can create a wreath that feels both elegant and beachy.
- Budget-friendly decor – You can use collected or inexpensive oyster shells
- Customizable colors – Adjust the paint to match your home’s coastal palette
- Perfect for any season – Works beautifully year-round, especially for summer decor
- Handmade charm – Each shell is unique, giving your wreath a one-of-a-kind look
Supplies You’ll Need for This Oyster Shell Wreath
Before you get started on this oyster shell wreath project, gather these simple materials:
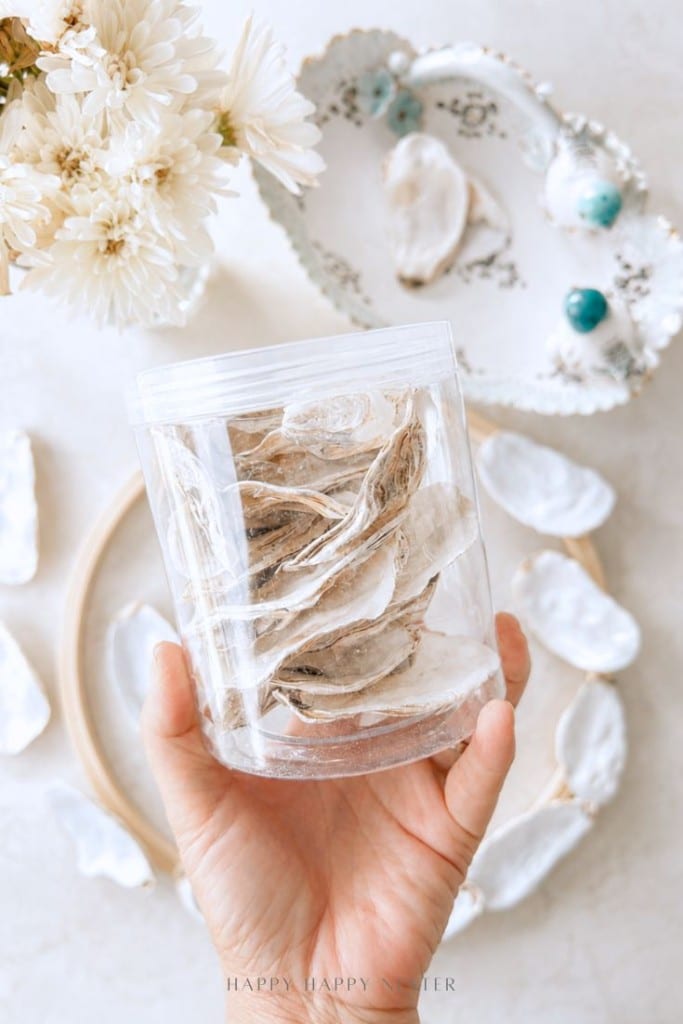
- Oyster shells – Cleaned and dried
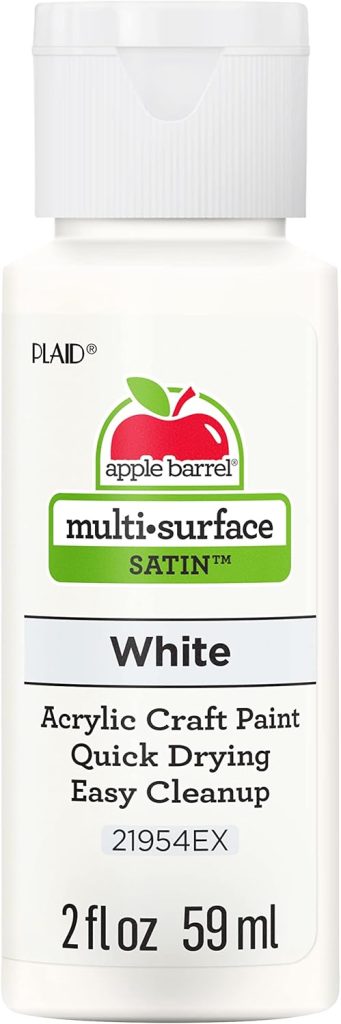
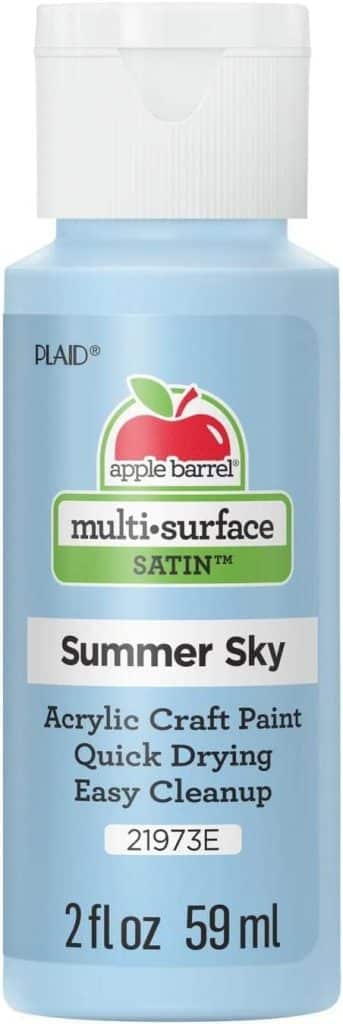
- Acrylic paint – White with a touch of light blue for a soft coastal tone
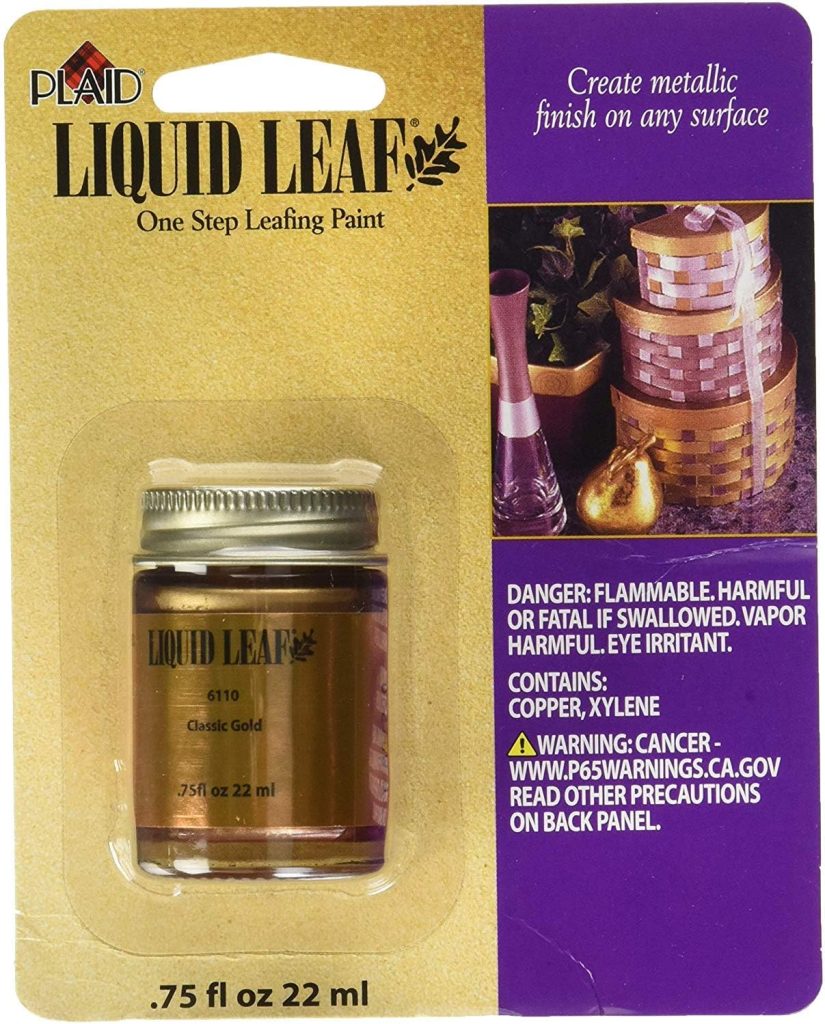
- Gold paint – For edging the shells
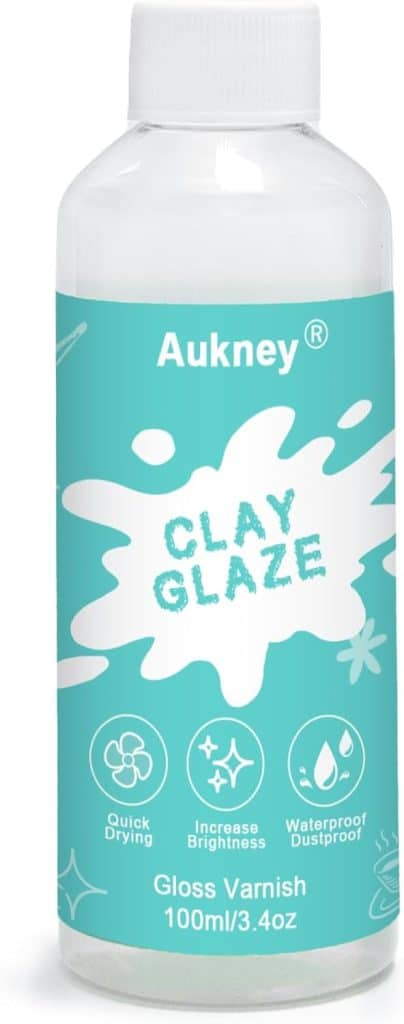
- Glaze – Adds a glossy, polished finish
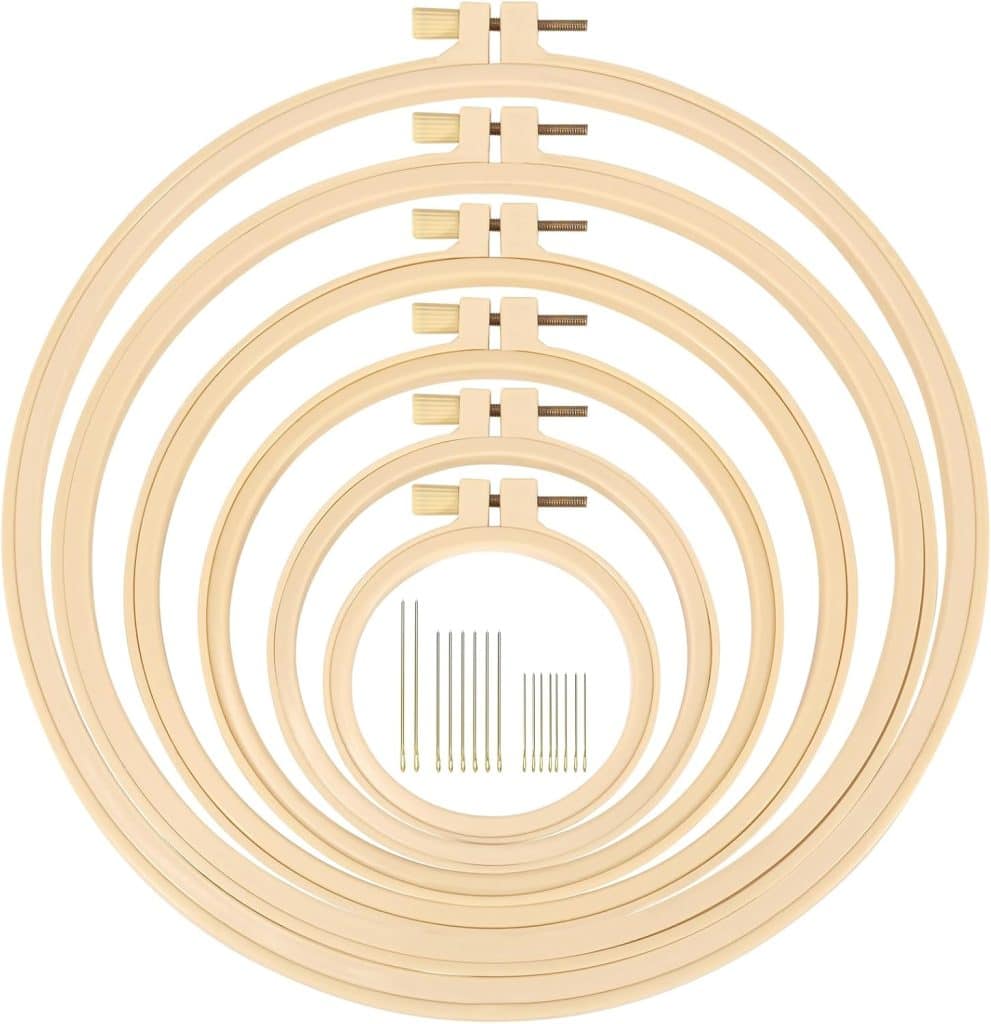
- Embroidery hoop – Serves as the wreath base. I used a 10-inch size hoop for my wreath.
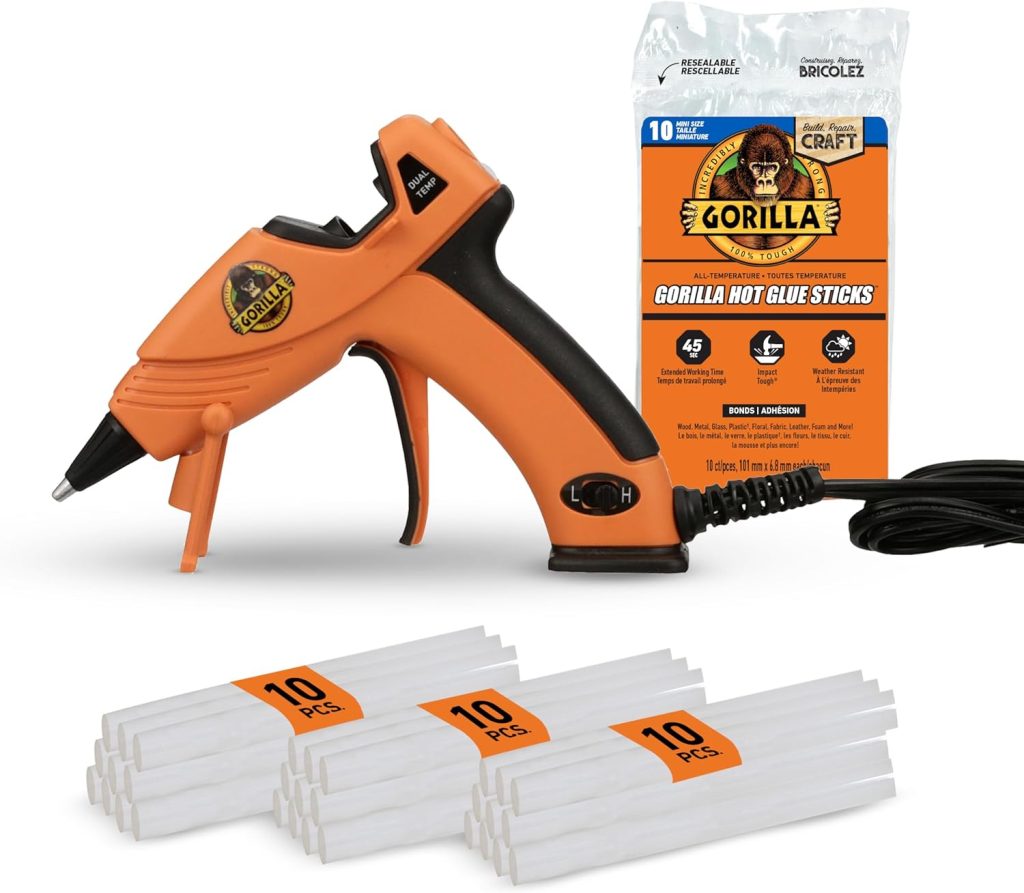
- Hot glue gun and glue sticks – To secure the shells
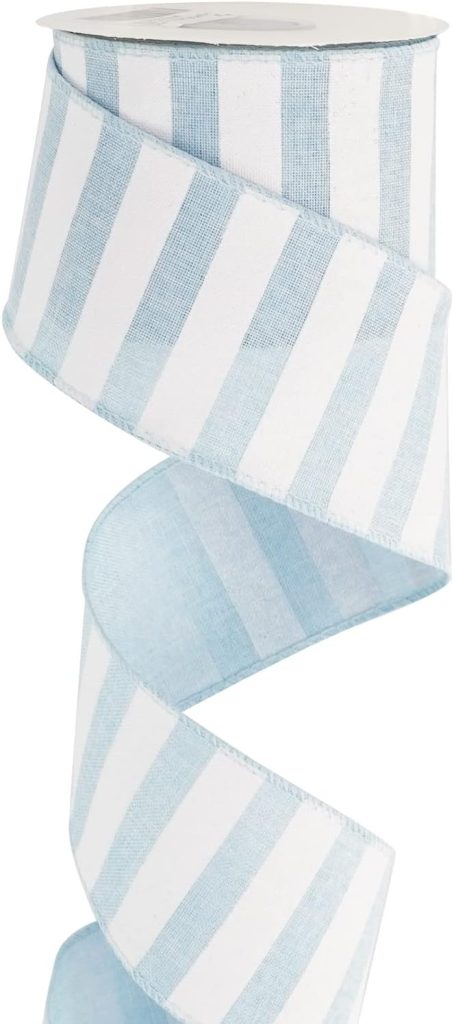
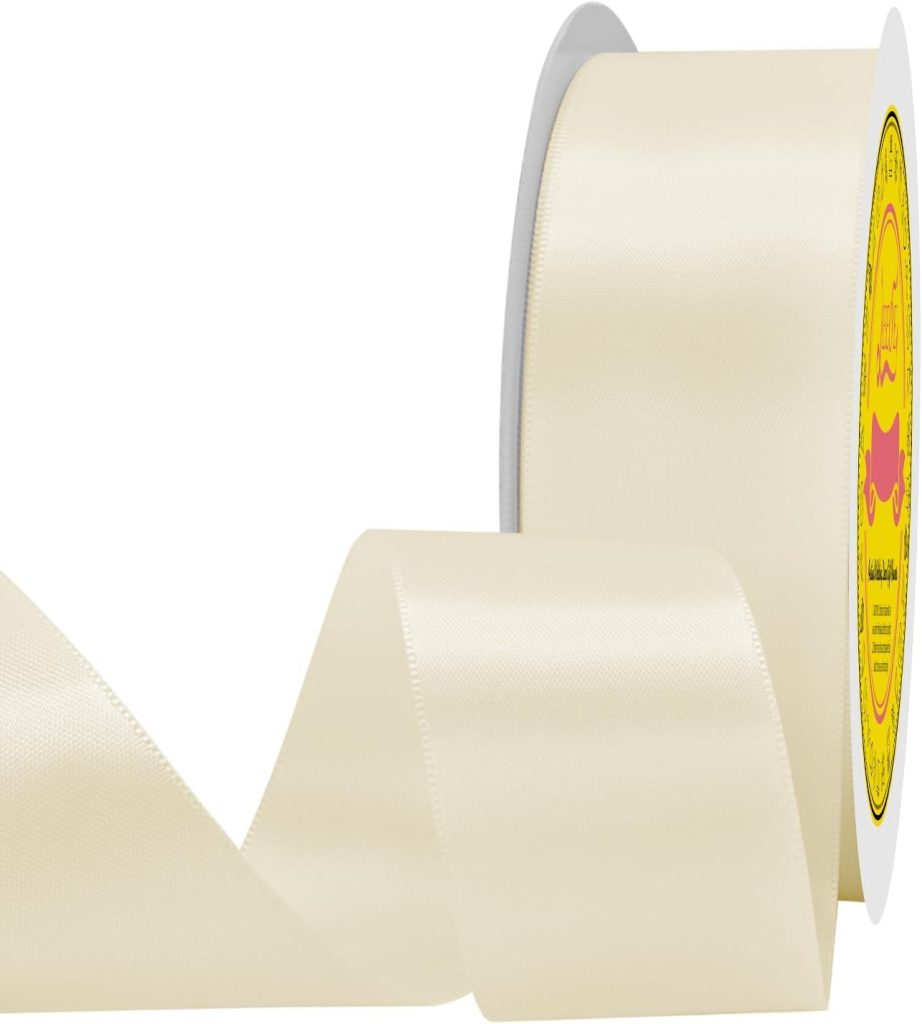
- Satin ribbon – For the finishing bow

Tap on image to shop this post!
How to Make a Coastal Wreath
This Oyster Shell Wreath DIY is such a fun and creative project, and the finished wreath has a beautiful coastal feel with a soft shimmer. Here’s exactly how I made mine:
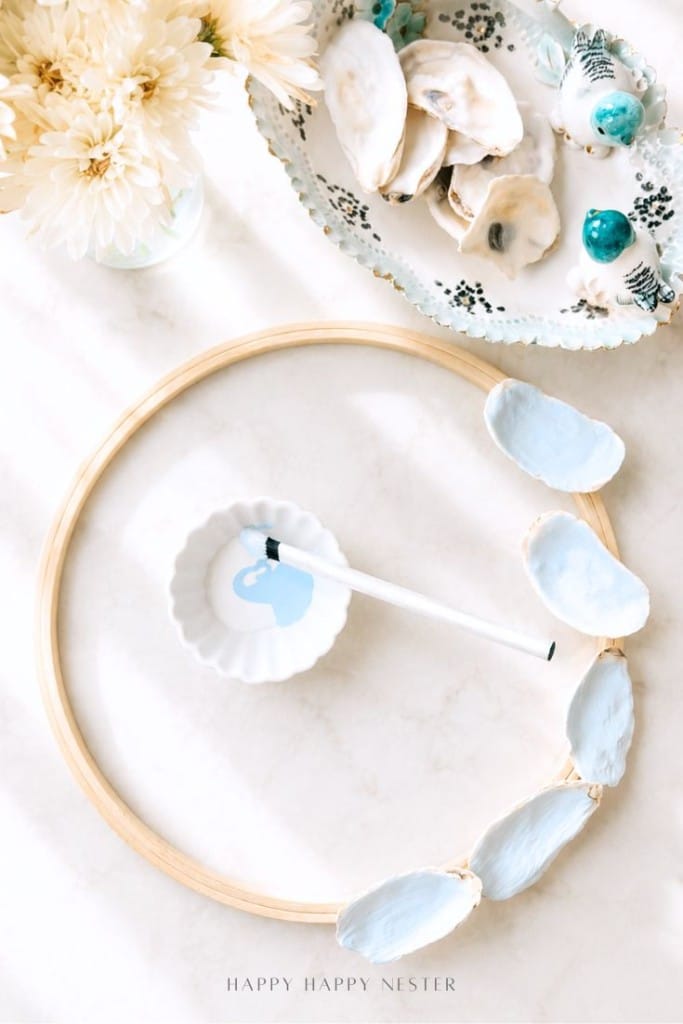
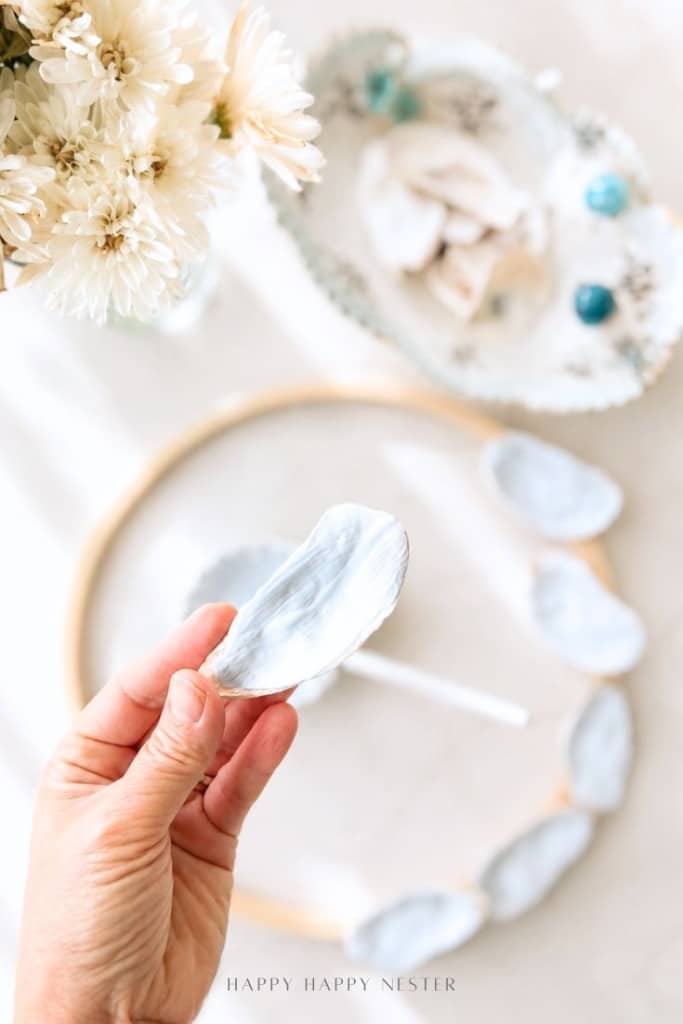
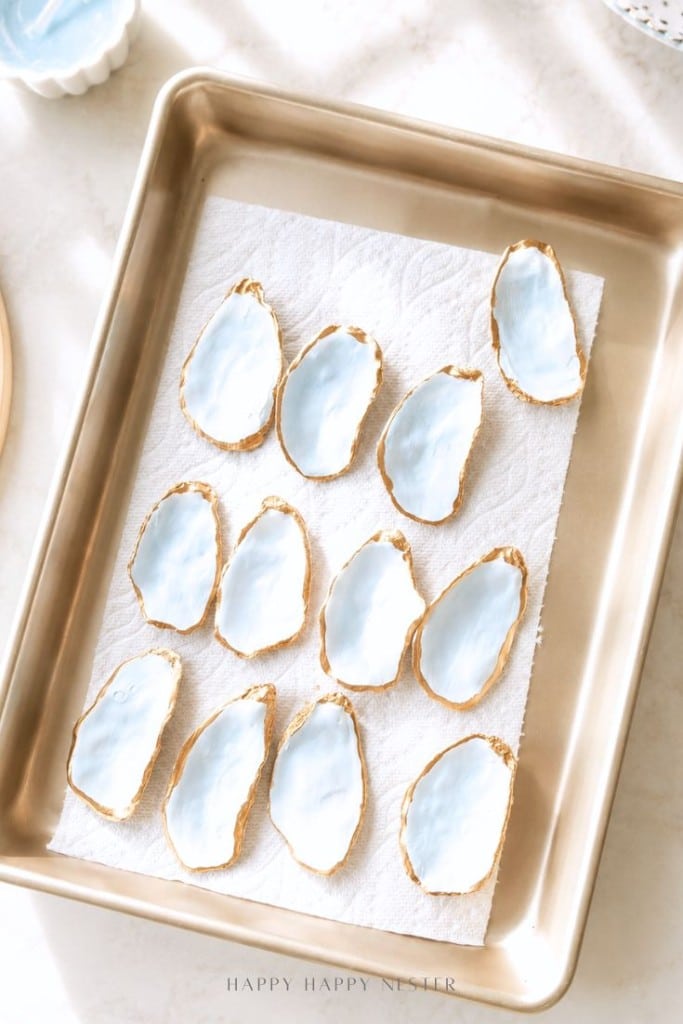
Step 1 – Paint the Oyster Shells
Start by mixing your paint colors. I combined white acrylic paint with a touch of light blue to create a soft coastal hue. Apply the first coat to each oyster shell and let it dry completely. Once dry, add a second coat for full coverage and a smooth finish.

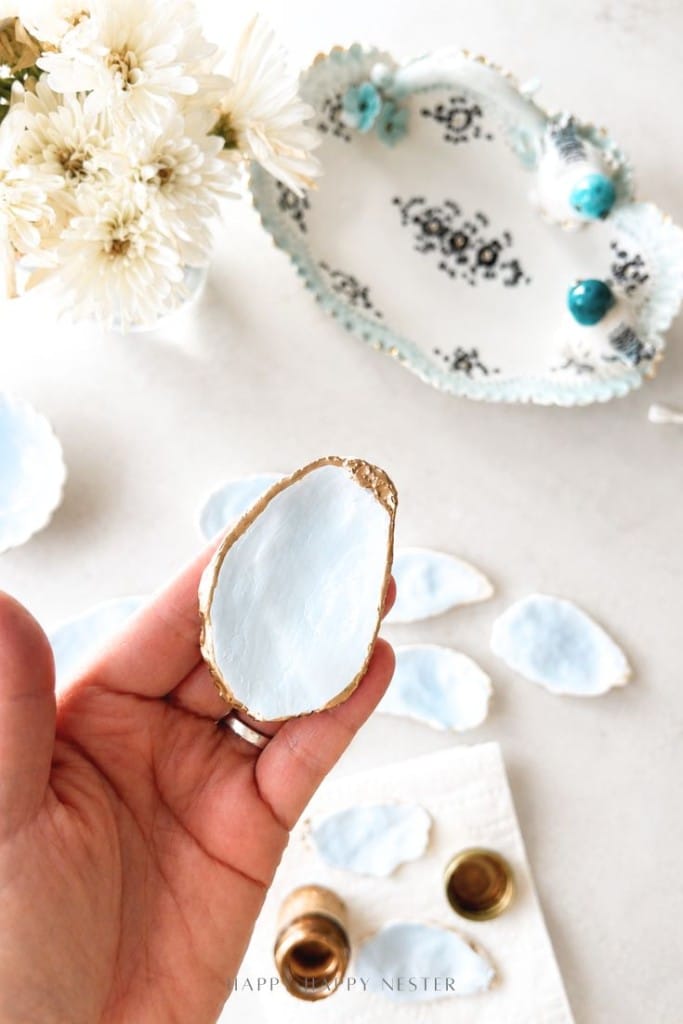
Step 2 – Add Gold Details
Once the paint is fully dry, use a small brush (or Qtip) to carefully paint a thin line of gold along the edges of each shell. This step really elevates the look and gives the wreath a subtle, elegant touch.
Step 3 – Seal with a Glossy Finish
After the gold paint has dried, apply a layer of clay glaze over each shell. This creates a beautiful shine and gives the shells a polished, almost ceramic-like finish. Allow everything to dry thoroughly before moving on. You can paint another layer of the glaze for extra shine.
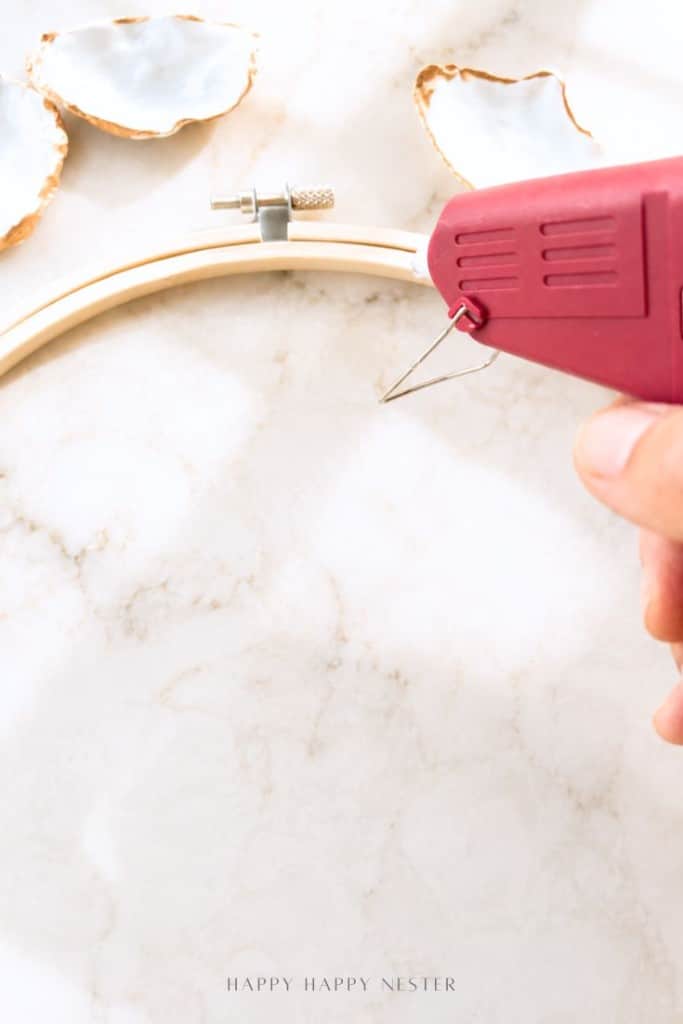
Step 4 – Attach Shells to the Hoop
Using hot glue, attach the back of each oyster shell to an embroidery hoop, layering them slightly as you go. Continue until the hoop is fully covered and you’re happy with the arrangement.
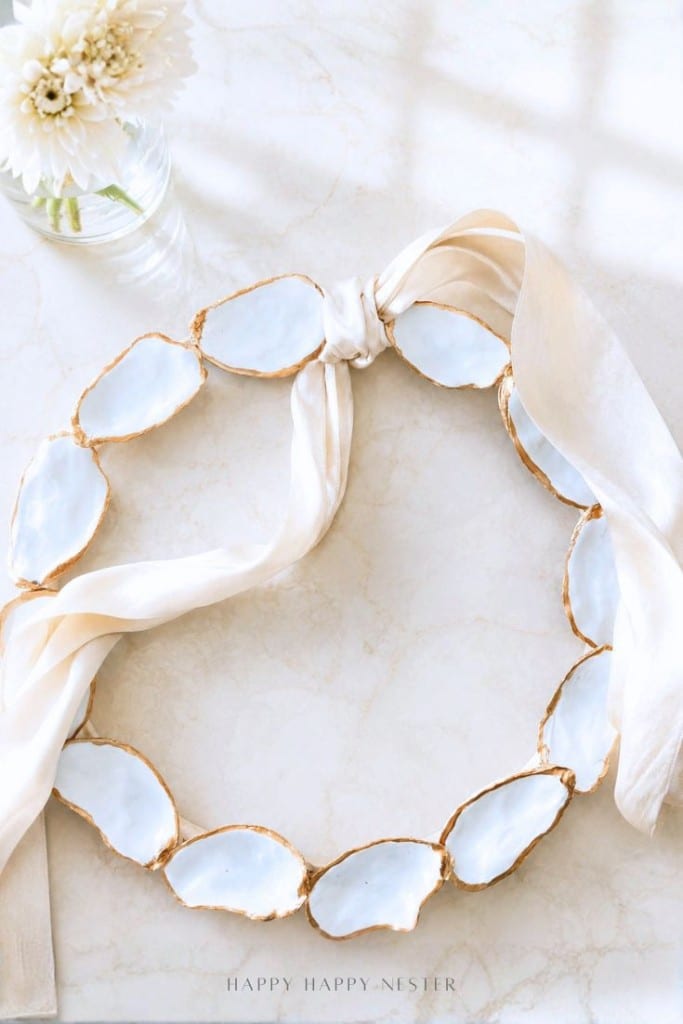
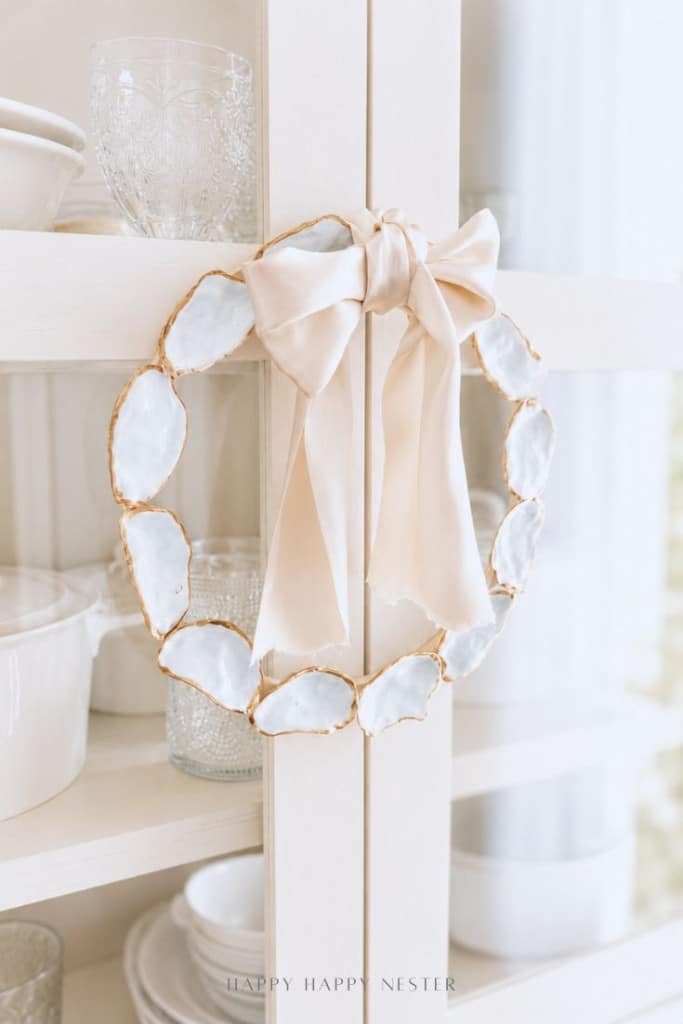
Step 5 – Add the Finishing Touch
To complete your wreath, tie a satin bow at the top of the hoop. This adds a soft and pretty detail that balances the coastal texture of the shells.
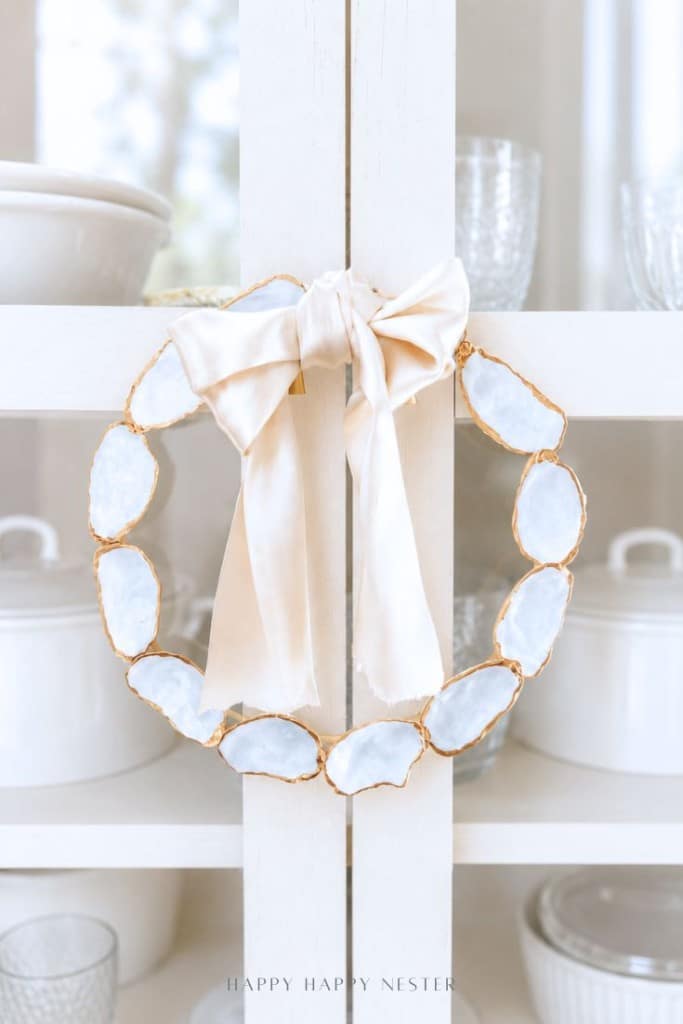
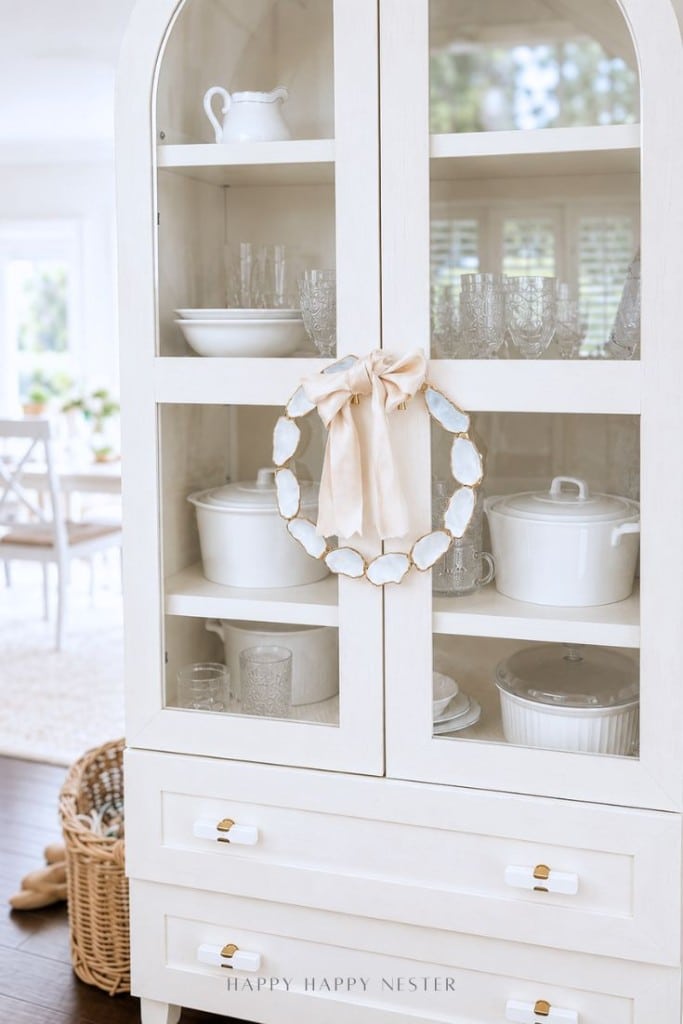
Where to Hang Your Coastal Wreath
This coastal oyster shell wreath looks beautiful in so many places around your home:
- On your front door for a welcoming coastal vibe
- Above a mantel or shelf as part of your seasonal decor
- In a bathroom or bedroom for a soft beachy touch
- On a gallery wall mixed with other natural textures
Tips for the Best Oyster Shell Wreath
If you want your painted oyster shell wreath to look professional and polished, these little tips make a big difference:
- Let each coat dry completely before adding another layer of paint or glaze
- Use a small brush for the gold edges to keep the lines clean and delicate
- Layer shells slightly when gluing to create depth and texture
- Work in sections so the glue stays warm and easy to manage
- Choose a high-shine glaze for that beautiful ceramic-like finish
More Creative DIY Projects You’ll Love
If you enjoyed this oyster shell wreath, here are a few more beautiful and creative projects you might want to try next:
- Decoupage Oyster Shells (Painted) – These pretty shells are decorated with delicate paper designs and paint, creating elegant little pieces perfect for gifting or decorating.
- Gold Leaf Easter Eggs (Gold Leafing) – A simple technique using gold leaf transforms ordinary eggs into stunning, high-end decor that looks straight out of a boutique.
- Christmas Wreath with Orange Slices – This festive wreath combines dried orange slices with greenery for a natural, cozy look that smells as lovely as it looks.
- Dried Hydrangea Wreath Tutorial – Soft, muted hydrangea blooms come together to create a timeless wreath that adds texture and charm to any space.
- DIY Spring Wreath (Easy and Cute) – Covered in faux cherry blossoms, this cheerful wreath brings a fresh pop of color and a hint of springtime beauty to your home.
A Simple Coastal Decor Idea That Makes a Big Impact
If you love decorating with natural elements, this oyster shell wreath diy is such a lovely way to bring a bit of the coast into your home. The soft blue tones, gold accents, and glossy finish create a piece that feels both relaxed and refined.
It’s one of those DIY projects that comes together easily but looks like something you’d find in a boutique—and it adds just the right amount of coastal charm wherever you hang it.
Cheers,

Come follow along on my Instagram account to catch all my latest projects and updates!


- Lazy Saturday Morning Breakfast Ideas - July 18, 2026
- Lemon Blueberry Crumble (With Creamy Mascarpone) - July 16, 2026
- Red and White Christmas Tree - July 9, 2026


Charlotte
This is a beautiful wreath! I’m very eager to make one. Thank you for the great idea! I’m wondering what size embroidery hoop you used.
Thank you!
Janine Waite
Hi Charlotte,
I used a size 10 inch embroidery hoop! Thanks for asking since I thought I placed that info in the post. I’ll add it right now! Happy Crafting!