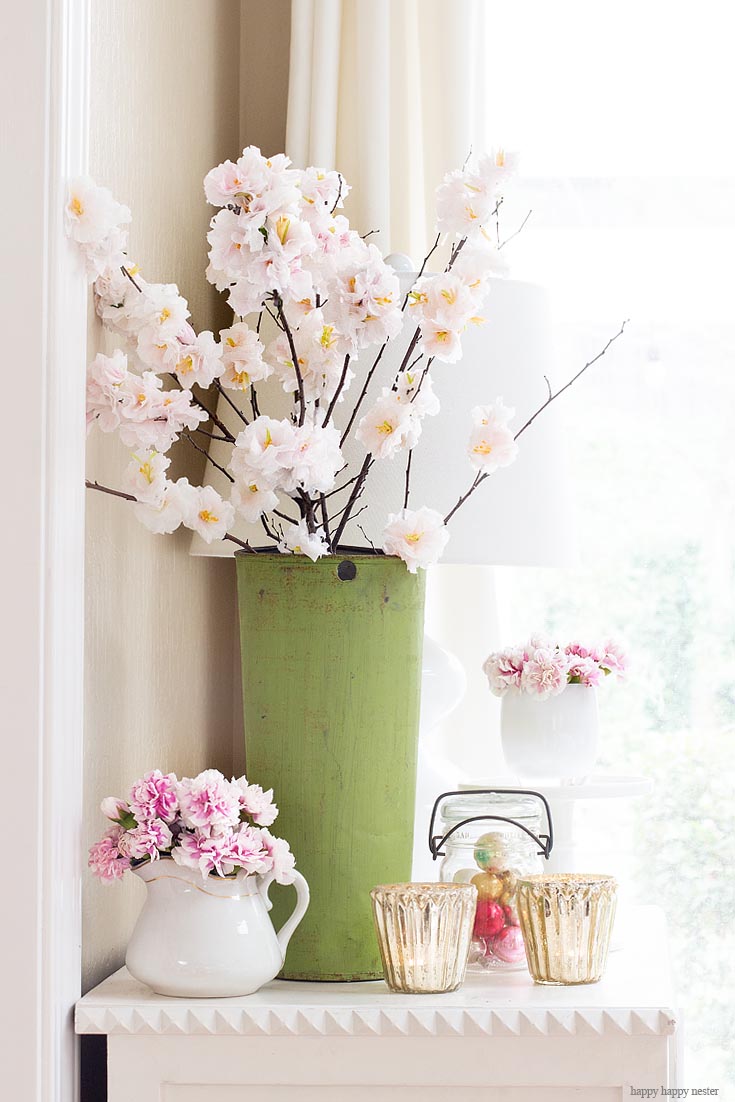
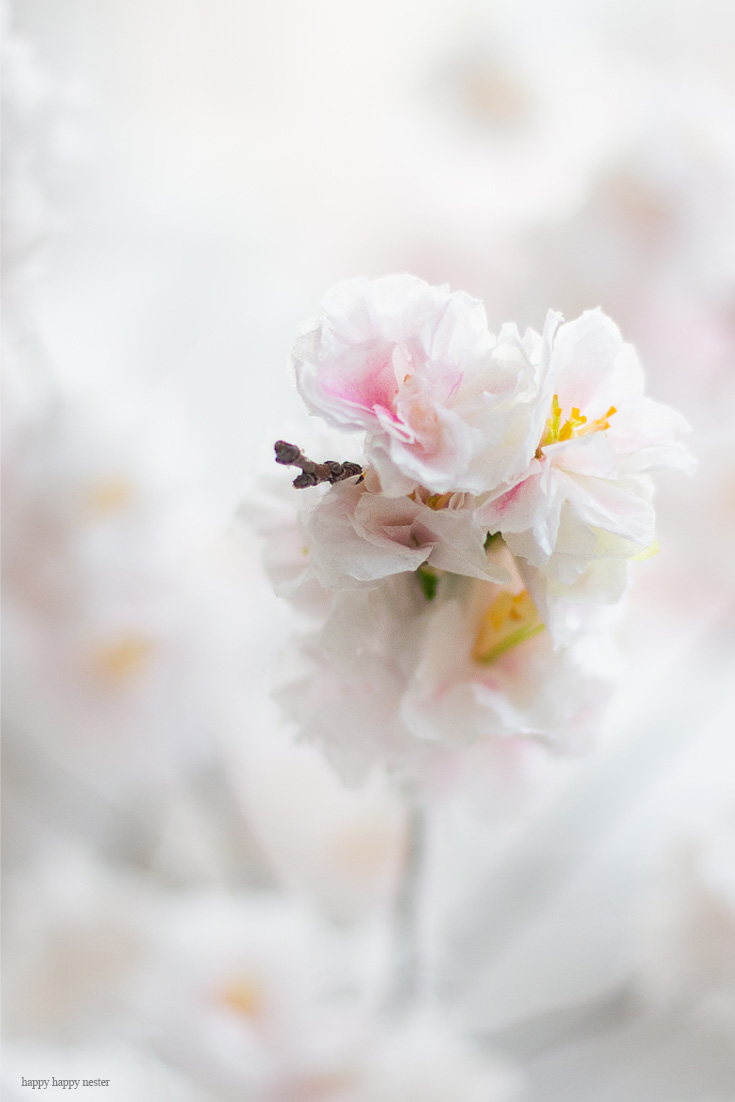
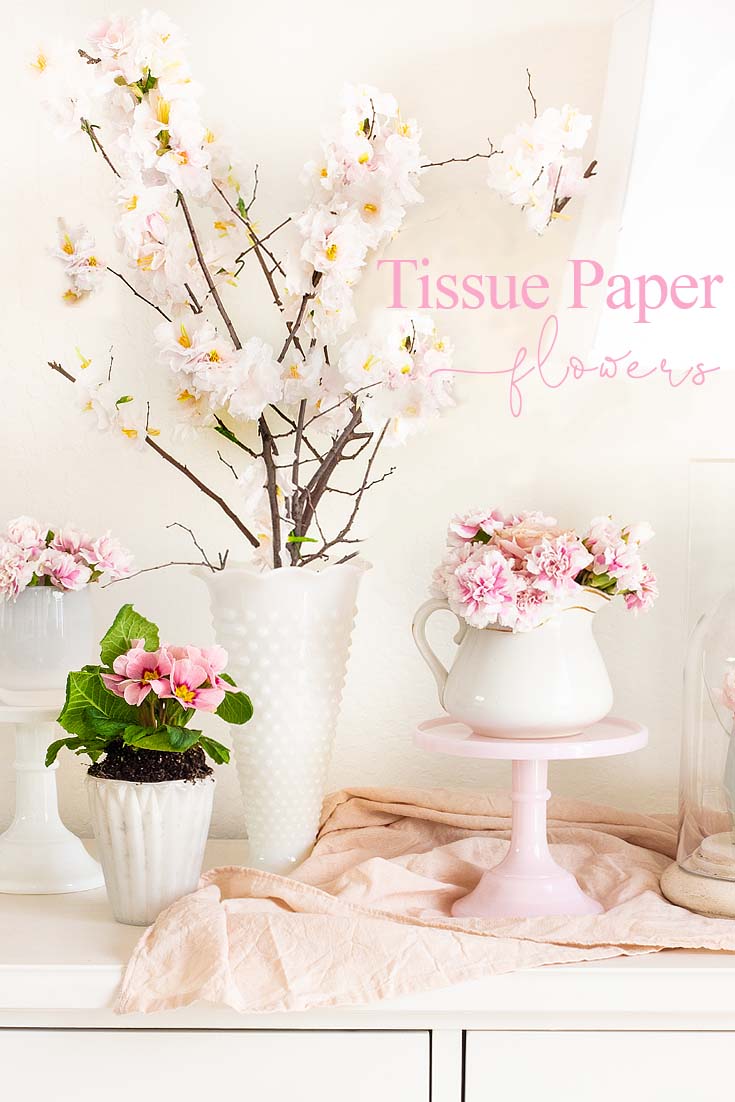
Today let’s talk about Tissue Paper Flowers Tutorial. Spring is the perfect time to start crafting paper flowers while you wait for the real ones to bloom. I love that for this project I used of all things, Kleenex! Yes, you heard correctly I used a few sheets of kleenex. The results are these adorable and realistic cherry blossoms.

Another Tissue Paper Flowers Tutorial
My last paper cherry blossom craft is one of the most popular posts on my blog. So, I decided since everyone likes it, I should come up with another version. I wanted one that had petals and stamen and today’s post is the result of my latest work. I think you’ll like this version as well.
So, before I start the tutorial, I should mention that I have joined my dear friends on a Home Décor Craft + DIY Tour with my friends if you are joining me from Jackie from Finding Lovely, welcome. Jackie is a good friend of mine, and I was so lucky to visit with her last year when she came out to Napa! She always has the prettiest projects.
I joined Tana last year, and we had so much fun that she wanted to repeat the blog hop.

Do you need anything special for this project?
Nope, if you have a box of kleenex, a tree branch, and scissors, then you are ready to start making these pretty flowers. You can buy a cool pair of fringe scissors, but you seriously don’t need to, they save some time in cutting out the stamens. If you plan to make more paper flowers with me, you might want to invest in a pair.
I’ve never made paper flowers before, can I make these?
Yes! These flowers are pretty straight forward, and all you need to do is cut and glue. This project mostly takes time, and I like to do my paper flower projects in stages, so I don’t get too overwhelmed.
Can I save some time on this project?
If you want to save some time, then don’t make the stamens and skip that portion of this tutorial. The blossoms will still be realistic and beautiful. Also, you don’t need to color your paper flowers pink you can keep them white and then you would have a flower more like apple blossoms.

Tissue Paper Flowers Tutorial
*The following post contains affiliate links
Tissue Paper Flowers Supplies
Crepe paper (green and yellow)
Tree branch
Artist soft pastels or chalk
Fringe scissors (you can use scissors and cut your own fringe)
Tissue paper flowers directions
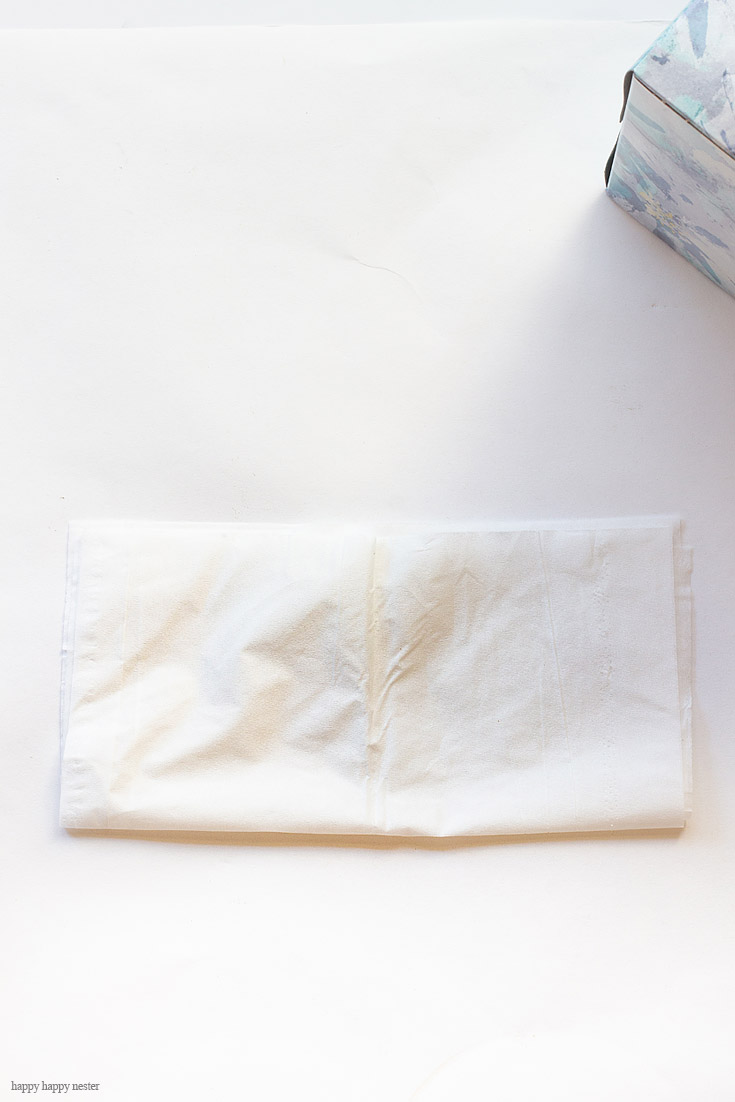
1. Take your kleenex and separate the layers. Yes, you probably weren’t aware that there are about three layers of kleenex in one tissue. You’ll want to do this since they stick together and it makes it hard to separate your petals.
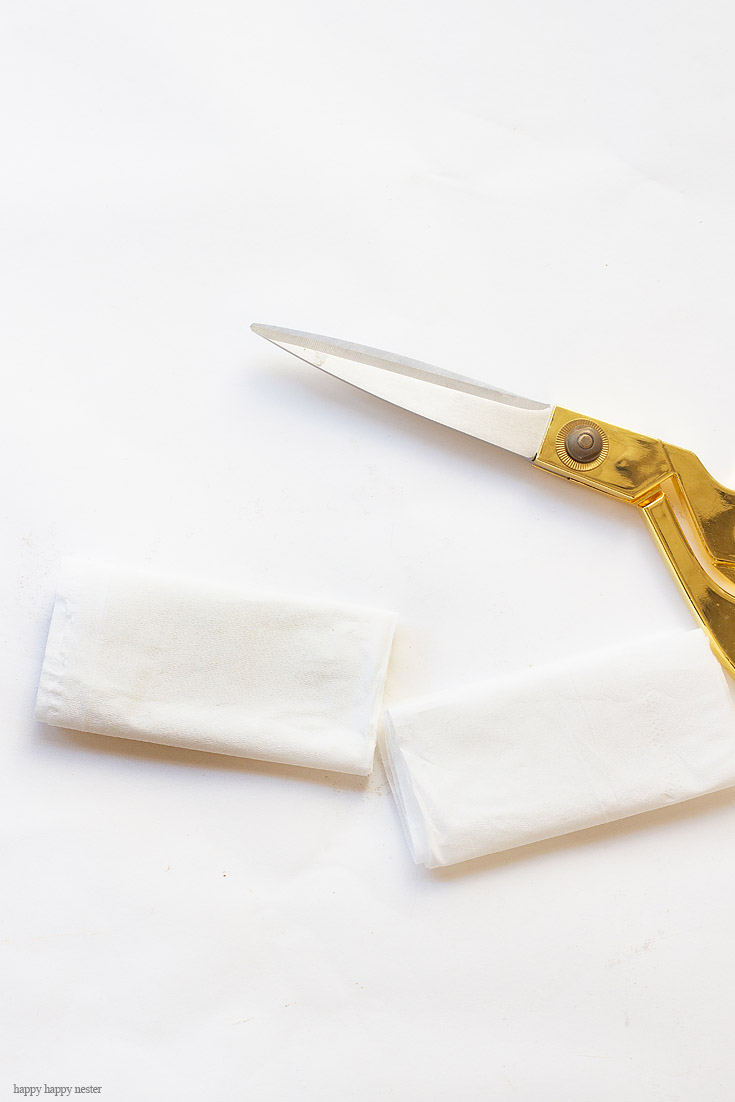
2. Put the layers back together in one sheet and fold in half lengthwise.
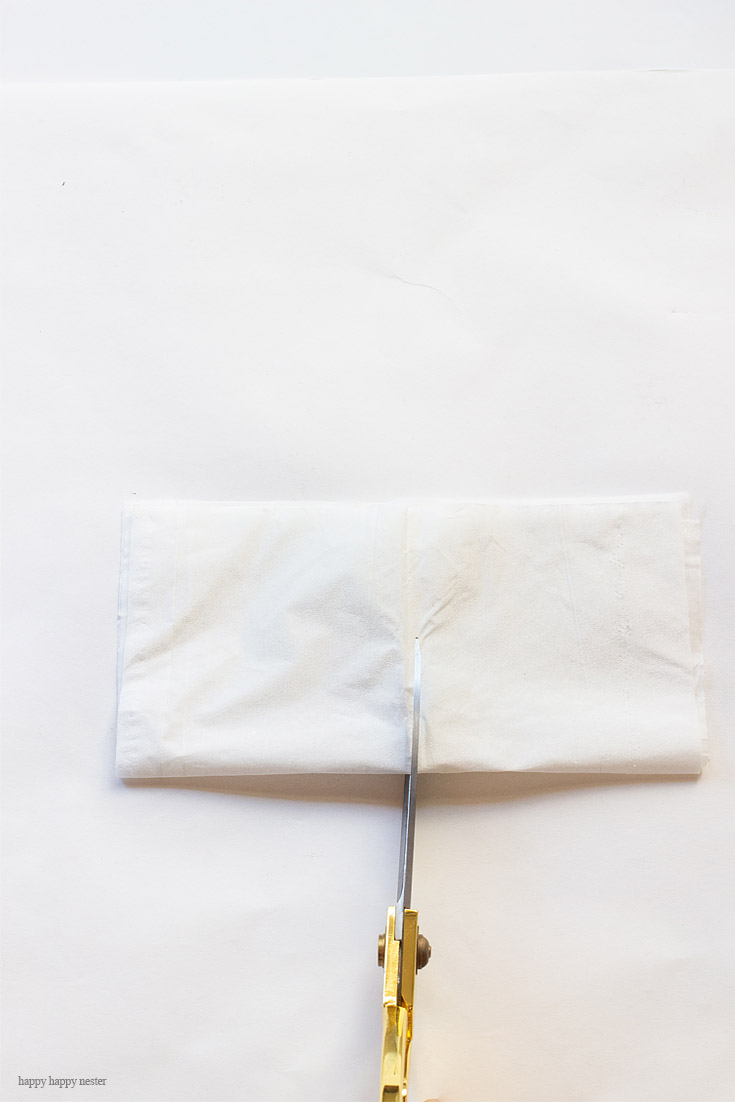
3. Cut in half with scissors.
4. Then take each section and fold in half lengthwise.
5. Fold each piece in half again as shown.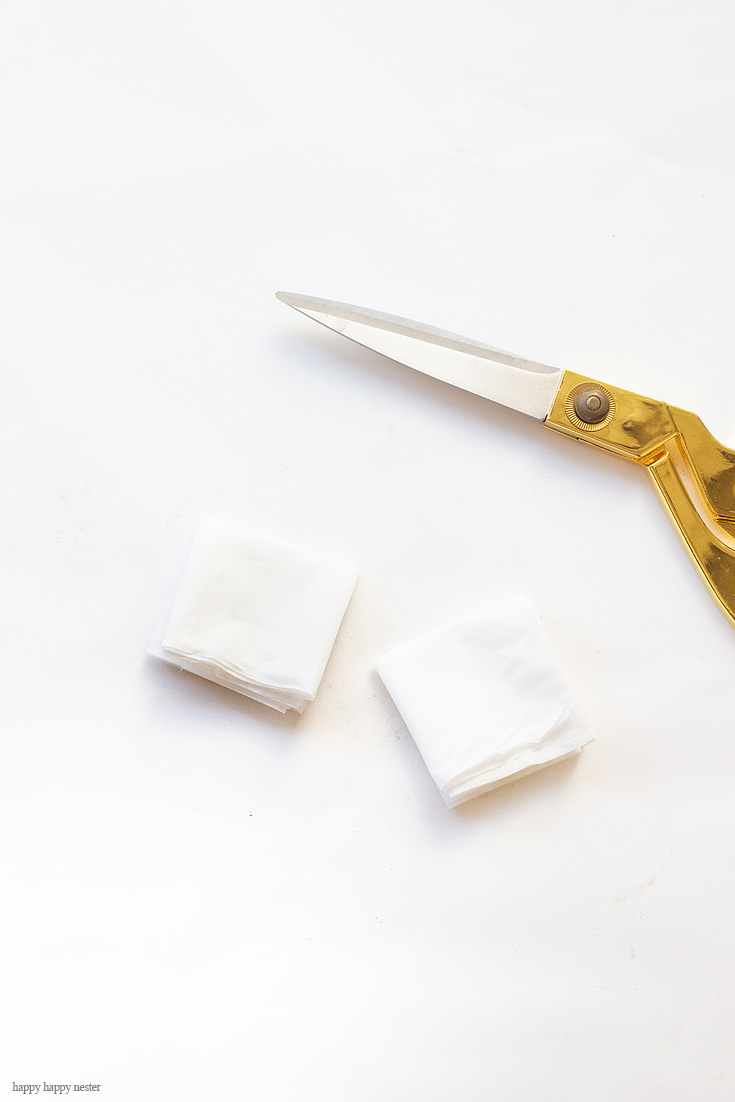
6. Now here is the tricky part. Fold in a triangle like the photo below. Then take the other side (left end) and fold it to the backside.
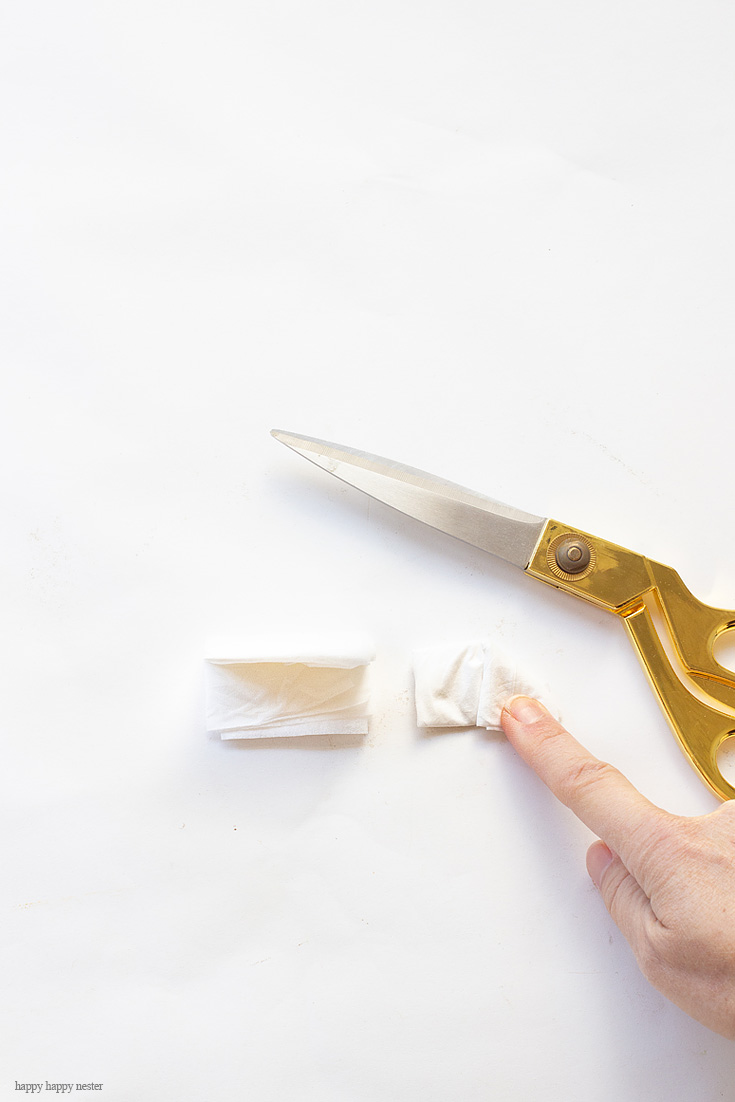
7. So, if you did this correctly, you should have a folded triangle.
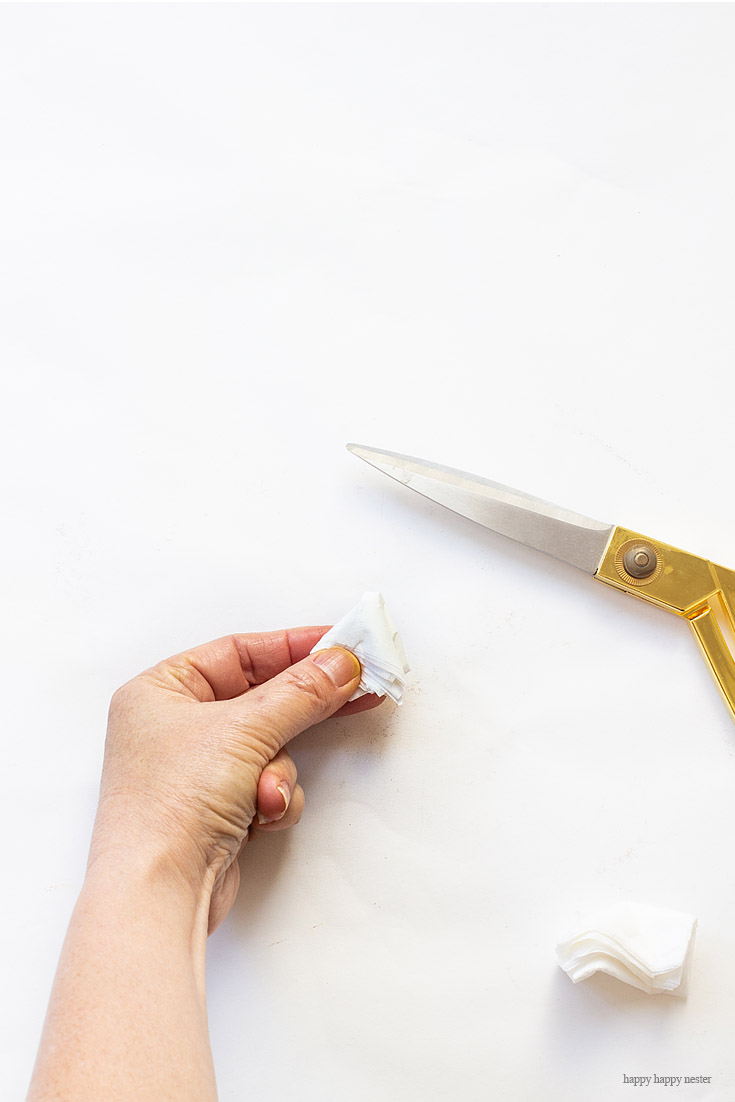
8. Next, with the tip of the triangle pointing up or down, cut a petal shape on the other unfolded end, making sure not to cut all of the sides. You want part of the sides with the folds to stay in tack. The shape should look similar to a snow cone.
[one-half-first]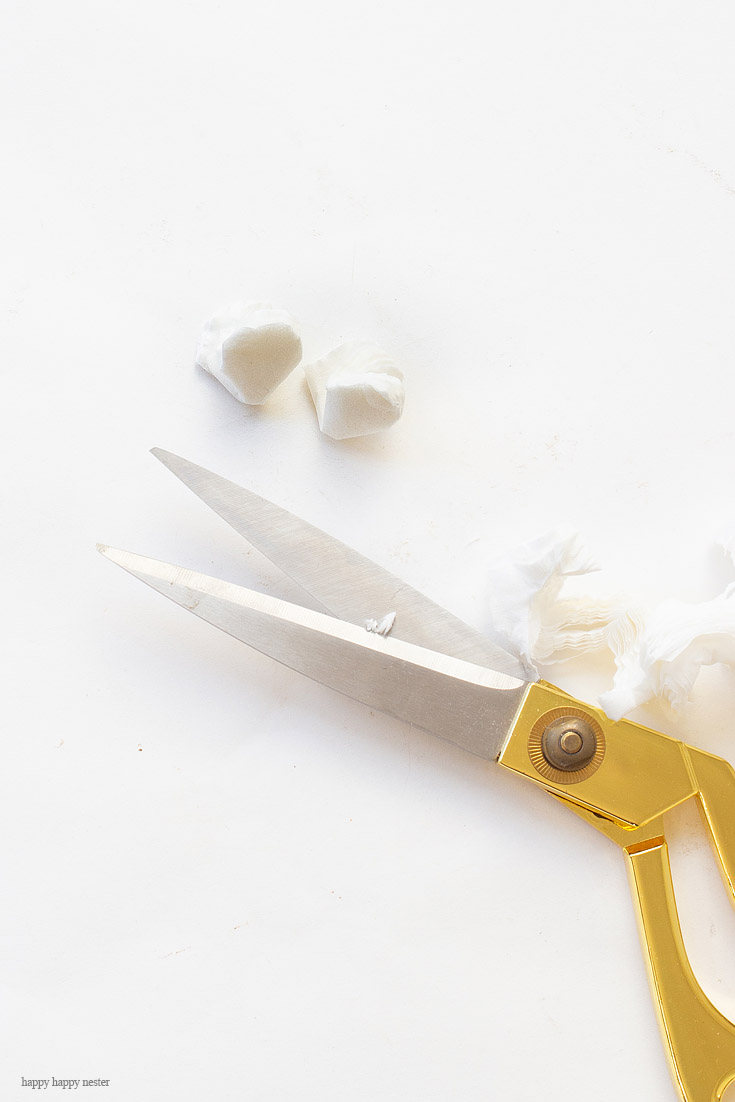 [/one-half-first]
[one-half]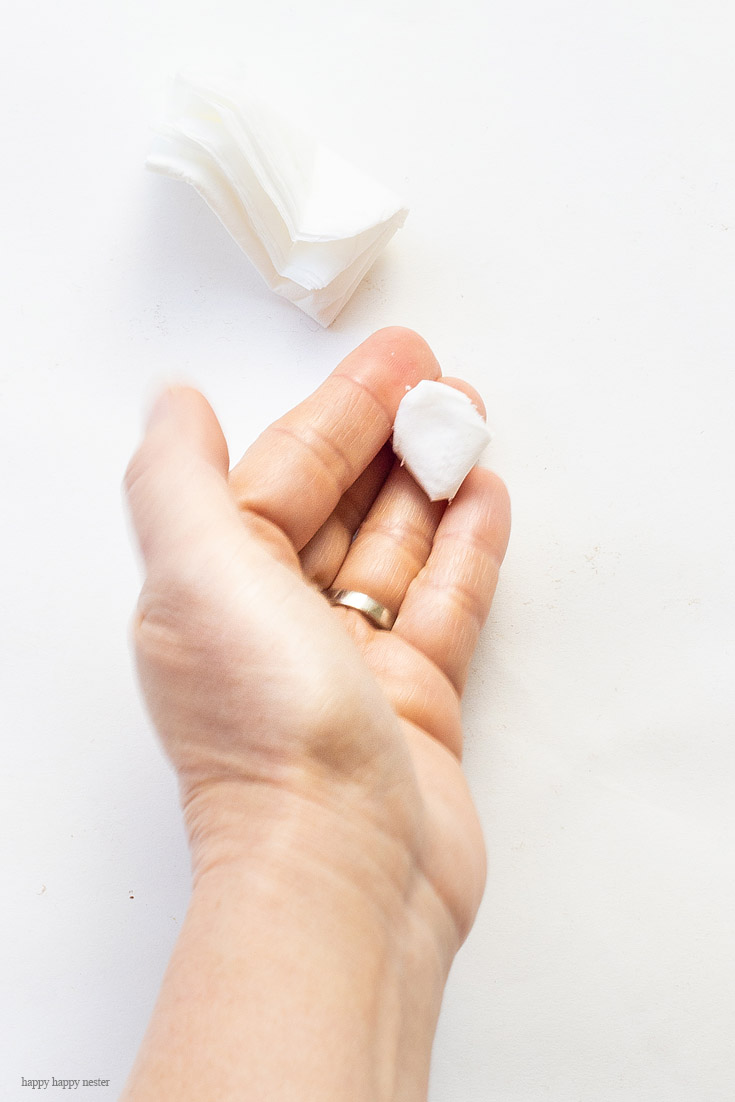 [/one-half]
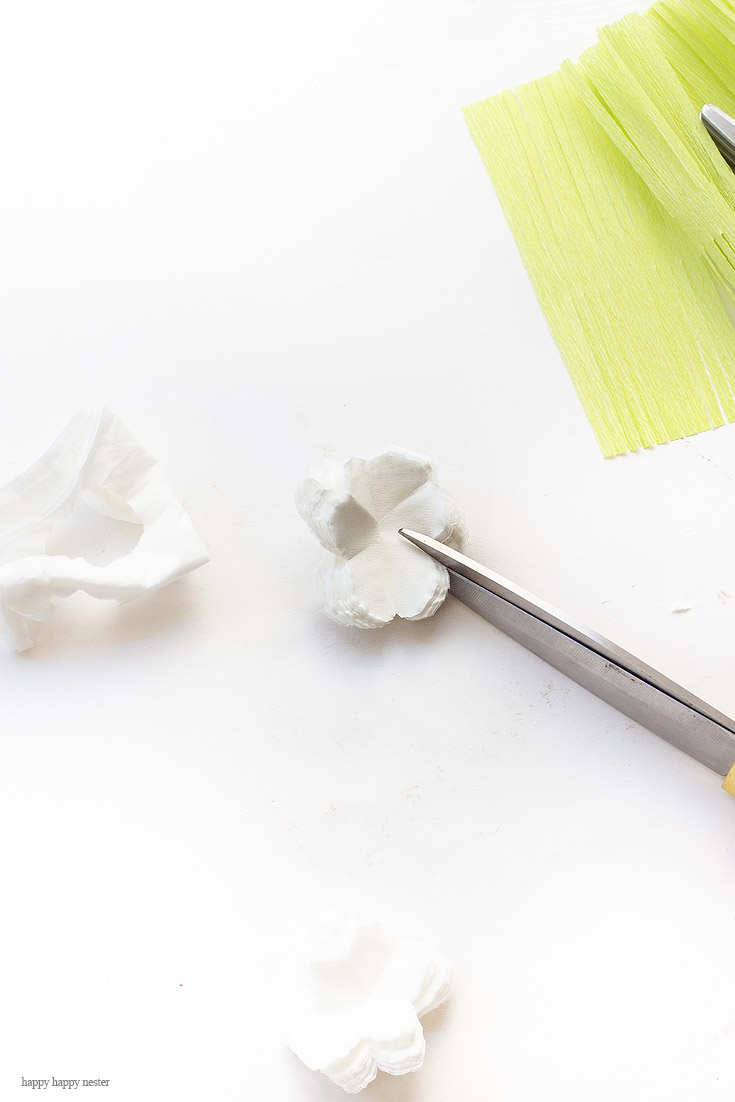
9. Unfold the flower and cut a tiny bit in between the petals to make more of a petal shape. Are you still hanging in there with this tissue paper flowers tutorial?
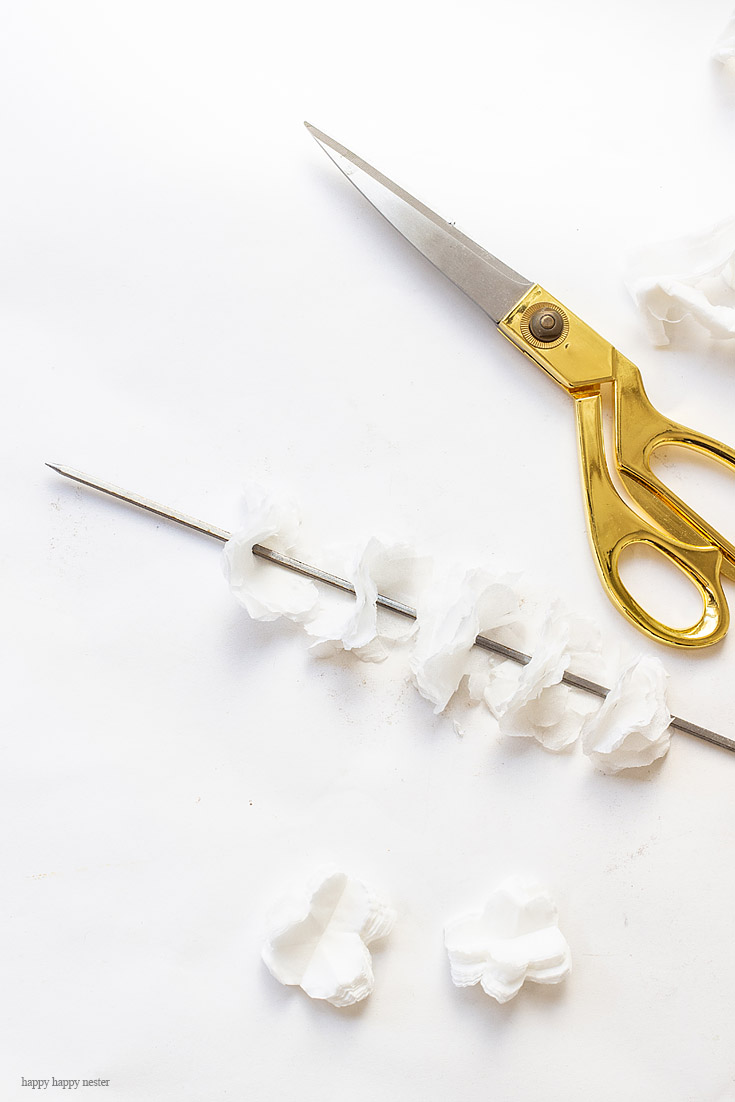
10. Separate the petals and place them in piles of 5. Then poke a hole with the skewer and thread them on it.
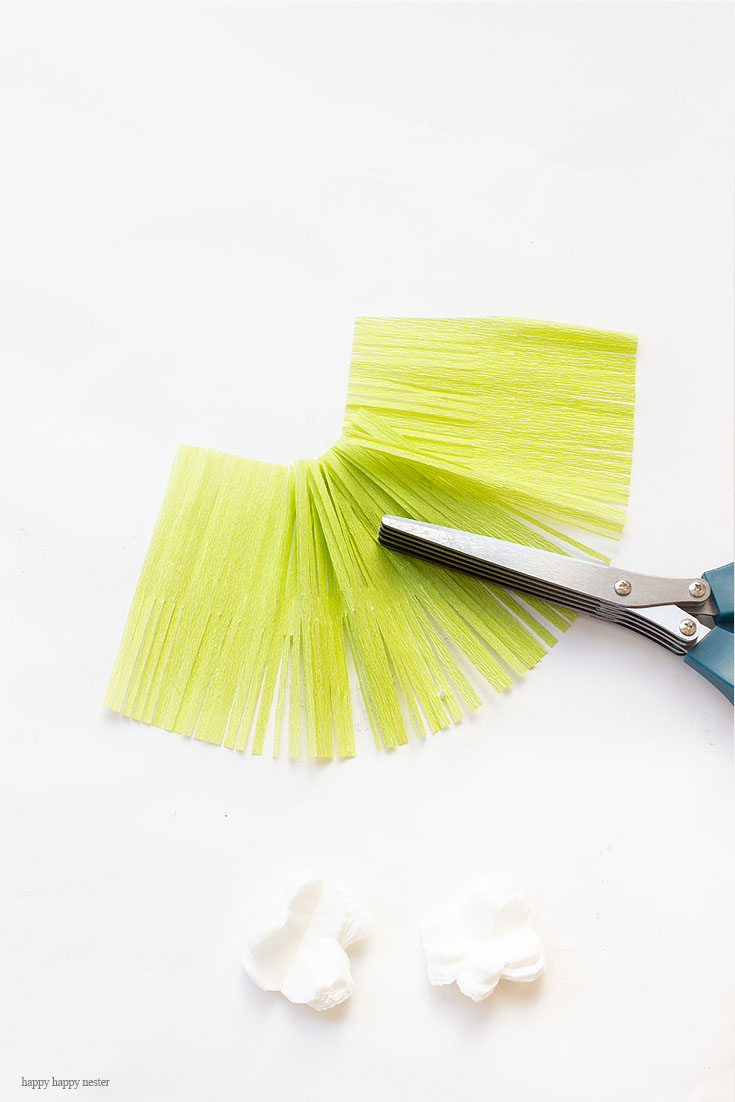
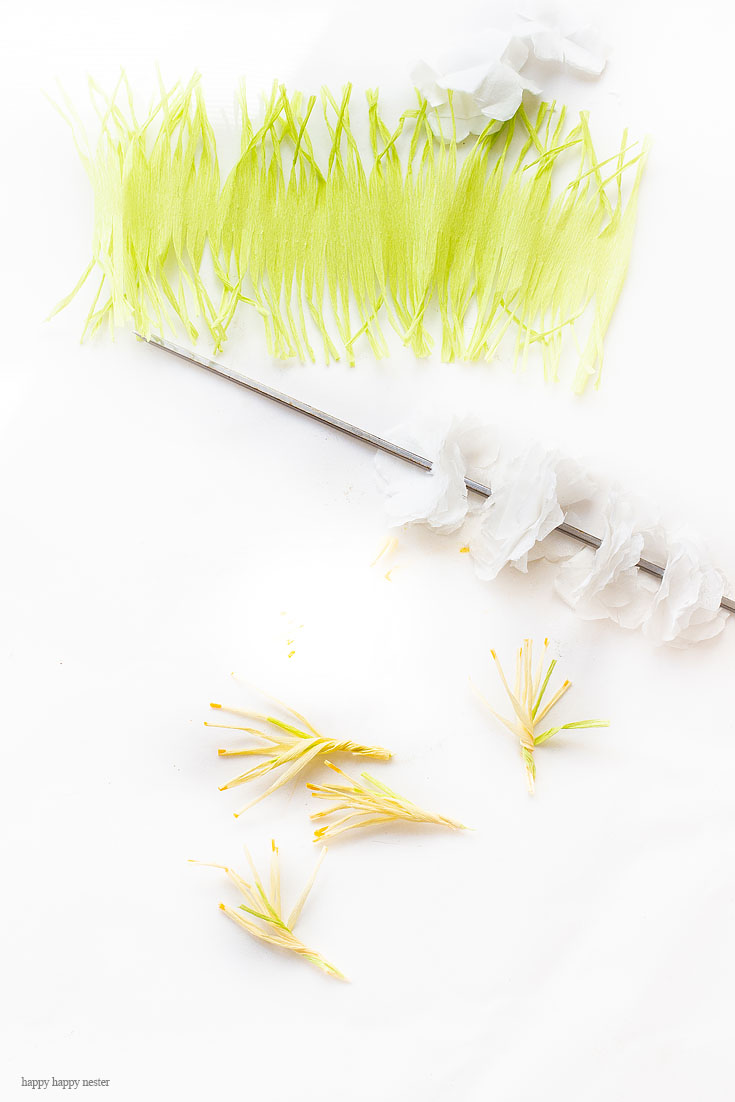
11. Next, you’ll want to make the stamen in green and yellow. With the crepe paper, it has a nap, which means it has ridges. When cutting your stamens make sure the ridges are parallel with your stamens. Then cut both the green and yellow crepe paper in 4 inch wide strips. The length can be whatever you want it to be.
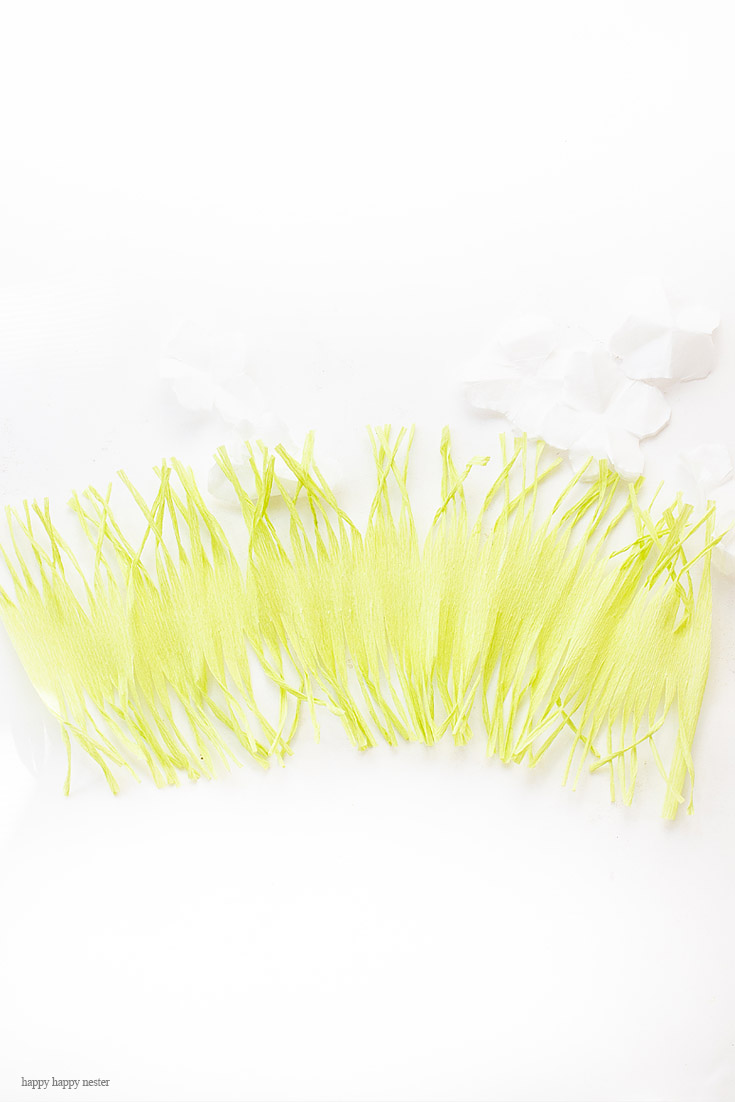
12. Use your fringe scissors and make cuts about 1 1/2″ long. I found if you make them longer the scissors aren’t great at cutting the paper as nicely. I also cut on both sides of the paper and left a bit of uncut paper in the middle. Cut in between and down the center of each of the fringe. This way I ended up with two strips of fringe instead of one.
13. Once you cut your fringe or lashes, you’ll want to roll them with your fingers, so they look like stamen.
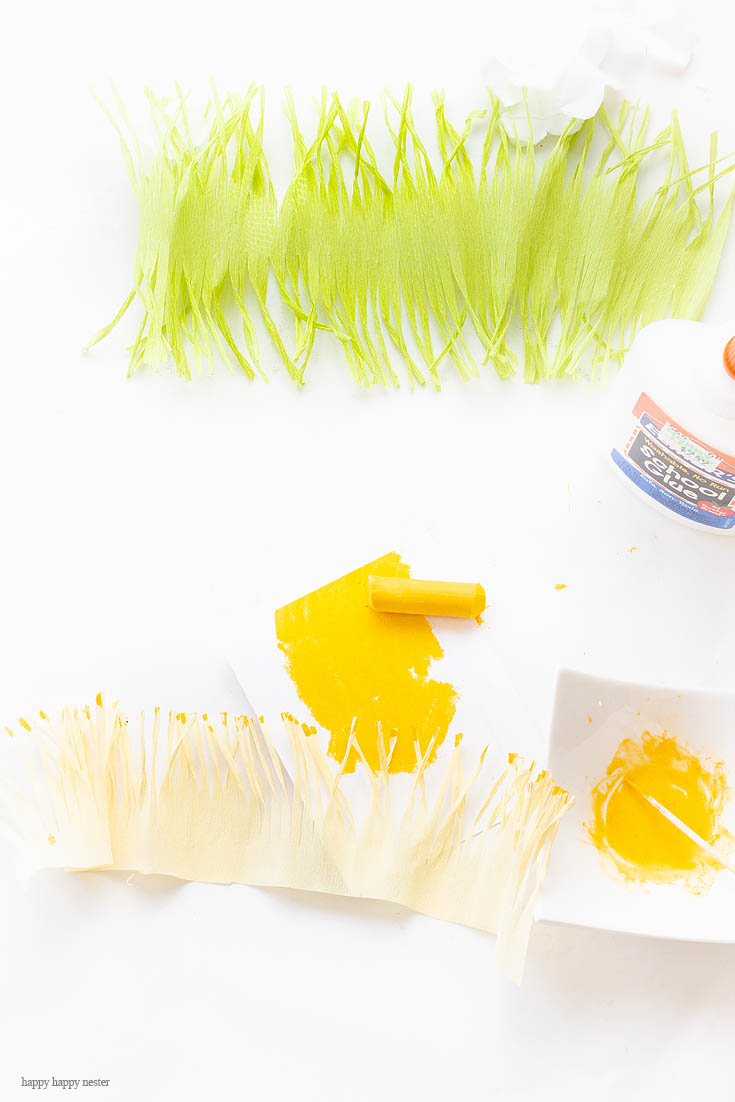
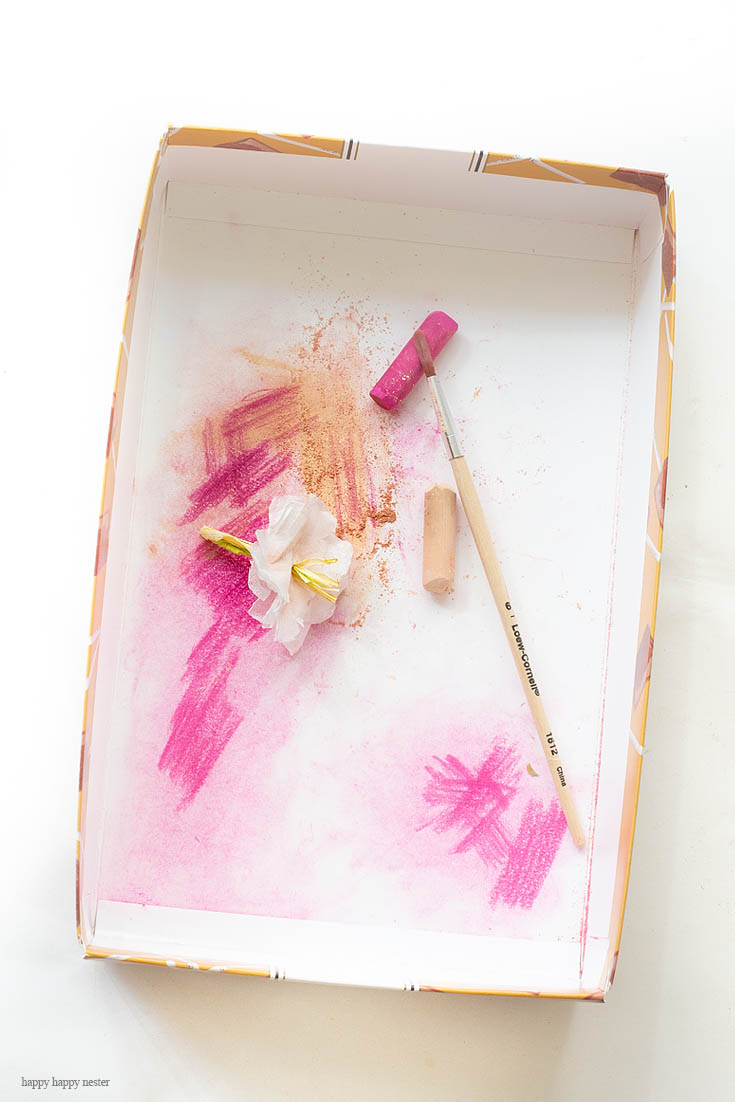
14. Now, take your pastel yellow and make a bunch of marks so that you now have some pastel or chalk dust. Add Elmer’s glue and color it with the colored powder.
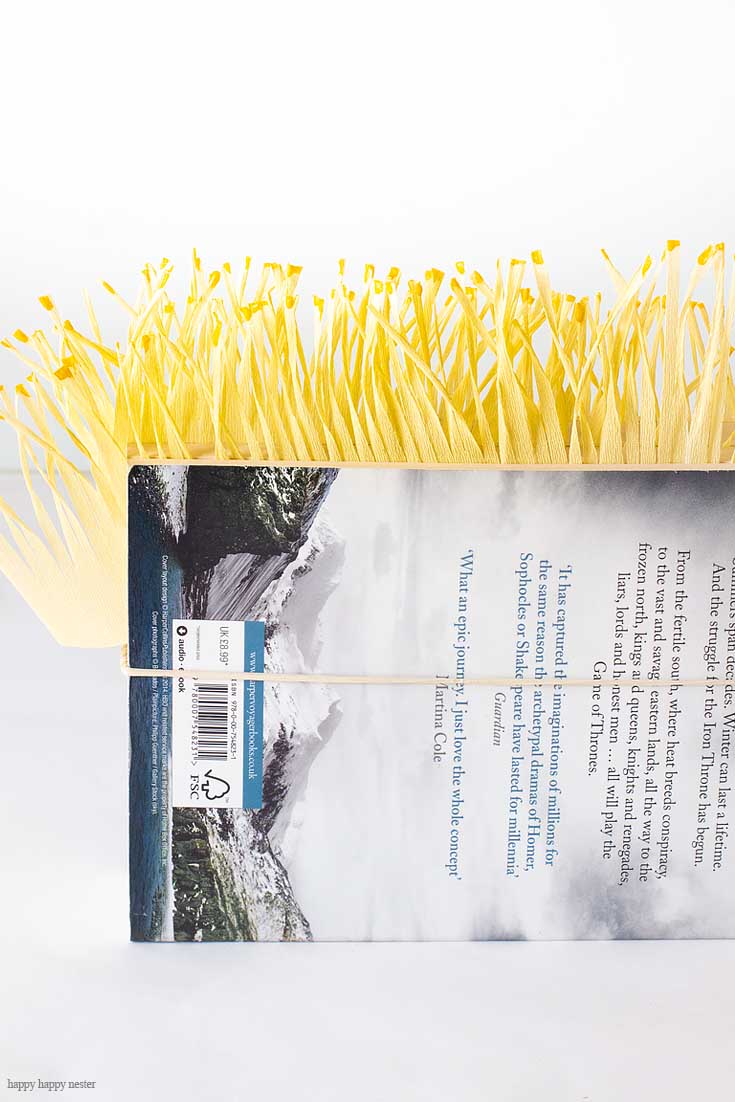
15. Place your green and yellow twisted stamen in a book with the top sticking up above the pages. Take a toothpick and cover the heads of the stamen with the yellow glue. You are creating the pollen that is on the top of the stamen. You can skip this step if you don’t have the time or patience.
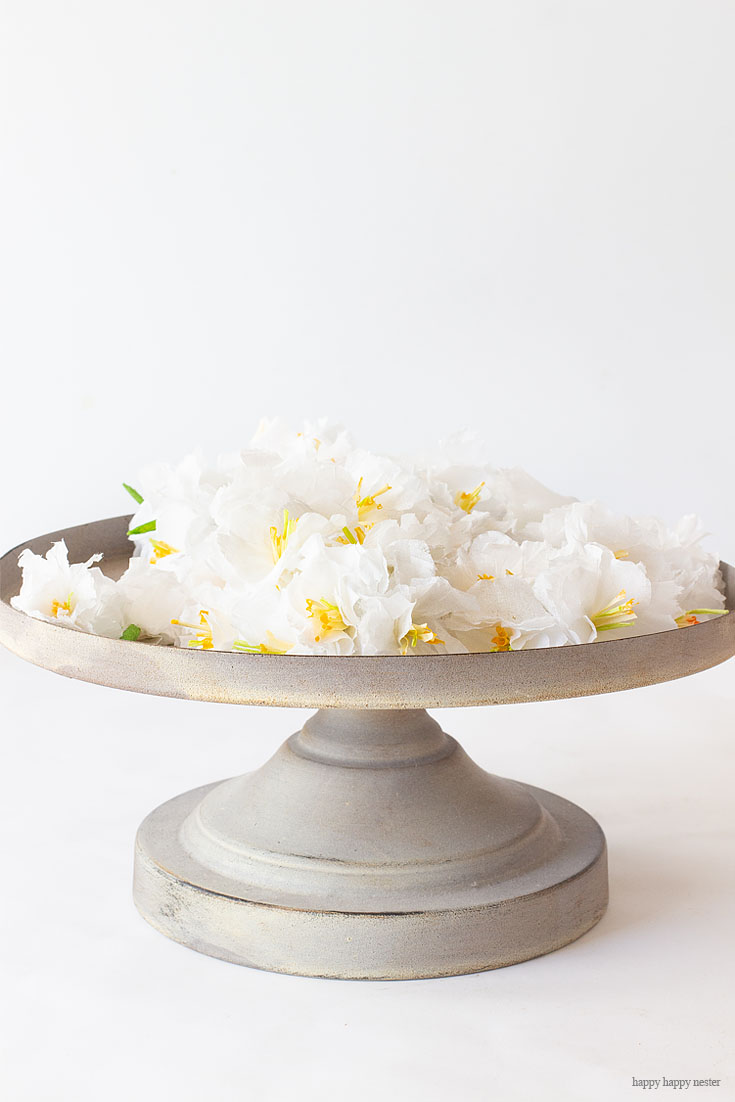
16. Once your glue is dry, take 1 green stamen and about 6 yellow stamens and twist them together to make one bunch.
17. Thread the set of stamens through the hole in the blossom petals.
18. Once you have a bunch of cherry blossoms, you can take some pastel dust and use your watercolor brush and lightly dust it on the petals. I combined two colors, a skin color pink along with a tiny bit of darker pink.
16. Once you’ve finished making a bunch of cherry blossom flowers, you can attach them to your branches with hot glue.
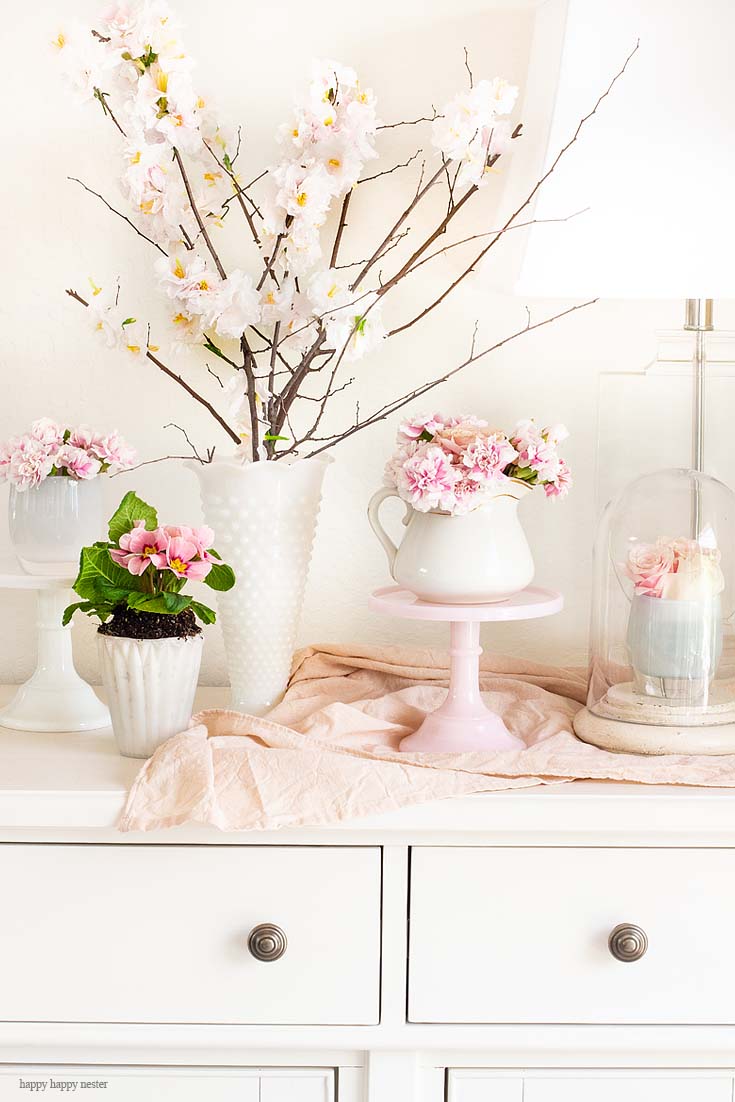
So, you have successfully finished my tissue paper flowers tutorial. And thanks so much for joining me today! I thoroughly enjoyed sharing my flowers with you. Now you’re totally ready to visit my friend Judy from Life is Better at Home and her gorgeous DIY iron-on leaf napkins.
Thanks so much for dropping by!
Cheers,


- Easy Homemade Breadsticks Without Yeast (25-Minute Recipe!) - July 24, 2026
- Lazy Saturday Morning Breakfast Ideas - July 18, 2026
- Lemon Blueberry Crumble (With Creamy Mascarpone) - July 16, 2026
")


Christina
You amaze me, Janine! These look just like the real deal!
Judy
Janine you’ve done it again!! These flowers are insanely gorgeous and realistic 🌸🌸 I would love to try this craft!
Jackie
Oh Janine, I am SO excited to make these! They look so realistic I don’t think I could have guessed they were tissues.
Beth Light
These beautiful flowers have me longing for spring! So inspiring and already pinned it! xo, Beth
happyhappynester
Hello Beth,
I’m so happy to know you loved this post 🙂 Happy spring my friend.
Chloe
These are just beautiful! I just got home from NYC and was so envious of the availability of blooming branches in the city, this would be a great way for me to get the feeling! I have this on my very soon to make list!
happyhappynester
Hello Chloe,
That’s great to hear. Glad to know you enjoyed this blog post. Have a nice day!