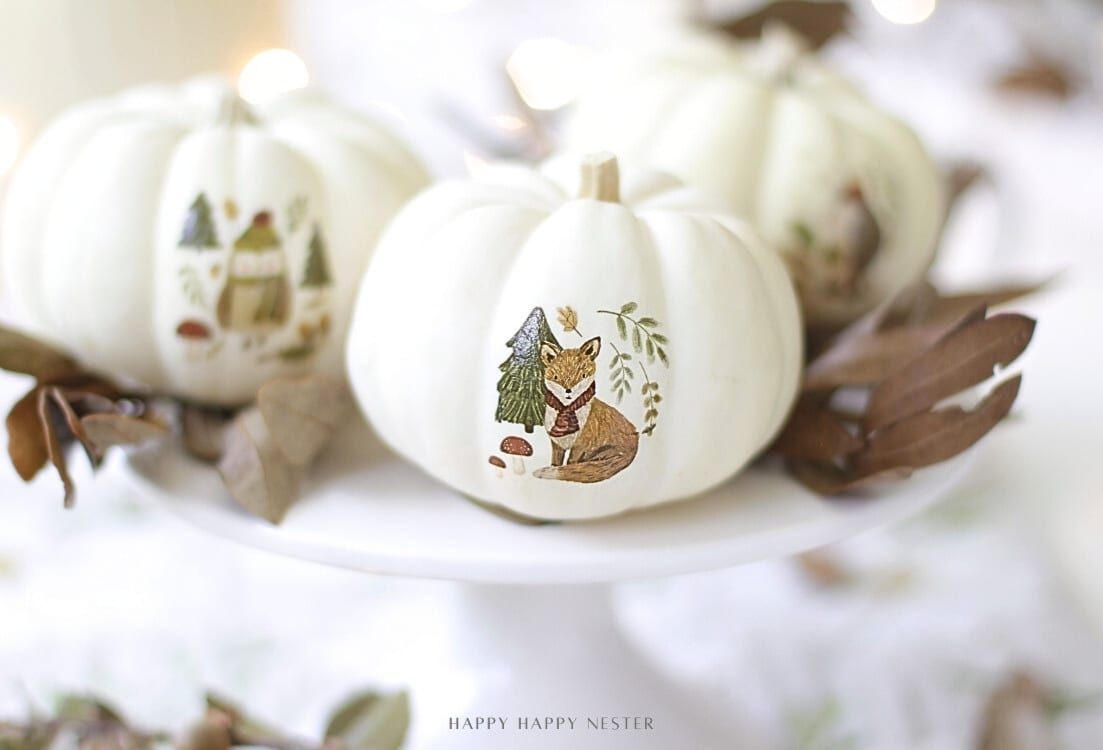
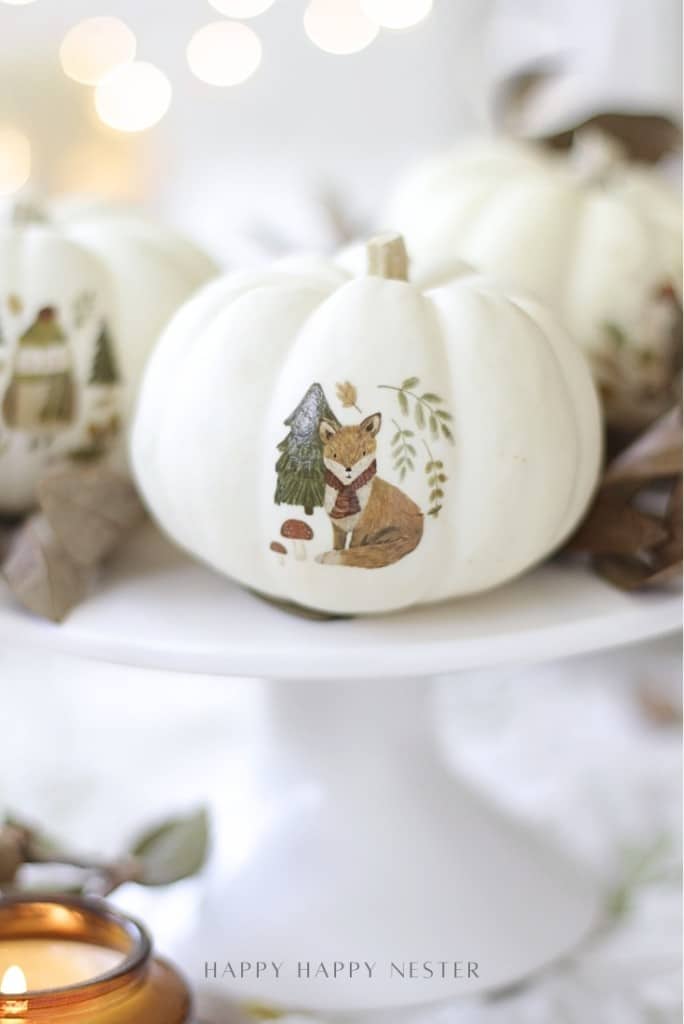
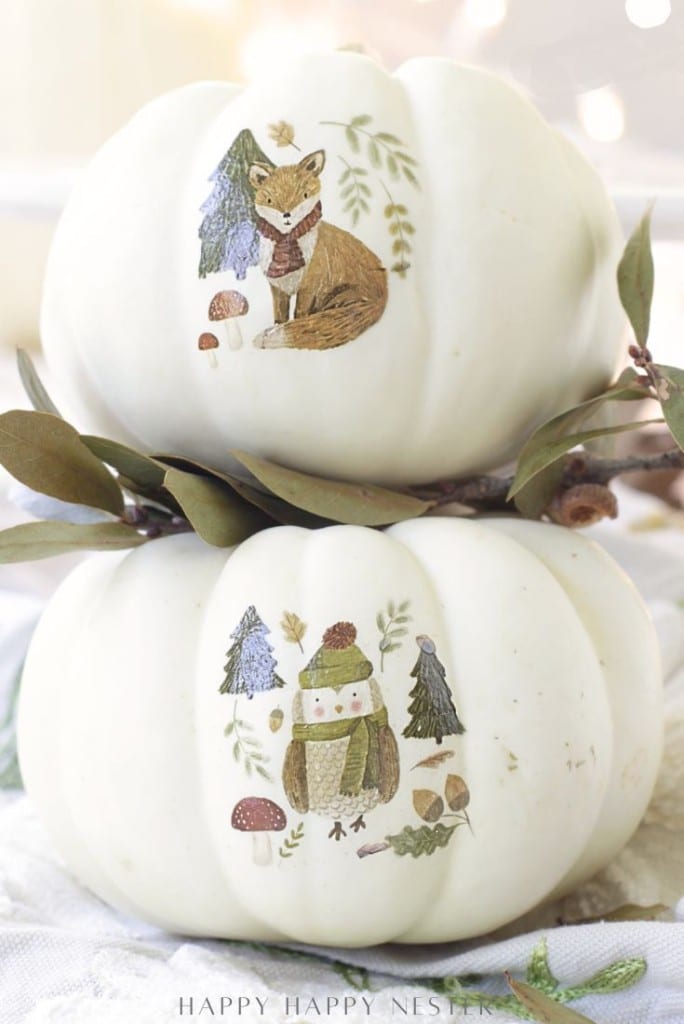
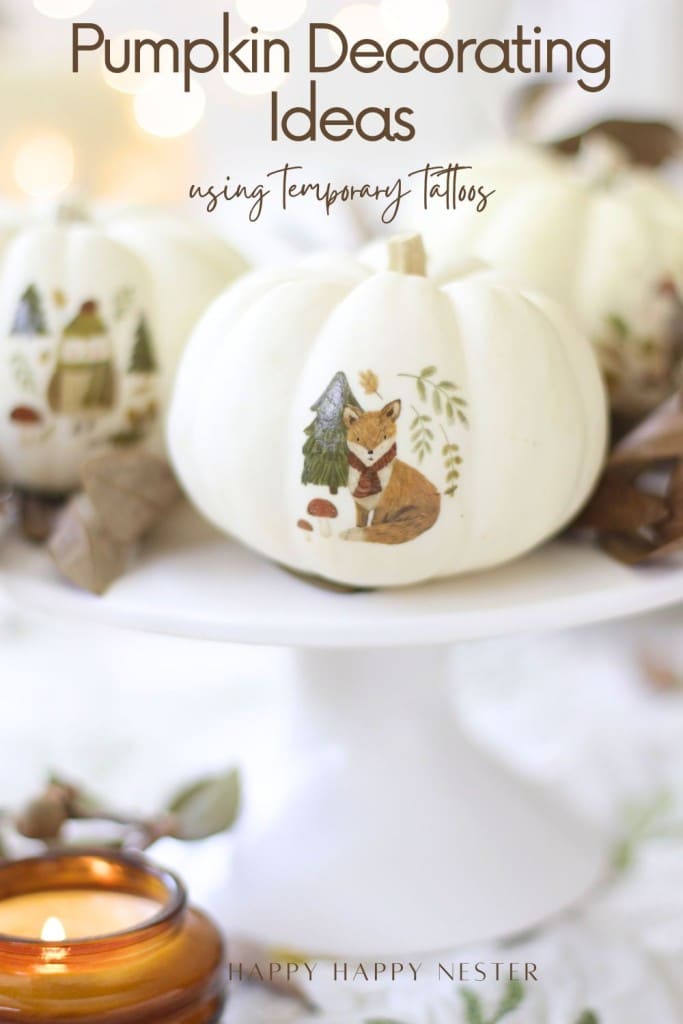
Pumpkin Decorating Ideas without Carving (Temporary Tattoos) are one of the easiest and cutest ways to style your pumpkins this fall. I used adorable woodland animal tattoos—like a hedgehog, rabbit, raccoon, bear, owl, and fox—on small white pumpkins, and the results are absolutely charming. The tattoos go on so easily and instantly transform a plain pumpkin into a sweet fall decoration. It’s a quick craft that requires no carving mess, no paintbrushes, and no special tools—just simple, stylish pumpkins that look like they came straight out of a storybook. Perfect for kids and adults alike, this pumpkin decorating idea is as fun as it is beautiful!
I always love a good pumpkin project, but this year I went through quite a few ideas that either felt too complicated or just weren’t fresh. After batting around ideas for a couple of weeks, I finally settled on something simple yet adorable—transferring temporary tattoos onto pumpkins. I’ve always admired those woodland animal pumpkins, but never had the time or patience to hand-paint them. That’s when it hit me—why not use already-made images?
These woodland animal tattoos (a hedgehog, rabbit, raccoon, bear, owl, and fox) are absolutely darling, and the best part is how quickly the project is completed. It literally takes one minute to apply a tattoo, and suddenly, you have the cutest decorated pumpkin. No carving, no paintbrushes, no mess—just instant charm!
Sometimes the simplest craft projects really do turn out to be the best ones, and this is definitely one of them.
Why Choose No-Carve Pumpkin Decorating?
- Mess-Free: No pumpkin guts or carving tools needed.
- Kid-Friendly: Even little ones can help without the danger of knives.
- Quick & Easy: Takes just minutes from start to finish.
- Endless Options: You can choose any tattoo style—woodland animals, florals, stars, or even metallics!
Other No-Carve Pumpkin Projects!
- How to Make Glitter Pumpkins
- Flower Pumpkin Centerpiece
- Succulent Pumpkins DIY
- Pumpkin With Flowers DIY
- Ghost Painted Pumpkins for Kids
Pumpkin Tutorial
Supplies You’ll Need
- Mini pumpkins (white pumpkins work best for tattoos)
- Temporary tattoos (I used woodland animals: hedgehog, rabbit, raccoon, bear, owl, and fox)
- Small sponge or paper towel
- Scissors (to cut apart tattoos)
- Clear acrylic spray (optional) – helps seal the design for longer-lasting pumpkins
Step-by-Step Instructions
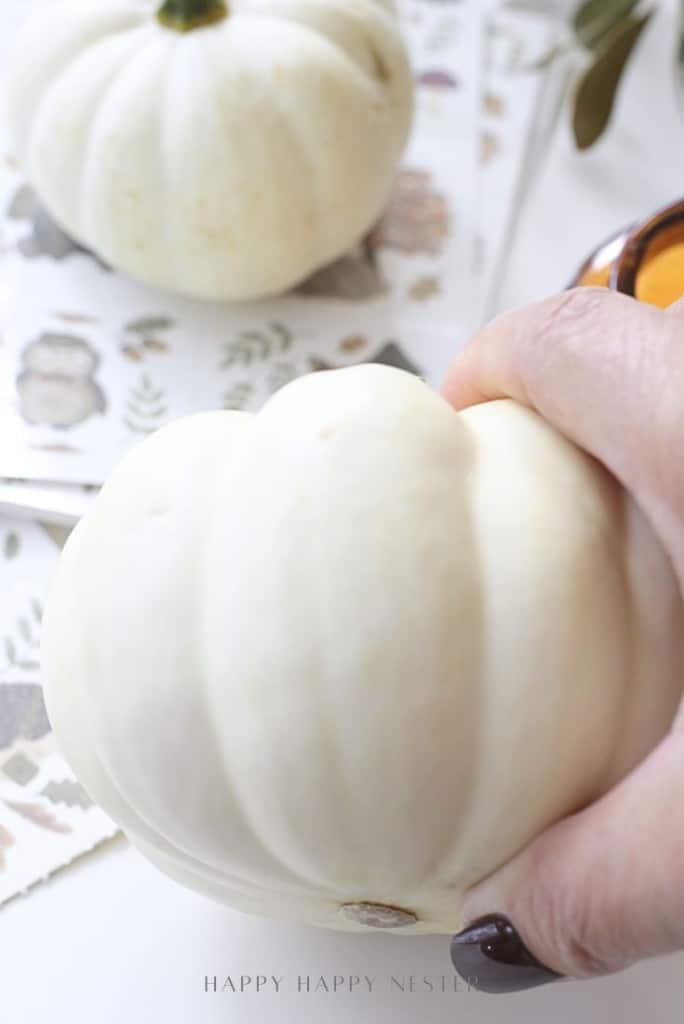
1. Prep Your Pumpkins
Wipe the pumpkins clean with a damp cloth and let them dry completely. This gives you a smooth surface for the tattoos.
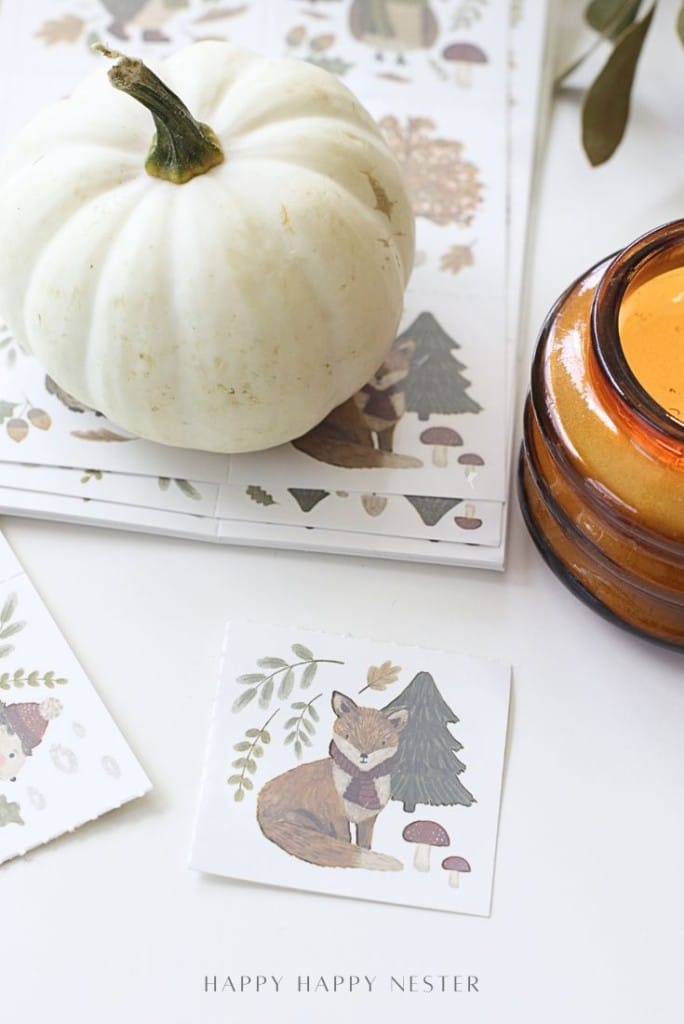
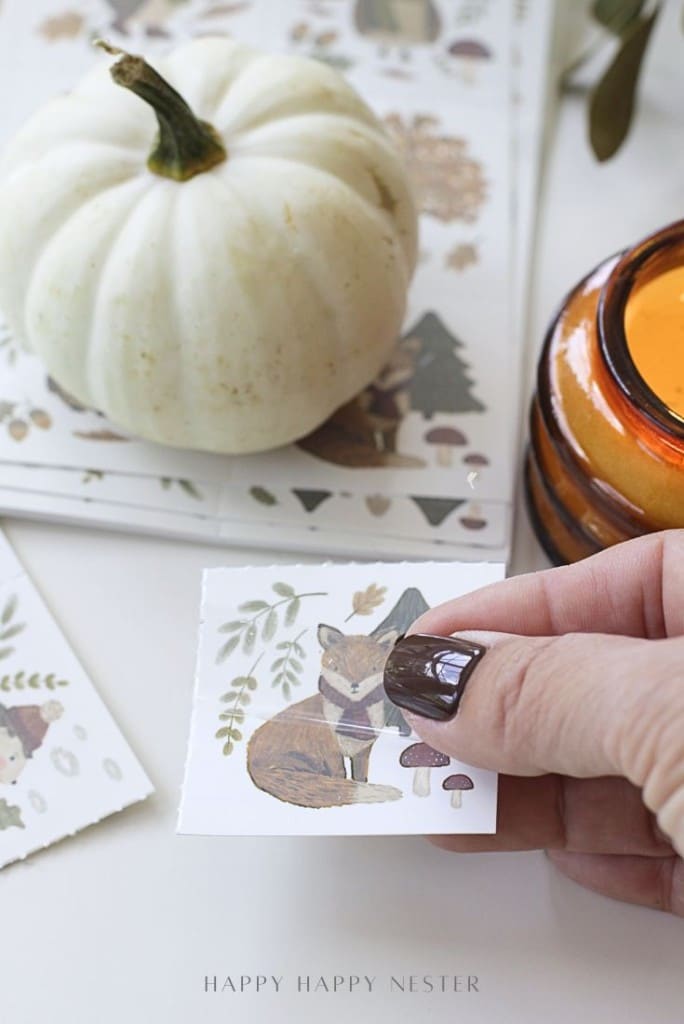
2. Cut Out Your Tattoos
Cut around each tattoo as close as possible to avoid excess film showing on the pumpkin. These tattoos have perforated lines, so tear them away.
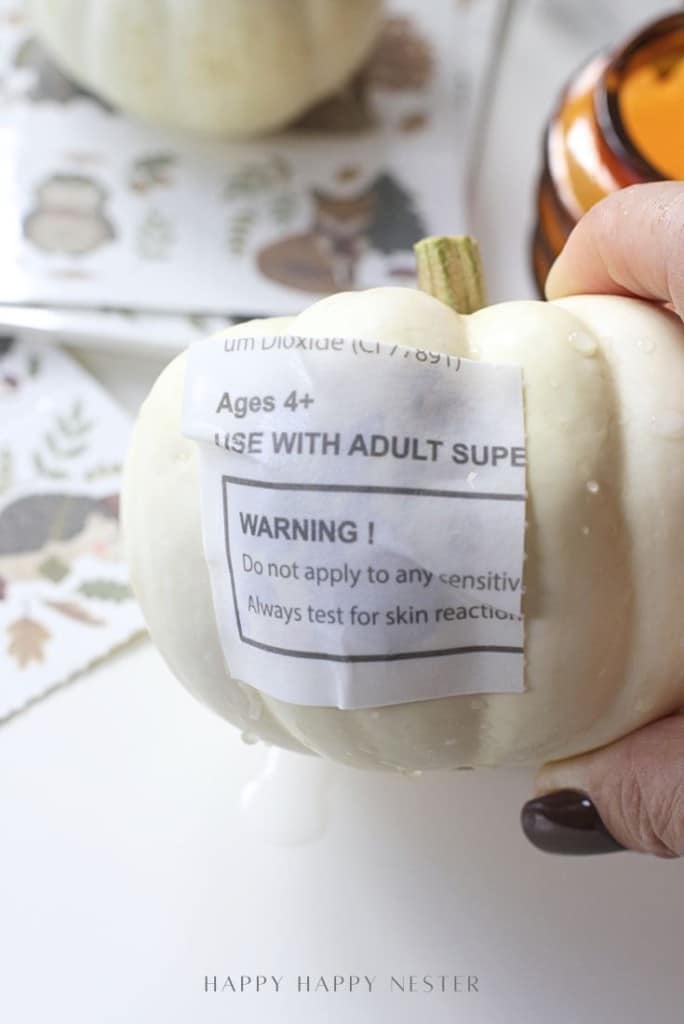
3. Apply the Tattoo
When choosing where to place your tattoo, make sure to find the smoothest and largest spot.
Peel off the clear cover on the front of the tattoo and place it face down on the pumpkin. Place the tattoo under the faucet and hold it in place while watering. In about 10 seconds, the paper will slip away from the tattoo and pumpkin when done. You can also us a damp sponge or paper towel against the tattoo for about 30 seconds.
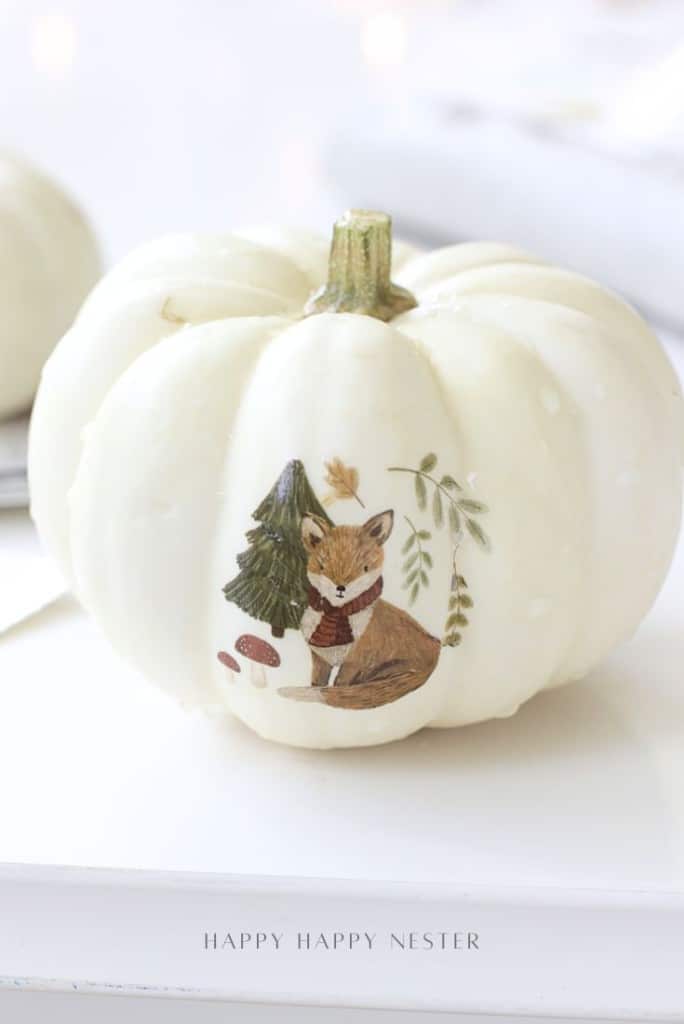
4. Peel & Reveal
Carefully peel back the paper to reveal the tattoo design. Let it dry for a few minutes.
5. Seal for Durability (Optional)
If you want your pumpkins to last longer, lightly spray them with a clear acrylic sealer.
Tips for Success
- White or light-colored pumpkins work best to show off the tattoo colors.
- If your pumpkin is bumpy, choose smaller tattoos for better adhesion.
- Mix and match tattoos for a whimsical pumpkin patch display.
- Try metallic tattoos for a glam look or floral tattoos for a boho vibe.
Display Ideas
- Centerpiece: Group a few tattooed pumpkins in the middle of your dining table.
- Porch Display: Mix tattooed pumpkins with plain ones for variety.
- Kids’ Craft Table: Let kids decorate their own pumpkins at a Halloween party.
- Gift Idea: Give a mini tattoo pumpkin as a hostess gift this fall.
Other Pumpkin Decorating Ideas without Carving
If you love this project, here are a few other no-carve ideas to try:
- Paint pumpkins with chalk paint and add stenciled designs.
- Cover pumpkins with patterned fabric or lace.
- Wrap pumpkins with twine, ribbon, or washi tape.
Pumpkin Decorating Ideas without Carving (Temporary Tattoos) are an adorable, affordable, and quick way to dress up your pumpkins this season. With woodland animal designs on my little white pumpkins, I’ve created a sweet and festive fall look without any of the carving hassle. Whether you’re decorating with kids, hosting a party, or want a stylish centerpiece, this craft is sure to become a new seasonal favorite!
Happy Crafting!

Blogger’s Best Pumpkin Craft Projects
French Glaze Pumpkin DIY | Craftberry Bush
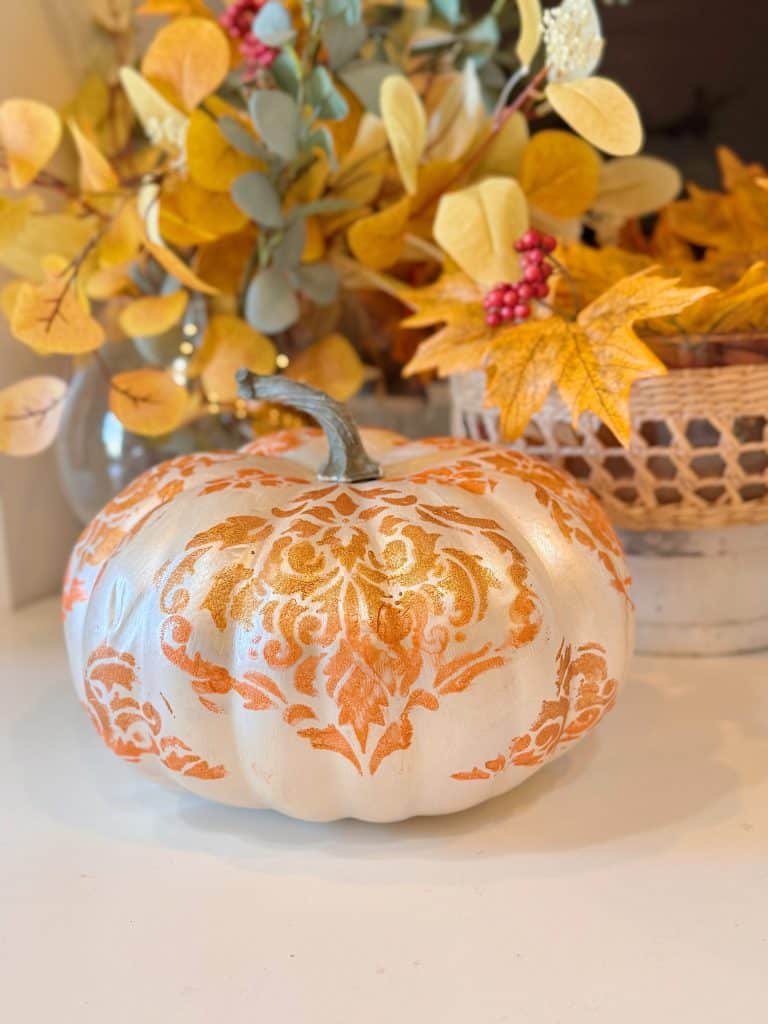
How to Make a Stenciled Painted Pumpkin That Looks Like a Designer Find | My 100 Year Old Home
I love taking something inexpensive and transforming it into a piece that looks like it came from a high-end store. That’s precisely what happened with this stenciled painted pumpkin project.
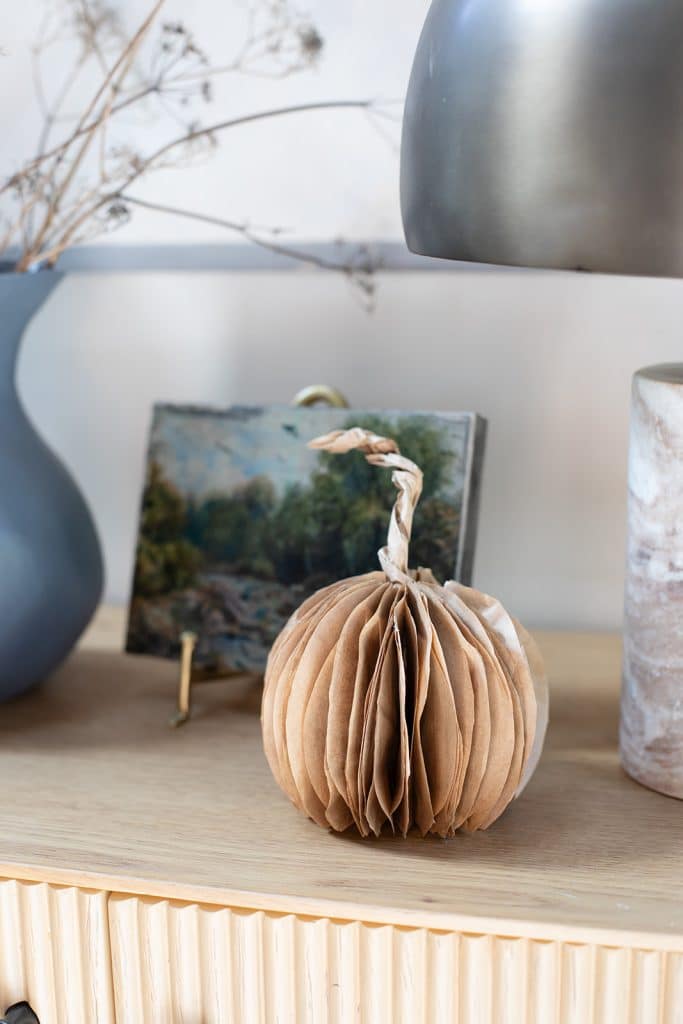
Free Pumpkin Decor Craft | My Sweet Savannah
Learn how to create free pumpkin decor craft using lunch sacks or grocery bags. This simple DIY is budget-friendly, 3D, and perfect for fall decorating.
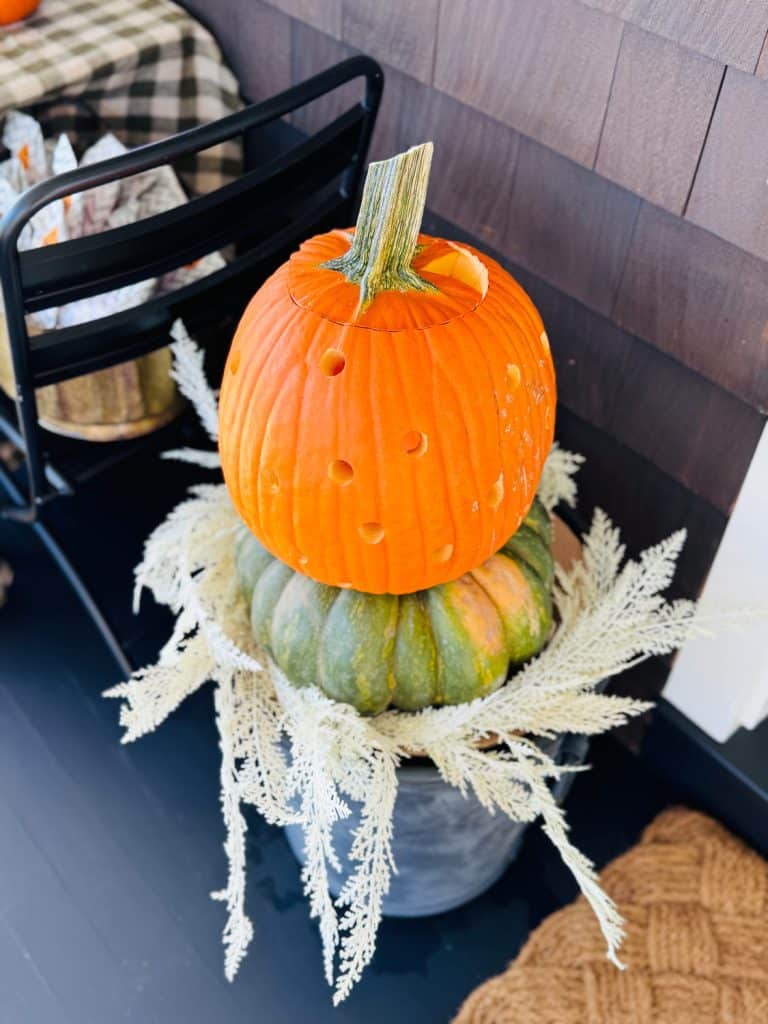
How to Make Polka Dot Pumpkins | Most Lovely Things
Make beautiful, glowing polka dot pumpkins using a drill.


- Spring Flower Wreath DIY - March 13, 2026
- Faux Nails from Walmart - March 11, 2026
- Easter Bundt Cake Recipe (Mini Lemon Bundt Cakes with Glaze) - March 6, 2026

")


MELAINE THOMPSON
THIS IS SERIOUSLY THE CUTEST IDEA EVER!