Creating a Pumpkin Vase is a fun and easy DIY project that’s perfect for autumn. It’s a unique and charming way to display flowers, transforming a plain pumpkin into a festive centerpiece. With just a few simple steps, your fall decor will have a delightful new addition.
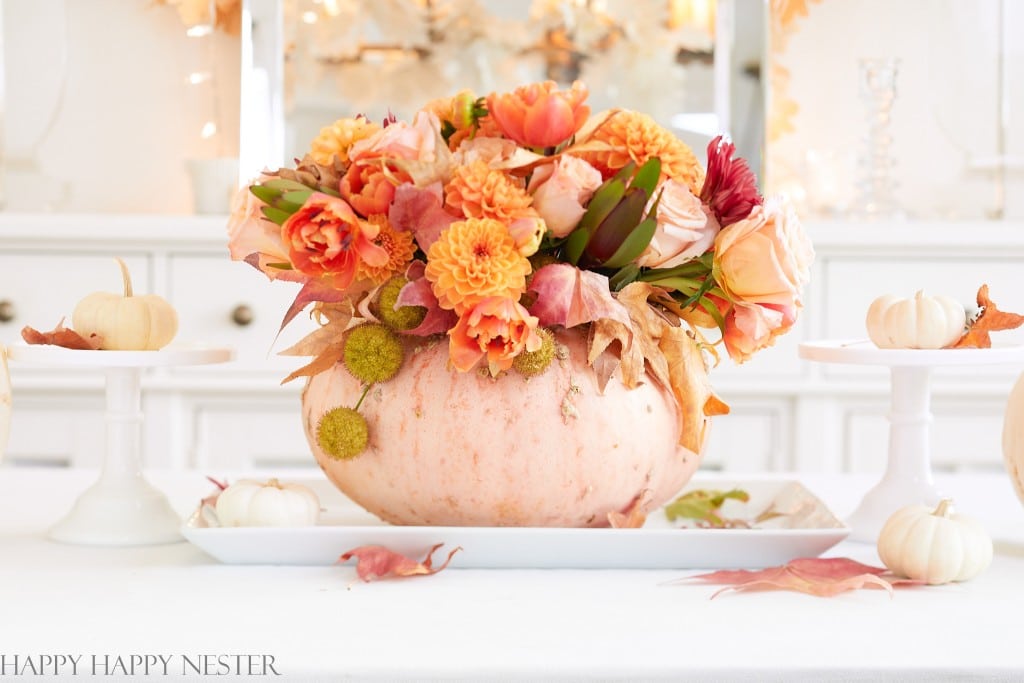
Explore our step-by-step guide on crafting your very own vase, adding a touch of fall to your home decor with this trendy and eco-friendly choice.
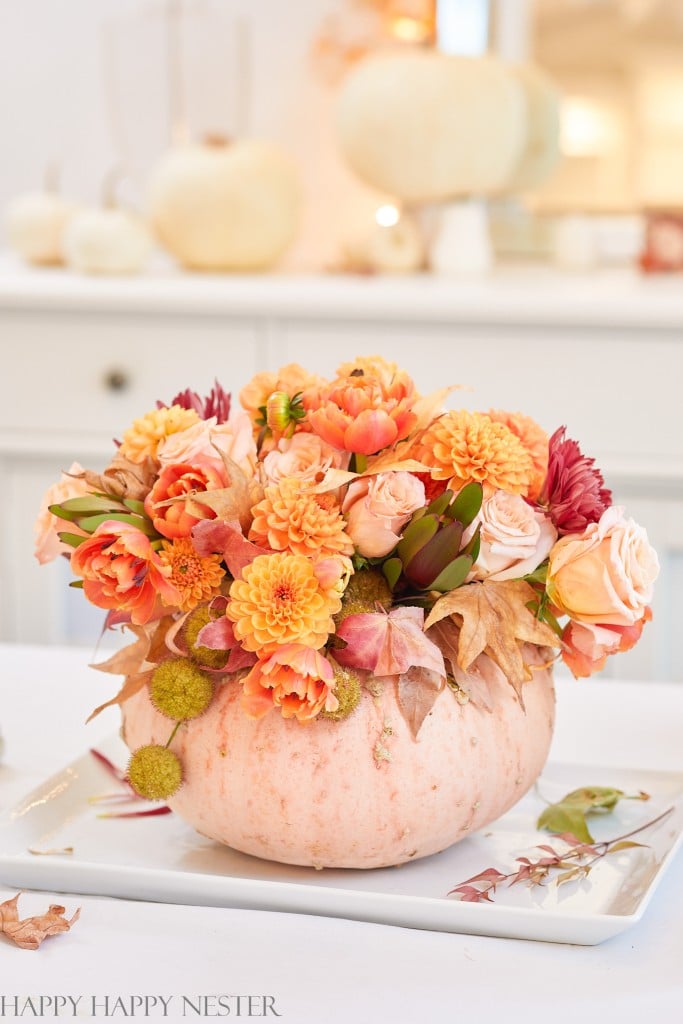
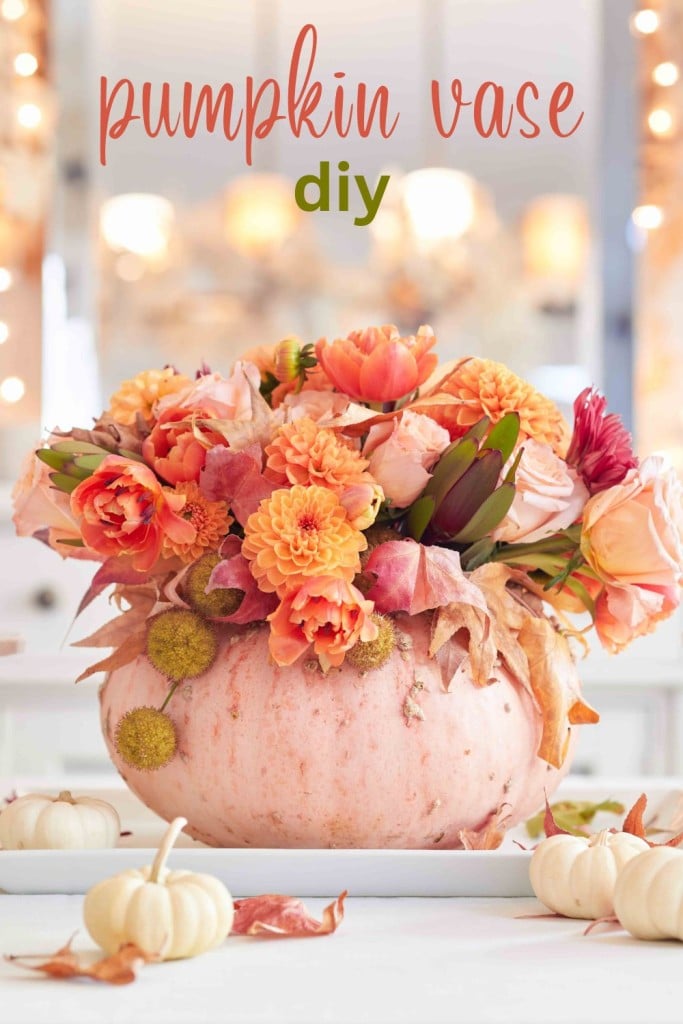
You’ve probably spotted these fantastic Pumpkin Vases on Instagram and TikTok, and they’ve been a popular trend for some time. I’ve always wanted to try making one myself. Recently, I finally carved out (no pun intended 🙂 ) and crafted a beautiful pink vase with a lovely fall floral arrangement.
After making it, I was surprised at how simple it was to create! It left me wondering why I hadn’t tried it sooner!
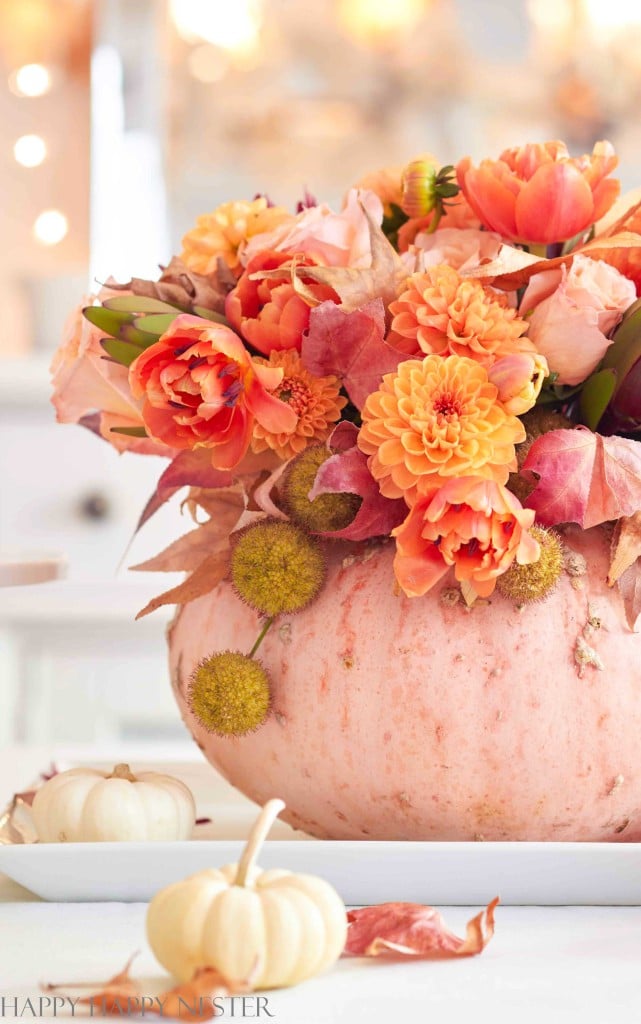
I adore flowers, and the pumpkin makes the perfect vase to display a bountiful arrangement of blooms.
WHY YOU’LL LOVE THIS PUMPKIN VASE
- Seasonal Twist: A pumpkin adds a unique and seasonal element to traditional flower arrangements, making it perfect for autumn festivities.
- Eco-Friendly: It’s an eco-friendly choice, using natural pumpkins instead of conventional vases, which is better for the environment.
- DIY Fun: Creating a Pumpkin Vase is a simple, enjoyable DIY project that offers a sense of accomplishment and creativity.
- Personalization: This project allows for personalization in home decor, with various sizes, colors, and styles of pumpkins to choose from.
- Conversation Starter: Pumpkin Vases are sure to impress guests, serving as beautiful and festive conversation pieces in any setting.
Let’s take a look at how to make a pumpkin vase this fall.
DIY PUMPKIN VASE INSTRUCTIONS
Pumpkin Vase Supplies
- Pumpkin: The project’s centerpiece, choose one large enough to fit your glass vase inside.
- Glass Vase: This will hold the water and flowers inside the pumpkin, ensuring the arrangement stays fresh.
- Pen: Essential for marking the area on the pumpkin where you’ll cut the opening.
- Knife: A sharp knife is needed for carving out the top of the pumpkin to insert the vase.
- Water: Fill your vase with water to keep your flowers hydrated and vibrant.
- Flowers: The final touch, select a mix of seasonal flowers to create a beautiful and eye-catching arrangement.
Step-by-Step Guide to Making a Pumpkin Vase
Step 1 – Select Pumpkin: Choose a pumpkin that’s large enough for your intended vase and flowers. Also, just a heads-up: make sure your vase isn’t way taller than your pumpkin. You want them to look nicely balanced together.
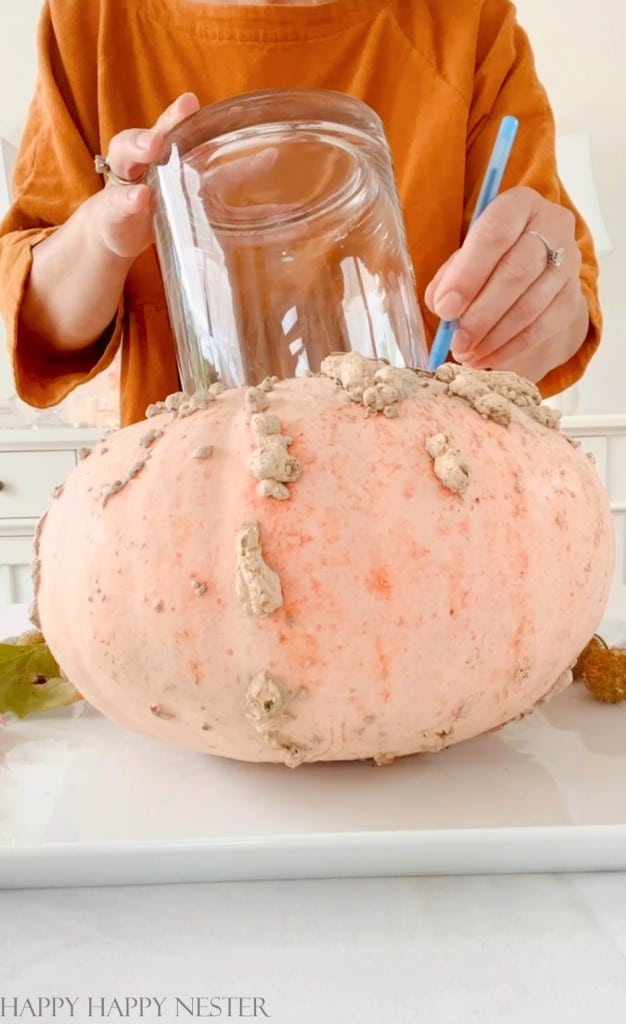
Step 2 – Mark the Opening: Using a pen, outline your vase on the top of the pumpkin where you plan to cut.
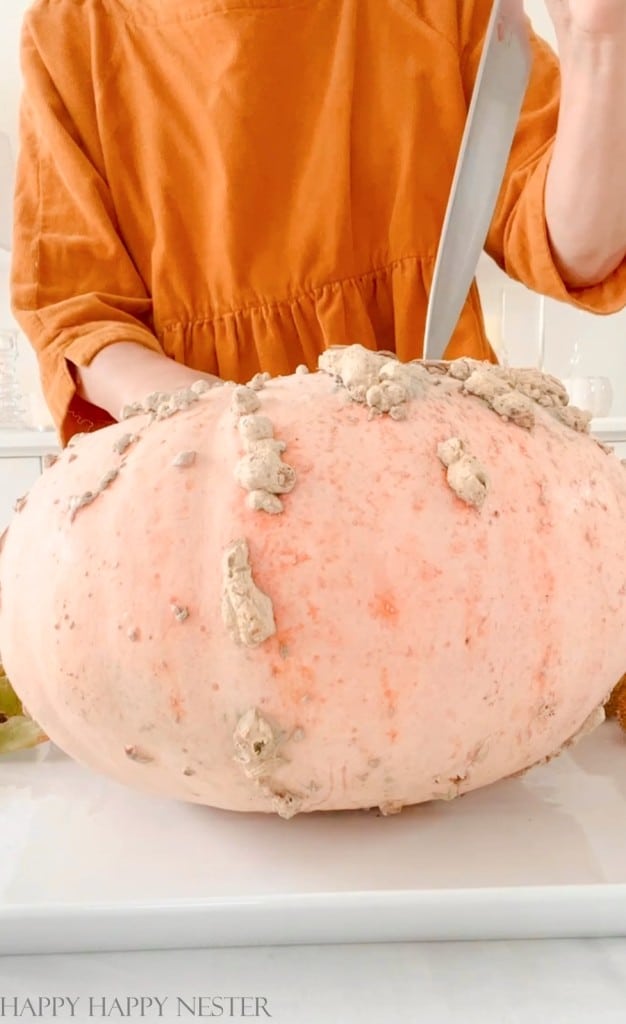
Step 3 – Cut the Top: With a sharp knife, carefully cut along the marked circle to remove the top of the pumpkin.
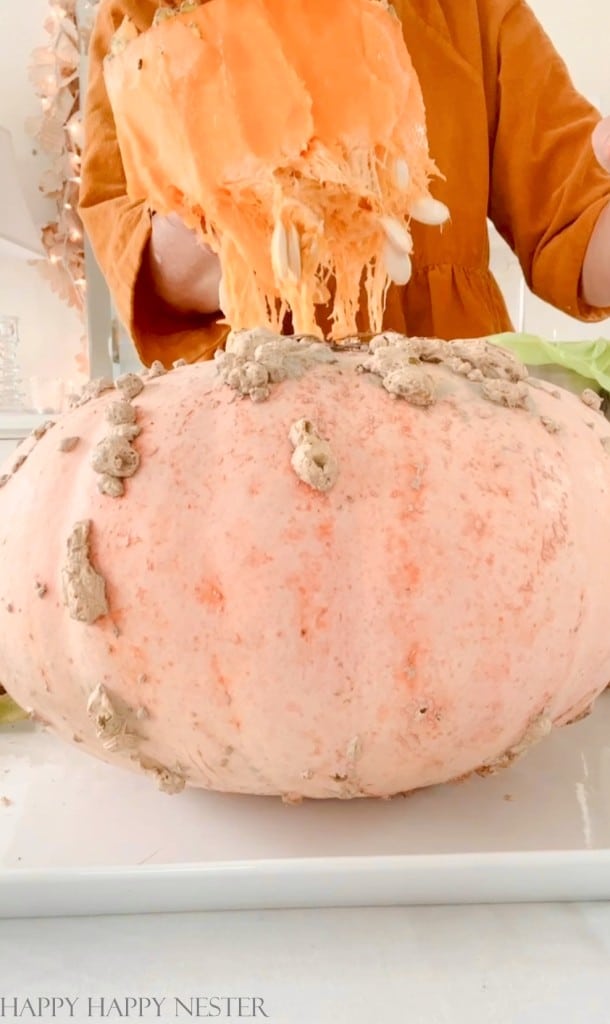
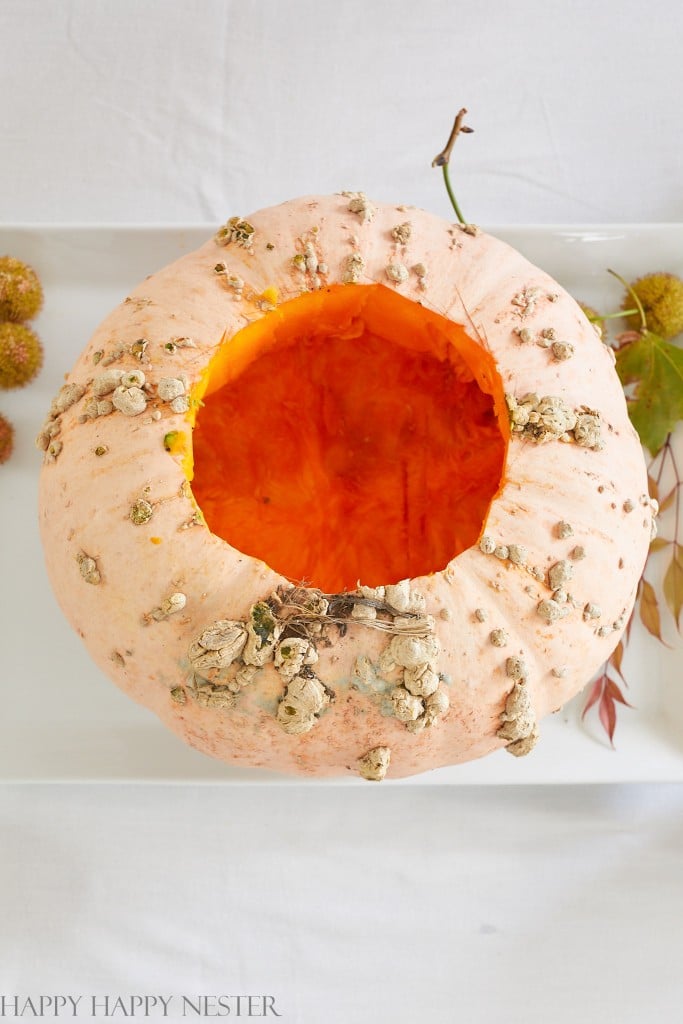
Step 4 – Scoop Out Insides: Remove all seeds and pulp from inside the pumpkin, creating enough space for the glass vase.
Step 5 – Add Water: Fill the vase with water and add flower perserver powder to nourish the flowers.
Step 6 – Arrange Flowers: Insert your choice of flowers into the vase, arranging them as desired.
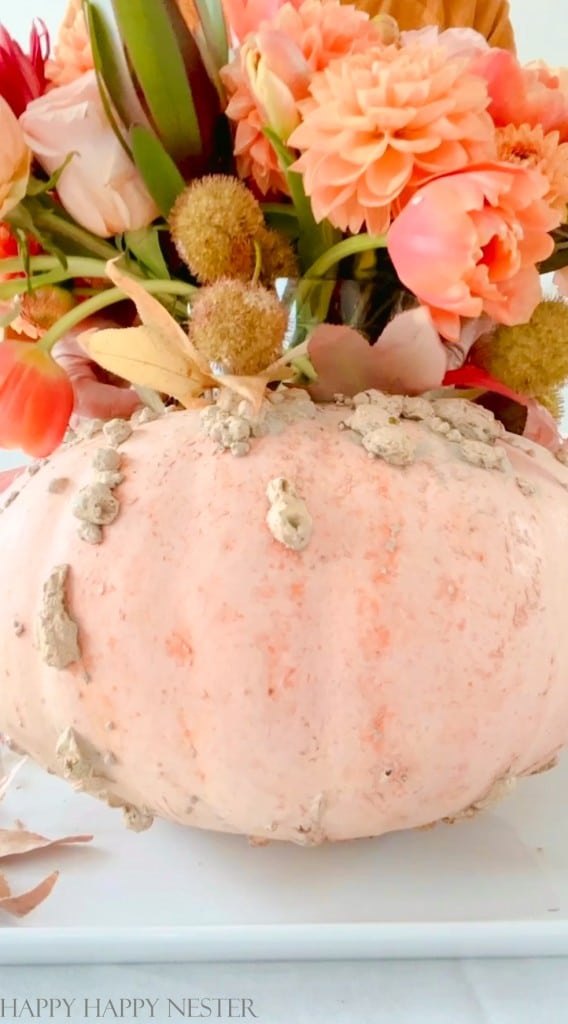
Step 7 – Insert Glass Vase: Place the glass vase inside the hollowed pumpkin. It should fit snugly.
Step 8 – Display: Place your Pumpkin in a suitable spot and enjoy your festive, autumnal creation!
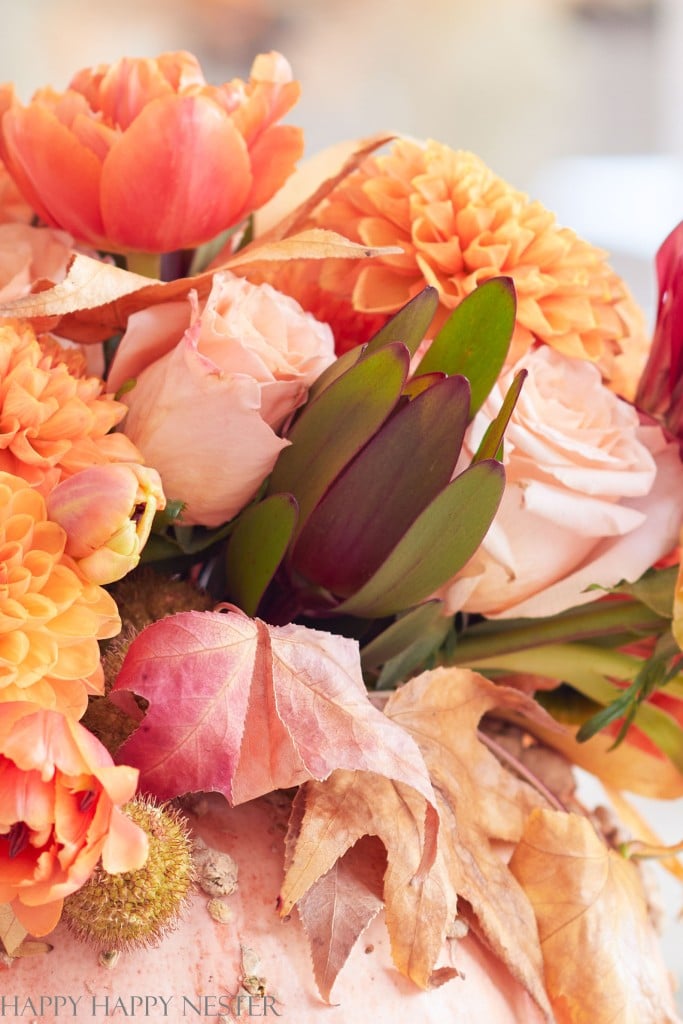
Here’s a List of the Flowers I Used
Here are a few things to consider when it comes to designing your flower arrangement for you pumpkin vase. By the way, I bought all my flowers from Trader Joes! I also have a popular Trader Joe’s Flower Arrangment DIY.
Fall Leave – A little note, add some fun elements from the trees in your area. I added some colorful fall leaves to give some pink and red accents to my flower arrangement.
Natural Elements – I found some Liquid Amber pods in my yard and included them for an organic touch and interest.
Color Coordination – I wanted a pink theme to match my pumpkin so I chose pink flowers as well as rust and orange.
- Orange Dahlias
- Orange Tulips
- Red Chrysanthemums
- Pale Pink Roses
- Greenery called Safari Sunset
- Liquid Amber Seed Pods
- Pink, Red, Orange Leaves
Here are different occasions and settings where to place your fall arrangment
- Autumn Wedding Decor: A pumpkin floral vase adds a charming, rustic touch to wedding settings, especially for fall-themed nuptials.
- Halloween: Perfect for spooky celebrations, it brings a festive and creative twist to Halloween decor.
- Thanksgiving Table Centerpiece: It serves as a beautiful and seasonal centerpiece, enhancing the Thanksgiving dining experience.
- Fall Home Accent: A Pumpkin Vase can be a cozy and stylish addition to your everyday autumn home decor.
- Harvest Festival Displays: Ideal for adding a touch of autumn charm to local harvest festivals or community events.
- Welcoming Entryway Decor: Placed in an entryway, a pumpkin floral vase warmly greets guests with its seasonal appeal.
Customizing Your Pumpkin
When it comes to customizing your Pumpkin Vase, the possibilities are as varied as your imagination.
One way to personalize is through the choice of pumpkin itself – varying in size, shape, and color, each pumpkin offers a unique canvas.
You can also experiment with different carving designs, from simple, elegant cuts to more intricate patterns, adding a creative flair to your vase.
Additionally, consider painting or decorating the pumpkin’s exterior with glitter, stickers, or ribbons to match your specific decor theme or color scheme.
MORE PUMPKIN PROJECTS
Maintaince and Care of Your Pumpkin
- Preservation Techniques: To prolong the life of your pumpkin, you can apply petroleum jelly or vegetable oil to the cut edges, which helps to seal in moisture and prevent premature decay.
- Regular Water Changes: For the flowers inside the vase, it’s important to change the water every few days to keep the arrangement fresh and to prevent any foul odors from developing inside the pumpkin.
- Temperature Consideration: Keep the pumpkin in a cool area away from direct sunlight and heat sources. Pumpkins tend to rot faster in warm temperatures, so a cooler environment helps to maintain its integrity for a longer period.
HOW LONG DOES A PUMPKIN VASE LAST?
The lifespan of a Pumpkin Vase can vary depending on several factors, but typically, it can last anywhere from 5 to 14 days. The key factors that influence its longevity include:
- Type of Pumpkin: Some pumpkin varieties have thicker skins and last longer than others.
- Environment: Cooler temperatures and lower humidity levels can help extend the life of a Pumpkin Vase.
- Preservation Methods: Applying preservation techniques, such as coating the cut edges with petroleum jelly or vegetable oil, can slow down the decaying process.
- Care and Maintenance: Regularly changing the water in the vase and keeping the pumpkin away from direct sunlight and heat sources also contribute to its longevity.
To get the most out of your pumpkin, choose a fresh pumpkin to start with, and follow these care guidelines to extend its decorative life as much as possible.
Keep a close watch on your pumpkin; once it begins to deteriorate, it can quickly become soft and rotten, potentially causing a mess on your table.
I had a blast making this fall centerpiece! It’s amazing how it brings a unique and natural beauty to my flower arrangement, and it’s surprisingly simple to make. I really hope you get to try making one too, especially as a stunning and easy addition to your Thanksgiving table.
Cheers,

Photo Credits: MyPhotography.com

- Heart Shaped Brownies Recipe - February 13, 2026
- Framed Artwork from Amazon - February 12, 2026
- Chocolate Covered Quinoa Recipe - February 5, 2026
Leave a Reply