
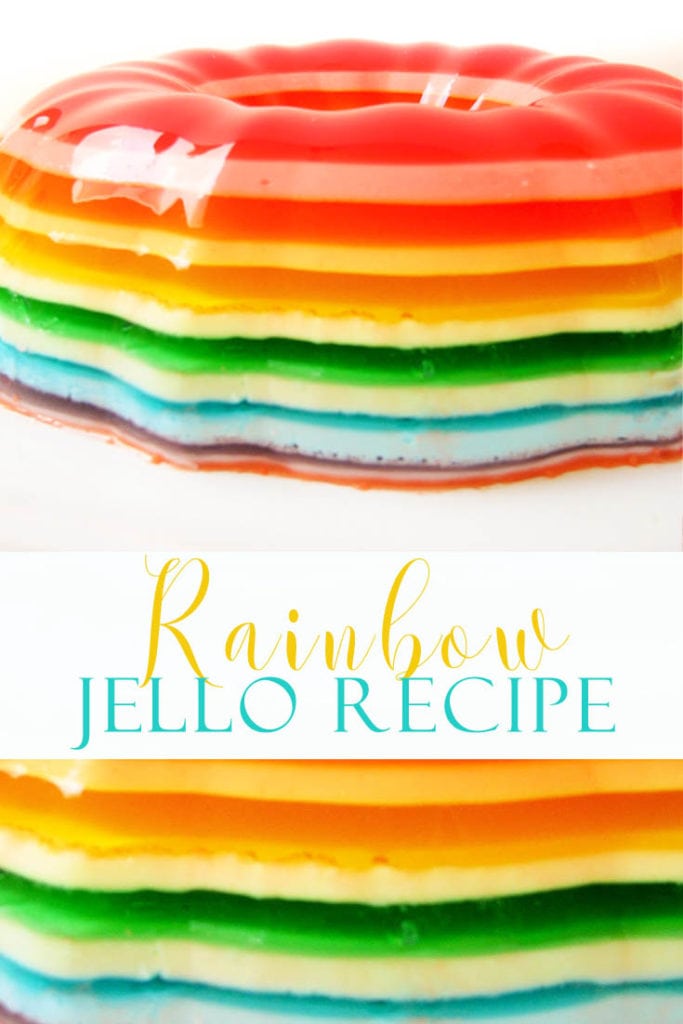
Rainbow Jello
I wish I could invite you all to one of my Grandmother’s parties. She is the loveliest hostess I have ever encountered. She organizes incredible dinners and the most magical holiday parties I’ve ever attended. I also wish I could invite you to her couples dinner parties, book club luncheons, and theatrical events. She’s pretty special.
One of my favorite dishes that she makes is Rainbow Jell-O. I know, you’re thinking “Jell-O?” YES! Jell-O. Her rainbow Jell-O is a family favorite and a dish we look forward to at family gatherings. I could write more about her coloring contests, animated storytelling, festive décor from wall-to-wall, personal notes and scrapbooks, but her Jell-O is a the “creme de la creme” of our family parties. I would even call it edible art.
Grandma shared her recipe with me for an event I was having a few years ago, and I’ve been making it ever since. It takes some time, but this dish is 100% worth it. You will “wow” your guests and never have leftovers! It’s important to note you should avoid making this dish the day of a party, always prepare it the day before or even two days before if you’re very busy. Gelatin needs time to cool and set.
Here is the list of ingredients:
6 colors of Jell-O in the 3oz boxes; red, orange, yellow, green, blue, purple
6 cups boiling water
3 cups sour cream – 1/2 cup for each color
3 cups ice water – 1/2 cup for each color (I fill a pitcher with ice water)
Gelatin mold or bundt pan
Kitchen Timer
Whisk
Mixing Bowl
Sauce Pan
 |
| Here is a link to buy Jell-O in every color. |
Instructions:
I hope I can explain this in a way that is systematic and easy to understand. The process takes the whole day, or at least 5 minutes here and there for the day. I would suggest making this on a day that you are doing laundry or binge watching Downton Abbey. Just be patient and imagine a masterpiece, it’s worth it, I promise.
Before mixing and creating Jell-o magic, get out all of your ingredients. Put the bundt pan in the fridge so it can chill. Make a pitcher of ice water, whatever you don’t use for gelatin making you can drink later. Water is good for you!
Start with one color, I like to begin with RED:
* Boil 1 cup of water in a saucepan.
* Add one gelatin packet to boiled water and stir for 2 minutes. Now…
* Measure 1/2 cup sour cream and put in mixing bowl. Measure 1/2 cup of the hot gelatin mixture and combine with sour cream in the mixing bowl. Whisk gently to blend the cream and gelatin.
* Add 1/2 cup of ice water to the remaining gelatin mixture in the saucepan and stir.
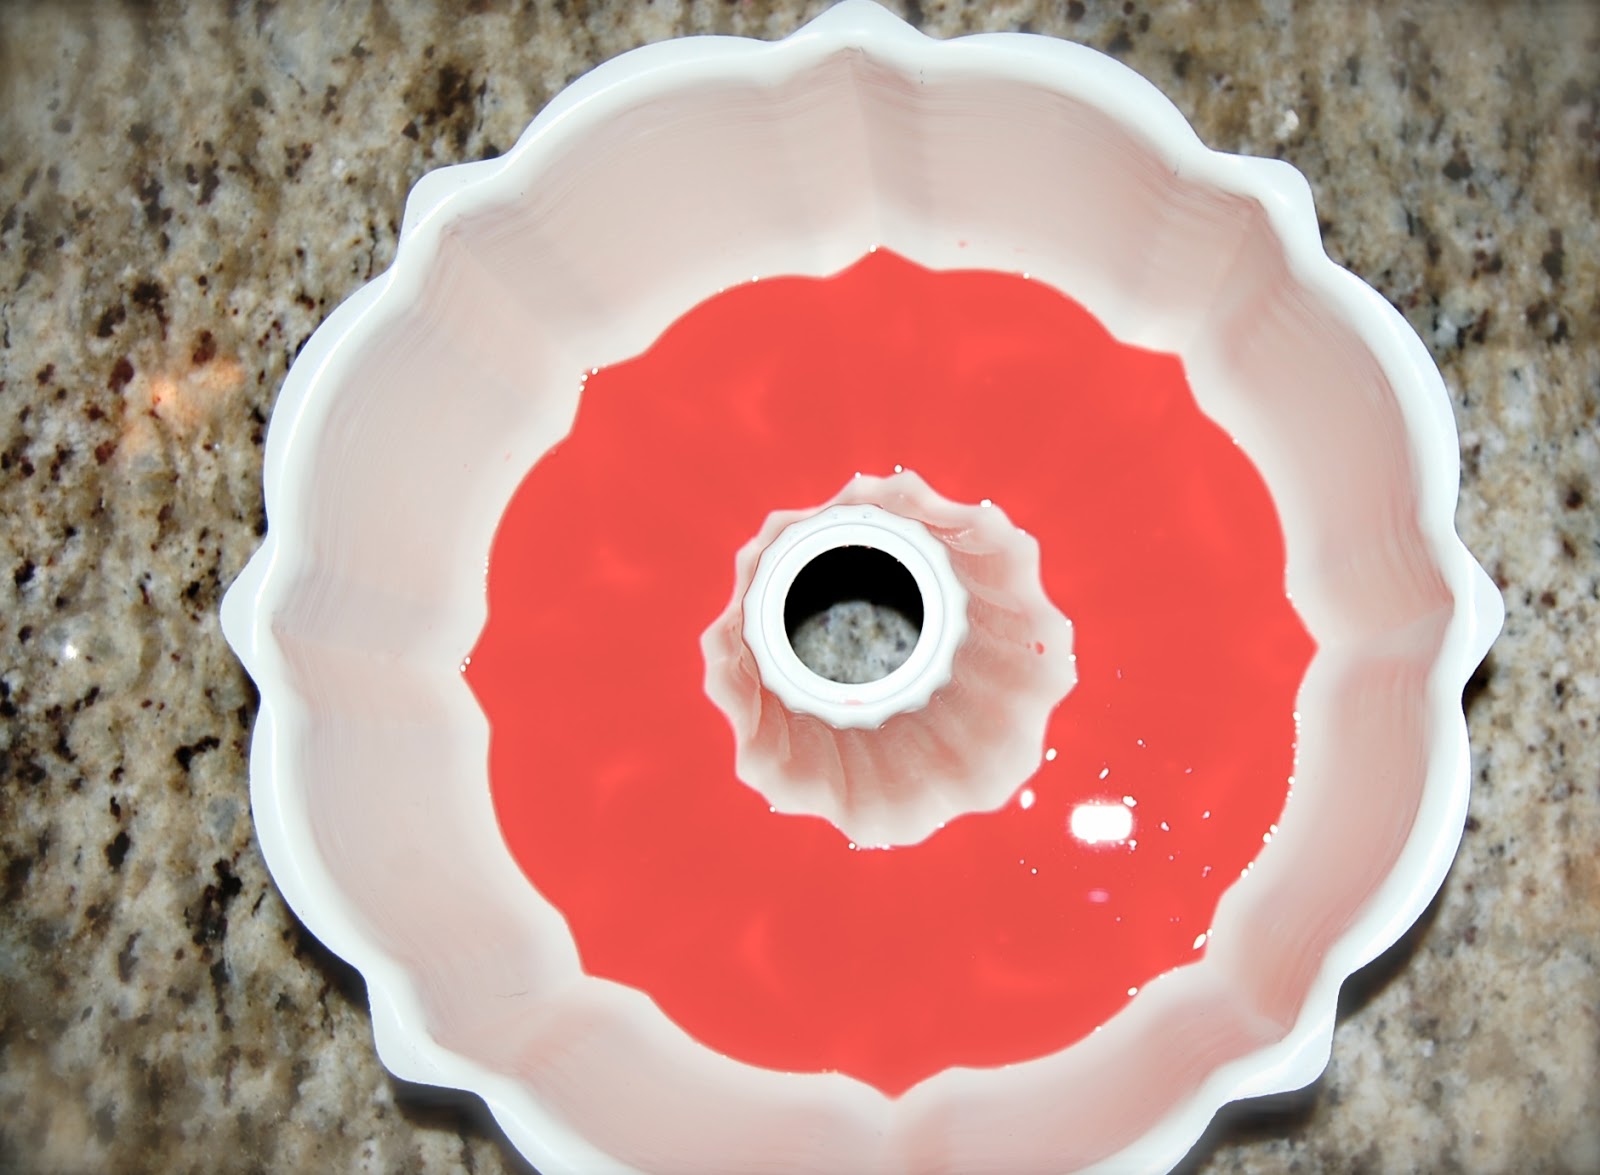
You should have one clear red mixture and one creamy pink mixture in the mixing bowl.
Spoon or ladle the clear red mixture into the chilled bundt pan. Place it gently in the fridge and set
your timer for 30 minutes. Place the sour cream mixture in a cool place in your kitchen. I don’t want to put the sour cream mixture in the fridge, or it will set up and you won’t be able to add it to the next layer. As long as I’m timing this process I’m confident about leaving it out for a little while. When the timer goes off I ladle the sour cream mixture onto the clear red gelatin that should be mostly firm. It’s important to spoon or ladle the mixture gently onto the layer below. Otherwise, the clear and creamy gelatins will combine, and I won’t have defined layers. If I do happen to break the layer and the colors start to mix, I just tell my guests that I did that on purpose. I like to call it “Tie-dye Jell-O.” My kids or guests love it!!
It’s time for step 2:
Pick a color, I like to use ORANGE:
Repeat the instructions above. Each box of Jell-o takes about 30 minutes to an hour to set up. Some people have the fortunate luck that their Jell-O sets up in 15 minutes. I am not one of those people. This means I can do each color section in roughly under an hour and still get things done around the house. I usually decorate for the party or check in on Mary Crawley, of Downtown Abbey, and her newest love interest. I’m still mourning the loss of Matthew and don’t even get me started on Sybil…. insert weeping sounds here.
Now that I’ve done RED and ORANGE, it’s time to do the other colors, YELLOW, GREEN, BLUE, and PURPLE. When I start making the blue layer, I get excited. I’m so curious about how the other layers of Jell-O are doing. Remember clear layer, then creamy layer, clear layer, then creamy layer. Easy right?!
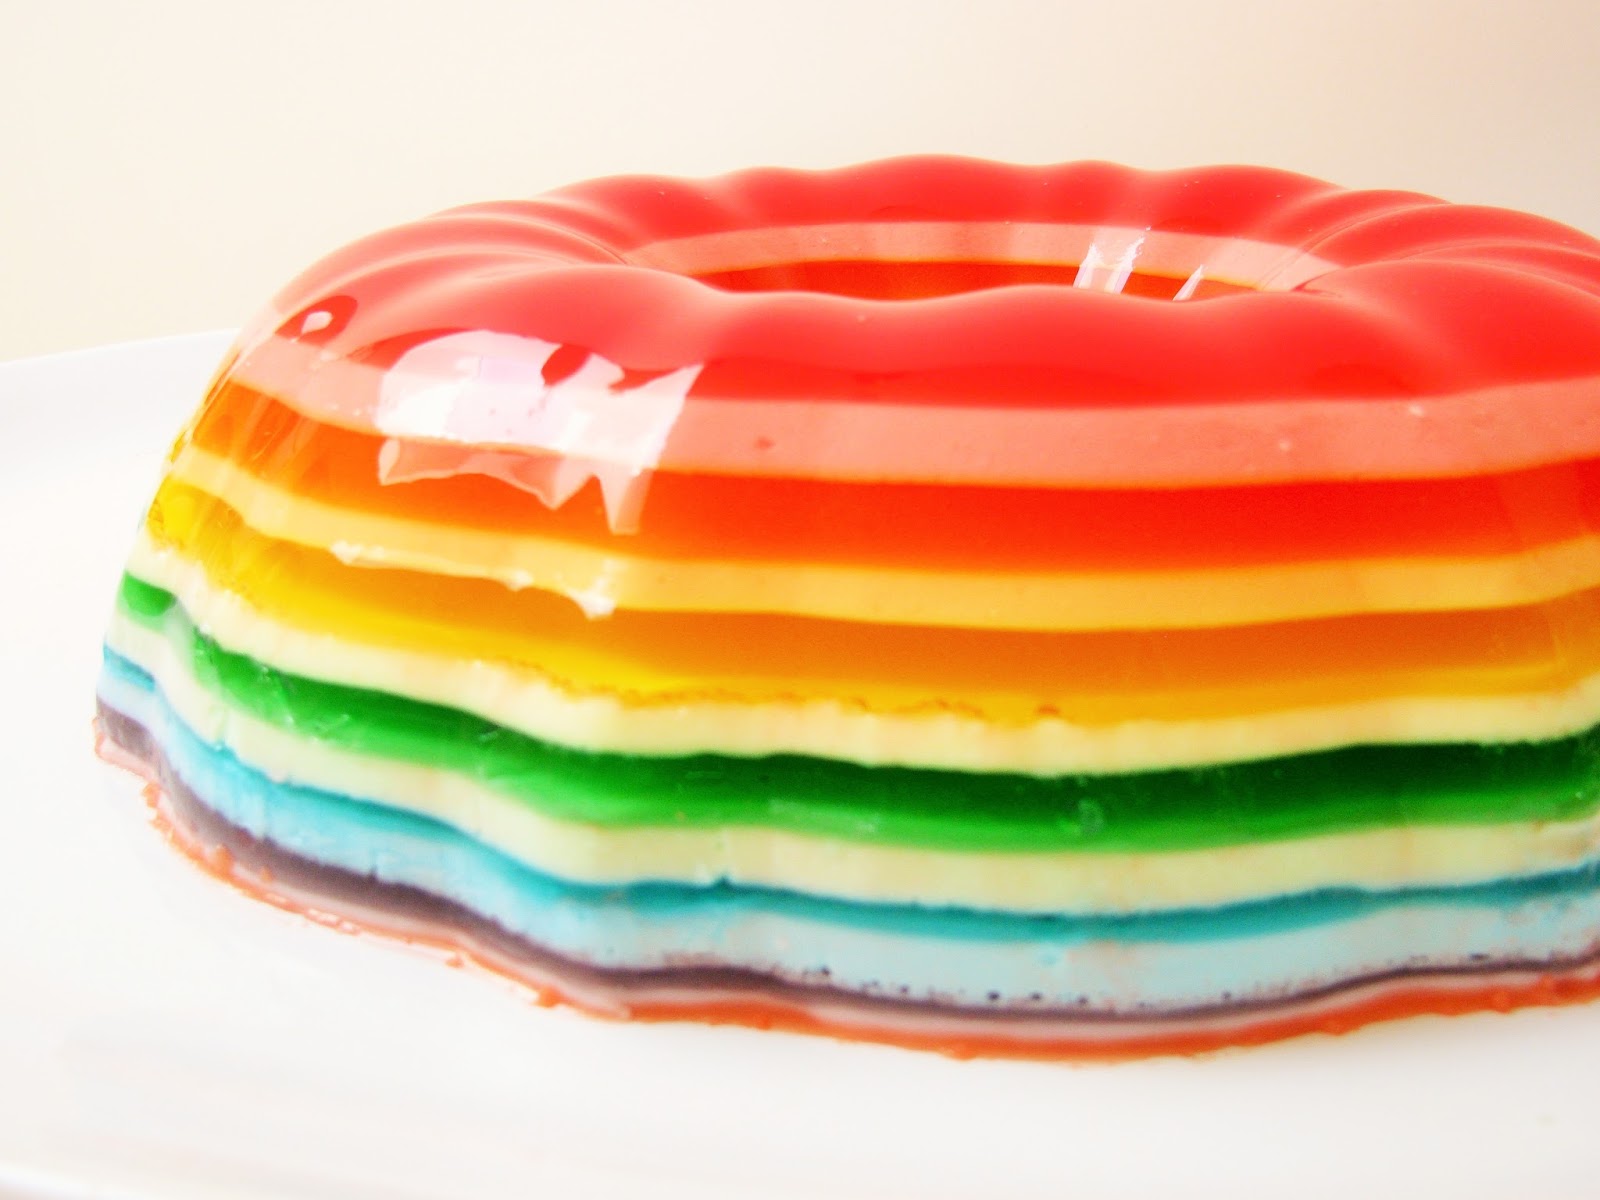
Once I’ve got all of my Jell-O layers poured and stacked I should have a lovely lavender layer at the top. I place the bundt pan very gently in the fridge and let it rest overnight. I have even let it rest two nights depending what’s going on at our house.
To unmold the Jell-O, I fill a sink or container with warm water. Rest the bundt pan in the warm (not hot) water for about 10- 20 seconds, not too long or it will start to melt… right Janine? Ha ha ha. We had a short, panicky moment when unmolding our Jell-O. Then with clean fingers loosen the sides of the Jell-O from the sides of the bundt pan. Squeeze the bundt pan firmly, but gently on all sides to loosen the gelatin from the mold. I place the serving platter upside down on top of the bundt pant. Invert the bundt pant and platter. Gently squeeze the bundt pan to help release the Jell-O. Very slowly lift the bundt pan and reveal the rainbow creation.

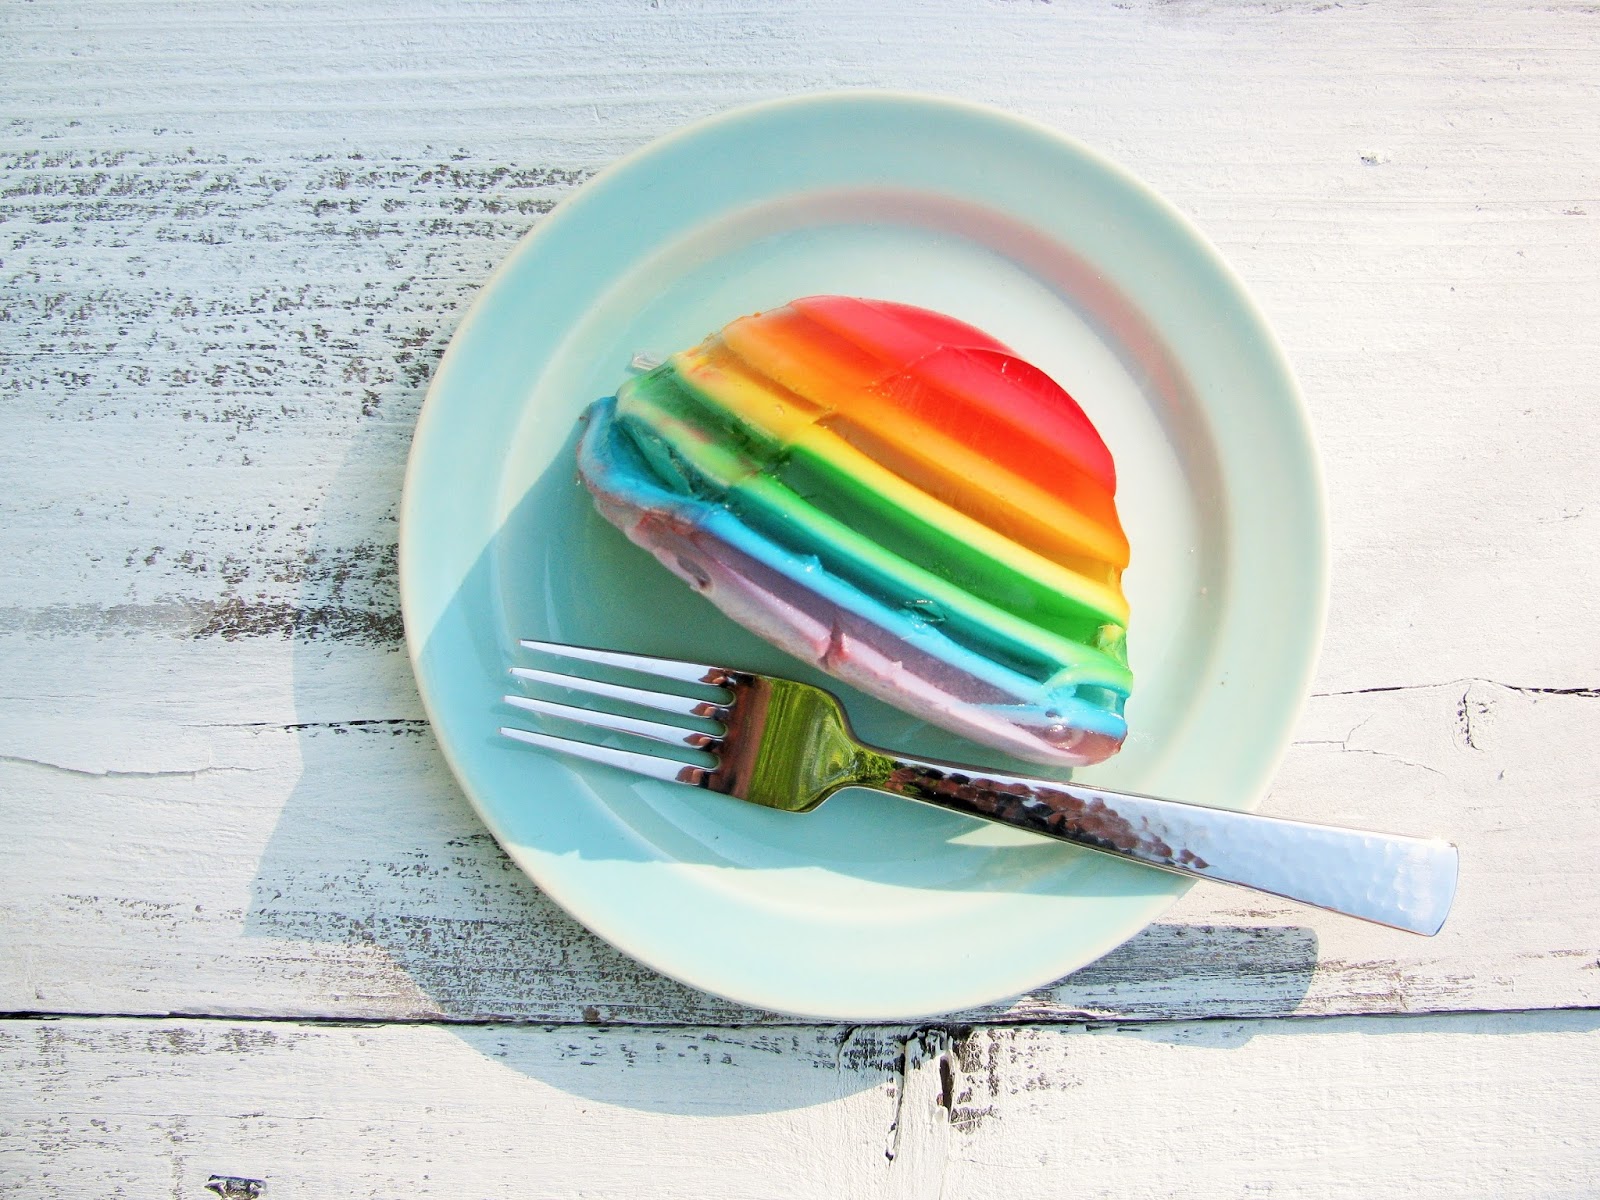
Ta-da! Now that we’ve successfully unmolded our rainbow Jell-O we can serve it. Sometimes I like to add fruit to garnish the platter. This dish has an excellent combination of fruit flavors, and the sour cream adds a yogurt-like texture. I’ve made this recipe a dozen times. I’ve also made many variations of it. For example, I’ve substituted the sour cream with sweetened condensed milk (who doesn’t love sweetened condensed milk?) or yogurt. You can use gelatin colors based on what you have in your pantry or whatever event you’re celebrating. I love to make red, white and blue Jell-O for the fourth of July or red and green Jell-O for Christmas parties. The other way I make this dish is in a clear pyrex lasagna size pan. You can still see all of the rainbow colors, but you don’t have the stress of unmolding it. My son loves when I make layers of just orange flavored Jell-O and add mandarin oranges to it. It’s Magnifique!
However you try this recipe, I hope you enjoy it. I know your family and guests will love it. It’s an inexpensive and beautiful looking side dish, and you won’t have any leftovers.
Bon Appetite!


- Recipes For Springtime - March 28, 2026
- Irish Soda Bread Recipe (with Buttermilk) - March 26, 2026
- Outdoor & Indoor Faux Flowers from Amazon - March 25, 2026


Colette Joseph
Showed this to Daisy and now she wants me to make it for her.
Not sure I have Marci's talent! xo
Debbie Harrington
Can plain yogurt be used instead of sour cream?
happyhappynester
I always substitute greek yogurt for sour cream!