• Skip to main content
  • Skip to header right navigation
  • Skip to site footer
  • About
  • Contact
  • Boutique of the Week
    • Facebook
    • Instagram
    • Pinterest
    • Twitter

Happy Happy Nester

Weekly Inspiration for Your Nest

  • Recipes
    • Appetizers
    • Breakfast/Brunch
    • Desserts
    • Dinners
    • Drinks
  • Crafts
  • Decor
  • Shop
    • Fall Decor
    • Kitchen
    • Pillows
    • Holiday Decor
  • Amazon Store
  • Recipes
    • Appetizers
    • Breakfast/Brunch
    • Desserts
    • Dinners
    • Drinks
    • Snacks
  • Crafts
  • Decor
  • Shop
    • Fall Decor
    • Kitchen Favorites
    • Pillows
    • Holiday Decor
  • Saturday Chitchat
  • Boutique of the Week
  • About
  • Contact
  • Facebook
  • Instagram
  • Pinterest
  • Twitter

See What’s Trending…

Cakes

Cookies

Dinners

Wreaths

Drinks

Home › Crafts › Sea Glass an easy DIY project

Sea Glass an easy DIY project

Crafts Decor DIY
By Janine Waite · Published on May 29, 2013
Affiliate Disclosure: This Post May Contain Affiliate Links.
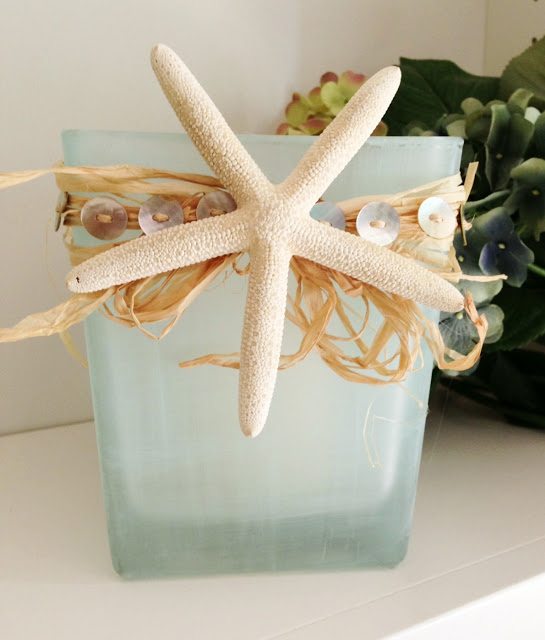
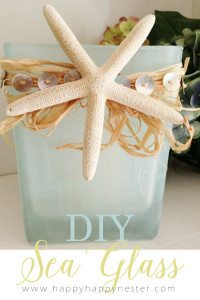
sea glass holder
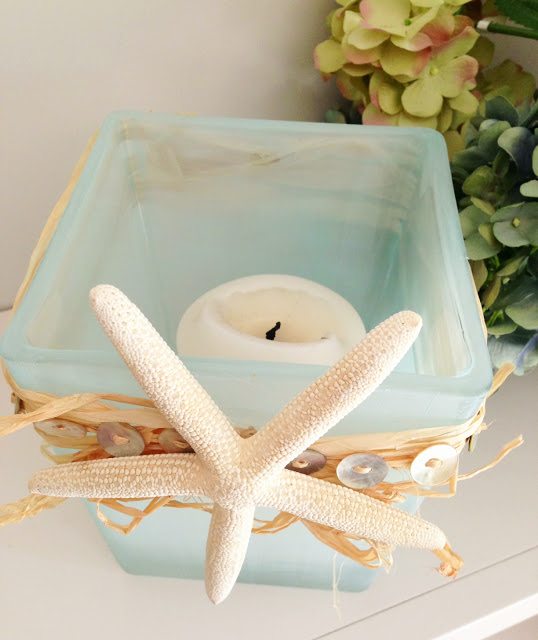
 Sea Glass Candle Holder
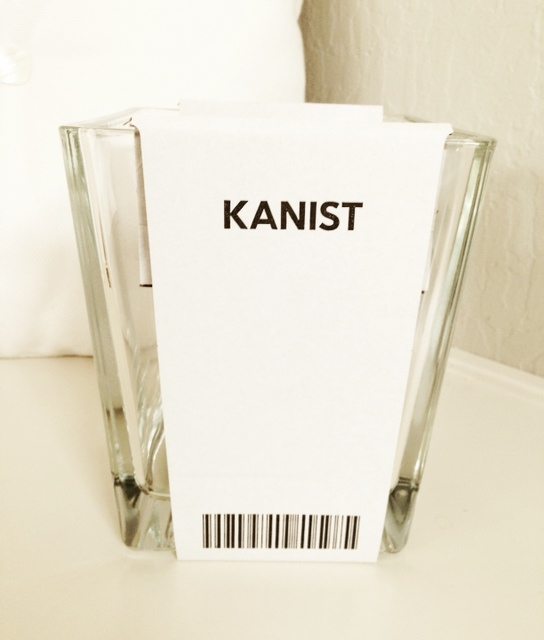
I love sea glass and I love the ocean. Our home here is California has a little bit of coastal decor that is light and airy. I wanted to create a little beach retreat in our master bedroom and wanted some sea glass decor. Instead, of buying the expensive Pottery Barn sea glass, I decided to make my own glass. This is a fun and easy project and I’m confident that you’ll be pleasantly surprised with the lovely results! This truly is a really quick project and it requires three items: a glass object like a bottle or vase, paint and a brush. I bought a vase from Ikea and of course, it was very inexpensive.
~ A Note About the Nester ~
When I was a child, my family, and our aunts, uncles, and cousins, would pack up all our food and umbrellas and head to the beach. We would stay all day long and just hang out and play. I have many fond memories of those adventures with my family.
glass vase
Sea Glass Instructions
Clean the surface with rubbing alcohol and let it dry.  Next cover the outside surface with Martha Stewart’s glass paint.  It comes in many colors, but the Frost one looks most like sea glass.
Make sure to paint your brush strokes in one direction.  Let it dry for about 20 minutes, then apply another coat painting brushstrokes in the opposite direction, this prevents streaking.
glass paint

 I’ve made it easy for you by providing the link. Here is the link on Amazon:  Martha Stewart’s Paint 

sea glass starfish
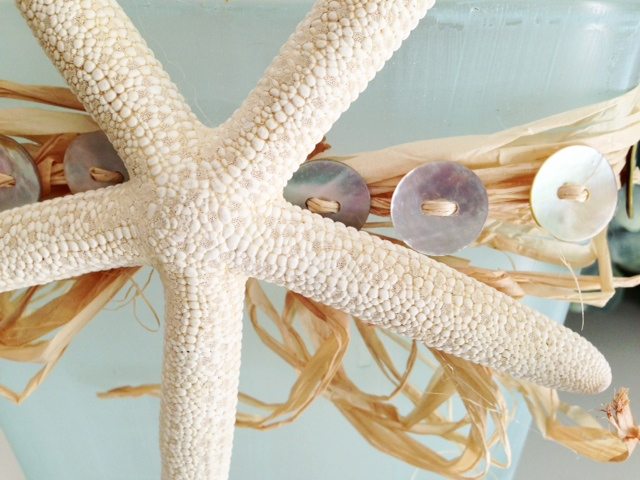
I wanted to add more of the ocean themed objects so, I added a starfish, raffia and mother of pearl buttons. Don’t you think that the raffia has the feel of dried grass that is near the ocean?
sea glass close up
Thanks for visiting! I hope you enjoyed the post and are inspired to add a little sea glass to your home!
Cheers,
 sea glass post signature

 sea glass pin

  • Author
  • Recent Posts
Janine Waite
Follow me
Janine Waite
I named my blog Happy Happy Nester because I love everything related to the home. I’ve always enjoyed decorating my surroundings. Get cozy and stay for a bit, thanks for visiting!
Janine Waite
Follow me
Latest posts by Janine Waite (see all)
  • How to Make a Tender Juicy Steak - May 8, 2025
  • My Favorite Flower Crafts - May 3, 2025
  • Easy Corkboard Placemats DIY - May 2, 2025

You May Also Like

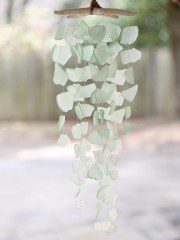
  • sea glass beach decor mobile green
    Sea Glass Beach Decor and More
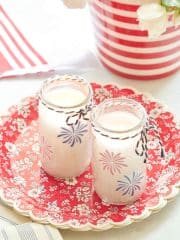
  • DIY-Glass-Candle-Holder-Decoration-1
    DIY Glass Candle Holder Decoration
  • hygge with candles 6
    Add Hygge To Your Home with Candles
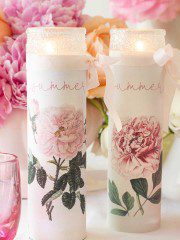
  • halloween decor ideas
    DIY Halloween Decor: Printable Candle Label

Sharing This!

  • Facebook
  • Twitter
  • Email

Reader Interactions

Comments

  1. Mina

    July 09, 2013 at 4:28 pm

    That's such an awesome idea! I love the maritime look.:)

    Reply
  2. Janine Waite

    July 15, 2013 at 5:43 pm

    Hi Mina, thanks for dropping by! Btw, I did reorganize my pantries, I went and bought some great containers and they stack on top of each other. I'll try and take a photo and post them for you. I've been a little busy with my kids this summer!

    Reply
  3. jelly andrews

    August 21, 2013 at 10:37 am

    That’s indeed an easy project. One doesn’t need to be super talented and crafty in order to make that cute candle holder. Oh! I will surely give this DIY project a try. Thanks a lot for sharing this idea.

    Reply
  4. Janine Waite

    August 22, 2013 at 8:10 pm

    Hi Jelly~ thanks so much for visiting my page! Yes, this project is so easy with such great results. I love when that happens! Let me know how your project turns out! Janine

    Reply
  5. Christina

    March 15, 2016 at 7:59 am

    So pretty and so simple! A perfect candle holder for summer too which is JUST around the corner! I can’t wait 🙂

    Reply
    • happyhappynester

      March 17, 2016 at 5:52 pm

      Ah, thanks Christina! You are so sweet to comment and visit the blog! I hope you have a chance to make this really simple craft!

  6. Jen

    May 11, 2016 at 7:50 am

    How do you tie the raffia? It looks so good!!

    Reply
    • happyhappynester

      May 11, 2016 at 2:45 pm

      Hi Jen,
      I just separated out a few strands of raffia and then just tied a bow. I did hot glue the raffia to the backside of the glass. I hope this makes sense. Thanks so much for your question and visit!

  7. Sam@Raggedy Bits

    August 07, 2016 at 8:55 pm

    Love how this turned out and the effect the spray has made on the glass! I love the sweet buttons too! They add such a sweet touch!

    Thank you for sharing over at Waste Not Wednesday! 🙂

    Reply
  8. Kellie

    August 08, 2016 at 3:42 am

    I LOVE this!! and thank you for linking up to waste not wednesday!!

    Reply
    • happyhappynester

      August 18, 2016 at 5:27 pm

      Ah, Thanks so much Kellie! Please forgive me for my late reply. Thanks so much for the feature, I really appreciate it!

  9. Summer

    August 12, 2016 at 8:29 pm

    This is just adorable, Janine! I want to make this with friends at the beach house next month!

    Reply

Leave a Reply Cancel reply

Your email address will not be published. Required fields are marked *

Recipe Rating


Sidebar

Janine the Nester

Hello from the Nester

We love everything related to home, so get cozy and stay for a bit. Thanks for visiting our blog. Learn More...

Reader Favorites

The Best Crunchy Crispy Chocolate Chip Cookie

This Italian Cream Cake has a pumpkin cream cheese frosting that makes this a winning combination. This dessert is perfect for the holidays.

Italian Cream Cake with a Twist of Pumpkin

French Apple Custard Tart with Puff Pastry

DIY Paper Flowers Tutorial (Tissue Paper)

Upcycling Tin Cans with Scrapbooking Paper

How to Make a Paper Flower Wreath DIY

Popular Categories

  • Cakes
  • Cookies
  • Dinners
  • Wreaths
  • Organizing

Join Our Newsletter

Join our mailing list to receive the latest news and updates from our team.

You have Successfully Subscribed!

AFFILIATE DISCLOSURE:
I am grateful to be of service and bring you content free of charge. In order to do this, please note that when you click links and purchase items, in most (not all) cases, I will receive a referral commission. Your support in purchasing through these links enables me to keep my design and customization prices ridiculously low and empower more people worldwide to blog with less worry and less hassle.
Happy Happy Nester is a participant in the Amazon Services LLC Associates Program, an affiliate advertising program designed to provide a means for sites to earn advertising fees by advertising and linking to amazon.com.
Thank you! :)
-Happy Happy Nester

Our Guide

Join Our Newsletter

Join our mailing list to receive the latest news and updates from our team.

You have Successfully Subscribed!

  • Facebook
  • Instagram
  • Pinterest
  • Twitter

Recipes

Appetizers
Breakfast/Brunch
Desserts
Dinners
Drinks

Crafts & Decor

DIY
Gardening
Holiday
Wreaths

About

About The Nester
Contact
Privacy Policy

Copyright © 2025 · Happy Happy Nester by Janine Waite · Privacy Policy

↑ BACK TO TOP