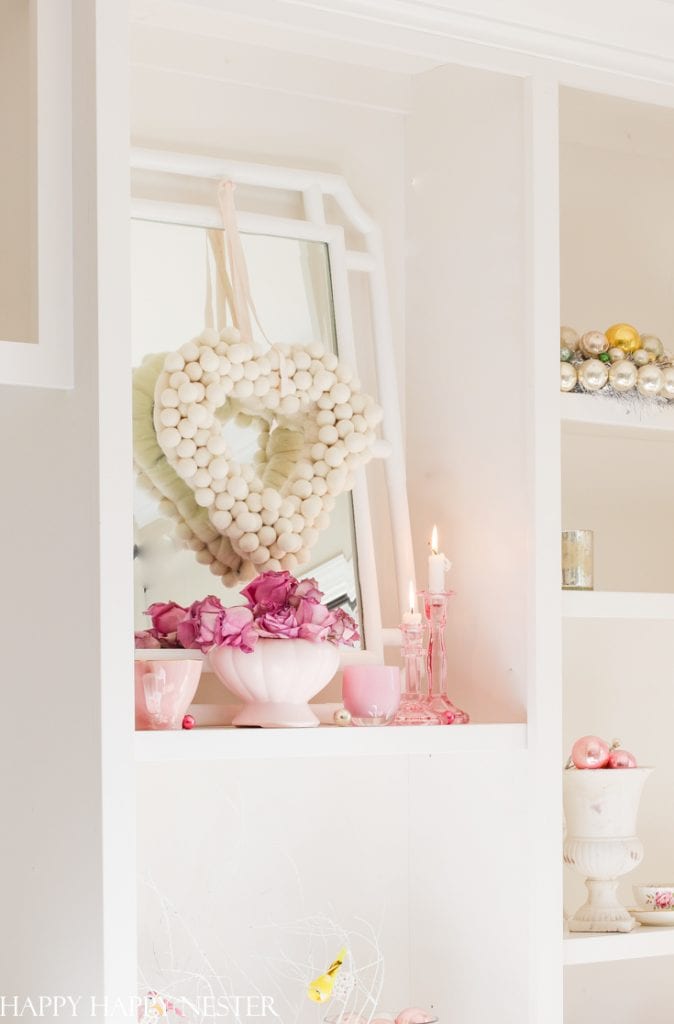
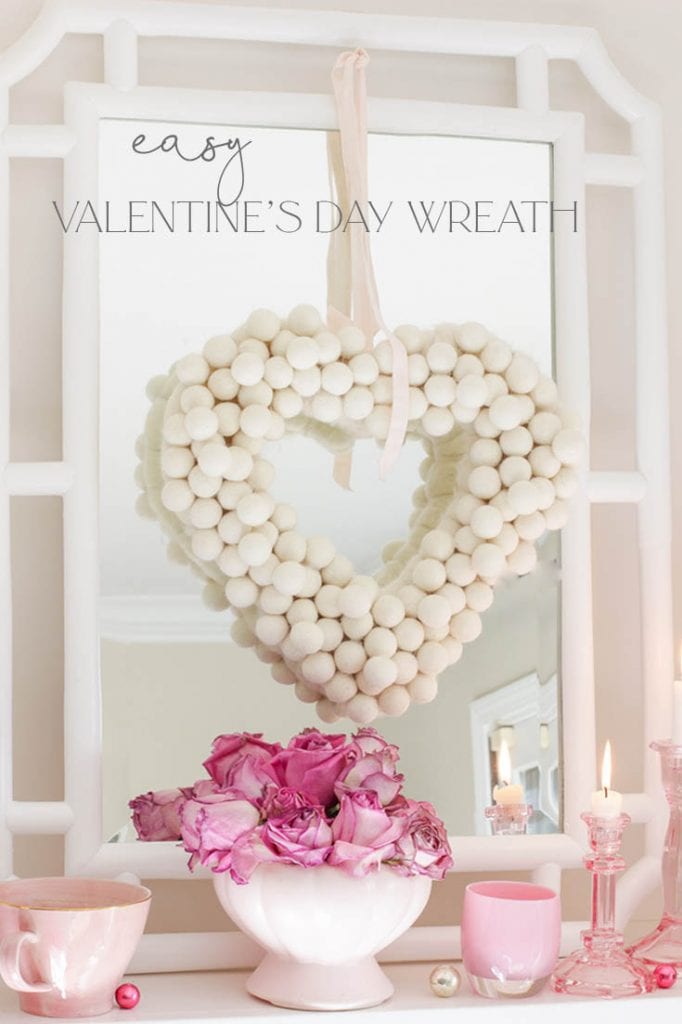
This Valentine’s Day Wreath couldn’t get any easier! To make this cute heart wreath, hot glue felt balls to a wire wreath and then add a pretty festive ribbon.
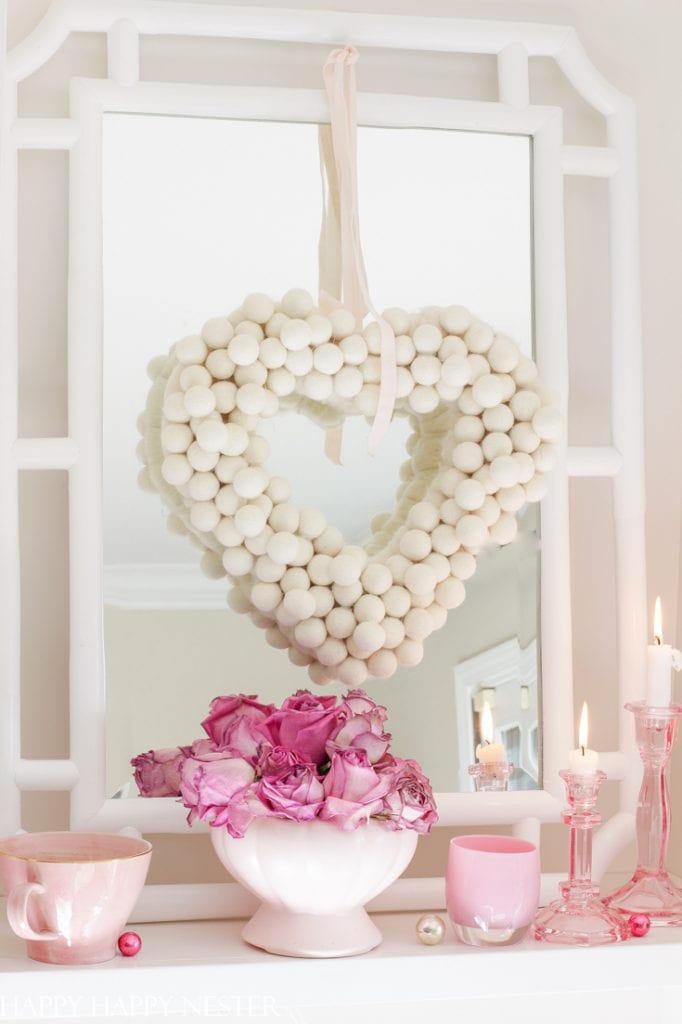
Today is an exciting day. It is the first post of a four day Valentine’s Day Series.
I’ll be sharing not only this wreath but these Valentine’s projects:
- Monday – Valentine’s Day Cookie
- Tuesday – Valentine’s Day Gift Wrapping for Cookies
- Wednesday – Valentine’s Day Card DIY
We have rounded up a few friends who will be posting their projects too!
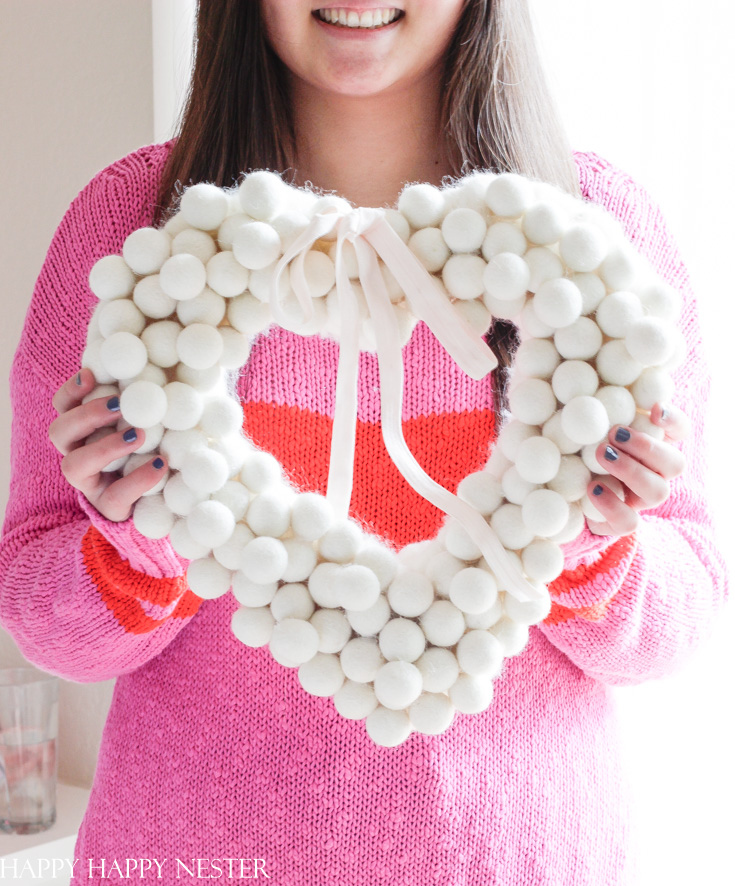
Did you noticed I’m partial to white wreaths? I can’t seem to break the habit! 🙂 Yes, here are few of the many wreaths on my blog:
A white wreath is so versatile. I like to change out ribbons, temporarily add flowers to them and I enjoy them throughout the whole year. But, when it comes to making your wreath, go with your heart and make whatever color wreath your heart desires.
*The following contains affiliate links
Valentine’s Day Wreath DIY
I must confess something. I made this wreath in the evening and so I didn’t take photos of the process. And then to top it all off I used every single felt ball in my inventory. This is the reason that I won’t have any photos showing how to make the Valentine’s Day wreath. I’m so sorry.
Trust me, it is super simple to make, you can do this.
Supplies:
Matching Fabric or Chunky Yarn (1/2 pound to wrap your wreath (use the code JAN10 over on BeCozi to receive a 10% discount)
120 Felt Balls ( I bought 2 packages of 60 balls)
Glue gun
Ribbon (optional)
Instructions for the Valentine’s Day Wreath:
Step 1 – Wrap Your Wreath
I had some chunky wool hanging around the house, so I used it to cover the wreath frame. Use whatever fabric that matches your felt balls. Wrapping your wreath provides a surface that you glue your felt ball on.
Make sure to wrap the frame tightly with whatever material you choose. You don’t want a bulky frame, since that means you have to cover more surface.
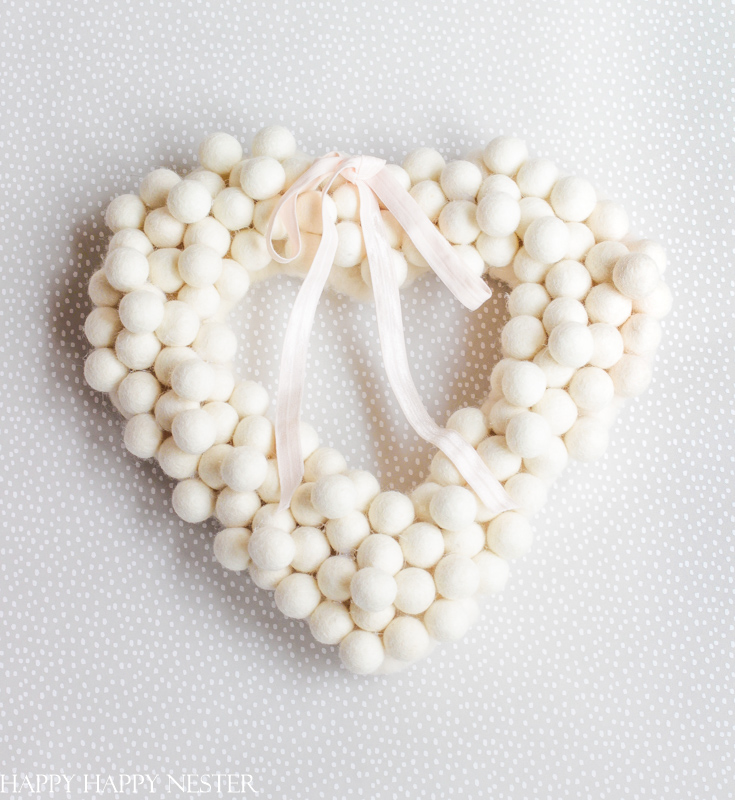
Step 2 – Glue Felt Balls to the Wreath
I covered the top surface of the wreath, so you’ll have a single layer of balls at this point. I placed my balls randomly and didn’t glue them in a row. It’s totally up to you what look you prefer.
Also, glue the balls that are side by side. I like the tight look without too many spaces in between the balls. Again, this is my preference.
Step 3 – Glue a Second Layer
Place them randomly with the leftover balls ( but balanced and not clumped together) on your wreath, making a sparse second layer.
Step 4 – Wrap a Ribbon Around the Top
I wrapped a ribbon through the top of the wreath and I placed a knot and bow on the top. I used the knot to hang my wreath.
And you’re ready to enjoy your wreath for Valentine’s Day!
Here are my Friend’s Valentine’s Day Wreaths!
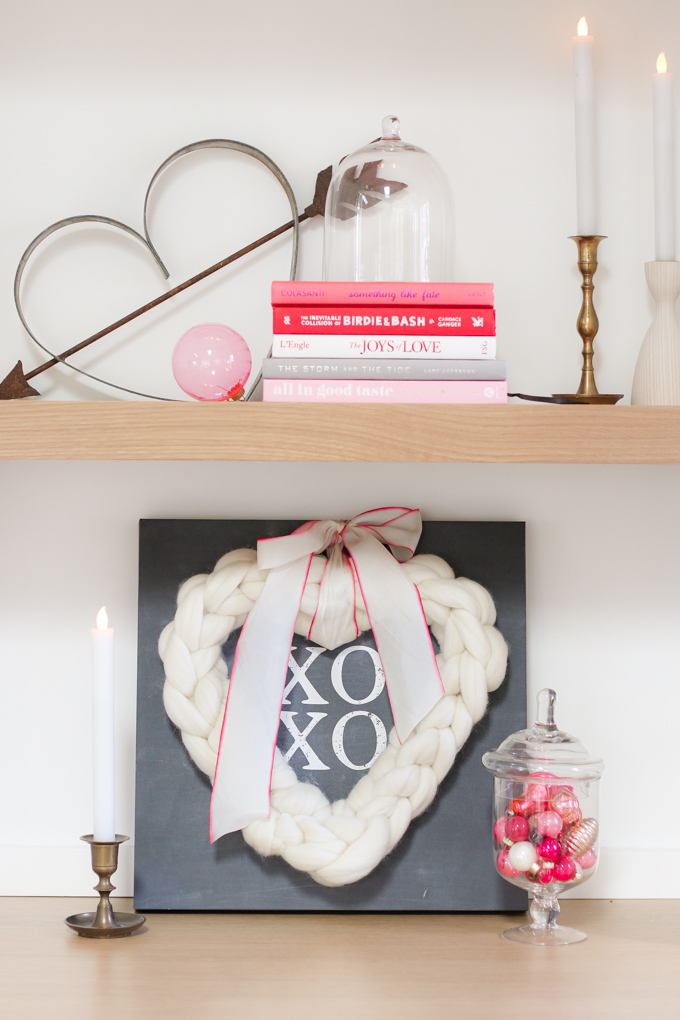
Modern Glam | Chunky Knit Heart Wreath
Make a finger-knitted heart wreath made with chunky yarn in under 20 minutes!
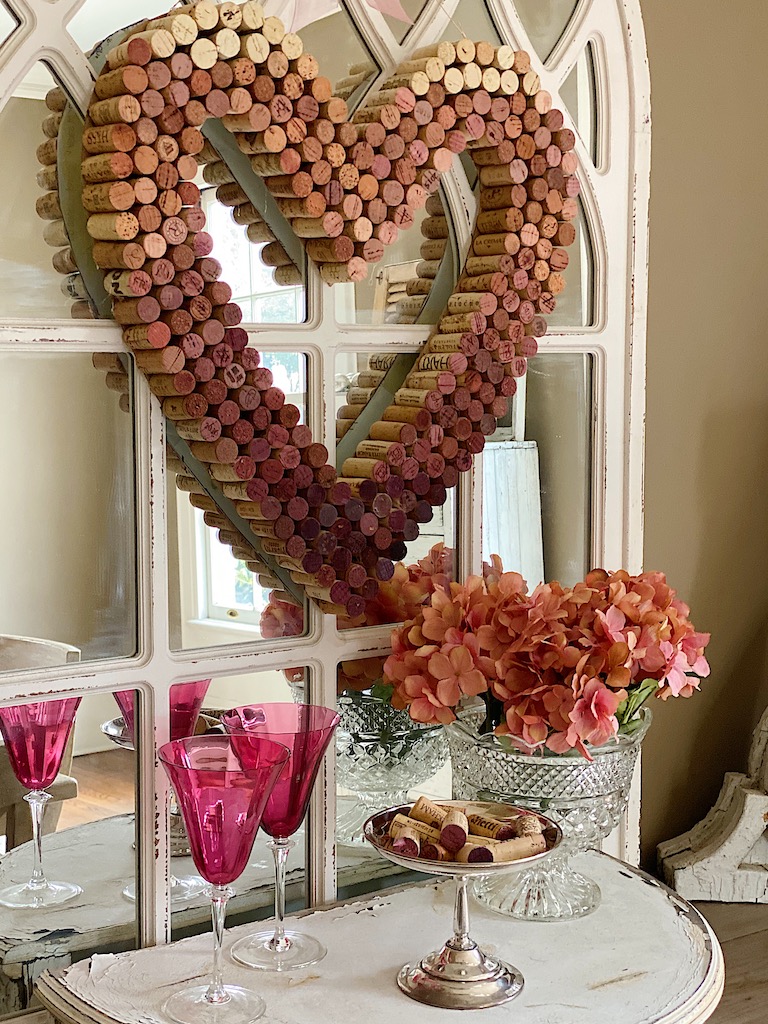
My 100 Year Old Home | Valentine’s Day Wreath DIY
I made this Valentine’s Wreath from the corks of the wine our family has enjoyed this past year. It reminds me of all of the special family dinners we had at home.
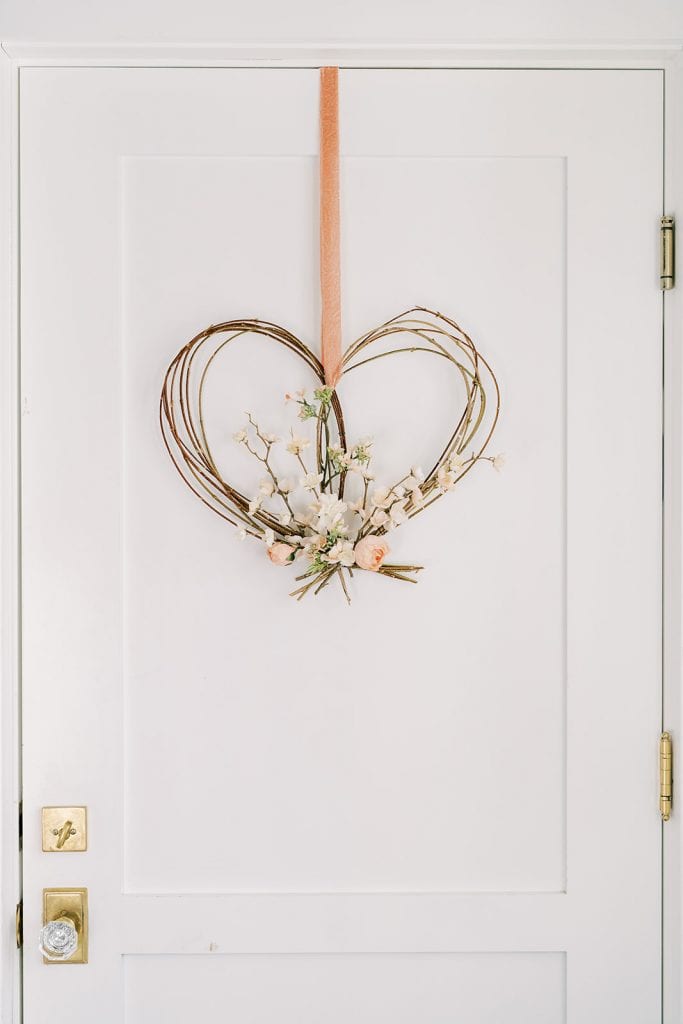
Finding Lovely | Natural Valentine’s Day Wreath
Using fresh branches from the yard I made this heart shape wreath.
Well, I’ll see you tomorrow for the next Valentine’s Day project and post. We’re sharing our favorite cookies. Yes, our house is filled with Valentine’s decor and treats. What a fun way to spend our quarantine time.
Take care and stay safe and see you tomorrow!
Cheers,


- Heart Shaped Brownies Recipe - February 13, 2026
- Framed Artwork from Amazon - February 12, 2026
- Chocolate Covered Quinoa Recipe - February 5, 2026



Jackie
What a sweet felt ball wreath Janine! I just love how festive and sweet it is. I may need to make it for my kiddo’s playroom.
happyhappynester
Jackie,
It would look so lovely in your home! And it is super easy to make!
Ivory
Thank you for sharing thus fabulous wreath. I love everything about it. I will be making one. Also thanks fir your helpful step by step tutorial.
happyhappynester
I’m so glad you like this wreath! It is a pretty easy one to make. Happy Crafting!