• Skip to main content
  • Skip to header right navigation
  • Skip to site footer
  • About
  • Contact
  • Boutique of the Week
    • Facebook
    • Instagram
    • Pinterest
    • Twitter

Happy Happy Nester

Weekly Inspiration for Your Nest

  • Recipes
    • Appetizers
    • Breakfast/Brunch
    • Desserts
    • Dinners
    • Drinks
  • Crafts
  • Decor
  • Shop
    • Fall Decor
    • Kitchen
    • Pillows
    • Holiday Decor
  • Amazon Store
  • Recipes
    • Appetizers
    • Breakfast/Brunch
    • Desserts
    • Dinners
    • Drinks
    • Snacks
  • Crafts
  • Decor
  • Shop
    • Fall Decor
    • Kitchen Favorites
    • Pillows
    • Holiday Decor
  • Saturday Chitchat
  • Boutique of the Week
  • About
  • Contact
  • Facebook
  • Instagram
  • Pinterest
  • Twitter

See What’s Trending…

Cakes

Cookies

Dinners

Wreaths

Drinks

Home › Uncategorized › Pumpkin Initial Craft Project

Pumpkin Initial Craft Project

Uncategorized
By Janine Waite · Published on Sep 16, 2012
Affiliate Disclosure: This Post May Contain Affiliate Links.
autumn pumpkin project
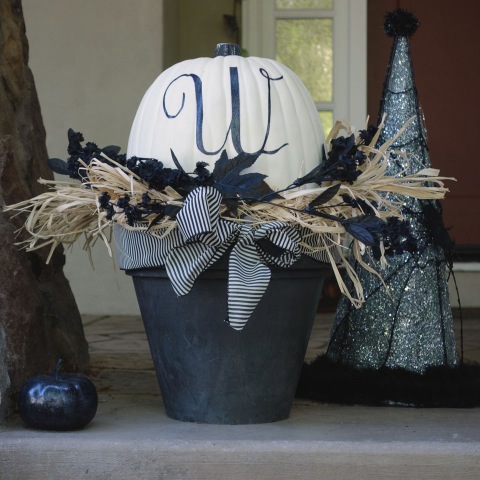
i saw a version of this on pinterest.  
i decided to make a few changes. i used a fake pumpkin 
that i bought at the craft store.   
here are the supplies you’ll need
i used a fake pumpkin, you can use a 
real one if you prefer.  you’ll have to spray paint it white.
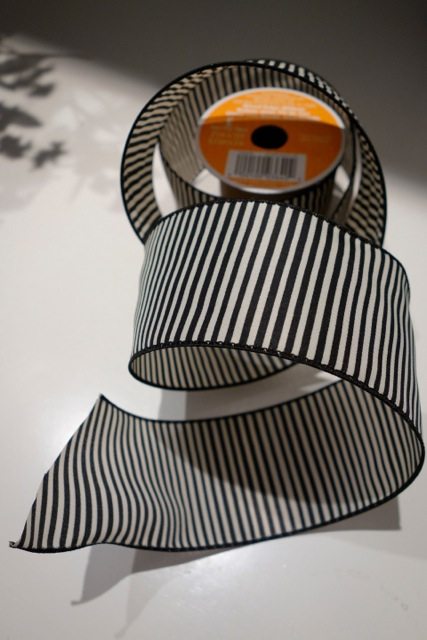
i bought this ribbon from michael’s crafts

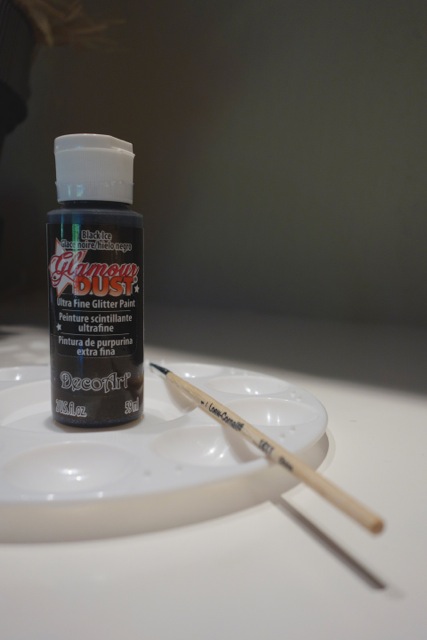
it’s difficult to tell from this photo, but this is black acrylic 
craft paint that has very fine glitter in it. 
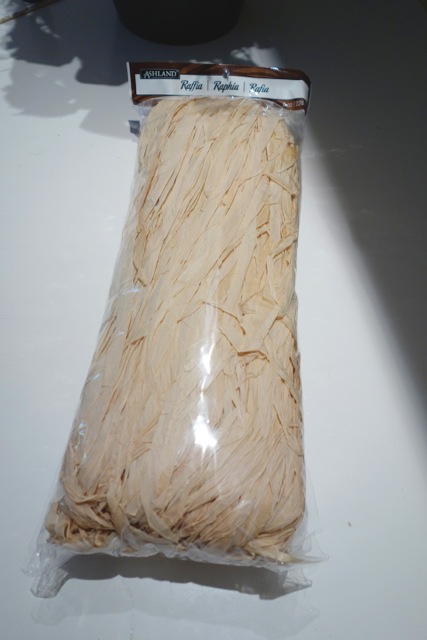
raffia from a craft store
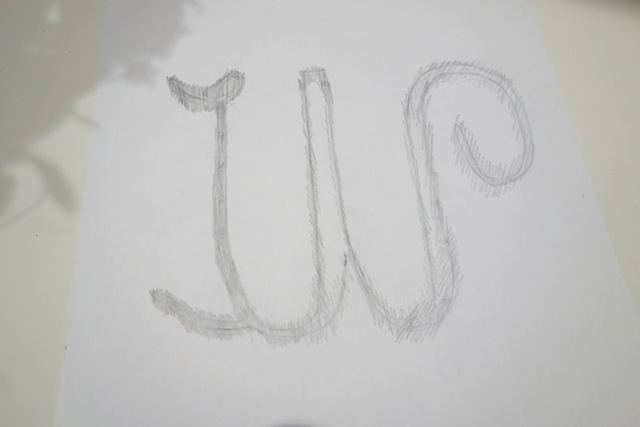
you’ll want to find a type (this is Ecolier type) off the computer.  
i just enlarged the “w” and then traced it from 
the computer screen onto the paper.
then i penciled the backside of the outline so that when i ran a pencil 
on the “w” the lead on the back would rub off onto the pumpkin.  
an alternative to this process is to buy transfer paper and place it 
between the original letter and pumpkin.  
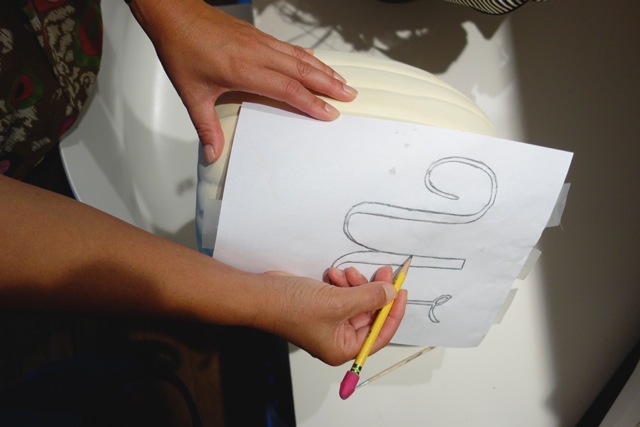
outline your letter with a pencil.  this transfers 
the pencil outline to the pumpkin
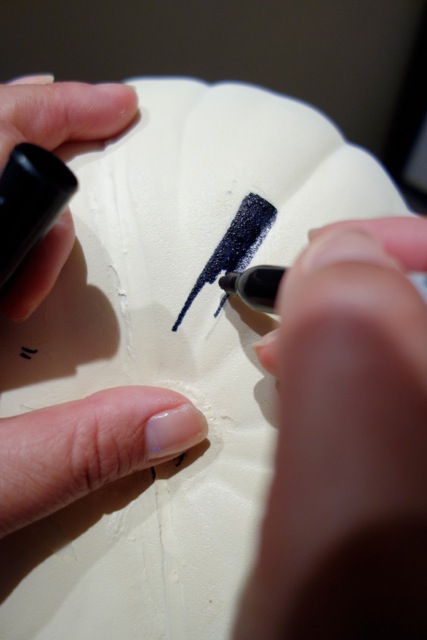
once the letter was transferred, i colored in
 the letter with a black sharpie pen.  
then i painted over the whole black letter with black acrylic glitter paint.  
this paint is fun and makes the letter sparkle!  you are now ready to place your 
pumpkin in your black container that has raffia and black silk flowers.  
lastly, put the bow around the top of the pot.  since the ribbon has nothing to 
hold it up, i ended up thread a little wire (actually i used a paperclip that i straightened) 
through the ribbon and then hung it from the lip of the pot. 
sorry i don’t have a photo of this step.
i had fun with another set of pumpkins!


  • Author
  • Recent Posts
Janine Waite
Follow me
Janine Waite
I named my blog Happy Happy Nester because I love everything related to the home. I’ve always enjoyed decorating my surroundings. Get cozy and stay for a bit, thanks for visiting!
Janine Waite
Follow me
Latest posts by Janine Waite (see all)
  • How to Make a Tender Juicy Steak - May 8, 2025
  • My Favorite Flower Crafts - May 3, 2025
  • Easy Corkboard Placemats DIY - May 2, 2025

You May Also Like

  • how to make candles
    How to Make Your Own Personalized Candles
  • how to make a fall wreath final
    DIY Felt Banner-No Sew Project
  • halloween wreath free fall printabe final long size sm ver
    Free Fall Printable for Your Autumn Decor
  • tin can projects
    Upcycling Tin Cans with Scrapbooking Paper

Sharing This!

  • Facebook
  • Twitter
  • Email

Reader Interactions

Comments

  1. Lisa Reagan

    October 07, 2012 at 10:20 pm

    This is so great! I just bought three pumpkins and I had no idea how to monogram them. Cute blog too!

    Reply
  2. Janine Waite

    October 07, 2012 at 10:55 pm

    Thanks you Lisa for visiting the site! I had fun with the pumpkins. The fine glitter acrylic paint (I bought it at Michaels Crafts) is so cool and makes the letters stand out. If you have any questions about the process let me know. Good luck!

    Reply

Leave a Reply Cancel reply

Your email address will not be published. Required fields are marked *

Recipe Rating


Sidebar

Janine the Nester

Hello from the Nester

We love everything related to home, so get cozy and stay for a bit. Thanks for visiting our blog. Learn More...

Reader Favorites

The Best Crunchy Crispy Chocolate Chip Cookie

This Italian Cream Cake has a pumpkin cream cheese frosting that makes this a winning combination. This dessert is perfect for the holidays.

Italian Cream Cake with a Twist of Pumpkin

French Apple Custard Tart with Puff Pastry

DIY Paper Flowers Tutorial (Tissue Paper)

Upcycling Tin Cans with Scrapbooking Paper

How to Make a Paper Flower Wreath DIY

Popular Categories

  • Cakes
  • Cookies
  • Dinners
  • Wreaths
  • Organizing

Join Our Newsletter

Join our mailing list to receive the latest news and updates from our team.

You have Successfully Subscribed!

AFFILIATE DISCLOSURE:
I am grateful to be of service and bring you content free of charge. In order to do this, please note that when you click links and purchase items, in most (not all) cases, I will receive a referral commission. Your support in purchasing through these links enables me to keep my design and customization prices ridiculously low and empower more people worldwide to blog with less worry and less hassle.
Happy Happy Nester is a participant in the Amazon Services LLC Associates Program, an affiliate advertising program designed to provide a means for sites to earn advertising fees by advertising and linking to amazon.com.
Thank you! :)
-Happy Happy Nester

Our Guide

Join Our Newsletter

Join our mailing list to receive the latest news and updates from our team.

You have Successfully Subscribed!

  • Facebook
  • Instagram
  • Pinterest
  • Twitter

Recipes

Appetizers
Breakfast/Brunch
Desserts
Dinners
Drinks

Crafts & Decor

DIY
Gardening
Holiday
Wreaths

About

About The Nester
Contact
Privacy Policy

Copyright © 2025 · Happy Happy Nester by Janine Waite · Privacy Policy

↑ BACK TO TOP