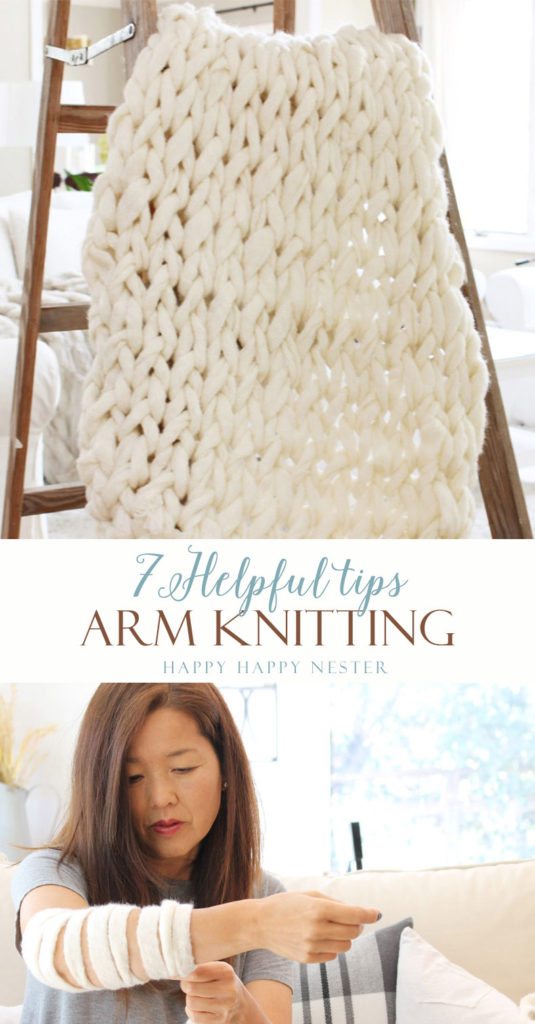
Arm Knitting
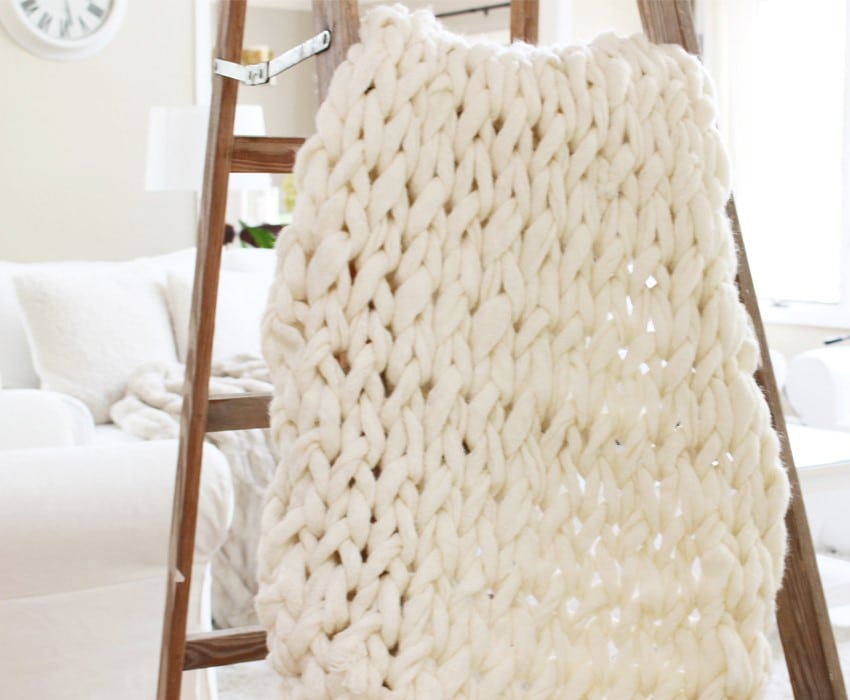
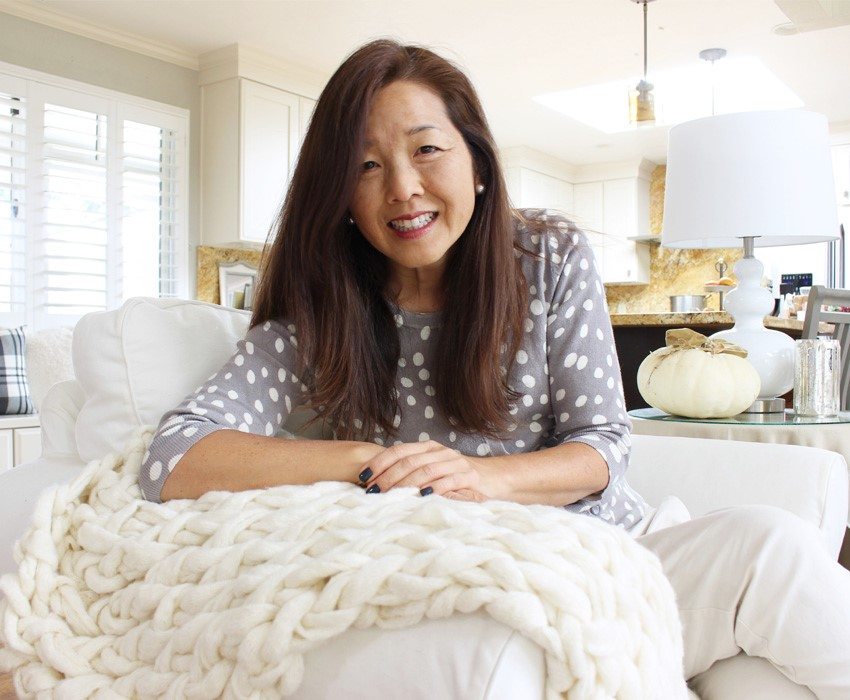
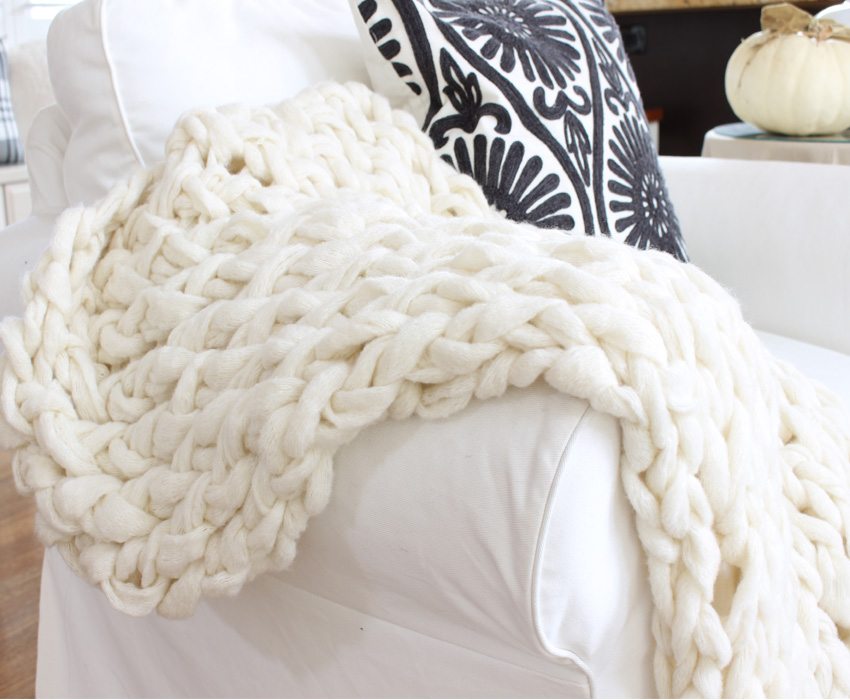
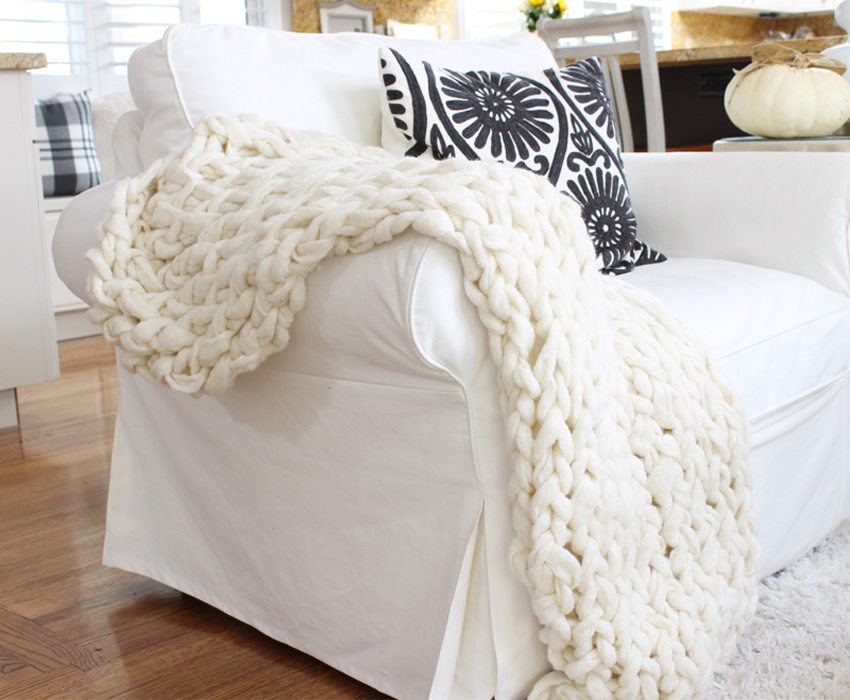
I immediately was smitten by these soft handmade blankets about a year ago. They are so unique that they instantly caught my eye. So, I finally bought the chunky yarn and made a date with my friend Jodie from The Design Twins, to make them. The fun thing about these incredible blankets is that it involves, arm knitting.
Yes, you heard correctly, your arms are the knitting needles.

My father was an accountant, and so during tax season he worked long hours. My mother kept busy with many projects, and knitting was one of them. Following in her footsteps, I always have a project up my sleeve, and I have my mom to thank for this passion.
There are many websites and videos that show how to make these marvelous blankets. I’m not even going to attempt to include the instructions on this post. But since I’m not a knitter, I realized it might be helpful if I share my experiences with you. This post is intended to supplement the arm knitting videos and instructions.
I recently found an easier way to arm knit and here is the video.
So grab a comfy blanket and let’s chit chat…
Time
Simply Maggie has a video and many blog posts on making this throw. She states that it should take about 45 minutes to an hour.
I originally found her post on Pinterest, and I must admit the 45-minute promise caught my attention.
Well, I will let you in on a secret of mine. It took my friend Jodie and I more than 45 minutes or more just to figure out how to cast on our stitches onto our arms.
While I struggled with my casting, Jodie watched the video many times.
I’m afraid I memorized the first part of the video.
My sweet pal Jodie kept encouraging me to relax and go with the flow, but I struggled. Thoughts of defeat set in and I had images of me just returning home with my big ball of yarn.
She is a such an encourager, and I’m so lucky to have a fun blogging friend.
So, here is the information you are waiting to hear about.
Drum roll, please!
Our first session took about five hours. And seriously not much chit chatting was going on since most of our brain power was at full capacity. More info below in regards to time.
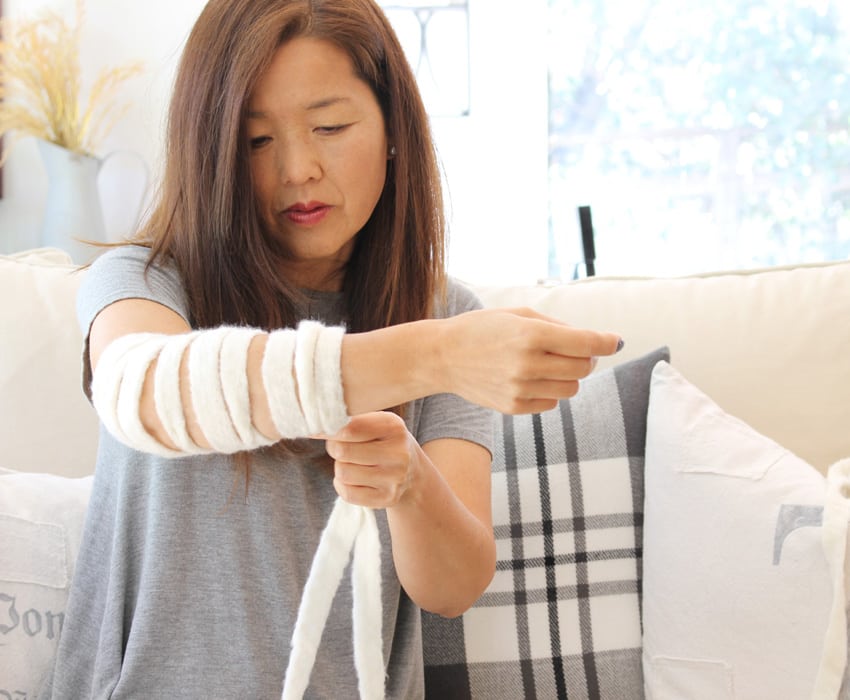
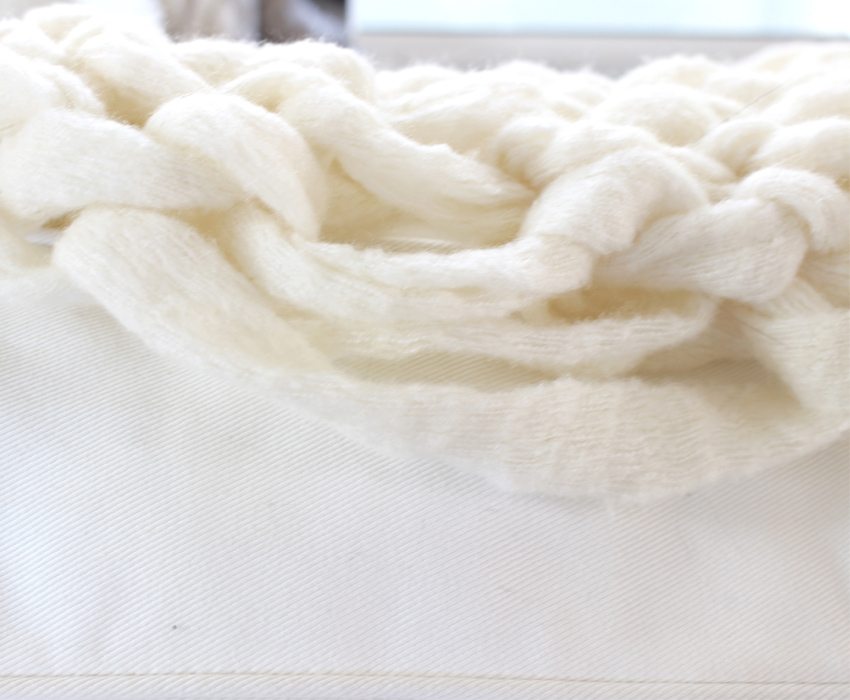
Casting on Stitches
This is by far the hardest part. I think since there is a lot of weaving of hands in and out of the yarn. I kept getting hung up on one section. I promise I’ll try and take a photo of the part I had the toughest time understanding.
But don’t give up, since this is the toughest step.
Trust me you can feel your brain hurt.
And I think it qualifies as a preventive exercise for early Alzheimer’s and Dementia. So that’s a added bonus!
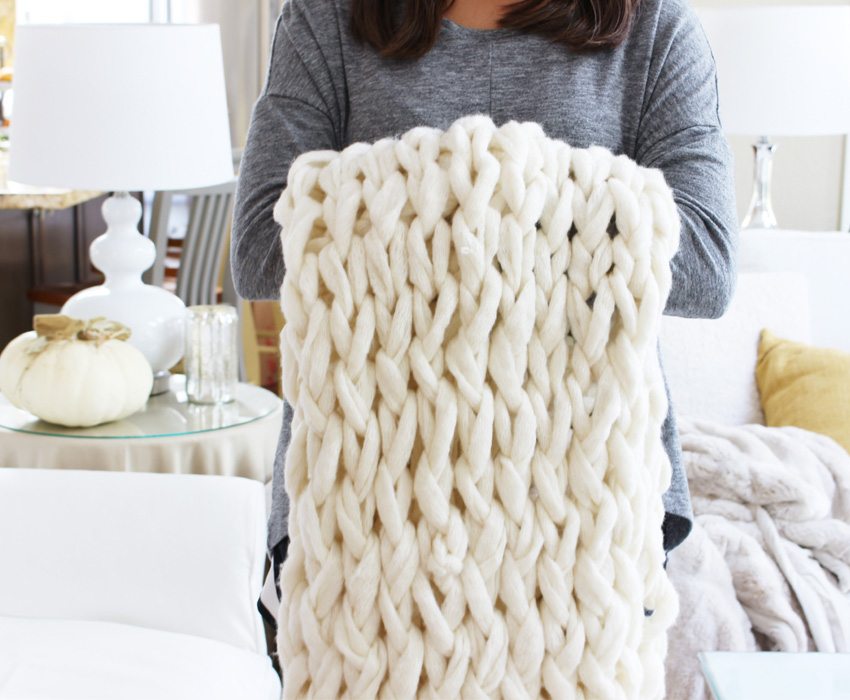
But now, I found a new and easier way to cast on stitches! Here is the video. And to get a throw that is 45″ x 45″ I cast on 30 stitches in the beginning.
Tightness of the Stitches
So, you don’t want the yarn too loose around your arm, but you don’t want it so tight that you lose circulation. I had a couple of moments that I felt claustrophobic, and I panicked that my arms were trapped.
Not sure about my panic since I have clothes on our arms all the time.
Silly old me.
The First Row
I felt that the first row was a doozy. On my first attempt, mine was way too loose, so I made sure to keep everything not too tight, but not too loose. When arm knitting the first row make sure to keep the distance between your arms small, so the stitch is tight.
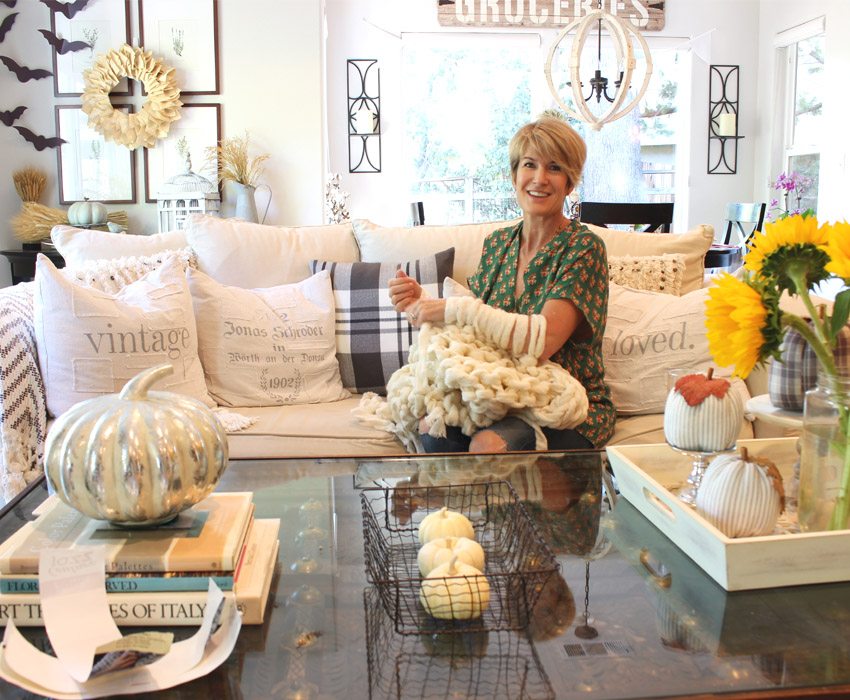
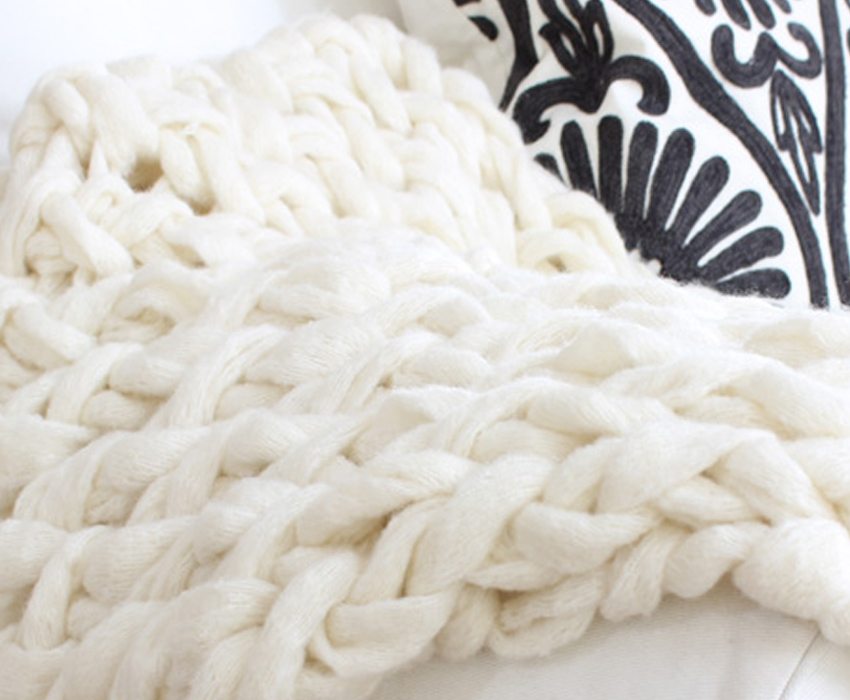
Knitting
Once you complete the casting on and the first row, you’ll enjoy the rest. Seriously, I’m not sure what happens, but the knitting is super fun and easy. Jodie mentioned that when she had half the yarn on each arm, that was her happy place.
Funny how that works, since my happy place was when I had all the stitches on one arm.
We were a bit silly.
But, I did notice that the location of your working yarn is important. You see, you can have the yarn either close to you or furthest away from you. Keep it’s location consistent since it can change the knitting pattern if you move it back and forth.
Are you still with me? Not falling asleep? Grab some tea or coffee.
Yarn
In regards to yarn (Premier Yarns, Couture Jazz), I used what Simply Maggie recommended for this project. And as usual, I didn’t realize that it is acrylic yarn. But I think that if I used wool, the cost would’ve been significantly more. So if you order 10 skeins, it costs around $64 plus shipping.
10 skeins will produce a throw that is 45″ x 45″ in size. If you are worried you won’t have enough yarn, order 11 skeins.
Just a note, that this yarn attracts pet hair like nobodies business. So, if you have any pets choose a color yarn that blends well with you furry family members.
Little Notes
This project is super fun once you get the hang of arm knitting. I definitely plan to make another one soon. And oh yes, this is pretty obvious, but you should wear a short-sleeved top when you knit your throw.
It is the little things that help.
Also, I didn’t like how my first throw came out so; I tore it apart and started all over. Since I had a better grasp of the steps, it took about three hours my second time around.
Finally, if for some reason you need to take a break you can take the yarn off your arms. Just make sure not to tug at the throw and lose your loops that attach to your arms.
I highly encourage you to make this project if you have the time and the keen desire to own one of these amazing blankies.
Happy Knitting!
Cheers,

Here are some posts you might also like!


- Easy Homemade Breadsticks Without Yeast (25-Minute Recipe!) - July 24, 2026
- Lazy Saturday Morning Breakfast Ideas - July 18, 2026
- Lemon Blueberry Crumble (With Creamy Mascarpone) - July 16, 2026


Betsey
I found you on Pinterest. You probably aren’t still answering comments but thought I would try. How do you know when you have enough “stitches” on your arm? Did you measure as you went to get the 45”?
happyhappynester
Yes, I believe that the post tells how many stitches I cast on my arm. I think it also says how big my throw turned out to be. Sorry for my delayed message, it is always crazy over here in blogland!