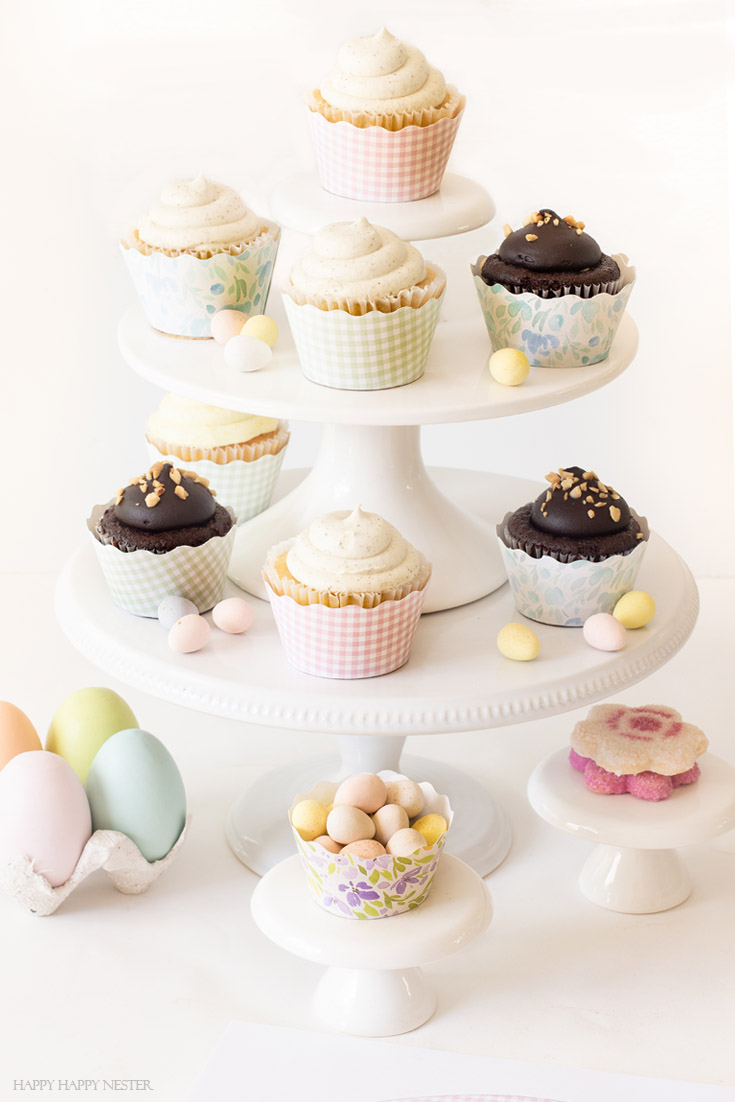
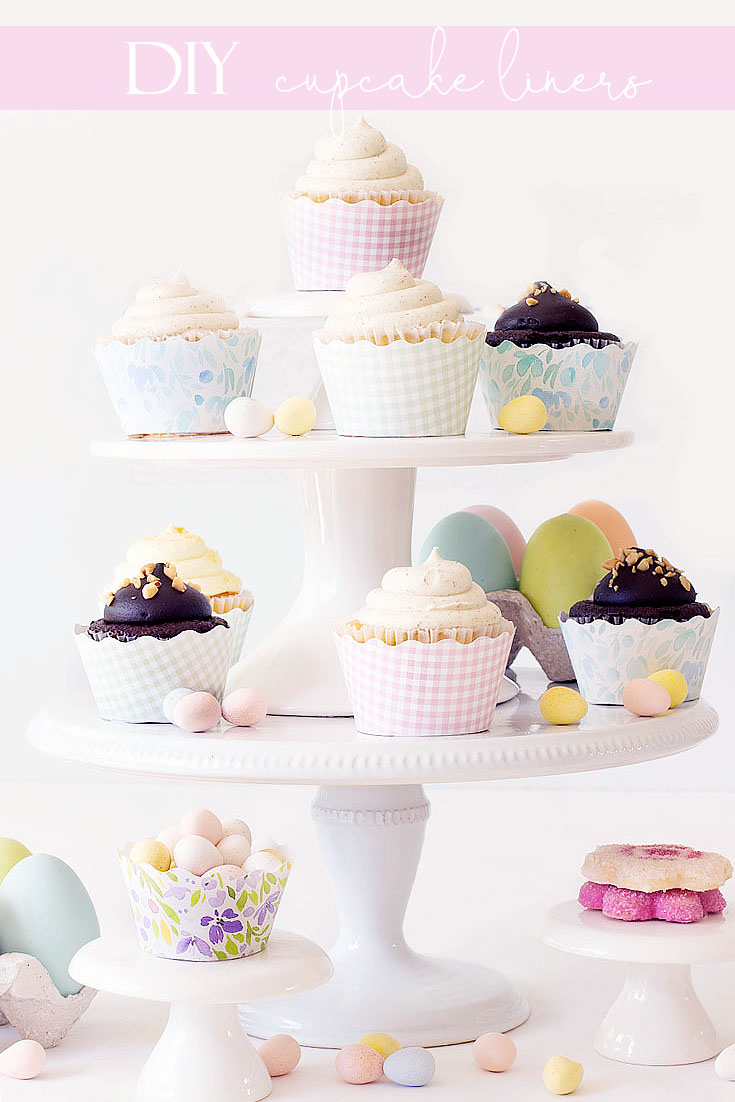
I can’t even tell you how excited I am to share this DIY Easy Cupcake Wrapper Tutorial with you today! This spring printable is such an easy craft that you’ll wonder why you haven’t made any until now. Actually, I was wondering the same thing. Well, once you download my printable, you’ll be ready to decorate your yummy cupcakes for the next little party!
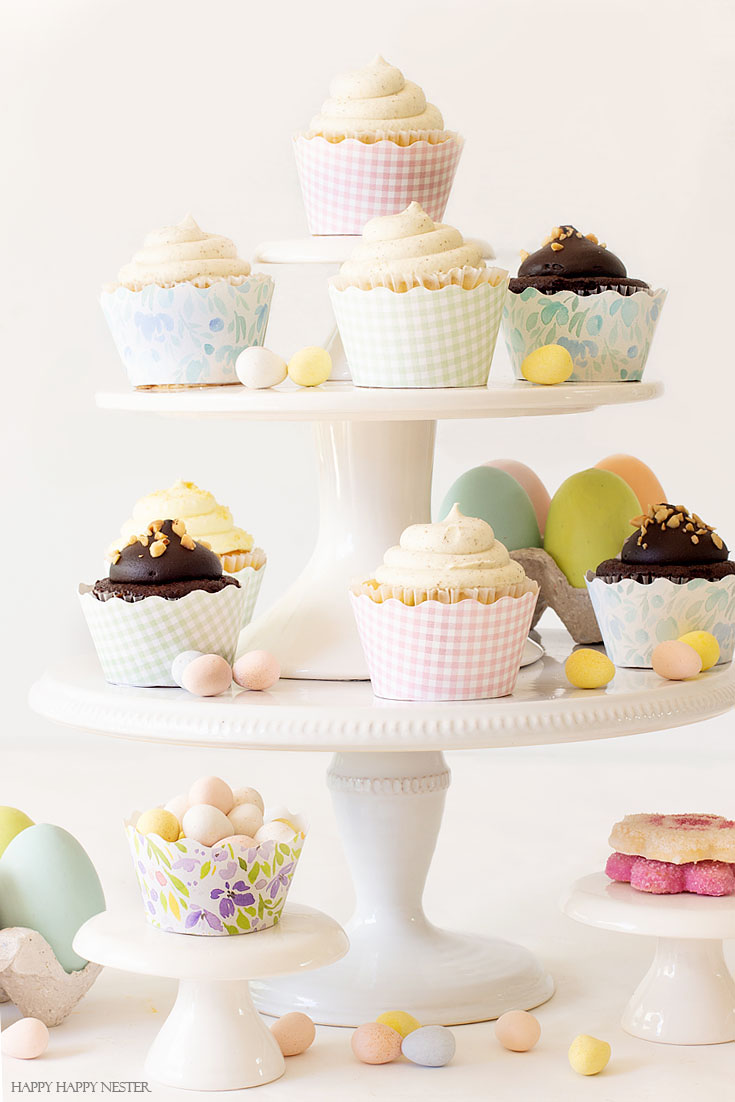
It is very springy around here, and we have lots of Easter eggs, cookies, and cupcakes. So, I’ve always wanted to use some cupcake liners but couldn’t find ones I liked, so I thought I’ll make my own. Once I had this idea, I tried a ton of different scrapbooking papers, and these four are the ones that I liked the most.
If you recognize some of the gingham paper from a previous project, you have a keen eye. I created a fun Easter Banner a couple of years ago that is an easy project too.
Here are some posts you might like:
- Decoupage Easter Eggs DIY
- Easter Egg Ideas
- Easter Chocolate Bark Recipe
- Macaron Recipe (this is from My 100 Year Old Home)
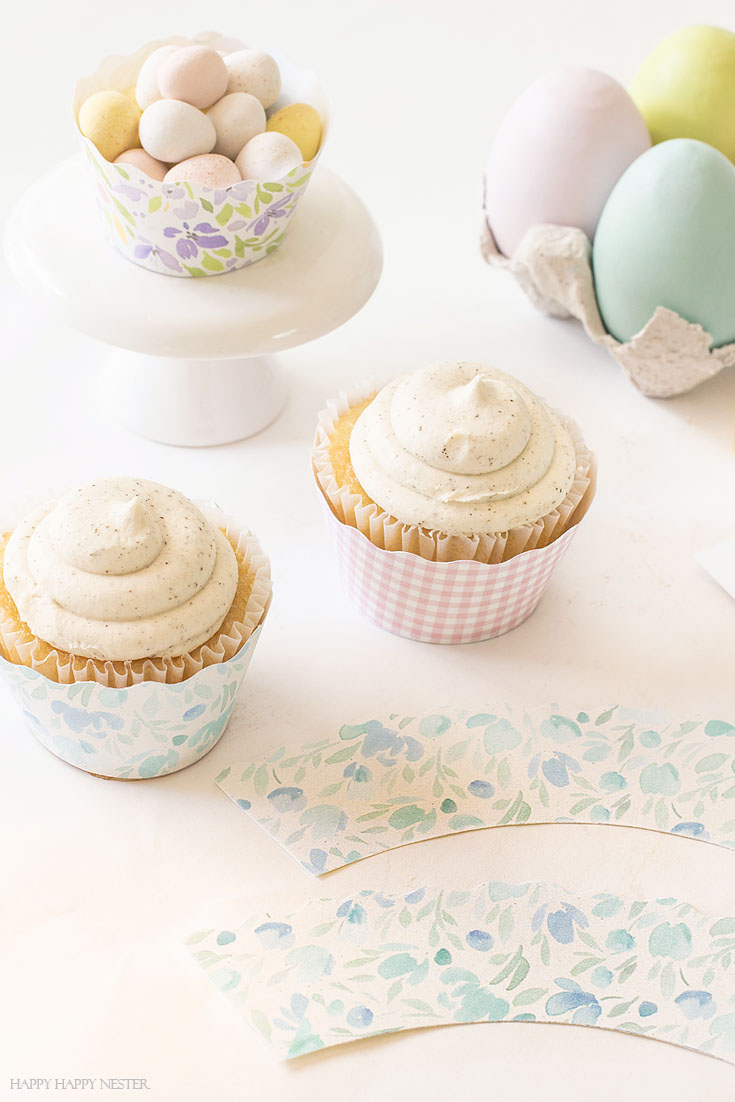
Ok, let’s revisit my DIY easy cupcake wrapper tutorial. Are you like me, and you kind of cringe when you place your cupcakes out with their original liners, and you think they look a bit dingy? Well, here is the best solution, and I love how cute they are.
DIY Easy Cupcake Wrapper Tutorial
*The following post contains affiliate links
Cupcake Wrapper Supplies
Printables (For the printables, please find the download button below and sign up for the form)
Hot glue gun or tape
Cupcakes
DOWNLOAD PRINTABLE HERE
Cupcake Wrapper Directions
1. Print out cupcake wrappers on white cardstock paper.
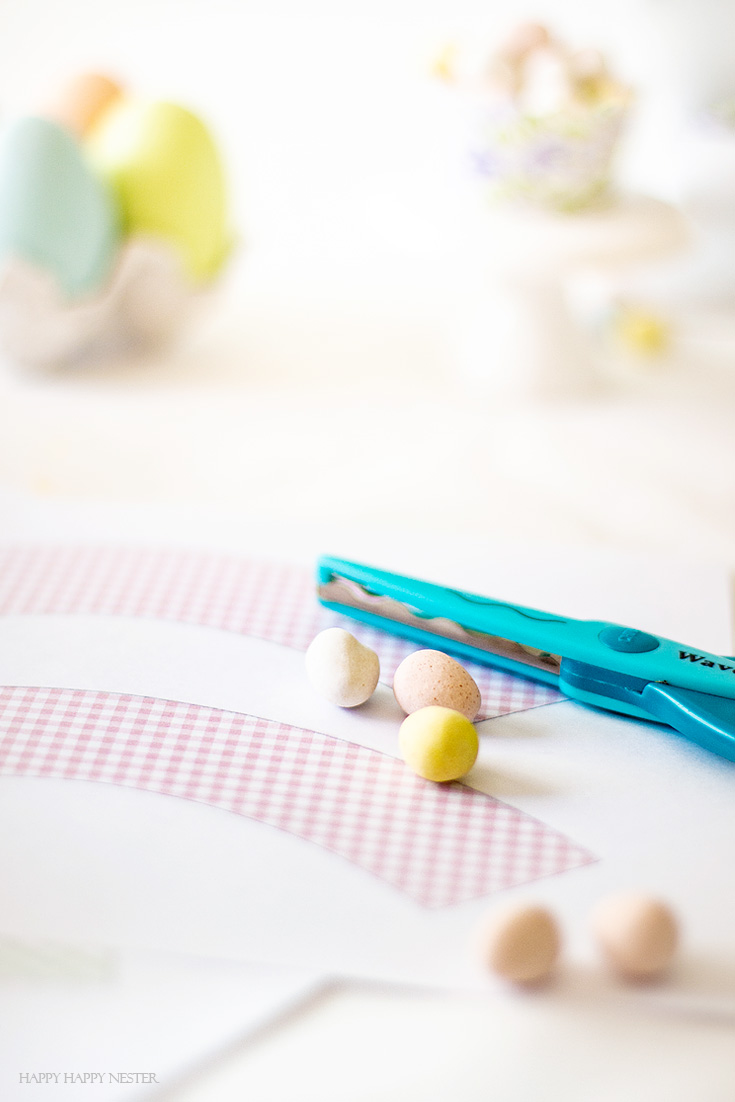
2. Use your regular straight edge scissors to cut out the smaller half circle and sides of the wrapper.
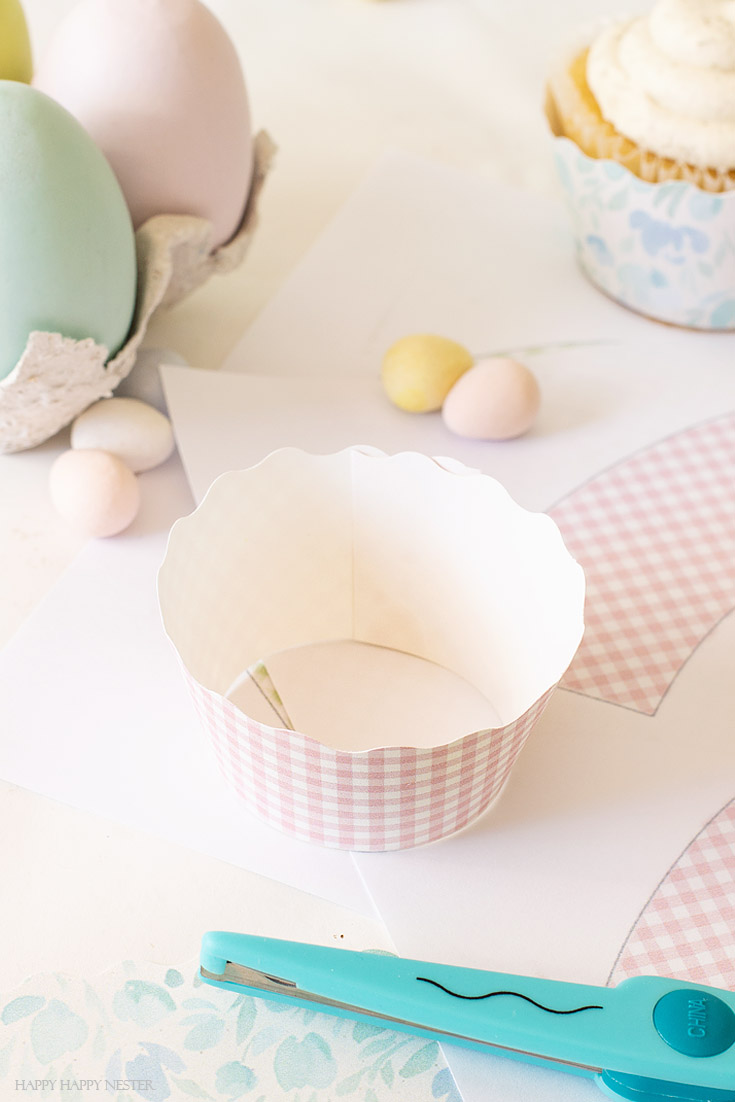
3. Then, use your wavy craft scissors and cut the top edge. When I cut mine, I made sure not to get the black template line to show.
4. Wrap the printable around the cupcake and either tape or glue the edges together. Just note that the scalloped edge is the top of the liner.
You now have completed my DIY easy cupcake wrapper tutorial in four easy steps.
Ok, I lied. There is one more step if you want to make a bottom to your liner.
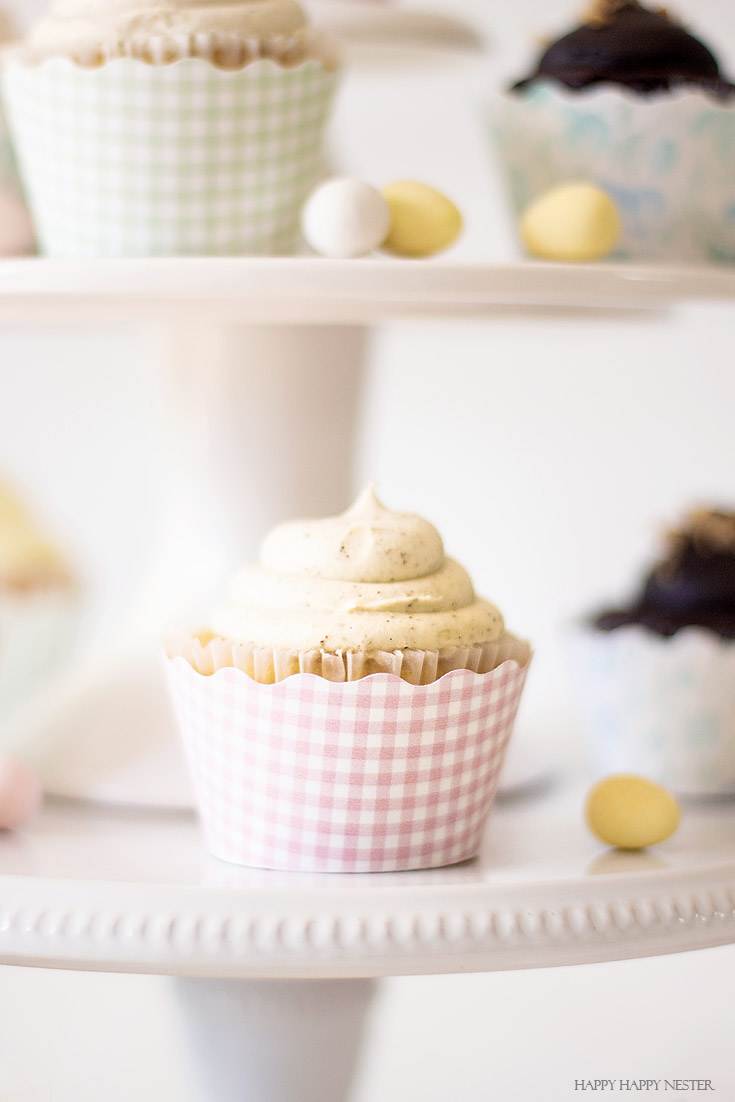
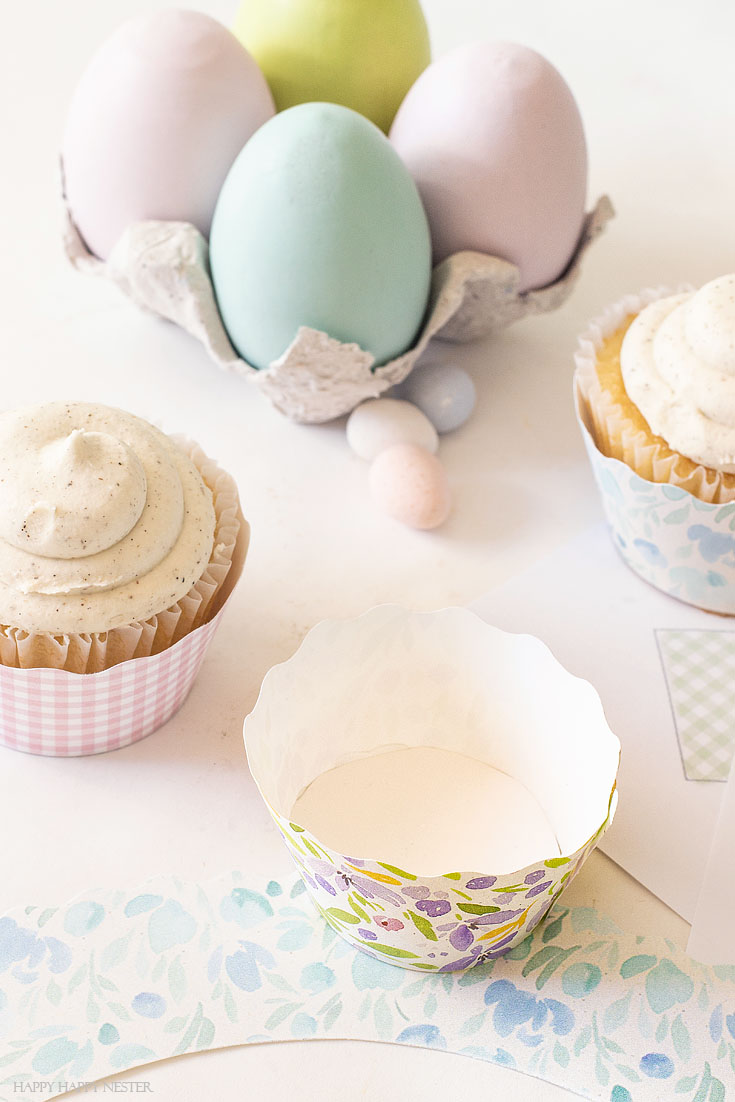
You’ll want to trace your completed wrapper’s bottom on a sheet of cardstock paper and cut the circle. Place the paper circle inside and hot glue on the bottom side. I feel that I didn’t want the glue touching the food, so I glued it on the bottom rather than inside the liner. Here is a photo of the one I made.
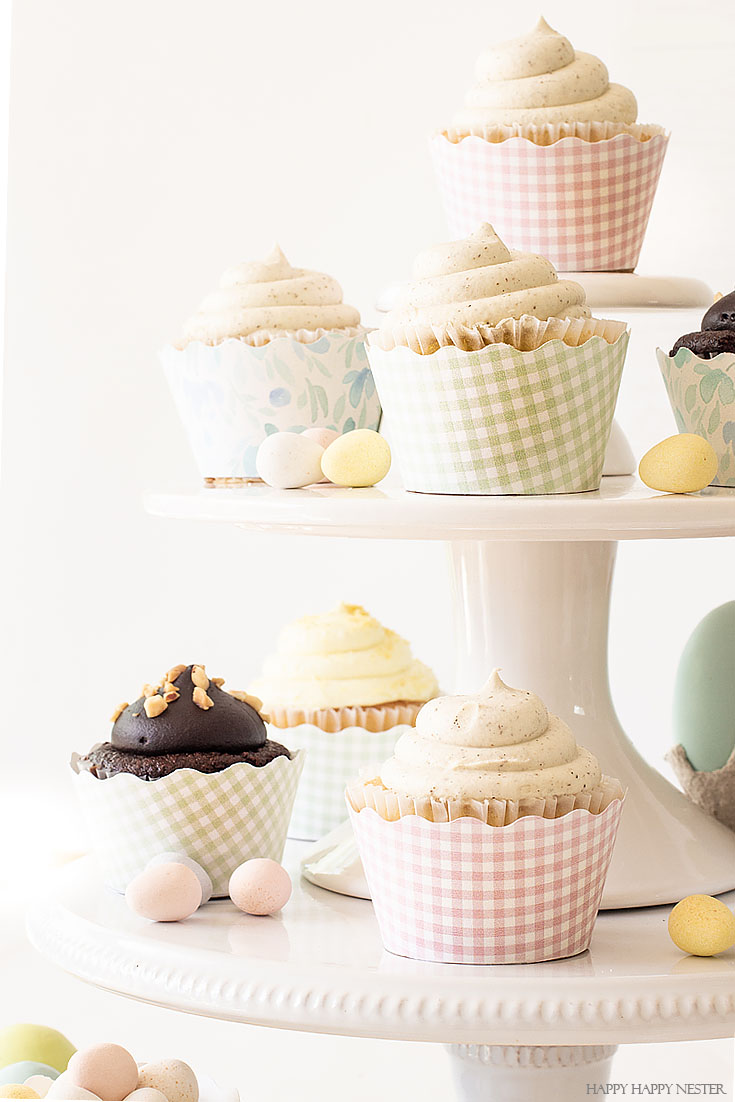
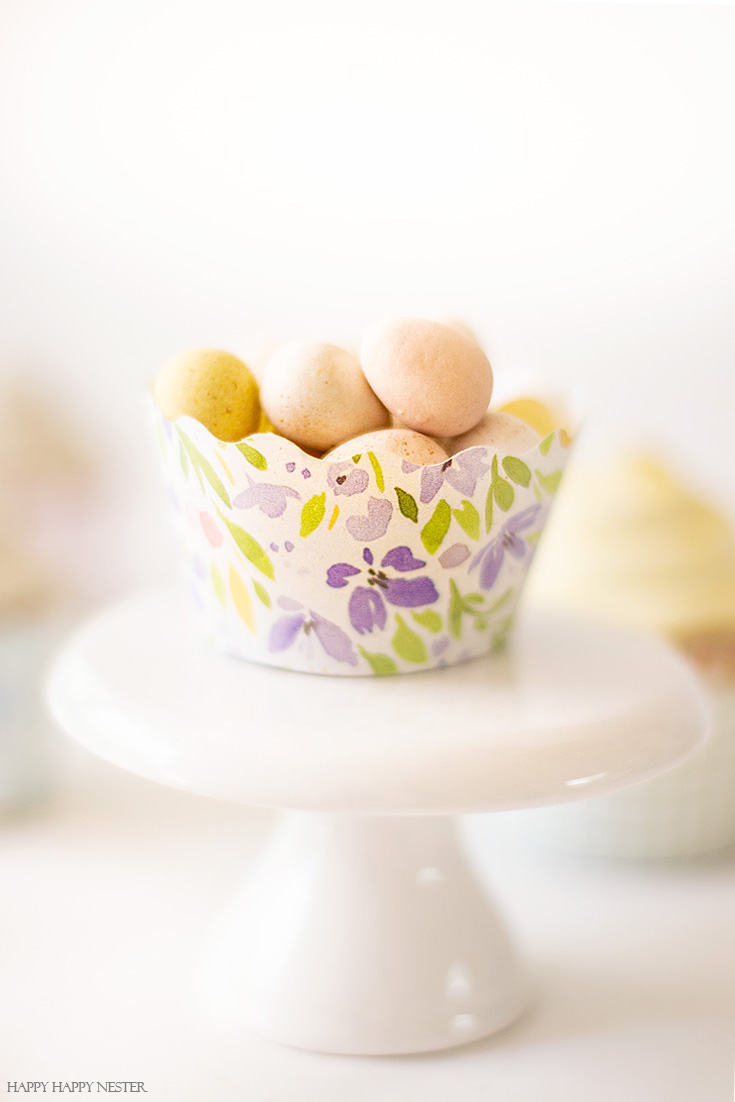
If you are wondering about my cake stands, I recently bought them from Target in the Dollar Spot section. You can see my latest Target post where we purchased three items from Target and used them for a fun project. I love that I spent only a couple of dollars, and they created the prettiest cupcake display for this post!
Thanks for your visit, and don’t forget to check back every week since I’m always publishing fun projects. If you want, I would highly recommend you subscribe to my blog so you don’t miss out.
Ok, I hope you liked my DIY easy cupcake wrapper tutorial as much as I enjoyed making it for you.
Cheers,
- Machine Washable Rugs - January 21, 2026
- Pink Crafts for Adults - January 17, 2026
- Dinner Ideas - January 10, 2026



Krista
An adorable way to dress up cupcakes! (which look delicious by the way)
Kristin
I’m in love with these, so cute!
Patricia Kano
Please Help! I subscribed but am not able to print these adorable cupcake holders.
happyhappynester
Patricia,
Were you able to print the cupcake liner printable out?
Babychaser
These are so sweet! Haha, no pun intended. 🙂 Thanks for sharing!
Here from the Mommy Blog Hop.
Blessings,
Babychaser
happyhappynester
Ah, thank you!
Jamie
These are adorable and such a great idea!
Hugs, Jamie
happyhappynester
Ah thanks so much, Jamie!
celesta carlson
the printout looks alot smaller than what you show in the pictures. it does not print out as wide.
Janine Waite
Hi Celesta,
I’m not quite sure why you might be having issues. I’ll email you the direct links.