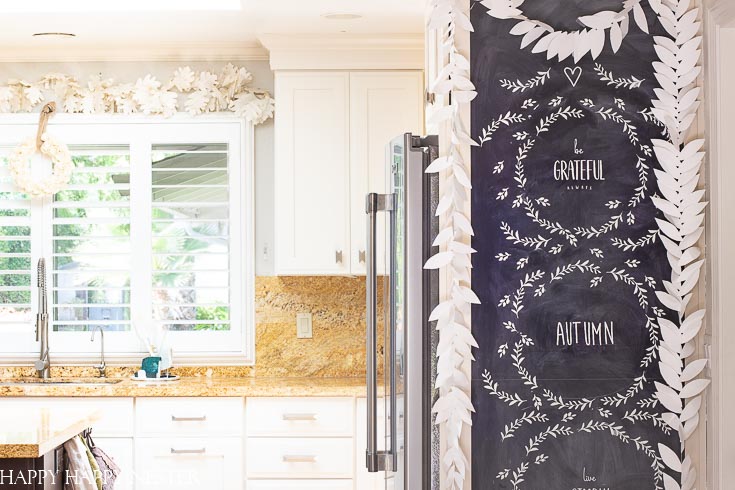
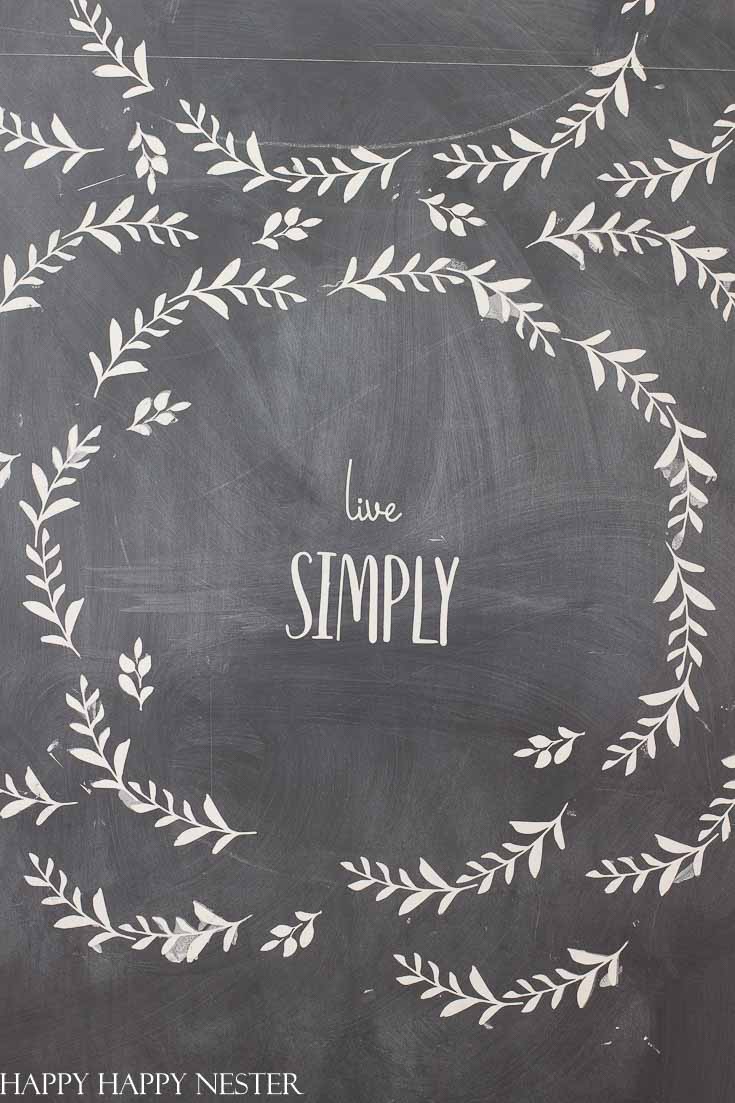
Today, I’m so happy to share with you on How to Create Easy Chalkboard Art. Now, before you get scared, don’t worry, you don’t have any artistic talents to create this artwork.
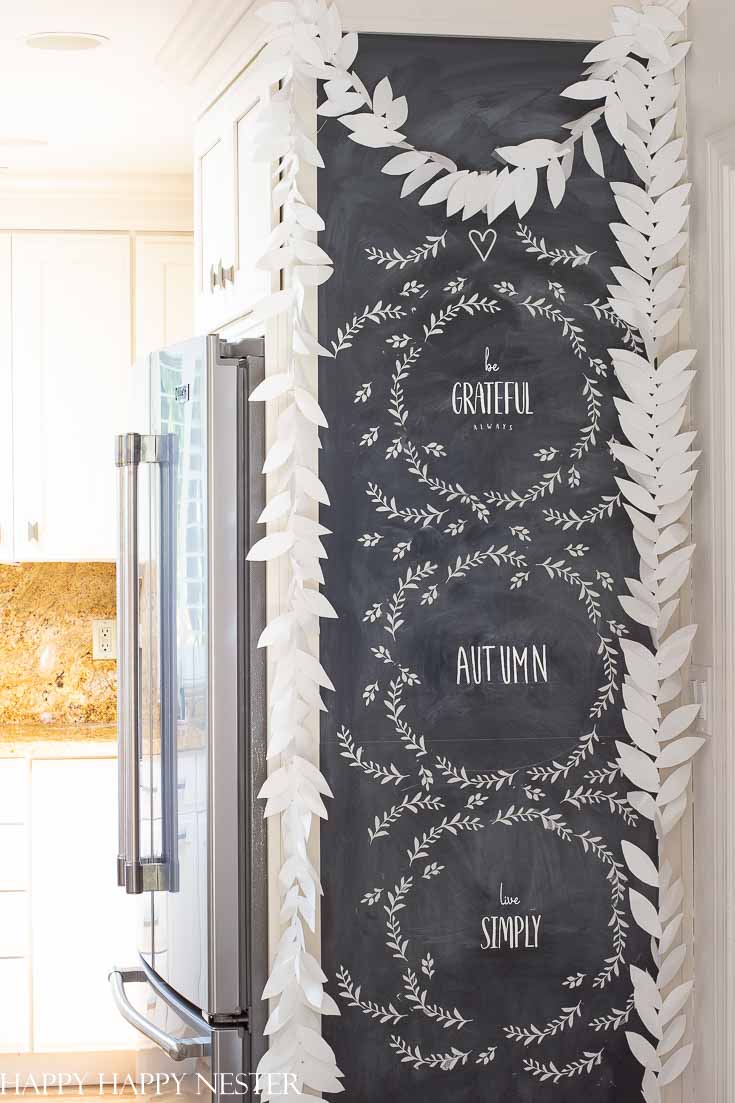
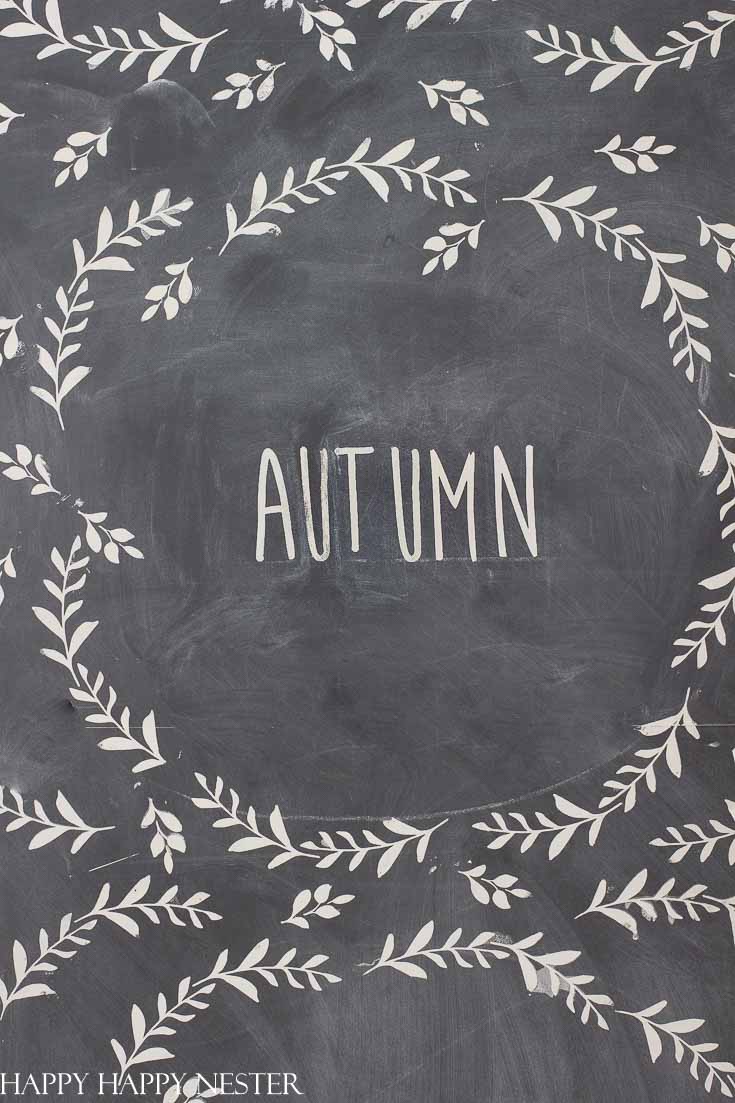
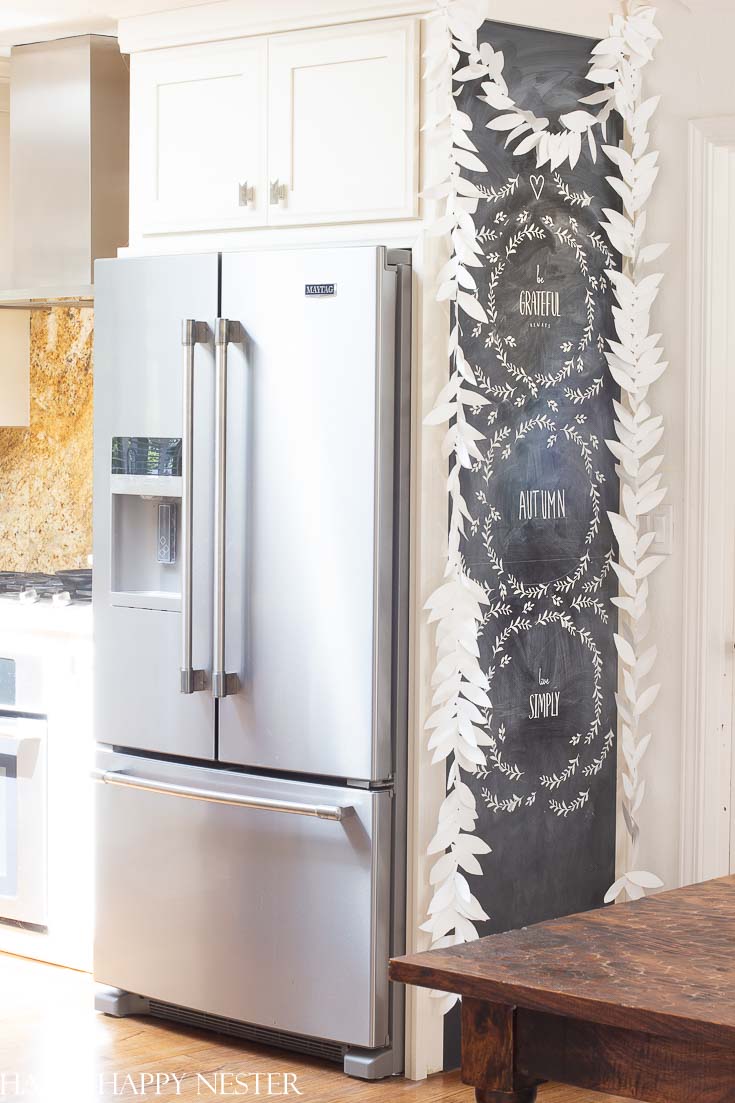
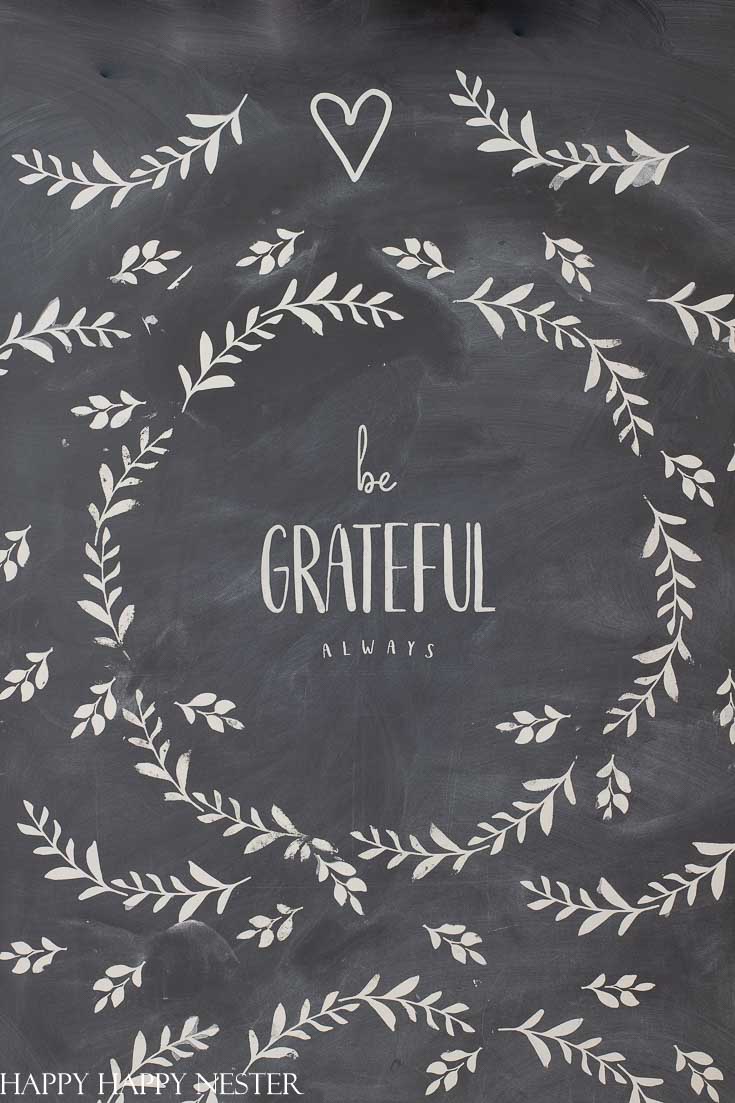
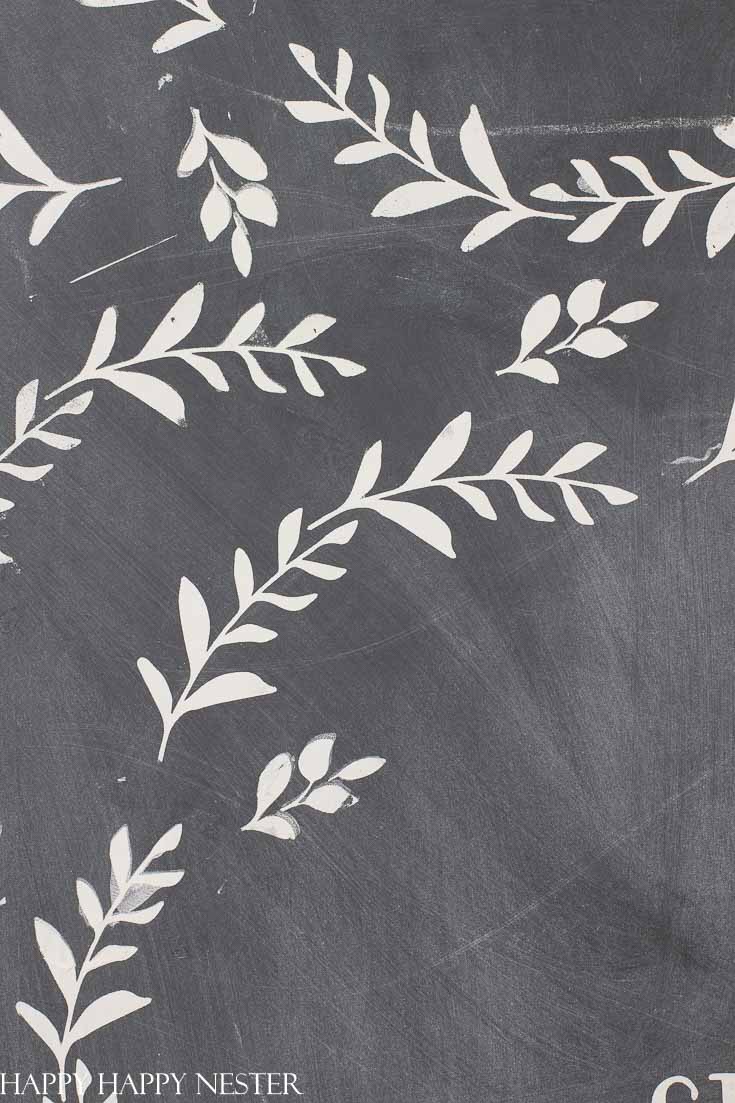
You see, I used premade stencils and special paint to create this fun scene for Autumn! I’m so excited that I don’t have to write the words and have excellent calligraphy skills.
*The following post contains affiliate links.
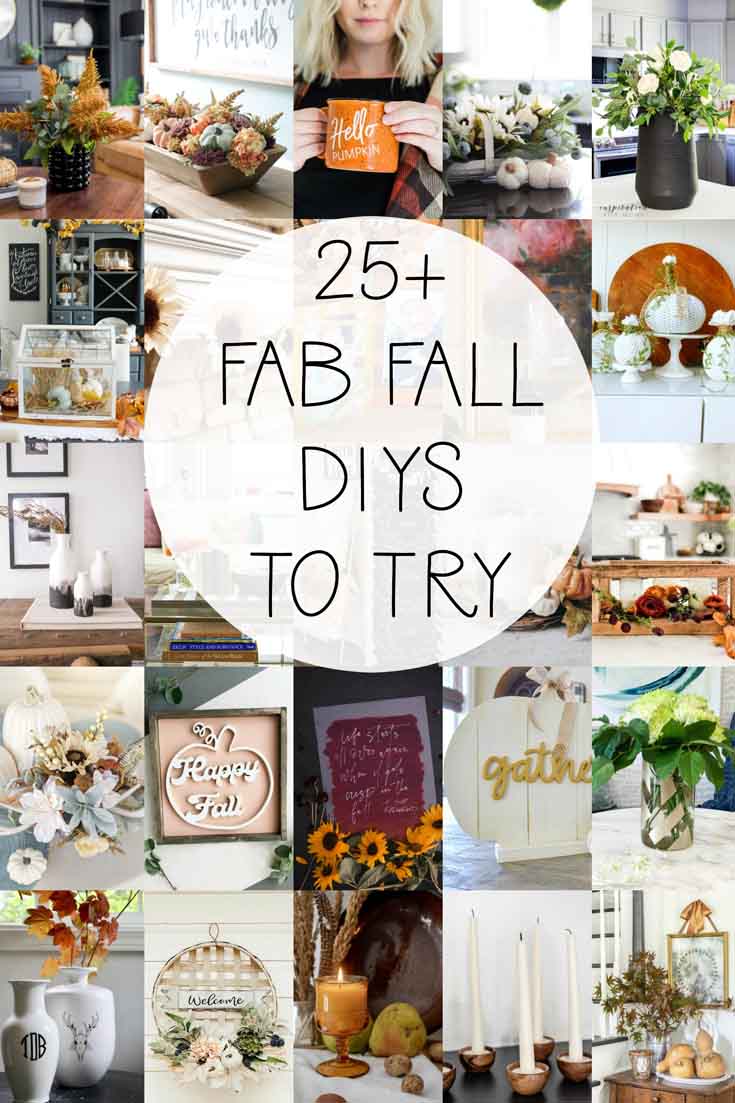
But, before I get ahead of myself, I want to tell you that a couple of friends are joining me. We are all sharing our Fall DIY Projects, so check out their cool posts down below.
Fall Chalkboard Art DIY
So, I have ignored my chalkboard in my kitchen. During the holidays, I drum up my confidence and artistic skills to tackle a scene. Despite studying art in college, It does take me a while to draw or write on my board. This task has always intimidated me. If you want to see my designs, you can view some post about my chalkboard.
Well, last month, I went to a blogger’s conference, and I visited Amy Howard’s A Makers Studio booth. I was pleasantly surprised to find that they create so many cool projects. And when I saw this chalkboard project, I so into their products. I think I asked a gazillion of questions to the person tending the booth.
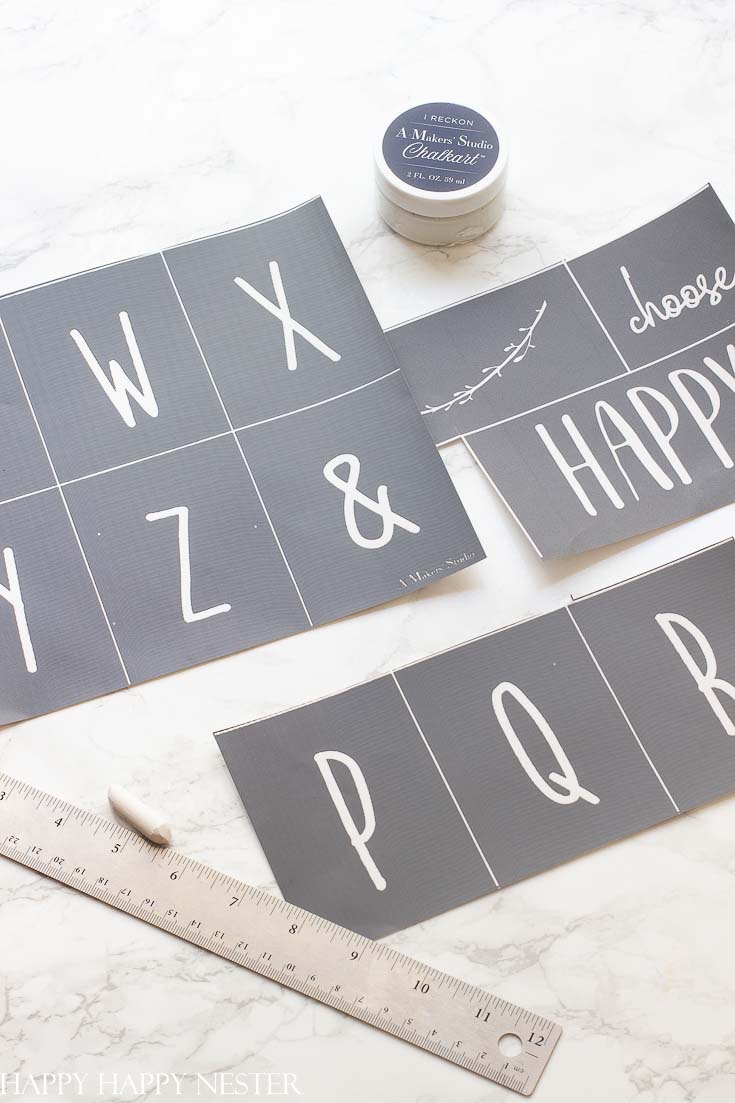
It turns out that they sell all kinds of stencils and special paints that are designed especially for chalkboards. So, after I got home from the conference, I purchased a container of A Makers’ Studio Chalkart, Tint, I Reckon.
Once it arrived in the mail, I got busy planning my chalkboard. The package of stencils I bought made it easy to create something since they fit nicely into the fall theme.
Ok here is my tutorial. If you want to view the process in action, make sure to view my short video.
Here is What You’ll Need For Your Fall Chalkboard Art DIY
Supplies
Wreath Stencil Alphabet Stencil 1
Ruler
1 stick of chalk
paper towels
Instructions
1. Clean off your chalkboard with a damp paper towel. If your chalkboard is brand new, make sure to season your board. You can do this by covering the whole surface with chalk and then wipe it all off. This prepping will allow you to erase your work and not permanently make a mark.
2. Draw three circles about 6 inches in diameter.
3. Place a horizontal line halfway down the circle. This line will be your guide for the words.
4. Now cut out your stencils.
5. Place sticky side down the leaf stencil to form a wreath on the circle.
6. Use a credit card or similar surface to dip into your paint. Spread the paint over the stencil making sure to fill in the blank spots.
7. Once you filled in everything, lift and view your finished image. Note the paint dries darker over the next couple of minutes.
8. Fill in the branches around the wreath and add more of the shortleaf stencil if you like. If your stencil gets a bit clogged, clean it with cold water and pat dry. Then reuse the stencil.
9. Next place your words on the line. If you are writing the letter by letter using your alphabet, make sure to allow each letter to dry. If you don’t, the sticky backing of the surrounding stencil will take off the wet paint.
You’re done and ready to enjoy.
Additional Info About My Chalkboard Art
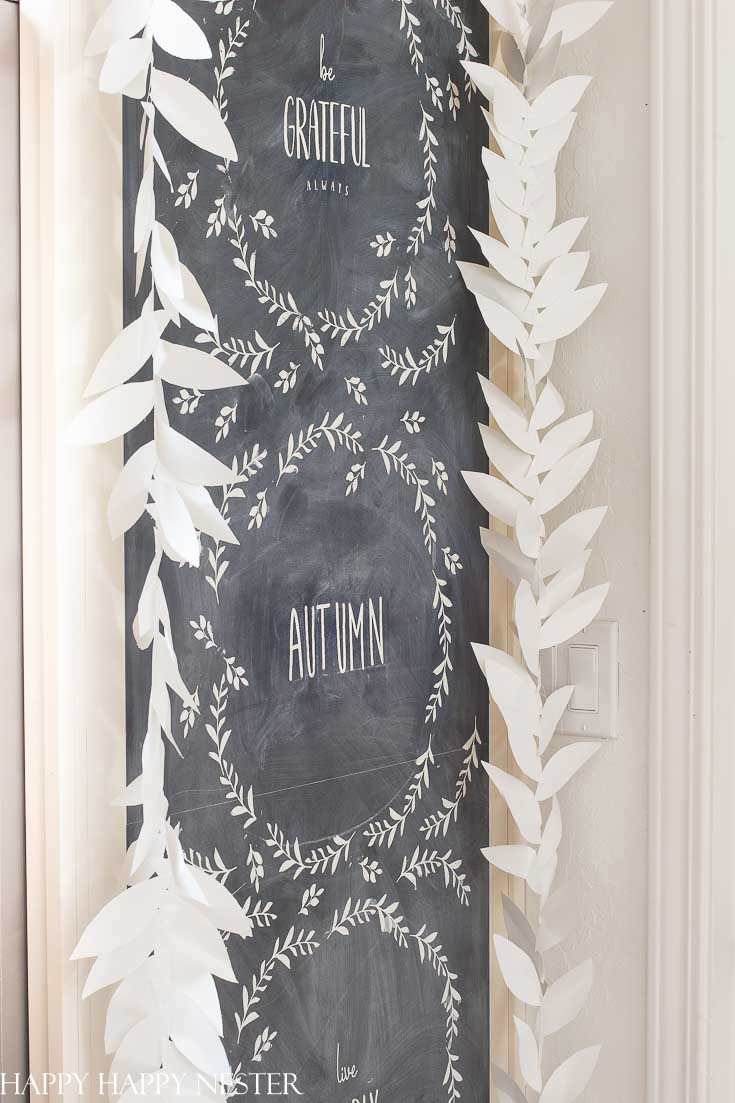
My chalkboard is actually a temporary chalkboard wallpaper from Chasing Paper. Yup, you roll it on any wall or surface, and later you can peel it up.
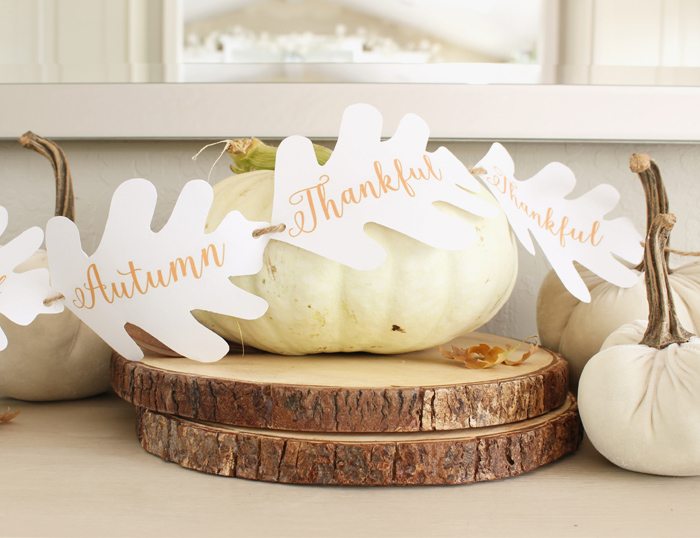
The white leaf garland is made out of paper leaves that are sewn together. You can view the tutorial of that post. It is a super easy project, and you sew the leaves together with a sewing machine.
A Makers’ Studio sells the cards to spread the paint over the stencil, but I just used one of my old credit cards. I found that if you pushed too hard the paint went through to the other side of the stencil and I got smudges. So press lightly went spreading the paint.
These stencils are a bit different than the standard stencils. They have a mesh surface for the paint to seep through; this allows for finer detail to your painting.
I hope you liked this fun blog post and are now going to tackle your chalkboard. Even if you create a small framed chalkboard or a panel like mine, have fun and chalkboard away!
Cheers,
So, here are the Fall Projects from my friends! Enjoy their posts!
And today I’ve been joined by some of my blogging friends who are also sharing their Fall DIY projects! Just click on the links below the images to see their project ideas.
Modern Geometric Painted Vases at The Happy Housie
How to Make Easy Fall Sweater Pumpkins at Tatertots and Jello
Room Spray for Fall at Modern Glam
Fall Candle Rings at She Gave it a Go
How to Build a Tray at The Handmade Home
Textured Vase at Craftberry Bush
Farmhouse Slat Pumpkin at My Uncommon Slice of Suburbia
Pumpkin & Dough Bowl Fall Centerpiece at The Turquoise Home
Happy Fall Sign at Lolly Jane
Personalized Fall Mug at Jenna Kate at Home
Fall Terrarium Centerpiece at Clean and Scentsible
Black & White Modern Ceramic Vases at Taryn Whiteaker Designs
Fall Chalkboard Art at Happy Happy Nester
Fall Faux Centrepiece at Inspiration of Moms
Monogrammed Vase at My Sweet Savannah
Tobacco Basket Wall Hanging with Flowers at Hallstrom Home
10 Minute $10 Sunflower Garland at a Pretty Life in the Suburbs
Small Wood Projects to Use as Decor at Grace in My Space
Fall Inspired Wood Photo Holders at In My Own Style
Neutral Fall Floral Arrangement at All Things With Purpose
Vintage Amber Glass Candle at Seeking Lavender Lane
Vintage Wreath Mirror at Sincerely, Marie Designs
Fall Acrylic Sign at Lemon Thistle
Wooden Bowl Candle Holder at Cherished Bliss
Blanket Ladder from Copper Pipe Dowels at The DIY Mommy
Thrift Store Basket Turned Fall Arrangement at Confessions of a Serial DIYer
- Machine Washable Rugs - January 21, 2026
- Pink Crafts for Adults - January 17, 2026
- Dinner Ideas - January 10, 2026


Christy James
Your chalkboard wall looks perfect for Fall! You may have had a little with the stencil, but the idea was all you! XO
Jennifer Lifford
Oh my goodness! This is so cute! I love the leaf paper garland too.
Krista
I love the stencils and the garland is cute too. Thanks for sharing on the blog hop!
Sarah @ The DIY Mommy
LOVE these stencils! I’m the same way.. always looking to do something fantastic with my boards but don’t want to spend a whole lot of time to get it just right. This is a great option! Thanks for sharing.