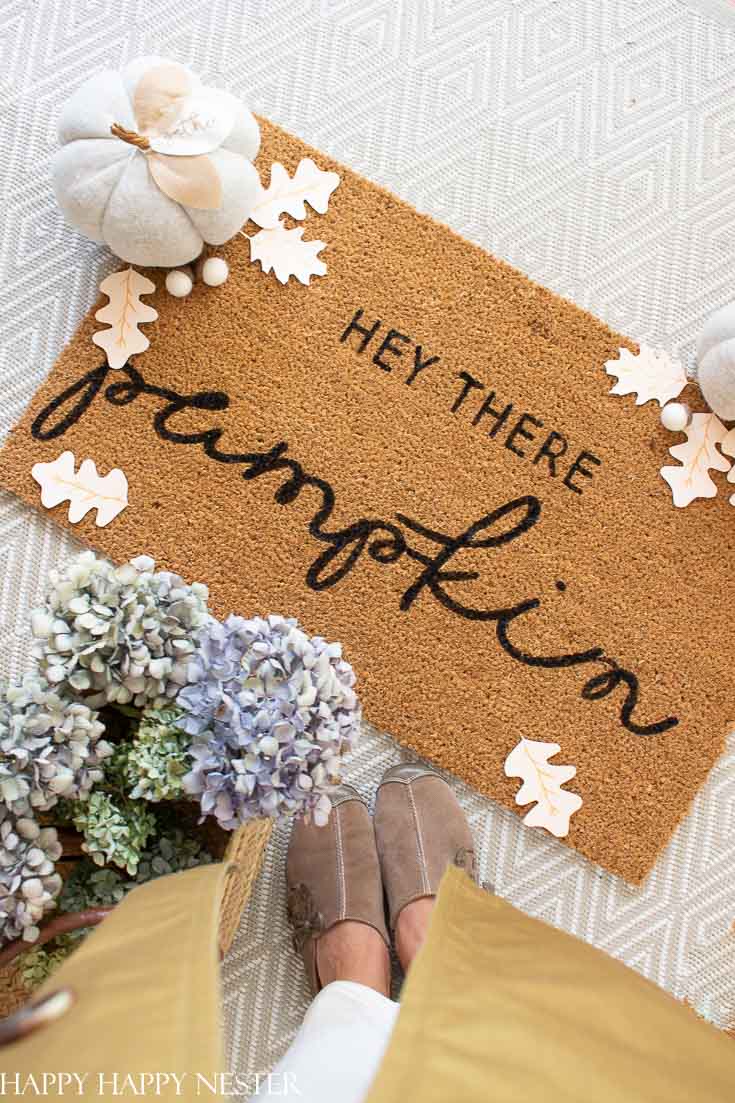
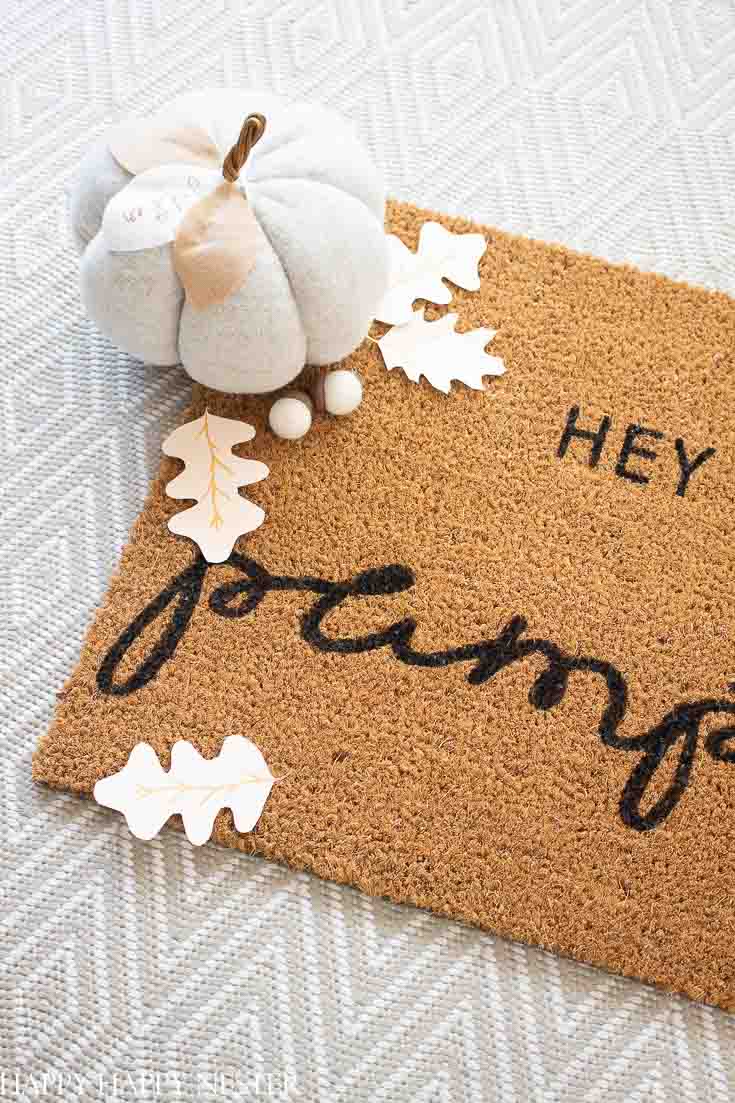
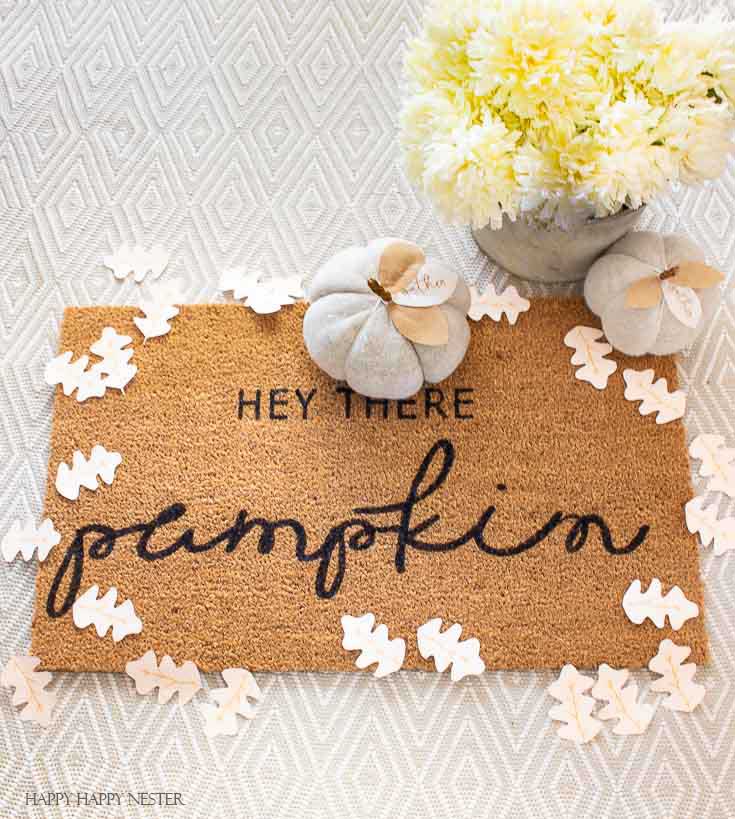
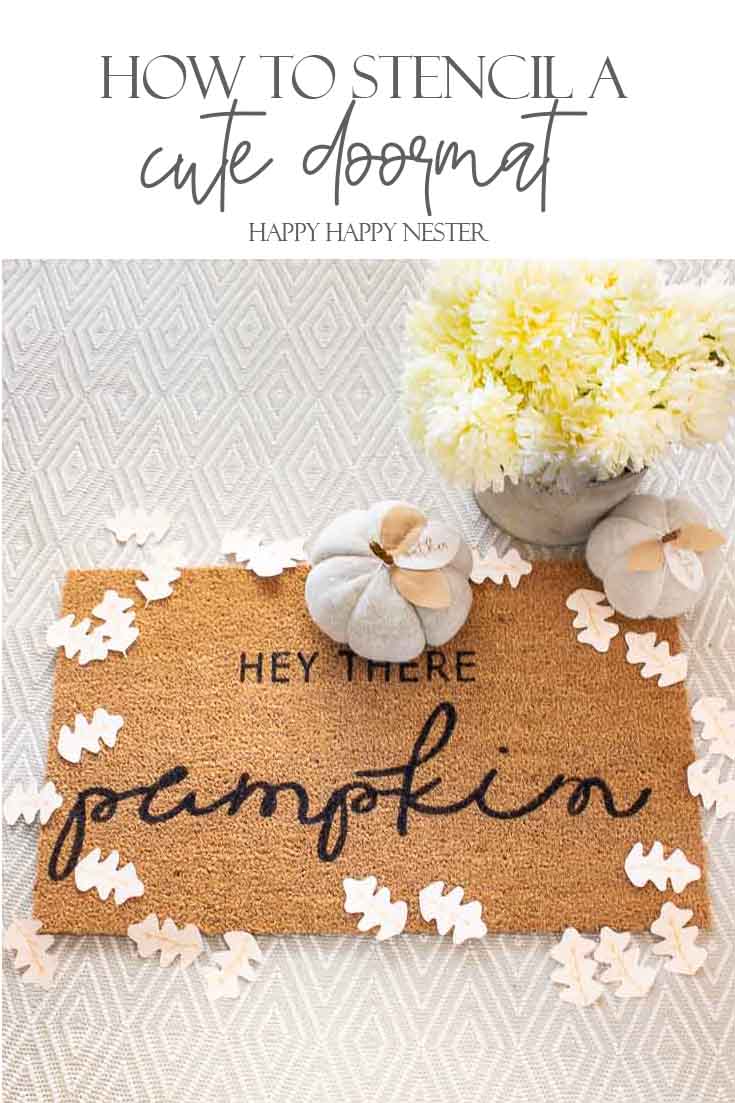
I’ve always wondered How to Stencil a Cute Doormat. So, finally, I had the opportunity to create one and I was super surprised how easy it was to make.
*The following post contains affiliate links.
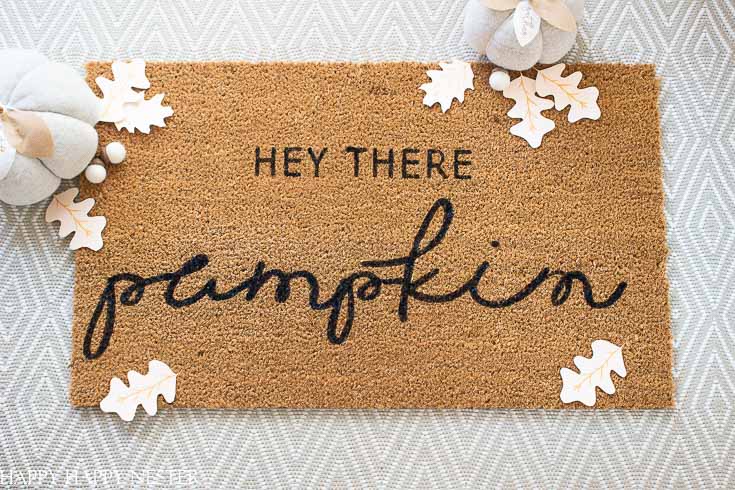
But first off, I want to mention that my friends and I are hosting a Fall Doormat Blog Hop, so make sure to view all the other cool designs at the bottom of this post.
Have you ever scrolled through Pinterest and spied all the adorable homemade fall mats? Well, I always wondered how they created them. I love that you can personalize a blank mat to whatever cute saying you want for your doormat. Well, I finally figured out how these crafty folks created them and I’m so happy to share it with you today.
I’m confident you’re going to love this project, especially since I’m including this cute doormat saying for free.
I’m pretty delighted with how my fall doormat came out, and of course, I had to do my happy dance.
But, one of the things that you must know in regards to how to stencil a cute doormat is that you need to own a Silhouette or Cricut machine. I went over to my friend Ashley’s mom’s house and we created our stencils on her machine. So, if you are familiar with these machines then this project will be a piece of cake for you to handle.
I’ve stenciled items before and had a few annoying things happen. For instance, paint got under the stencil and I didn’t get a clean line so of course, I was a little concerned that I would have a hot mess. But when painting this cute doormat, I didn’t encounter that problem at all. I think that since the coir mat was textured the paint stayed exactly where I brushed it on.
Ok, let’s start our project.
How to Stencil a Cute Doormat
Supplies
Stencil paper
Silhouette Hey there, Pumpkin Stencil
Instructions on how to stencil
1. Download the free Silhouette stencil and place it on your machine.
2. Print out the stencil. It helps to make sure the stencil paper is blue so you can see it on the mat. The clear doesn’t show up on the mat and that makes it super hard view.
3. It is a bit tricky to remove the backing of the stencil. I placed mine on a table edge and slowly removed the backing pulling in a downward motion.
3. Press the stencil down on the mat and if you want to secure it more, place sewing pins through the stencil and onto the mat.
4. Place the black paint in a dish and dab your brush inside the stenciled letters. You may need to brush two layers of paint to get a dark image.
5. Once your words are all filled in, you can remove your stencil and let it air dry. You might want to spray a thin layer of spray paint sealer but, the black waterproof acrylic paint should do the trick.
6. This completes how to stencil a cute doormat and you are ready to enjoy your fun mat.
Don’t you just love the seasons and all the fun things that we can make for our homes?
So glad you joined us today for my post on how to stencil a cute doormat. I always love a pretty craft that I can actually use around my home. And now that I have my new fall doormat, I’m super excited to decorate our front porch. Last year I had a blast getting our inexpensive Halloween front porch decorated, so I thought I should mix it up this year and go with the autumn theme.
Happy Crafting my friends!
Cheers,
Look At These Cute Doormat Ideas By My Friends!

Cute Doormat | Happy Happy Nester
Drop Cloth Doormat | Twelve on Main

Easy Fall Stenciled Doormat | Tatertots & Jello
DIY Fall Doormat | Your Marketing BFF
DIY Fall Stenciled Doormat | Lolly Jane
Layered Fall Doormats | Inspiration for Moms

DIY Fall Doormat from a Shower Curtain | The DIY Mommy
How To Layer Doormats | My Sweet Savannah
Welcome Mat Ideas | Pink Peppermint Designs
- My Favorite Cleaning Items from Amazon - January 28, 2026
- Machine Washable Rugs - January 21, 2026
- Pink Crafts for Adults - January 17, 2026





Jennifer Hadfield
Super cute Janine!!
I love the way you style it too! I saved it to my Fall board.
xoxo