Springtime is the perfect season to embrace the delightful Old Fashioned Lemon Squares. These homemade lemon bars offer a refreshing taste and are incredibly simple to prepare. My fond childhood memories flood my mind as I recall using the Peanuts Cookbook, which featured the beloved Lucy’s Lemon Squares Recipe.
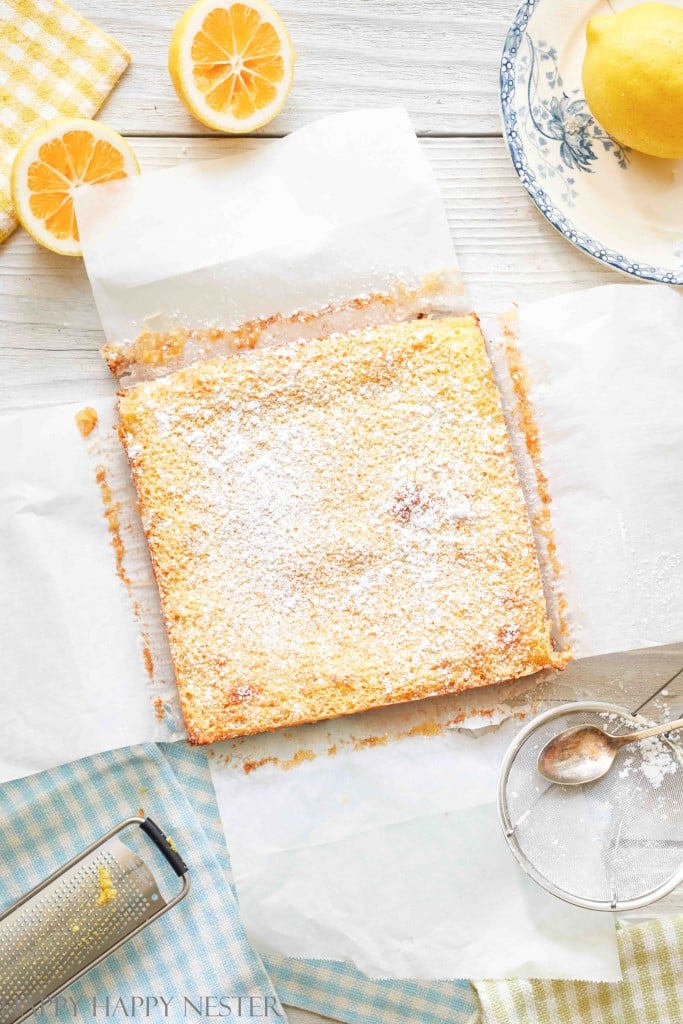
Photo: MyPhotography.com
Old-fashioned lemon squares are a delightful treat that has stood the test of time. The combination of tangy lemon filling and a buttery shortbread crust creates a mouthwatering dessert that everyone enjoys.
What is Old Fashioned Lemon Squares?
A lemon square dessert, also known as lemon bars, is a delightful sweet treat that combines a buttery shortbread-like crust with a tangy lemon filling. It’s like having a burst of sunshine in every bite!
The dessert typically consists of the crust and the lemon filling. The crust combines ingredients like flour, butter, and powdered sugar. It forms a solid and slightly crumbly base that provides a beautiful contrast to the creamy lemon layer.
The lemon filling is the star of the show. It’s made with a mixture of fresh lemon juice, lemon zest, eggs, sugar, and sometimes a bit of flour to thicken it up. The filling is poured over the crust and baked until it sets and forms a luscious, bright yellow layer with a slightly tart and refreshing flavor.


When I was a kid, I was totally into baking. And let me tell you, there was this one cookbook that I was absolutely obsessed with. The best part? It had an awesome recipe for Lucy’s Lemon Squares! I must have made those lemon squares a gazillion times.
You know what? I think my brother has that Peanuts cookbook. I remember ordering it through the Scholastic book club back in the day. I’ll have to dig through his storage unit one of these days and find that treasure.
Anyway, I hope you have a blast enjoying this super refreshing and lemony old-fashioned lemon squares dessert! Trust me, it’s the bomb.

Where Did Lemon Bars Originate?
The exact origin of lemon squares is unclear, as it is a dessert that many people have enjoyed for generations. However, lemon bars and squares are believed to have originated in the United States, particularly in the 20th century.
The dessert gained popularity during the mid-20th century, likely due to the availability of lemons and the desire for simple and refreshing desserts. Lemon squares became a staple in American baking, often appearing at potlucks, picnics, and family gatherings.
The recipe for lemon squares has evolved, with variations incorporating different crusts, fillings, and toppings. Today, they are enjoyed in various forms and can be found in bakeries, cafes, and homes around the world.
The result is a refreshing and zesty dessert with a perfect balance of sweet and tart flavors. Lemon squares are often dusted with powdered sugar on top or accompanied by a dollop of whipped cream for added richness.

Photo: MyPhotography.com
Ingredients You’ll Need for These Traditional Lemon Squares
Flour: Flour is a critical component in the crust and the filling of lemon squares. In the crust, it provides structure and helps create a sturdy base. In the filling, a small amount of flour is often added to help thicken and set the lemon filling as it bakes.
Butter: Butter adds richness and flavor to the crust, giving it a buttery and crumbly texture. It also helps bind the ingredients, creating a solid base for the lemon squares.
Sugar: Sugar is essential for sweetness in the crust and the filling. In the crust, powdered sugar is commonly used to provide a lighter texture. Granulated sugar is used in the filling to balance the tartness of the lemon juice and add sweetness to the overall dessert.
Lemon zest: Lemon zest is the outer, colorful part of the lemon peel. It contains aromatic oils that infuse the dessert with a vibrant lemon flavor. The zest adds a zesty and fragrant element to the crust and the filling, enhancing the overall taste of the lemon squares.
Eggs: Eggs serve as a binding agent in the filling. They provide structure, help the filling set, and contribute to the creamy texture of the lemon layer. Additionally, eggs add richness and contribute to the overall flavor of the dessert.
Lemon Juice: Freshly squeezed lemon juice is the star ingredient that provides the tangy and refreshing flavor in lemon squares. It gives the filling its characteristic citrus taste and adds a bright acidity that balances the sweetness.
Salt: Salt is a small but essential ingredient that enhances the flavors of the other ingredients. It helps to balance the sweetness and intensify the overall taste of the lemon squares.
Confectioners Sugar: Confectioners sugar, also known as powdered sugar or icing sugar, is often used as a finishing touch. It is dusted on top of the lemon squares before serving, adding a touch of sweetness and a visually appealing layer of white powder.
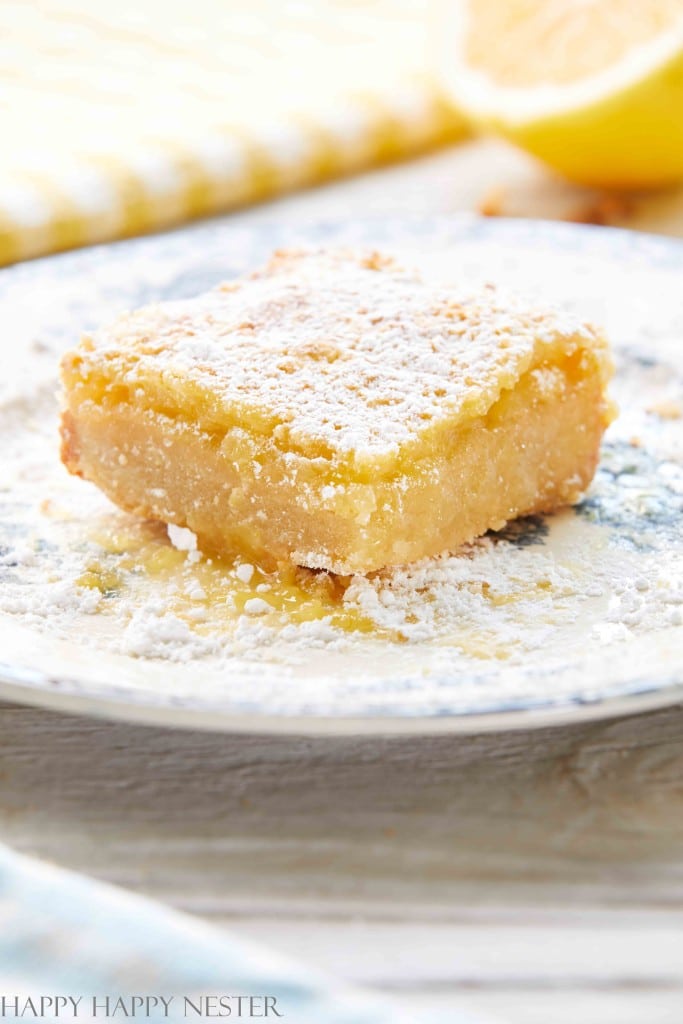
Photo: MyPhotography.com
Helpful Hints:
- Use fresh lemons: Freshly squeezed lemon juice and zest will provide the best flavor for your lemon squares. It’s worth making the extra effort to juice the lemons yourself rather than bottled juice.
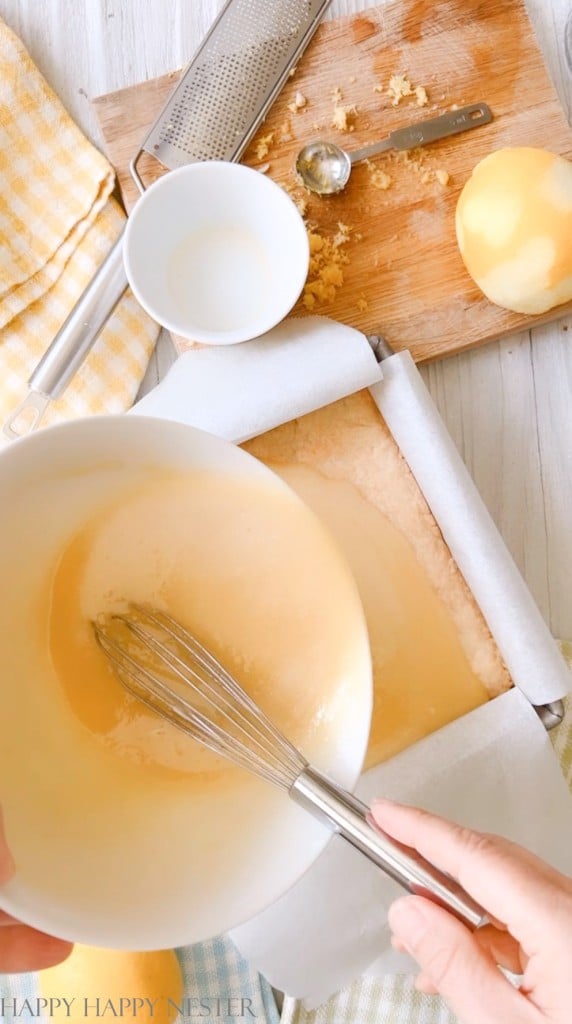
- When pouring the filling, make sure the parchment paper sticks to the edges of the pan. If the filling gets in between the paper and pan, releasing the squares after they are baked will be difficult.
- Preparing the crust: When making the crust, make sure to thoroughly combine the ingredients until they resemble fine crumbs. Press the crust mixture firmly and evenly into the baking pan for a solid and cohesive base.
- Zest before juicing: Always zest the lemons before juicing them. It’s easier to extract the zest from whole lemons, and you’ll get the most flavor from the outer layer of the peel.
- Adjusting sweetness and tartness: The ratio of sugar to lemon juice can be adjusted based on personal preference. If you prefer a sweeter lemon square, you can increase the amount of sugar slightly. Conversely, if you enjoy a more tart flavor, you can reduce the sugar a bit and increase the lemon juice.
- Sifting the dry ingredients: To avoid any lumps in your filling, it’s a good idea to sift the dry ingredients (such as flour and sugar) before mixing them with the wet ingredients.
- Properly measuring flour: When measuring flour for the crust or filling, spoon the flour into the measuring cup and level it off with a knife. This will help ensure accurate measurements and prevent a dense or dry texture.
- Room temperature eggs: It’s generally recommended to use eggs at room temperature. This allows them to mix more easily with other ingredients and results in a smoother filling.
- Cooling and chilling: Allow the lemon squares to cool completely in the pan before cutting them into squares. For best results, refrigerate the squares for a few hours or overnight to allow them to firm up before serving. Chilled lemon squares are easier to handle and have a firmer texture.
- Garnishing with powdered sugar: Just before serving, dust the lemon squares with powdered sugar. This adds a touch of sweetness and provides an appealing visual finish.
- While using fresh lemon juice is generally recommended for the best flavor in lemon squares, you can use bottled lemon juice as a substitute if fresh lemons are not available.
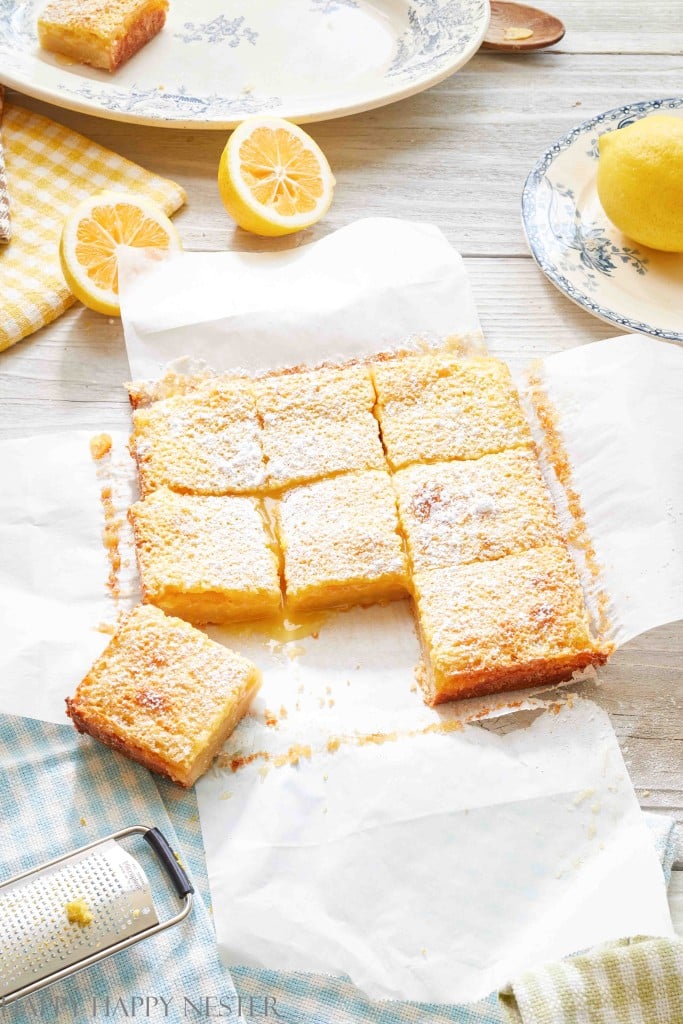
Photo: MyPhotography.com
How to Make Lemon Squares
Step 1 – Preheat the oven to 350 degrees.
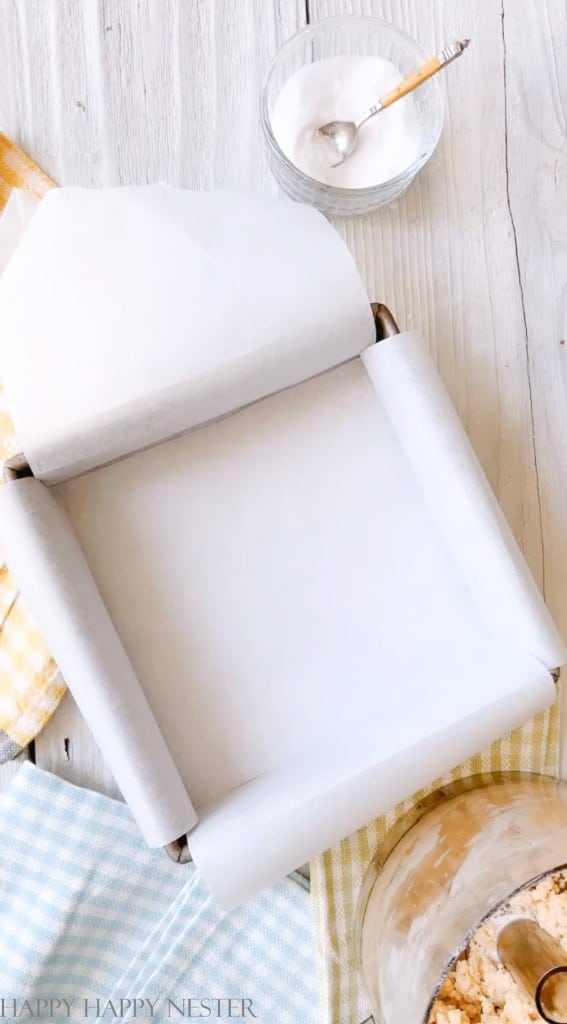
Step 2 – Prep Pan
Line a 9″x9″ pan with parchment paper.
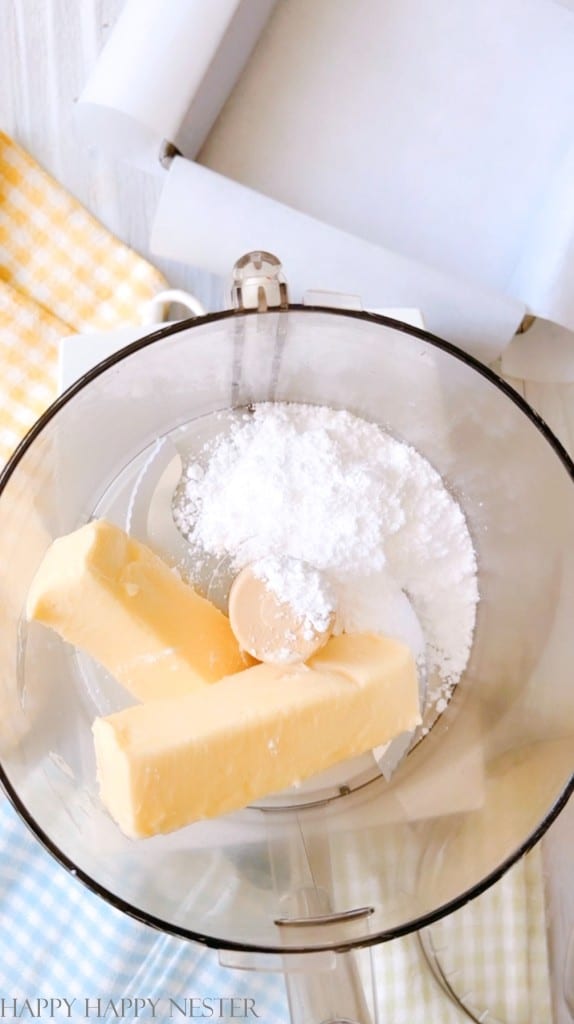
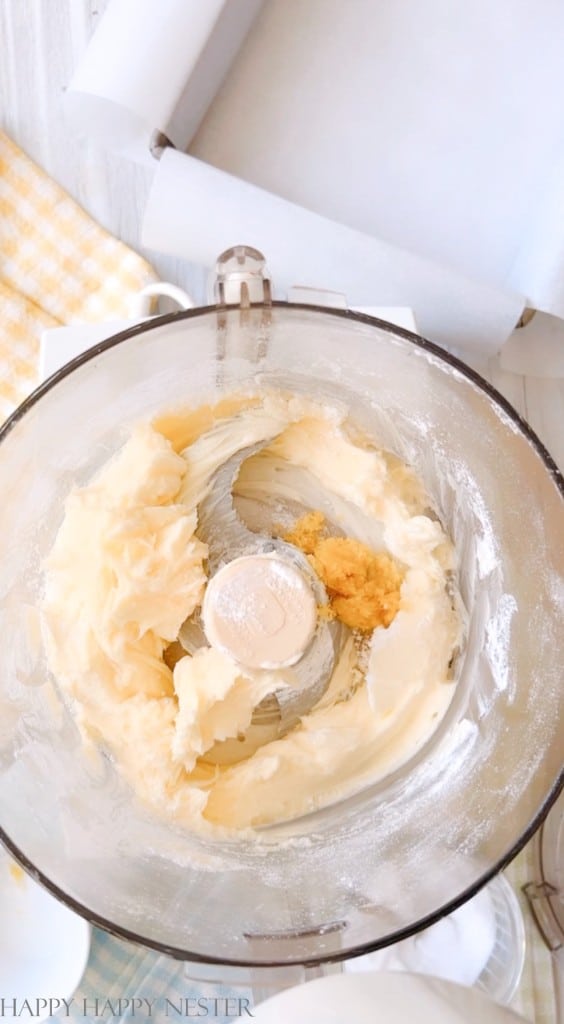
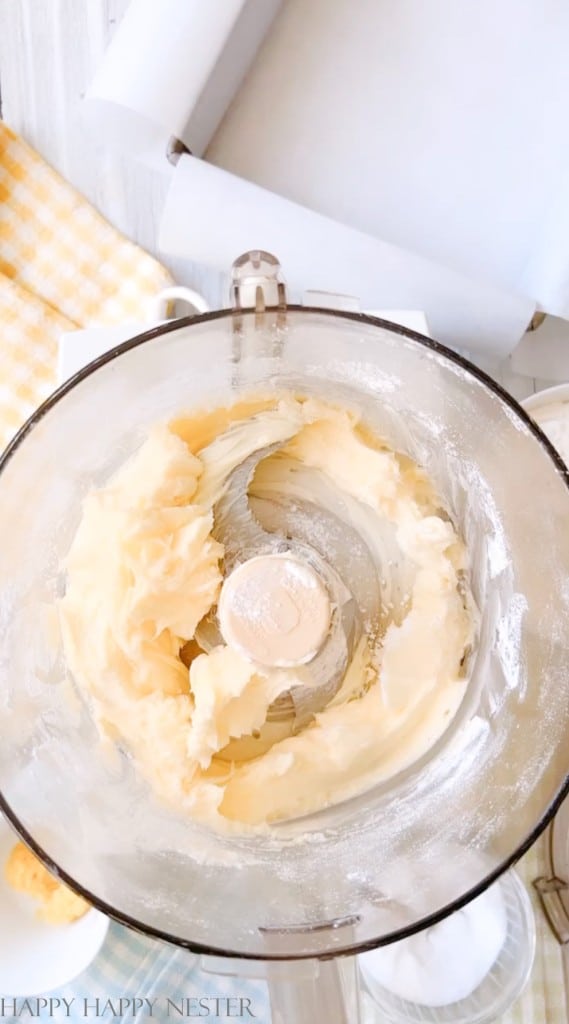
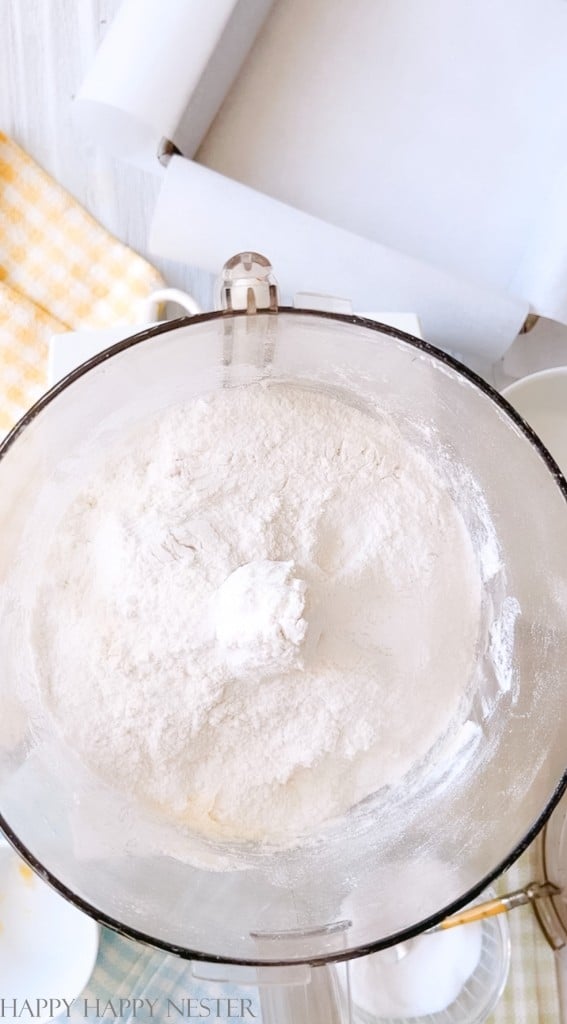
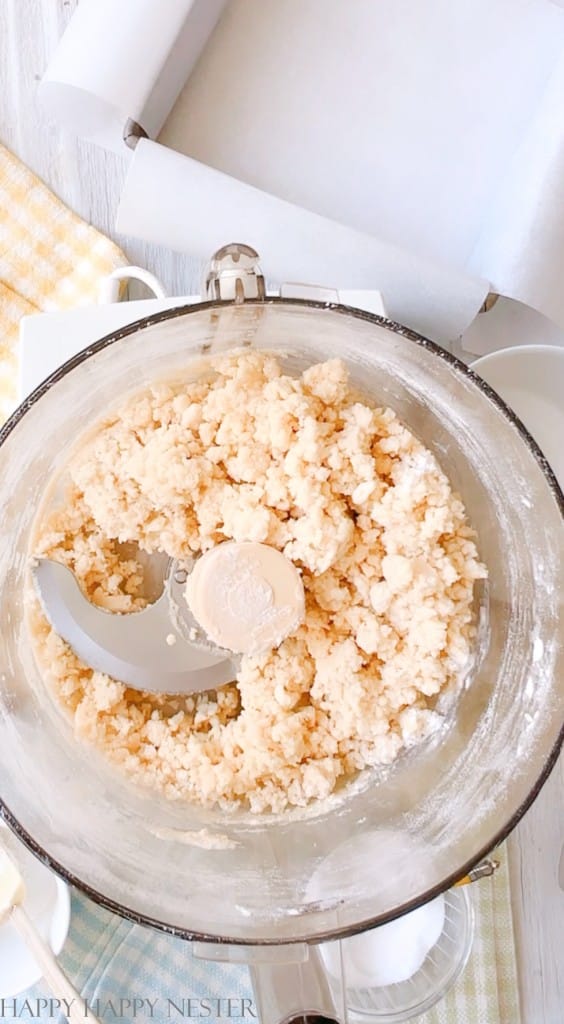
Step 3 – Make the Crust
To make the crust beat the butter and confectioners’ sugar together until blended, then add the lemon zest, flour, and salt, and mix thoroughly.
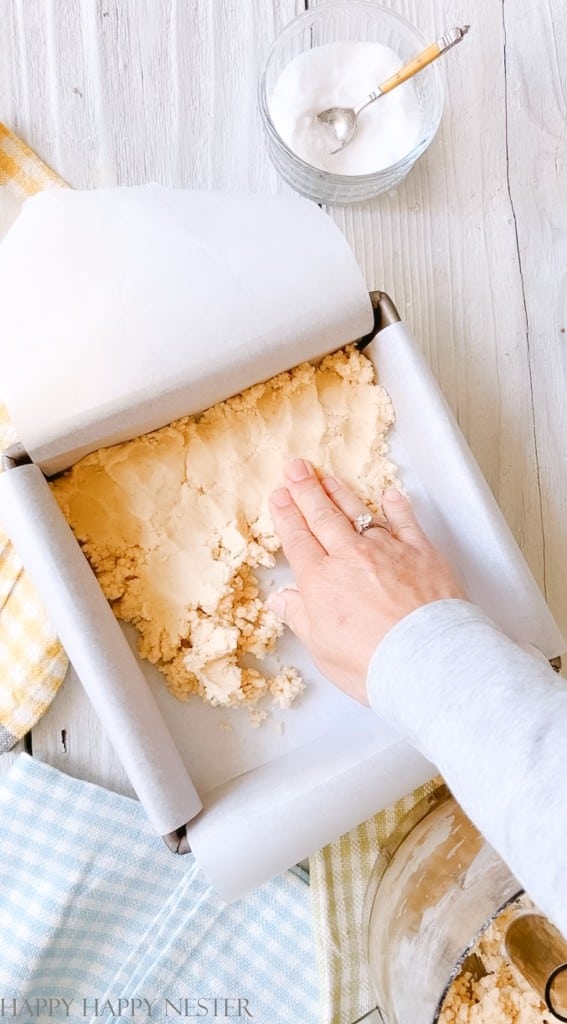
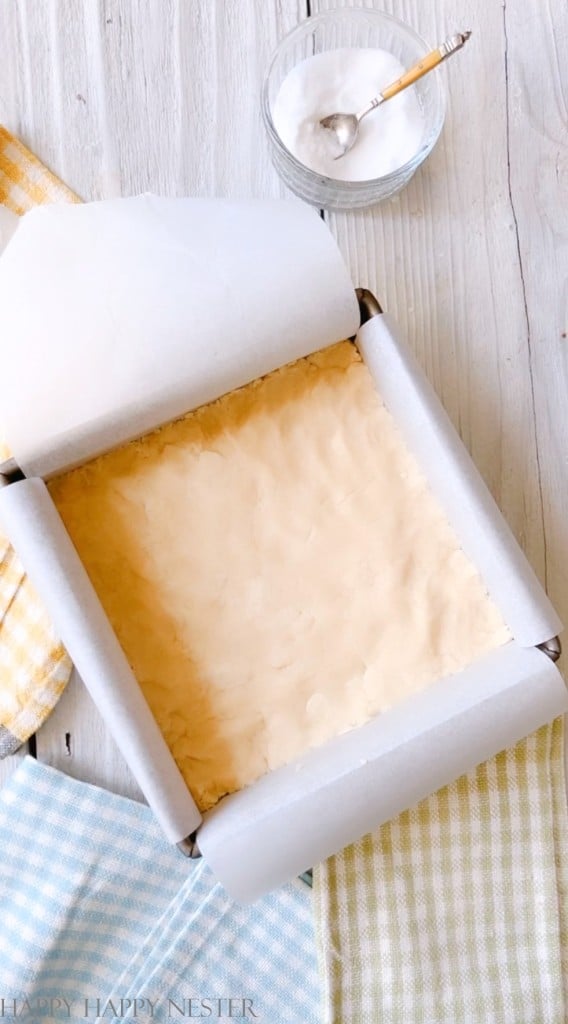
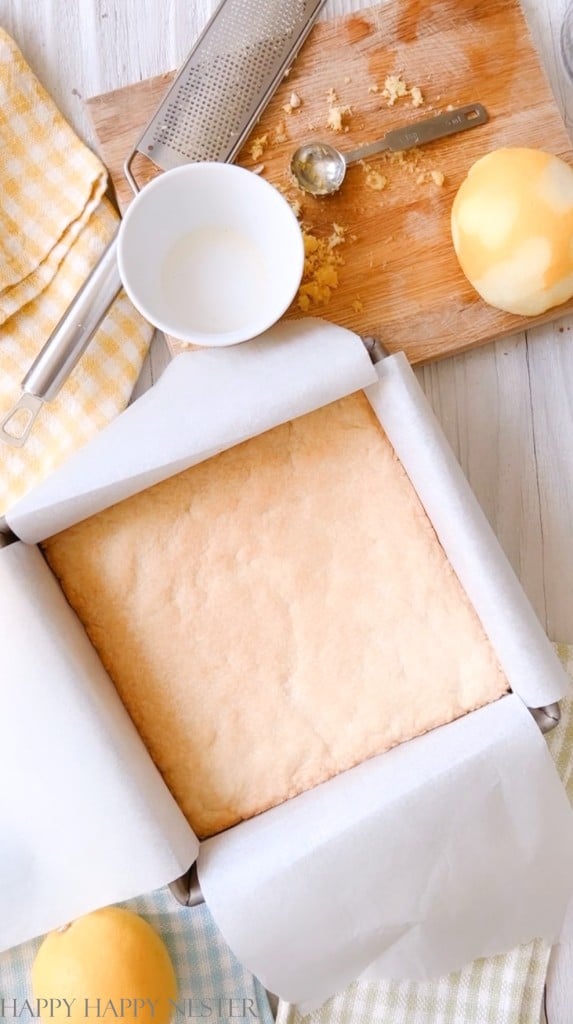
Step 4 – Line Pan with Crust
Press the dough evenly in the bottom of the baking pan and bake on middle rack for 30 minutes.
Remove from oven and cool on a rack.
Step 5 – Make Lemon Filling
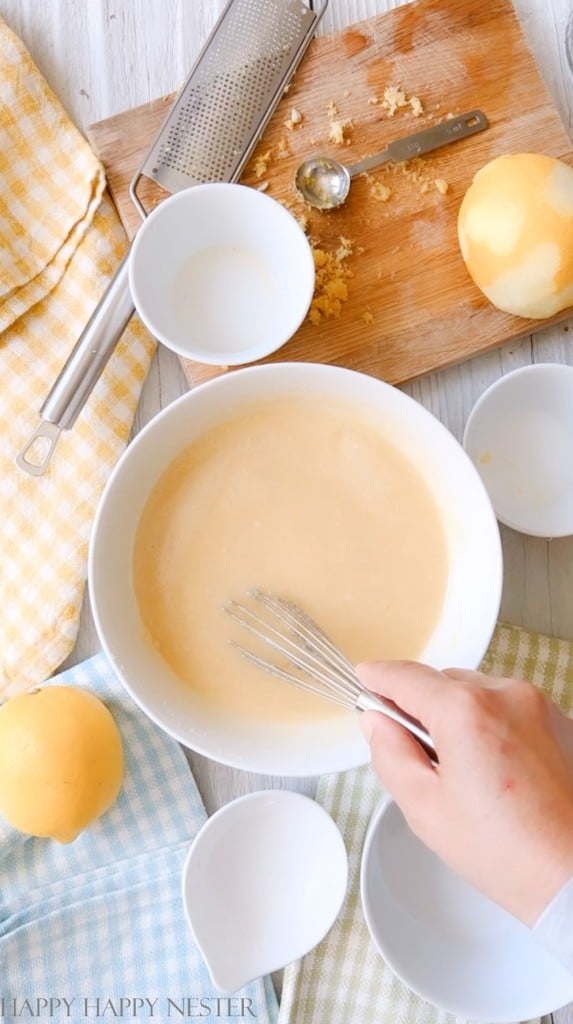
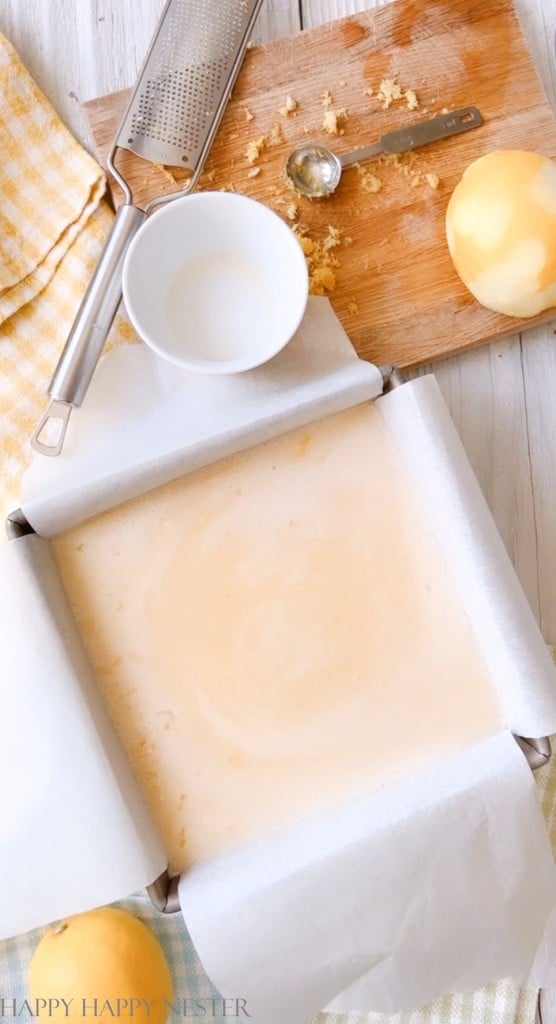
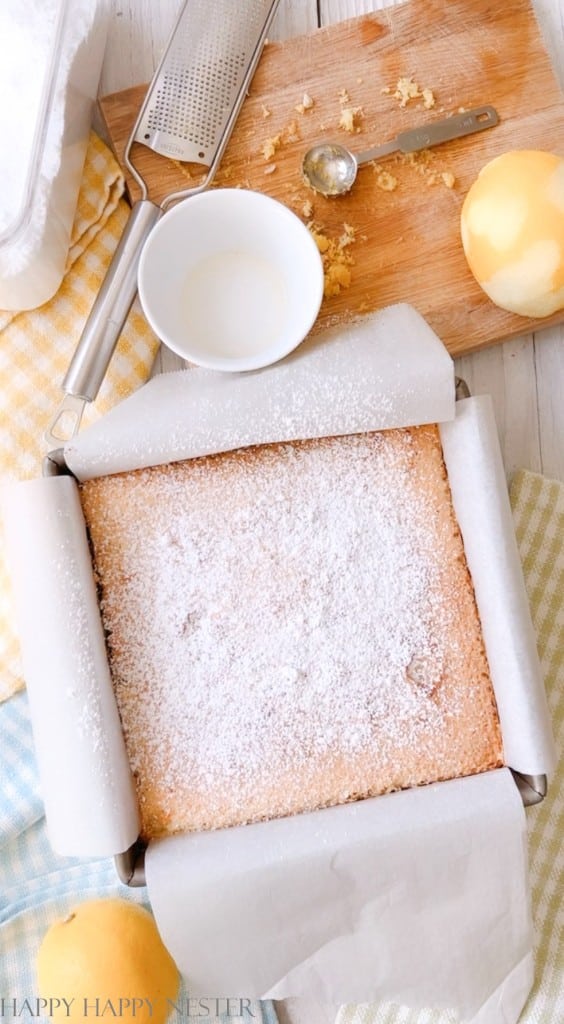
Beat together the eggs, sugar, flour, lemon juice, and lemon zest until thoroughly blended. Pour over the crust and return to the oven. When pouring make sure the parchment paper sticks to the edges of the pan. If the filling gets in between the paper and pan, it will difficult to release the squares after they are baked.
Step 6 – Bake Lemon Squares
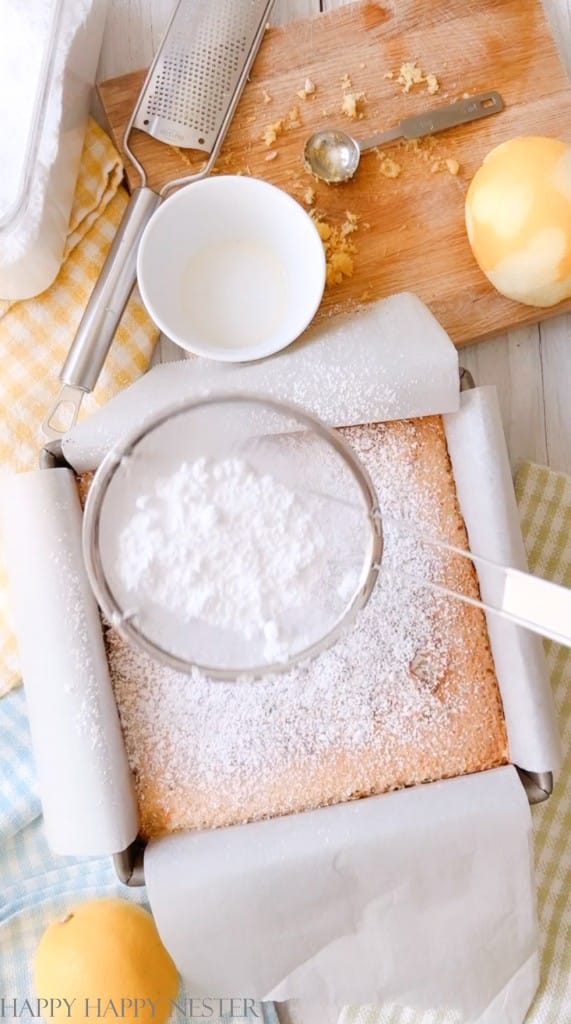
Bake for 40 minutes, until the top is dry and barely browned around the edges. Remove from oven and cool on a rack. Once the squares are completely cooled, cut into 2-inch squares. Sift confectioners’ sugar over the top before serving.
Old Fashioned Lemon Squares Recipe
Ingredients
Crust
- 1 cup butter softened
- ½ cup powdered sugar
- 2 tsp grated lemon zest
- 2 cups flour
- pinch of salt
Filling
- 4 eggs
- 2 cups sugar
- 4 tbsp flour
- 6 tbsp freshly squeezed lemon juice
- 2 tsp lemon zest
Optional Topping
- powdered sugar
Instructions
- Preheat the oven to 350°
- Line a 9″x9″ pan with parchment paper.
Crust
- To make the crust beat the butter and confectioners’ sugar together until blended, then add the lemon zest, flour, and salt, and mix thoroughly.
- Press the dough evenly in the bottom of the baking pan and bake on middle rack for 30 minutes.Remove from oven and cool on a rack.
Filling
- Beat together the eggs, sugar, flour, lemon juice, and lemon zest until thoroughly blended. Pour over the crust and return to the oven.
Bake the Lemon Squares
- Bake for 40 minutes, until the top is dry and barely browned around the edges. Remove from oven and cool on a rack. Once the squares are completely cooled, cut into 2-inch squares. Sift confectioners’ sugar over the top before serving.
Nutrition
How to Avoid a Runny Lemon Filling
Lemon squares are a delicious treat, but it’s true that they can sometimes come out runny if not baked properly. The bake time is indeed crucial in achieving perfect consistency. Yes, I can speak from experience that baking these squares can be a bit tricky.
When making lemon squares, the filling usually consists of lemon juice, eggs, sugar, and flour. To ensure the filling sets properly, it’s important to follow a few guidelines.
- Preheat the oven: Make sure to preheat your oven to the specified temperature before you start baking. This ensures even heat distribution and proper cooking.
- Use the correct pan size: Make sure to use the recommended pan size for the recipe. Using a larger or smaller pan can affect the baking time and thickness of the bars. You’ll use a 9″x 9″ pan for this recipe.
- Check for doneness: The bake time mentioned in a recipe is a good starting point, but it may vary depending on your oven. Keep a close eye on the lemon squares as they bake, and check for doneness by gently shaking the pan. The center should be set and no longer jiggly.
- Adjust baking time if needed: If your lemon squares still appear runny in the center after the recommended bake time, you may need to continue baking them for a bit longer. Check them every few minutes until they reach the desired consistency. Be careful not to overbake them, as they can become dry and lose their delicate texture.
- Cooling and refrigeration: Once your lemon squares are baked and no longer runny, allow them to cool completely in the pan. This helps them set further. For best results, refrigerate the cooled lemon squares for a couple of hours or overnight before cutting them into squares. Chilling them also enhances the flavor and makes them easier to handle.
By paying attention to the bake time and following these tips, you can achieve perfectly set lemon squares with a luscious, tangy filling and a firm yet tender texture. Enjoy!
How to Freeze Lemon Bars
lemon squares can be frozen. Freezing lemon squares is a great way to extend their shelf life and have a sweet treat on hand whenever you desire. Here’s how you can freeze lemon squares:
- Allow the lemon squares to cool completely after baking. It’s essential to ensure they are at room temperature before freezing.
- Cut the lemon squares into desired portions, whether that’s squares or rectangles.
- Place the cut lemon squares on a baking sheet lined with parchment paper, making sure they don’t touch each other. This will prevent them from sticking together during freezing.
- Place the baking sheet with the lemon squares in the freezer and freeze them for about 1 to 2 hours or until they are firm.
- Once the lemon squares are firm, transfer them to an airtight container or freezer-safe bag. Make sure to remove any excess air from the container or bag before sealing.
- Label the container or bag with the date of freezing for future reference.
- Place the container or bag of lemon squares back into the freezer and store them for up to 2 to 3 months.
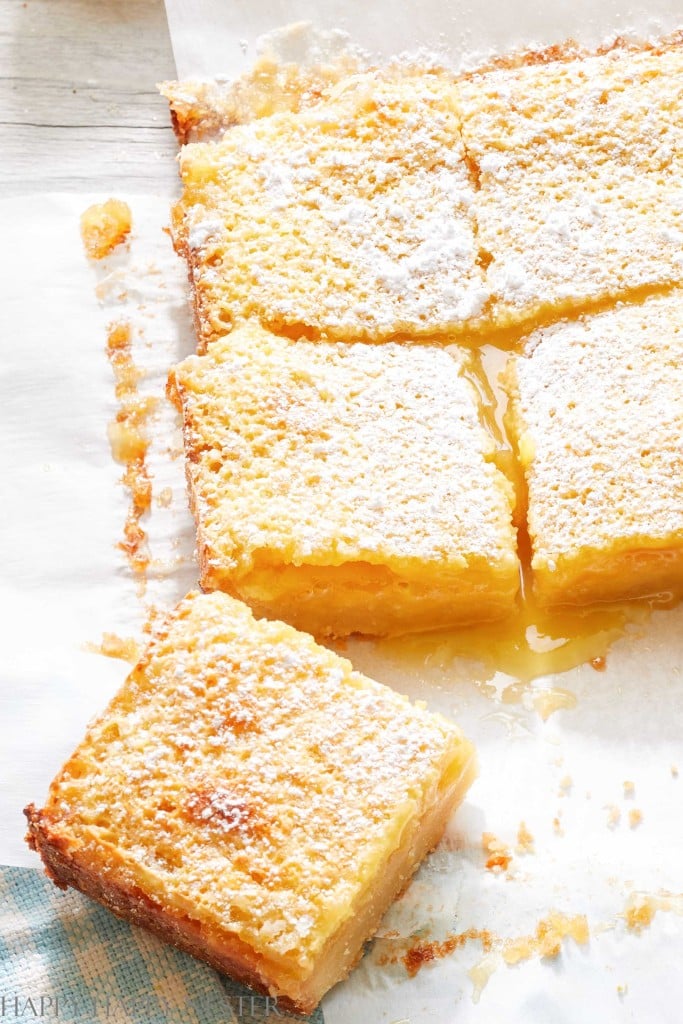
Photo: MyPhotography.com
When you’re ready to enjoy the frozen lemon squares:
- Remove the desired number of squares from the freezer.
- Thaw the lemon squares in the refrigerator overnight or at room temperature for a couple of hours until they reach your desired consistency.
- Once thawed, you can enjoy the lemon squares as they are or sprinkle powdered sugar on top before serving if desired.
It’s important to note that the texture of the lemon squares may slightly change after freezing and thawing. However, they will still be delicious and enjoyable.

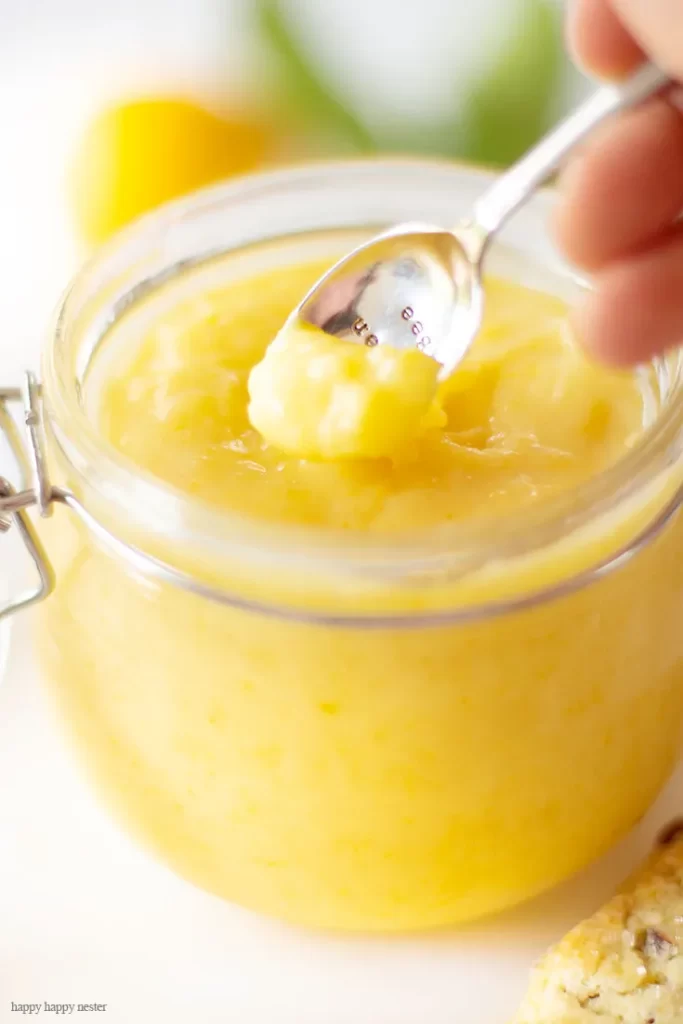

Here are a few of my popular lemon recipes!
Lemon squares are perfect for any occasion, whether it’s a picnic, a potluck, or simply a sweet treat to enjoy at home. They offer a delightful balance of sweet and tangy flavors and a pleasant textural contrast between the buttery crust and the creamy lemon filling.
So, if you’re a fan of lemony goodness, you should definitely give old-fashioned lemon squares a try. They’re a classic dessert that never fails to brighten up the day!
Bon Apetit,

- My New Favorite Products from Amazon - January 7, 2026
- Last-Minute Stocking Stuffers - December 24, 2025
- My Favorite Gift Wrap Inspiration - December 20, 2025


Leave a Reply