This recipe for Homemade Breadsticks without Yeast is straightforward and delicious. They’re so quick to prepare that I often make them at the last minute to complement our dinner. Since we prefer dipping them in jam, they don’t contain any cheese. However, incorporating some Parmesan into the dough is an effortless modification.
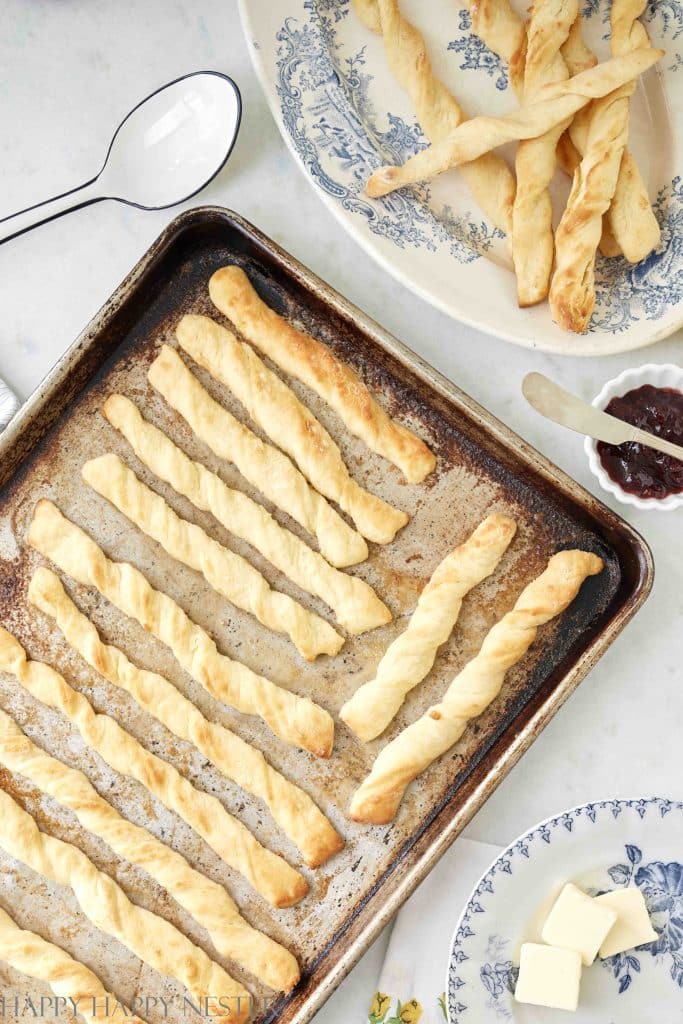
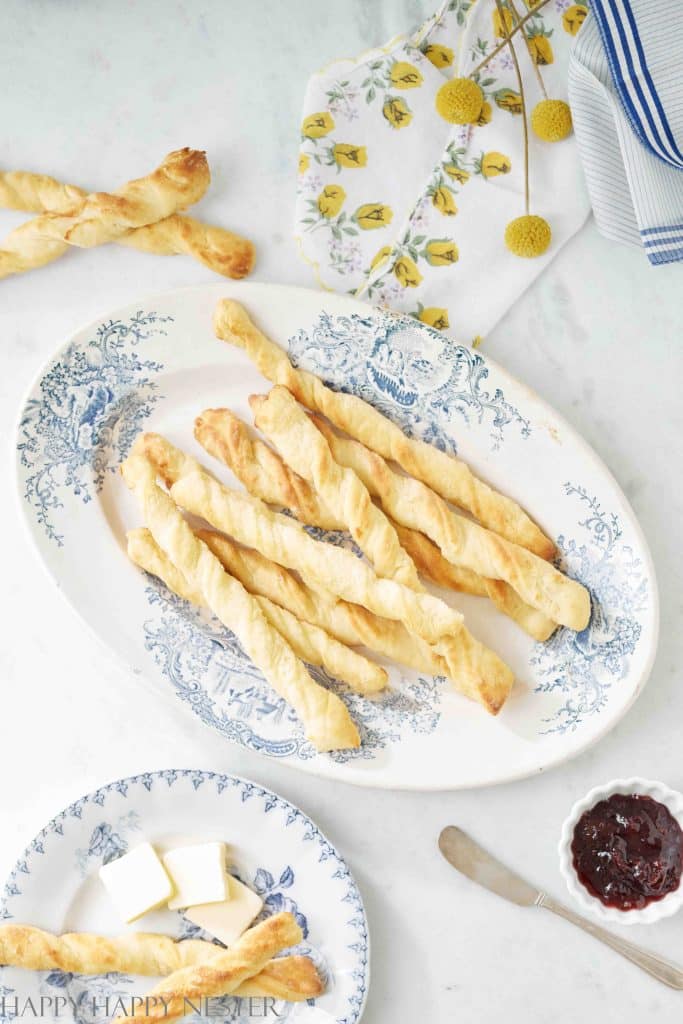
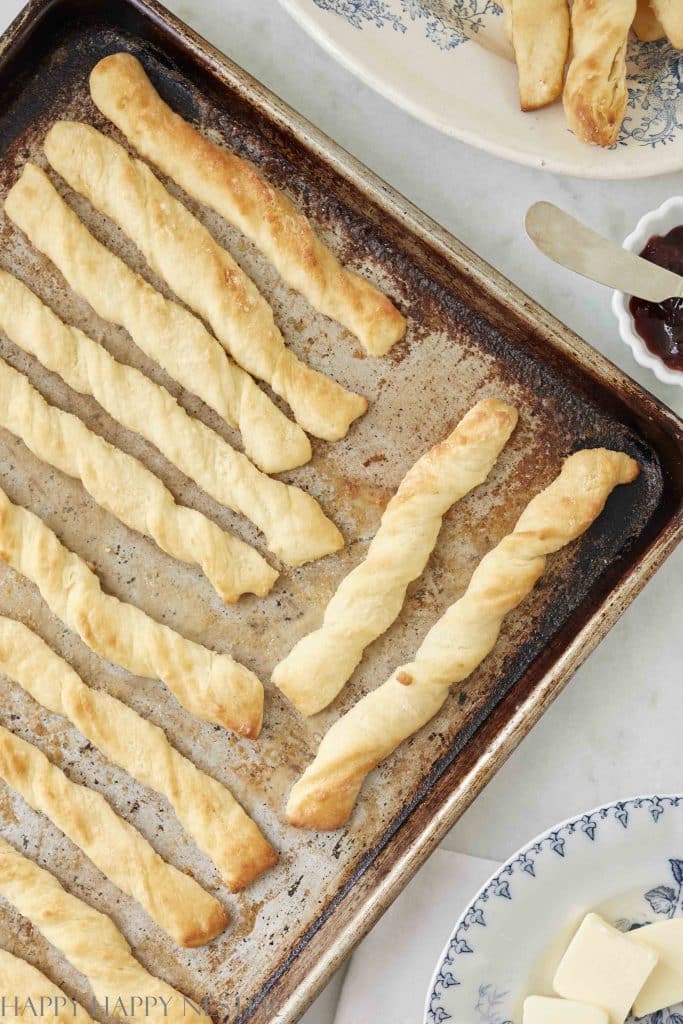
Before popping these cute little breadsticks in the oven, I roll them in melted butter. It’s up to you – twist them up for a bit of flair or keep them simple and straight. Adding a twist gives them a bit of fun and a fancy look.
This recipe has flour, salt, sugar, baking powder and milk. You dredge it through butter to coat all the knook and crevice of the breadsticks.
You might already know this recipe swaps out yeast for baking powder. They get a slight rise from it, but they lean more towards the crunchy side. Fresh out of the oven is when they’re at their best, but if you’re enjoying them later, toss them in the toaster oven for a quick minute or two to revive that crispiness.
HOMEMADE BREADSTICKS WITHOUT YEAST
Ingredients You’ll Need
- Flour: Flour is the backbone of these breadsticks, providing structure and body. It’s what gives them their classic bread-like texture.
- Sugar: A touch of sugar not only adds a hint of sweetness but also helps in browning the breadsticks, giving them a delicious, golden crust.
- Baking Powder: Baking powder is a leavening agent that causes the breadsticks to rise. While they won’t puff up like yeast-based bread, baking powder gives them a bit of lightness and prevents them from being too dense.
- Salt: Salt is crucial for flavor. It balances the sweetness and enhances the overall taste of the breadsticks, making their flavor more complex and rounded.
- Milk: Milk adds moisture and richness to the dough. It helps in creating a tender crumb inside the breadsticks, contrasting beautifully with the crisp exterior.
- Butter: Butter is key for flavor and texture. It makes the breadsticks deliciously rich and tender and contributes to their golden-brown exterior when baked.
How to Make Homemade Breadsticks
Preheat oven to 450 degrees.
Step 1 – Mix Dry Ingredients
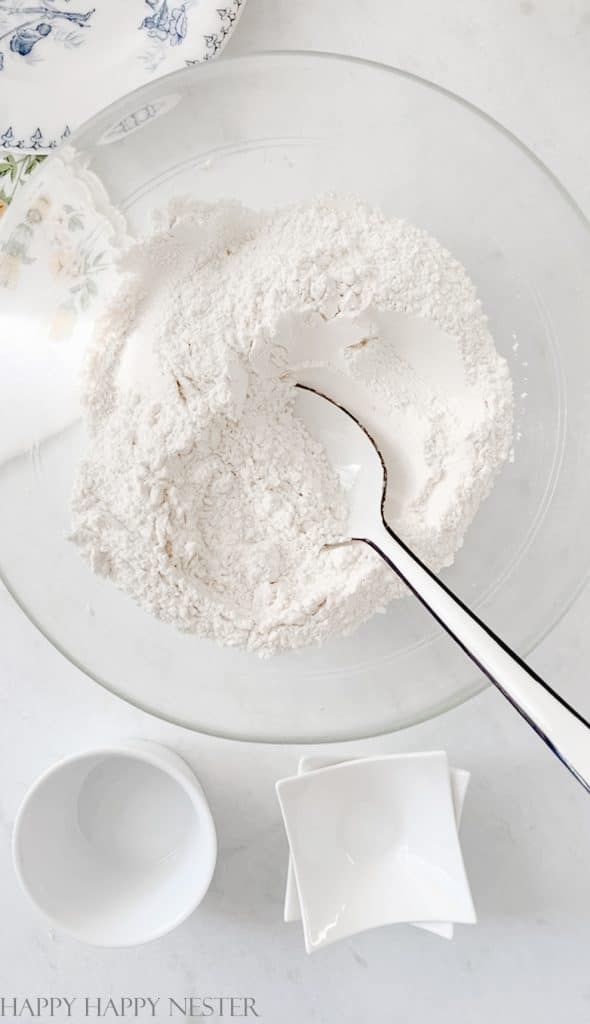
In a bowl, combine, flour, sugar, baking powder, and salt.
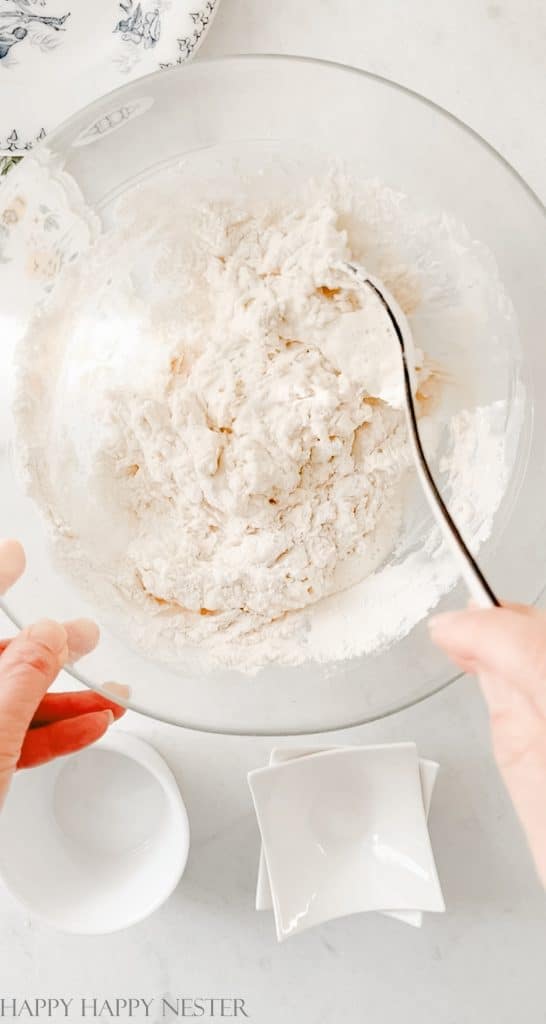
Step 2 – Add Milk
Gradually add milk and stir until it’s a soft dough.
Step 3 – Knead Dough
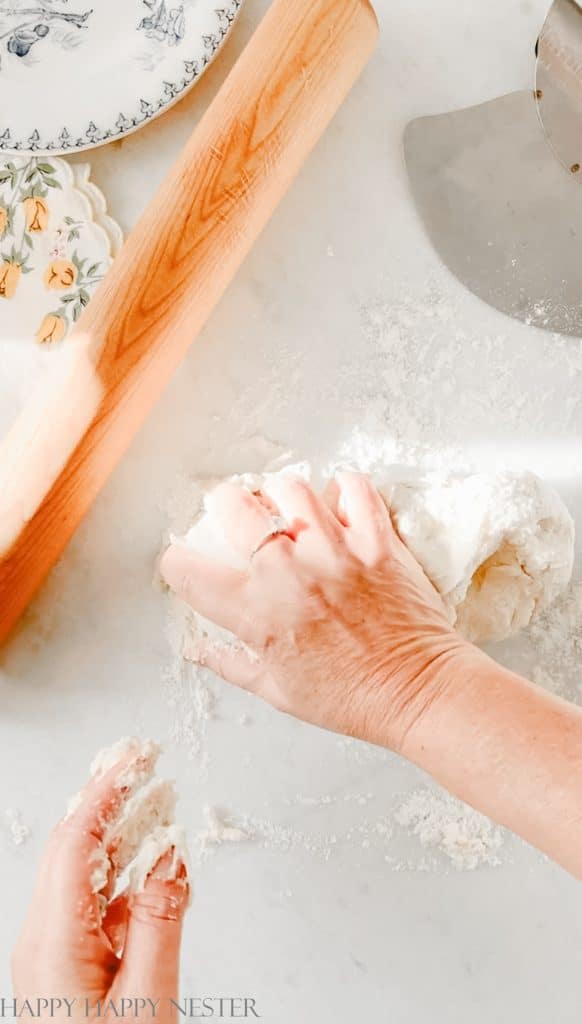
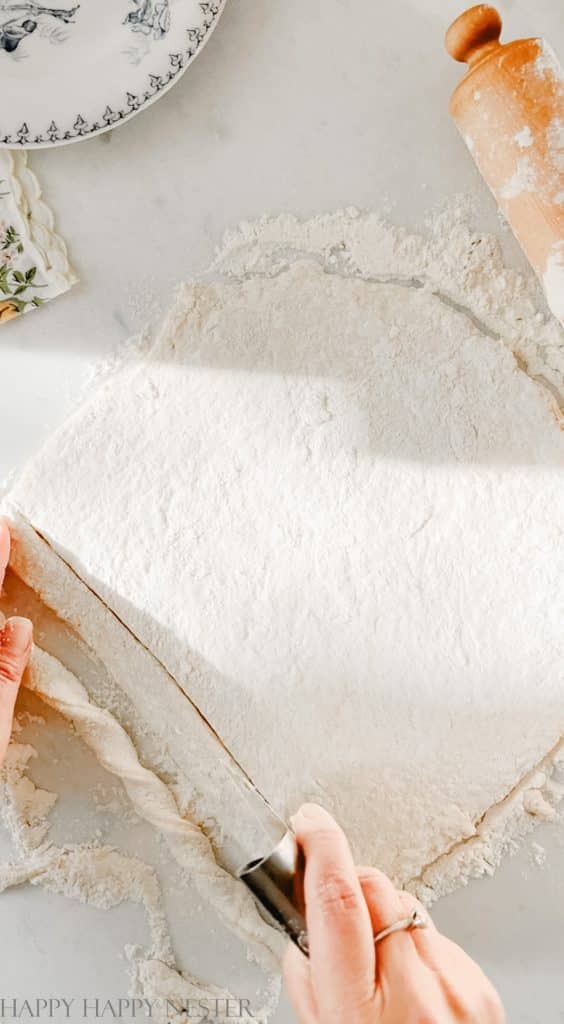
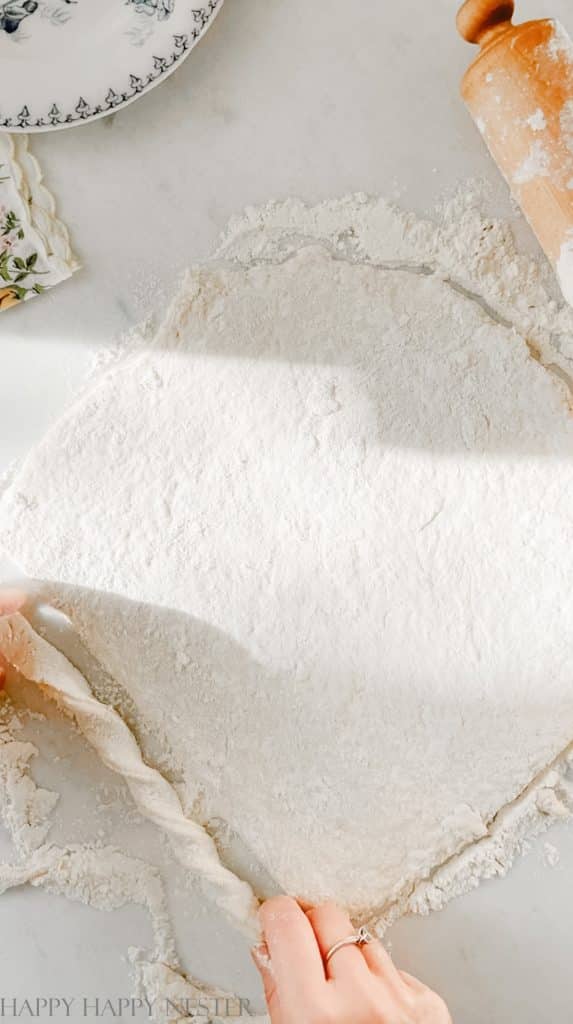
Turn onto a floured surface, and knead gently 3-4 times. Roll out on into a rectangle. Cut into 1/2 inch strips. Twist the dough strips.
Step 4 – Melt Butter
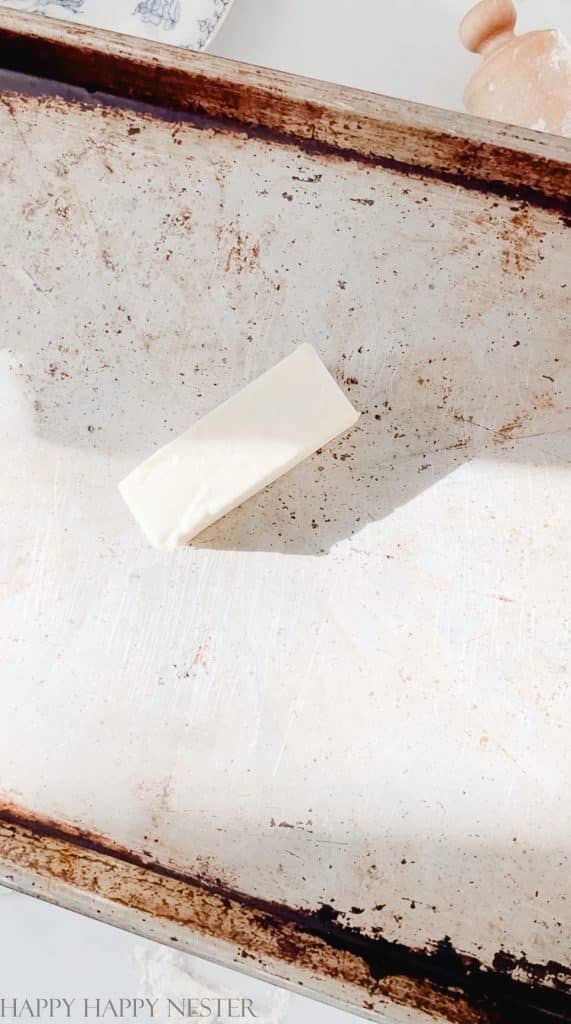
Place butter on an edged cookie tray and place in the oven for about two minutes. Watch closely so that the butter doesn’t burn.
Step 5 – Coat Breadsticks in Melted Butter
Place breadsticks in the butter and turn to coat them thoroughly. Leave the breadsticks in the tray for baking.
Step 6 – Bake Bread
Once you made all the breadsticks, bake at 450 degrees for about 10-14 minutes or until golden brown. Serve warm.
Easy Recipe Variations & Add-In
While this classic recipe is wonderful on its own (especially dipped in your favorite jam or marinara!), you can easily tweak it with a few simple pantry additions:
Cheesy Garlic Breadsticks: Fold ½ cup of freshly grated Parmesan or shredded Mozzarella directly into the dry flour mixture before adding the milk. Sprinkle extra cheese on top during the last 2 minutes of baking for a golden, melty crust.
Garlic Herb Butter: After melting the butter on your baking tray, stir in ½ teaspoon of garlic powder and 1 teaspoon of dried Italian seasoning or freshly chopped parsley before rolling your dough strips in it.
Cinnamon Sugar (Sweet Option): Skip the savory route! Substitute the butter coating with a brush of melted butter, then generously toss the baked breadsticks in a mix of ¼ cup sugar and 1 teaspoon ground cinnamon.
Yogurt-Free Option: Many quick breadstick recipes rely on Greek yogurt for moisture, but this version uses basic whole milk and butter for a lighter, crunchier bite without any tangy aftertaste.
Homemade Breadsticks Recipe
Ingredients
- 1¼ cup flour
- 2 tsp sugar
- 1½ tsp baking powder
- ½ tsp salt
- ⅔ cup milk
- 3 tbsp butter melted in a baking tray
Instructions
Dough
- In a bowl, combine flour, sugar, baking powder, and salt.
- Gradually add milk and stir until it’s a soft dough.
Knead Dough and Shape Breadsticks
- Turn onto a floured surface, and knead gently 3-4 times. Roll out on into a rectangle. Cut into 1/2-inch strips. Twist the dough strips.
Melt Butter
- Place butter on an edged cookie tray and place in the oven for about two minutes. Watch closely so that the butter doesn’t burn.
- Place breadsticks in the butter and turn to coat them thoroughly. Leave the breadsticks in the tray for baking.
Bake Breadsticks
- Once you made all the breadsticks, bake at 450° for about 10-14 minutes or until golden brown. Serve warm.
Nutrition
Frequently Asked Questions About No-Yeast Breadsticks
Pop them in the toaster oven for 1–2 minutes to regain crunch
Yes! You can easily swap the whole milk for an unsweetened plant-based milk (like almond or oat milk) and use a dairy-free melted butter alternative for dredging on the baking tray.
These breadsticks are best enjoyed fresh out of the oven when they are at their crispest! However, you can shape the dough ahead of time and keep it covered in the refrigerator for up to a few hours before baking.
Store cooled breadsticks in an airtight container at room temperature for up to 2 days.
Baking powder acts as a fast-acting leavening agent that reacts immediately when mixed with wet ingredients and heated. This means you don’t have to wait for the dough to rise, letting you bake crispy, delicious breadsticks in just 25 minutes!
Yes! If you are using self-rising flour, simply omit the baking powder and salt from the recipe, as self-rising flour already contains both. Keep the rest of the ingredients and proportions the same.
Why You’ll Love This Recipe
- Flavorful: These breadsticks are a delightful blend of sweetness and savory, creating a taste that’s hard to resist.
- Crunchy: Their perfectly crisp texture offers a satisfying crunch with every bite.
- Easy: With no need for yeast, this recipe is straightforward and hassle-free, ideal for both beginner and seasoned bakers.
- Versatile: They pair wonderfully with a variety of dips and spreads, from jam to cheese, making them suitable for different taste preferences.
- Comforting: There’s something deeply comforting about homemade bread, and these breadsticks, fresh from the oven, are no exception.
- Homemade: There’s a unique charm in homemade breadsticks, offering a warm, comforting feeling that store-bought ones just can’t match.
- Simple Ingredients: Made with everyday pantry items, these breadsticks are a testament to the magic of simple, accessible ingredients.
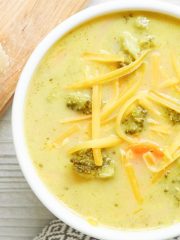
- Completes a Dinner: My Broccoli Cheddar Soup and Easy Chili Recipe are the ultimate cozy pairing for these quick, crispy breadsticks—they are practically made for dunking!
Here’s some other recipes you may like:
- Amy’s Special Cornbread Recipe
- Fresh Orange Scone Recipe
- Pumpkin Muffins with My Secret Crumb Topping
Thanks so much for your visit. I hope you like this homemade breadsticks without yeast recipe!
Happy Baking!
Cheers,

Photo Credits: MyPhotography.com

- Halloween Food Inspiration - September 26, 2026
- Nordic Ware Pumpkin Loaf Pan Recipe - September 24, 2026
- Pottery Barn Fall Dupes - September 23, 2026

Evan Robish
Thank you for a wonderful recipe!!!
This is good each and every way! Quick to do, but still amazing texture!! Very nice ingredient use! Used a small fraction of what I already have and made enough for my whole family! I’m lucky to have found this!!! THANKS!!!
Janine Waite
Thanks so much, Evan! I’m so happy you like this easy and delicious recipe!