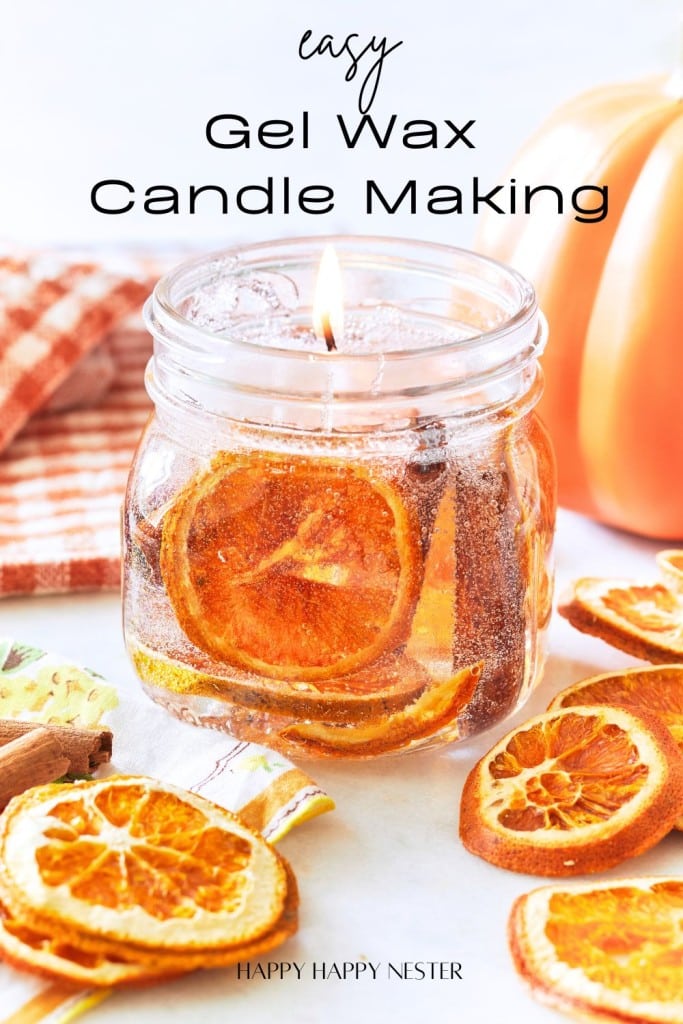
Gel Wax Candle Making is a super fun and creative way to make beautiful, long-lasting candles that can add a special touch to any space. Whether you’re just starting or you’re a pro at making candles, this process lets you play with bright colors, intricate designs, and even fun embedded decorations. In this blog post, we’ll cover everything you need to know about making gel wax candles, from the must-have supplies to awesome tips and tricks for achieving the perfect finish.

Gel wax is a special blend of resin and mineral oil that gives it a stunning clear, glass-like appearance, setting it apart from regular candle wax. This see-through quality makes it perfect for creating candles that highlight seasonal decorations or small objects, adding a fun and personal touch to your candle-making projects.
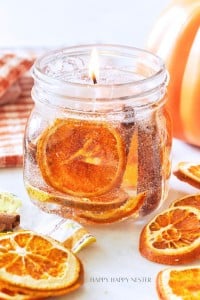
I love making basic candles, and recently found this alternative to regular candle wax. I instantly ordered some of it and couldn’t wait to make a fall candle.
These candles have a few differences, and I’ll cover those elements below. But in the meantime, you might be new to candle-making, so I’ll share a few things about this project.
Ok, here are a few of my candle craft projects!
- Cement Pumpkins DIY (With Candle Holders)
- DIY Glass Candle Holder Decoration
- DIY Halloween Decor: Printable Candle Label
What is Gel Wax
- Clear, jelly-like wax is used for making transparent candles.
- Made from a blend of mineral oil and polymer resin.
- Flexible and moldable to different shapes and sizes.
- Holds embedded objects well, like shells, flowers, or other decorations.
- Burns slower than traditional wax, making candles last longer.
- Can be colored or left clear for various design effects.
- Popular for decorative and novelty candles due to its transparency.
- Has a higher melting point than traditional waxes.
- Ideal for creating layered or suspended effects in candles.
- Requires specific wicks designed for use with gel wax.
Some Helpful Tips About Gel Wax!
- Use a Low-Medium Heat: Gel wax has a higher melting point than regular wax, so melt it slowly over low to medium heat to avoid overheating.
- Choose the Right Wicks: Use wicks specifically designed for gel wax to ensure an even burn and avoid any issues with the candle burning properly. You’ll want a wick that burns at a high heat.
- Embed Objects Carefully: If you’re adding decorations, make sure they’re non-flammable and place them securely in the gel wax while it’s still warm but not too hot.
- Avoid Air Bubbles: Pour the gel wax slowly into the container to minimize the formation of air bubbles, which can affect the appearance of the candle.
- Use Gel Wax Safe Fragrances: Not all fragrances work well with gel wax, so choose specific scents to ensure they mix properly without clouding the wax.
- Work in Layers for Effects: To create layered or suspended effects, pour the gel wax in stages, allowing each layer to cool slightly before adding the next.
- Cool Gradually: Allow gel wax candles to cool slowly at room temperature to prevent cracks or cloudiness in the final product.
Not All Wicks Are Created Equal: Gel Wax Wicks
You want a wick that burns at a higher heat when making gel wax candles. Gel wax is denser and has a higher melting point than traditional wax, so you need a wick to generate enough heat to properly melt the gel wax as it burns. Using a wick designed for gel wax ensures the candle burns evenly and safely. These wicks are often thicker or made from materials that can handle the higher heat required for gel wax.
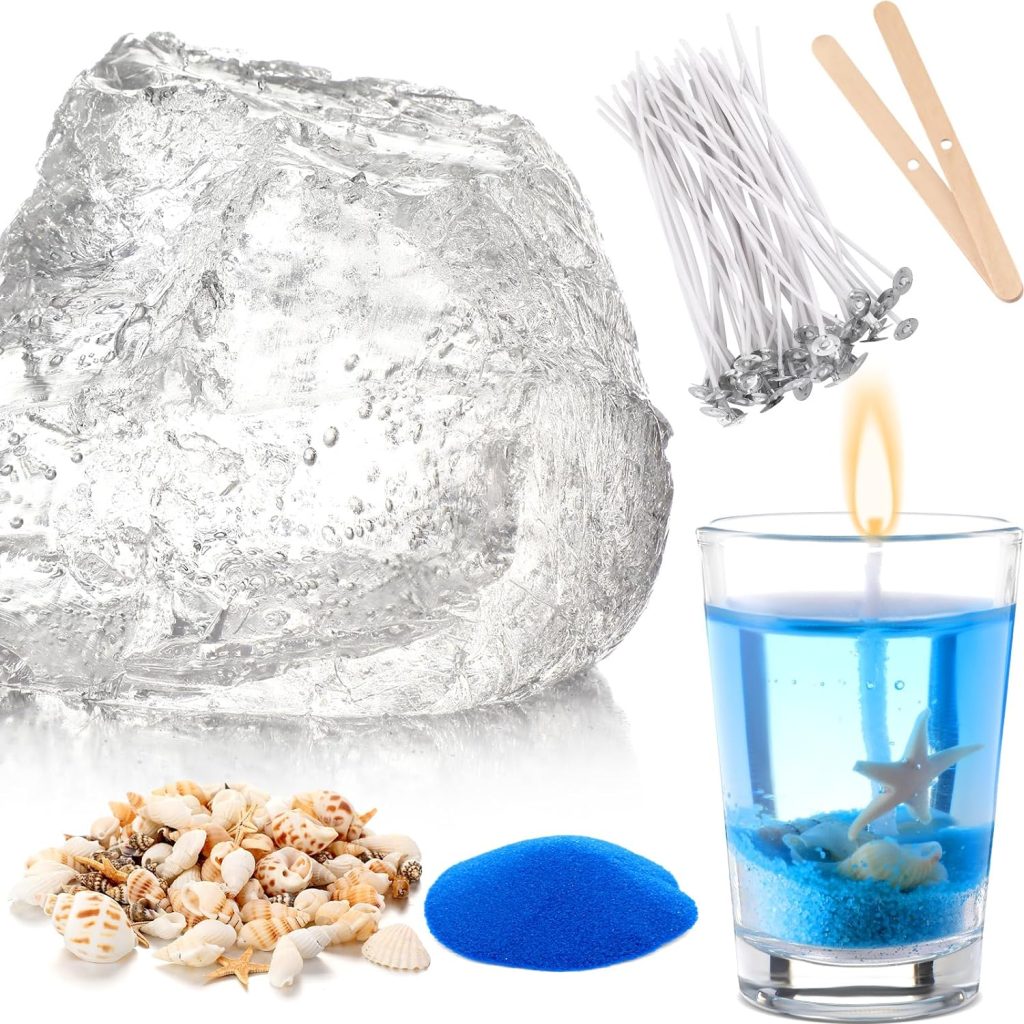
The gel wax I purchased included wicks, so if you get this set, there’s no need to order wicks separately.
Click on Images to Shop
How to Make Your Gel Wax Candle
Candle Supplies:
- Gel Wax: A clear, jelly-like wax made from mineral oil and polymer resin, used to create transparent candles.
- Wicks: Special wicks designed for gel wax to ensure proper burning and an even flame.
- Candle Fragrance: Gel wax-safe scents that mix well with the wax without clouding or affecting clarity.
- Liquid Candle Dye: Dyes specifically made for gel wax to add color without compromising its transparency. (optional)
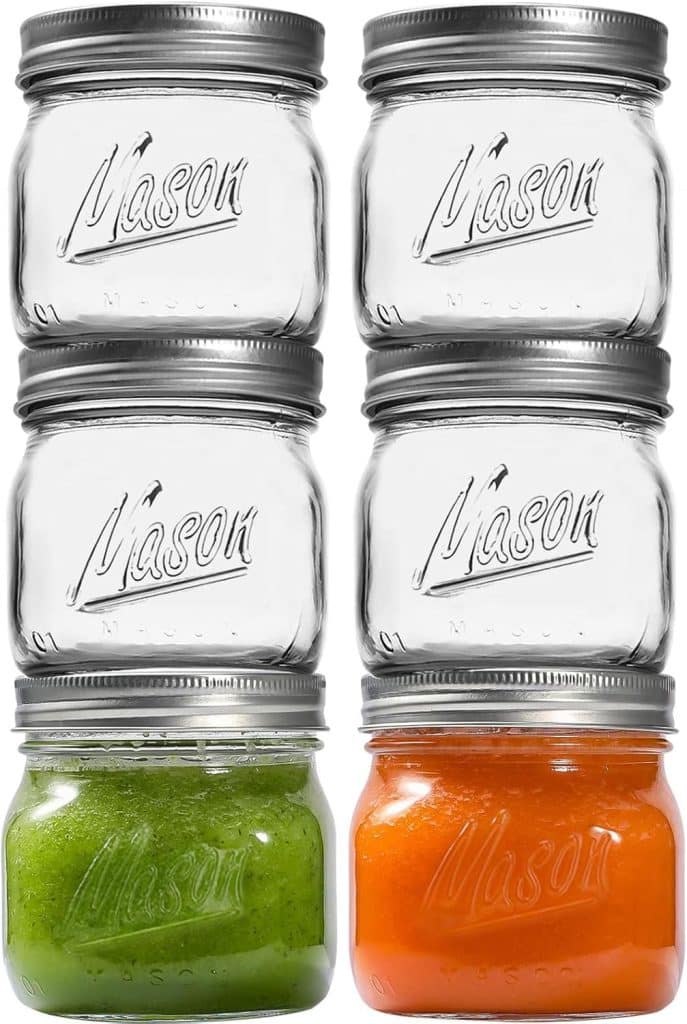
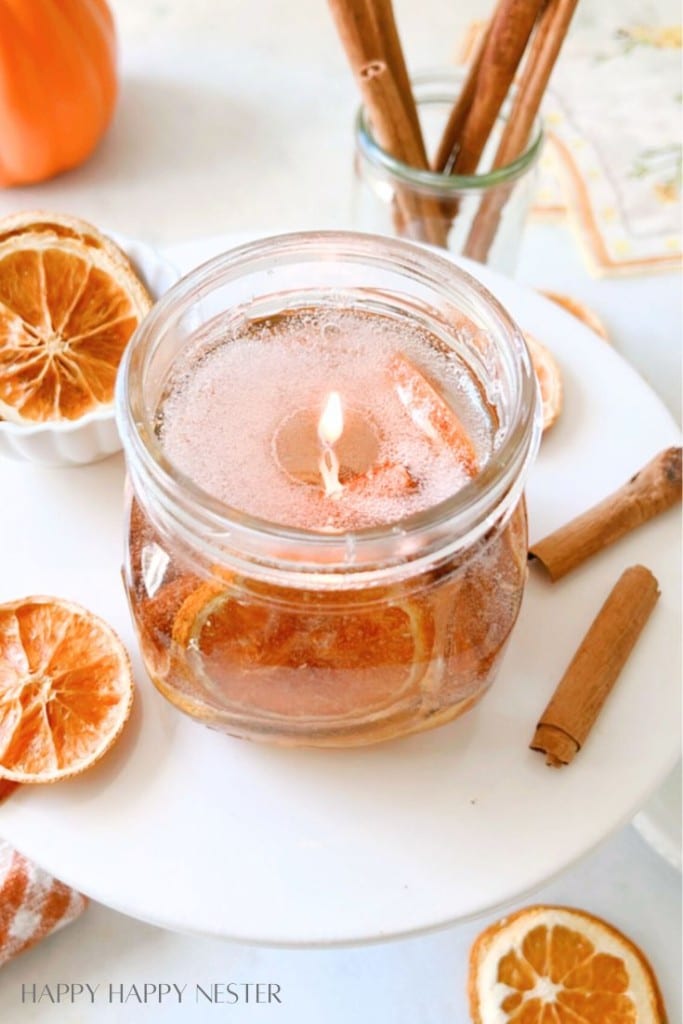
- Candle Containers: Heat-resistant glass containers to hold the gel wax and create your candle. I used a small, adorable Mason Jar for my candle, which can withstand high-heat wax.
- Thermometer: A thermometer to monitor the temperature of the gel wax as it melts, ensuring it doesn’t overheat. (optional)
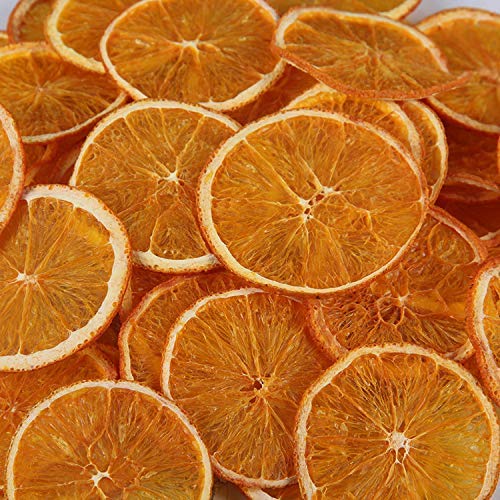
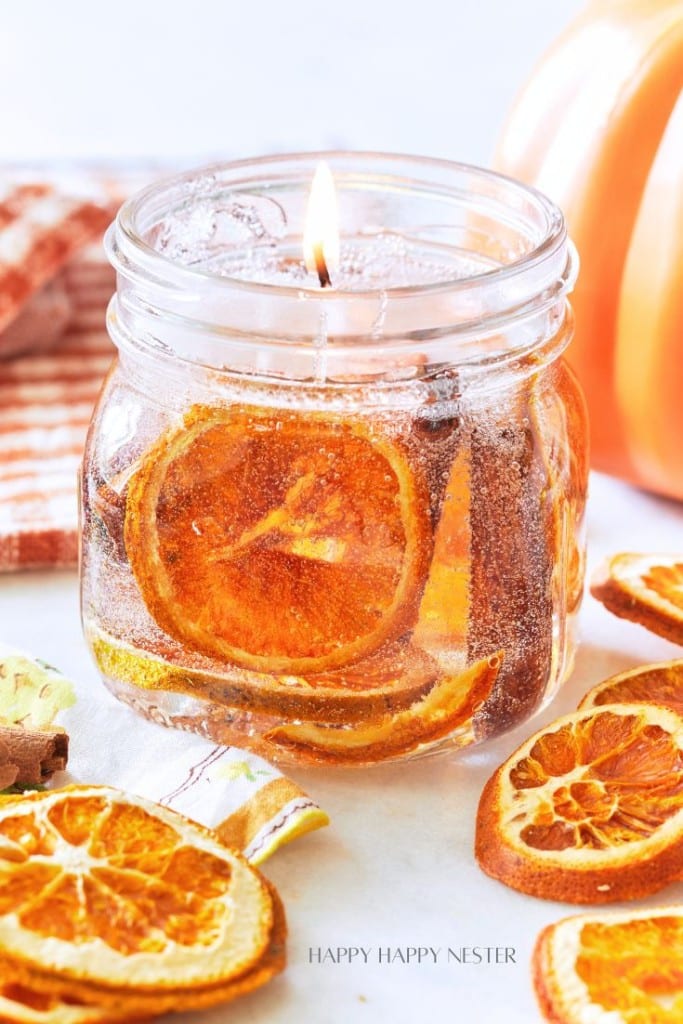
- Dried Orange Slices: Natural decorations that can be embedded in the gel wax to add a decorative, aromatic touch.
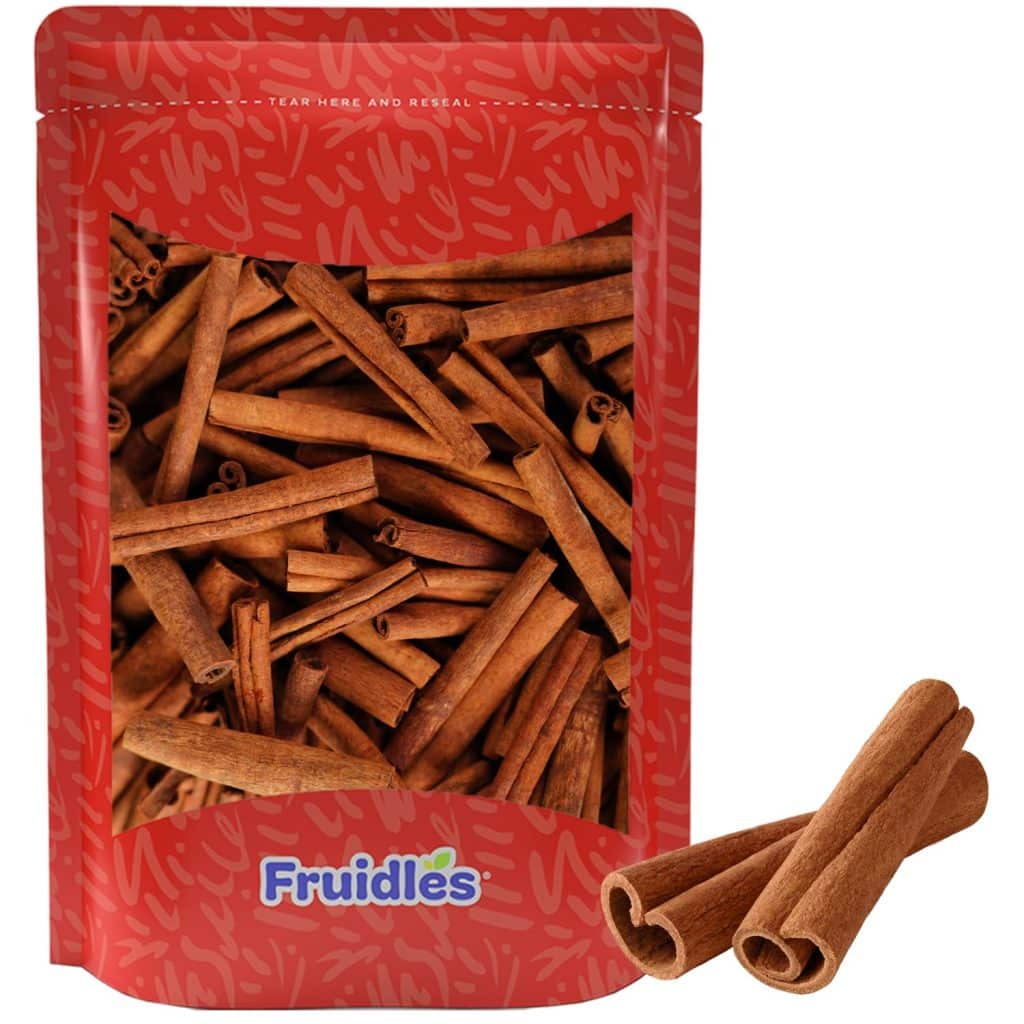
- Cinnamon Sticks: Another natural decoration that not only looks great but can also add a subtle scent to your candles.
- Double Boiler or Melting Pot: A tool to safely melt the gel wax without direct exposure to heat.
- Wick Centering Tool: A tool to help keep your wick centered as the wax cools and sets.
- Glue Dots or Wick Stickers: Adhesive to secure the wick to the bottom of your container before pouring in the gel wax. (optional)
- Skewers or Chopsticks: Useful for positioning decorations like dried orange slices or cinnamon sticks within the gel wax. (optional)
Step-by-Step Directions for Candle Making
Step 1 – Prepare Your Supplies
Gather all your materials, including gel wax, wicks, dried orange slices, cinnamon sticks, candle containers, a double boiler or melting pot, a thermometer, and any tools for positioning your decorations.
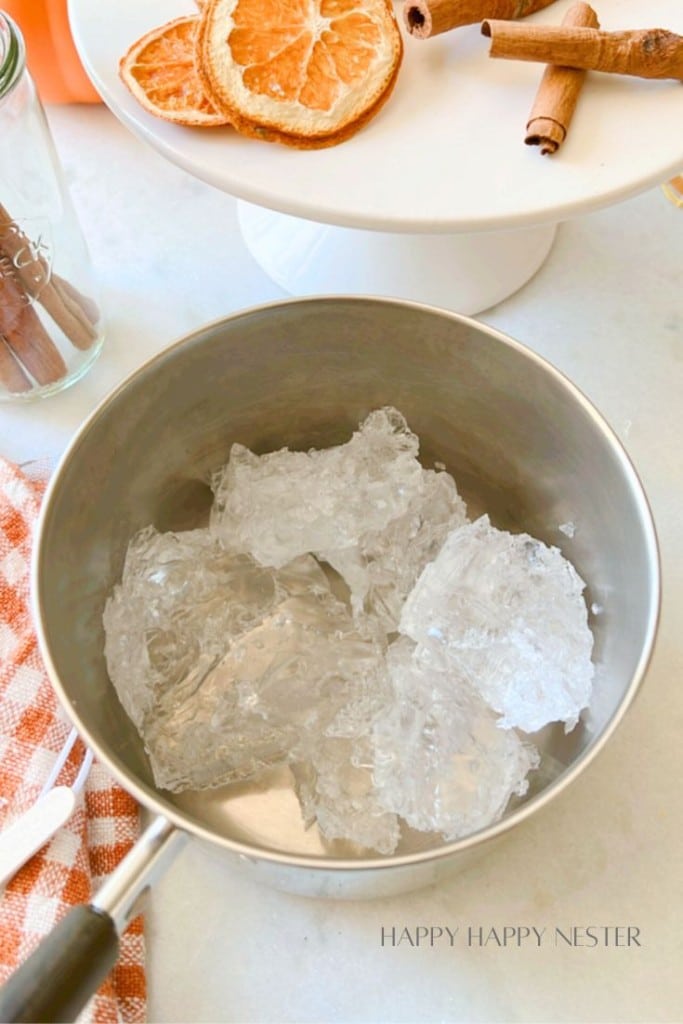
Step 2 – Measure and Melt the Gel Wax
Cut the gel wax into small pieces and measure the amount needed for your container. Melt the gel wax slowly using a double boiler, keeping the heat low to medium. A thermometer monitors the temperature, ensuring it doesn’t exceed 230°F (110°C).
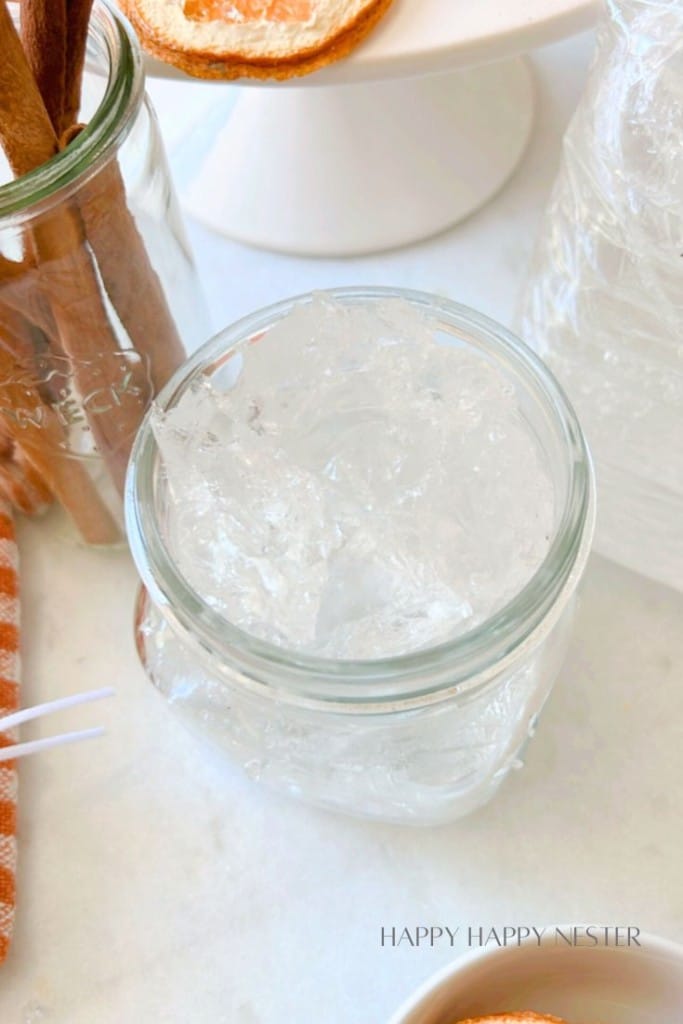
Step 3 – Pour a Small Layer of Gel Wax
While the wax is melting pour a small amount of the melted gel wax into the bottom of the Mason jar, just enough to cover the base. Allow this layer to cool slightly so it begins to set but is still tacky.
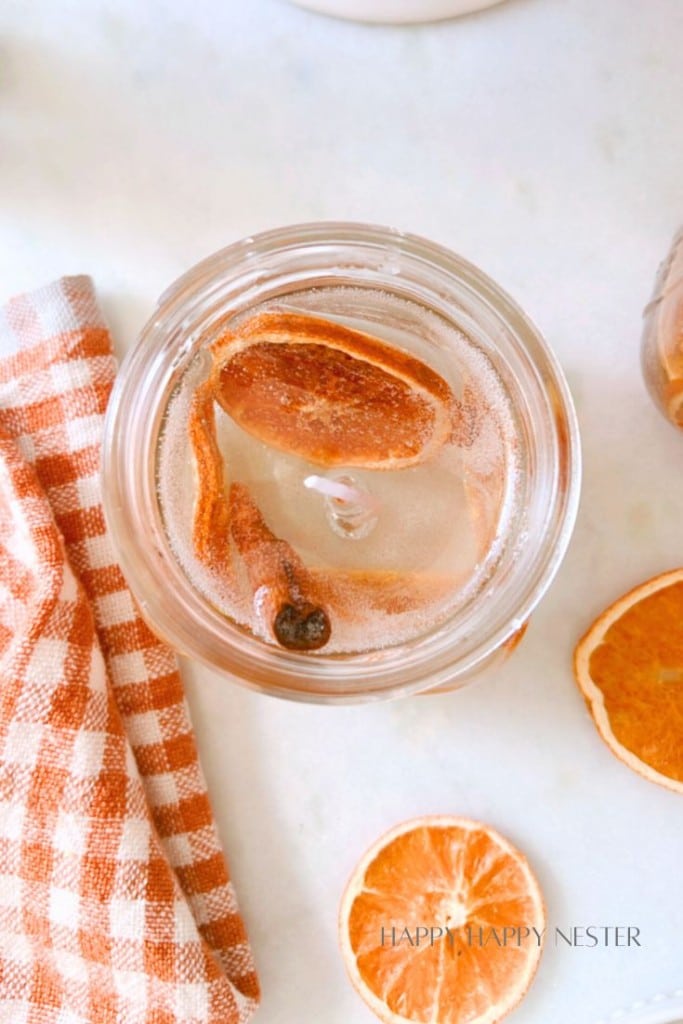
Step 4 – Position the Dried Oranges and Cinnamon Sticks
Once the bottom layer is tacky, gently press the dried orange slices and small cinnamon sticks against the sides of the container. You can use skewers or chopsticks to help position them. The tacky wax will hold them in place.
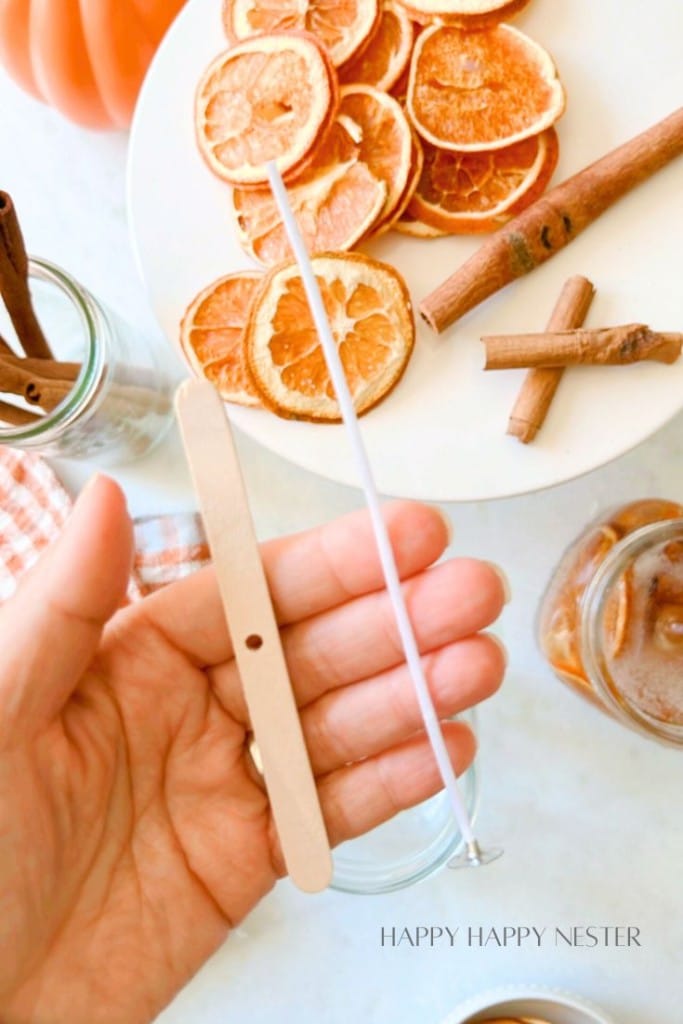
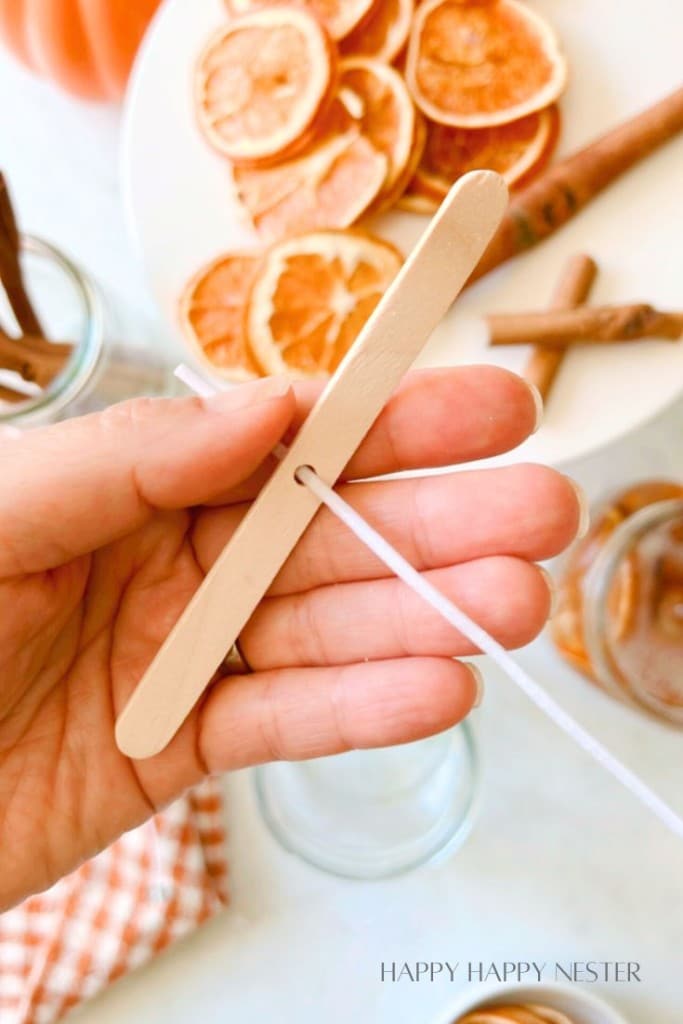
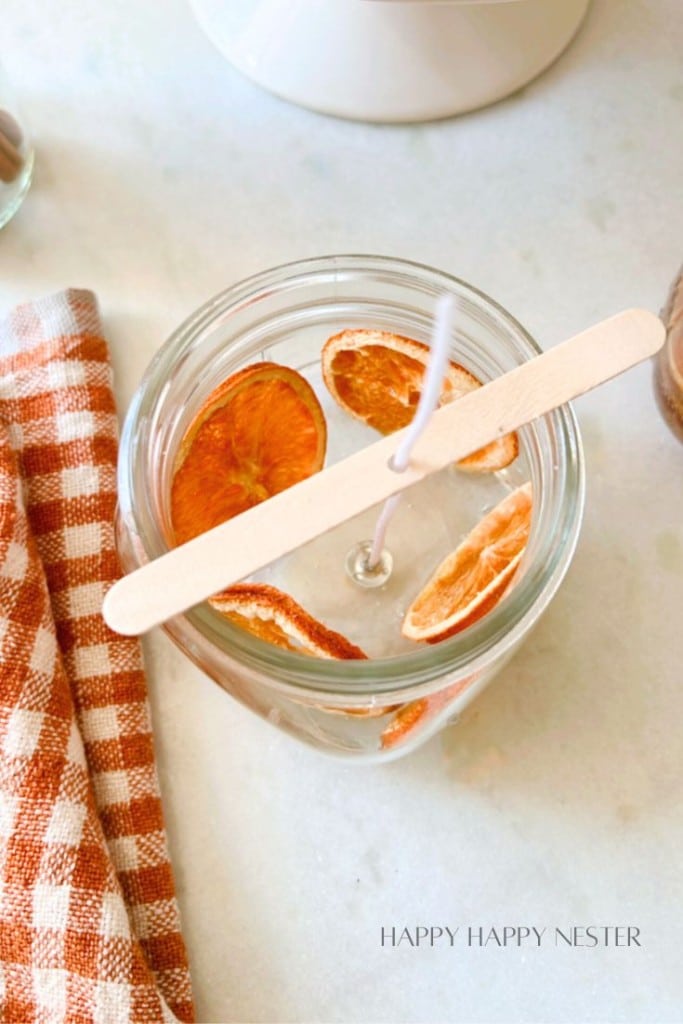
Step 5 – Secure the Wick
Straighten the wick and ensure it stays centered. You can use a wick centering tool or tie the wick around a skewer or chopstick laid across the top of the container to keep it in place.
Step 6 – Pour the Remaining Gel Wax
Slowly pour the remaining melted gel wax into the container, being careful not to disturb the oranges, cinnamon sticks, or wick. Pour in layers if necessary, allowing each layer to cool slightly before adding more.
If you didn’t melt enough wax, melt some more and pour it over the existing layer.
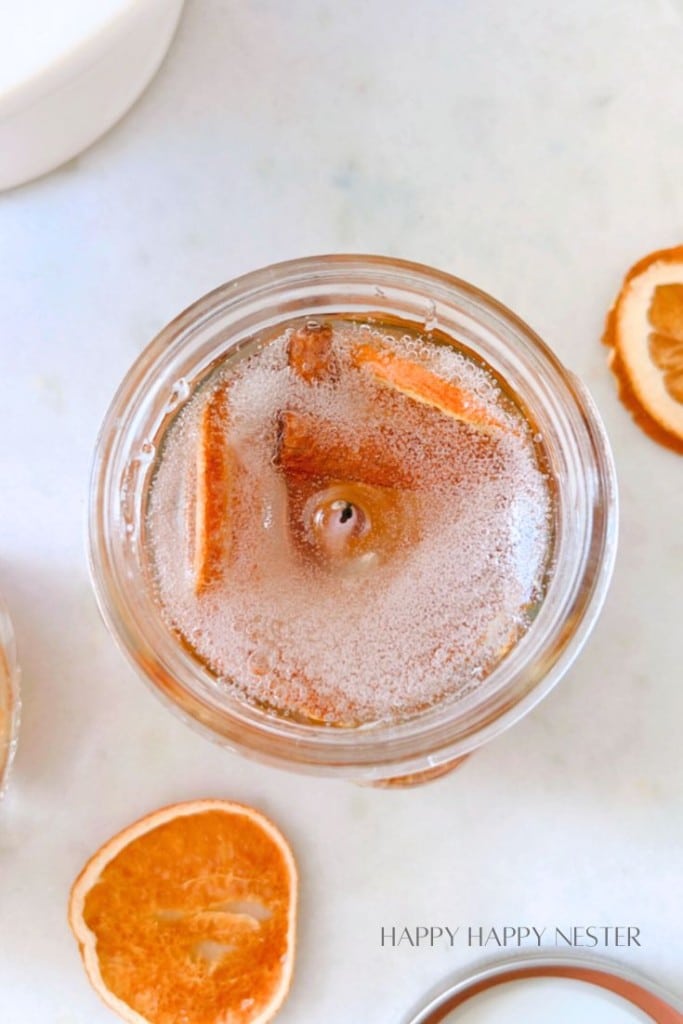
Step 7 – Remove Air Bubbles
I used a fork to poke the air bubbles, and for any remaining ones, I scraped them away with the fork.
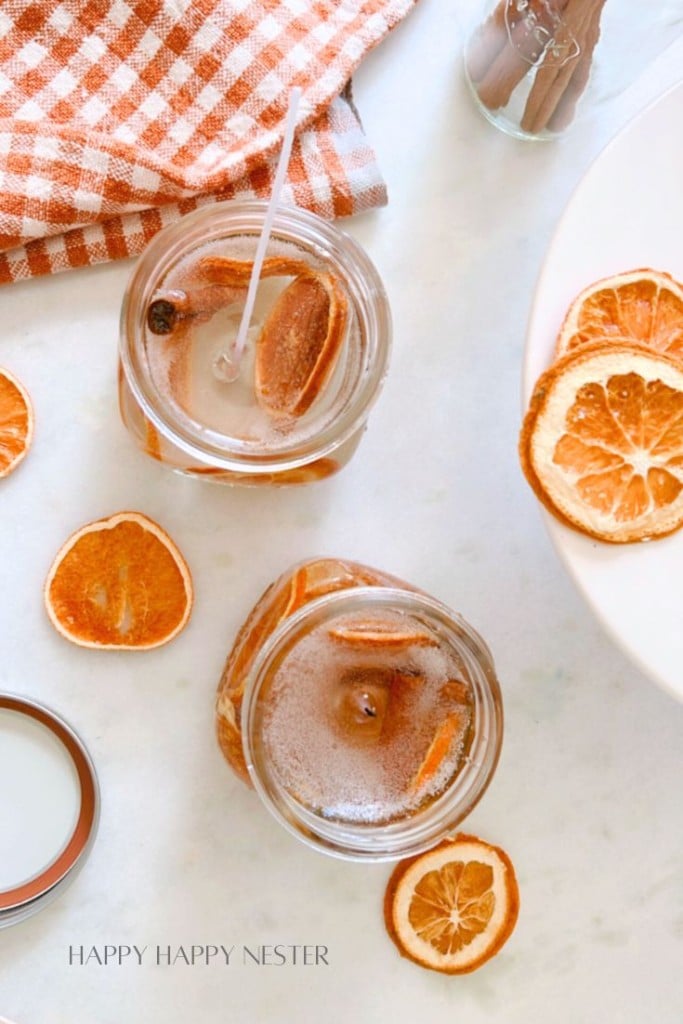
Step 8 – Let the Candle Cool
Allow the candle to cool and set completely at room temperature. This can take several hours. To prevent any disturbances in the wax, avoid moving the container during this time.
Step 9 – Trim the Wick
Once the candle has fully set, trim the wick to about 1/4 inch above the wax surface.
How to Avoid Bubbles in the Wax
- Melt the Wax Slowly: Heating the wax too quickly can cause air bubbles to form. Melt it slowly over low to medium heat to minimize this risk.
- Pour Wax at the Right Temperature: Pouring wax when it’s too hot can lead to air bubbles. Make sure to pour it at the recommended temperature, usually around 180°F (82°C) for most waxes.
- Pour Wax Slowly: Pouring the wax too quickly can trap air in the candle. Pour slowly and steadily to allow air to escape as the wax fills the container.
- Tap the Container: After pouring, gently tap the container on a flat surface to release any trapped air bubbles. This helps them rise to the surface and pop.
- Use a Skewer or Fork: After pouring the wax, use a skewer or fork to gently poke through the wax, especially near the edges, to release any hidden air bubbles.
- Warm the Container: Pre-warming your container can help the wax settle more evenly, reducing the chances of air bubbles forming as it cools.
- Avoid Overstirring: Stirring the wax too much while it’s melting can introduce air into the mixture. Stir gently and only as needed to combine ingredients.
- Choose Non-Porous Objects: When embedding items in your candle, select non-porous objects, as porous items can trap air and release bubbles into the wax.
I know I’ve shared a lot about gel wax candle making, but I wanted to make sure this DIY is thorough so you’re fully prepared to create these adorable candles!
Happy Crafting!
Cheers,

Photo Credits: MyPhotography.com


- Mochi Recipe: How to Make Easy Homemade Mochi - June 18, 2026
- Strawberry Oreo Cheesecake Recipe with Oreo Cookie Crust - June 15, 2026
- Ai Kitchen Remodel - June 12, 2026


Leave a Reply