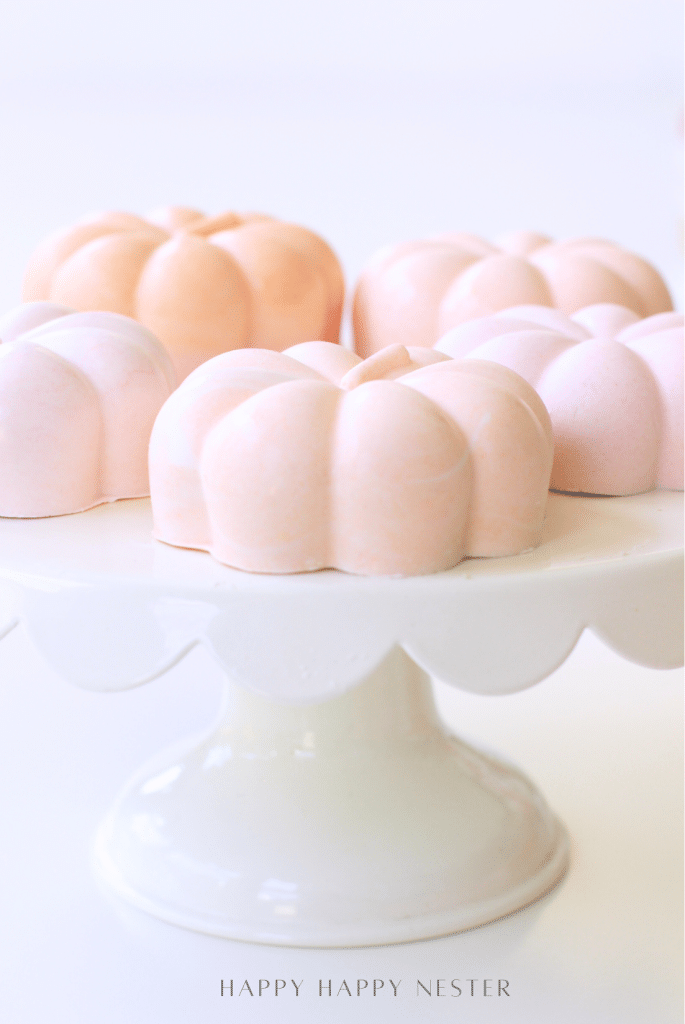
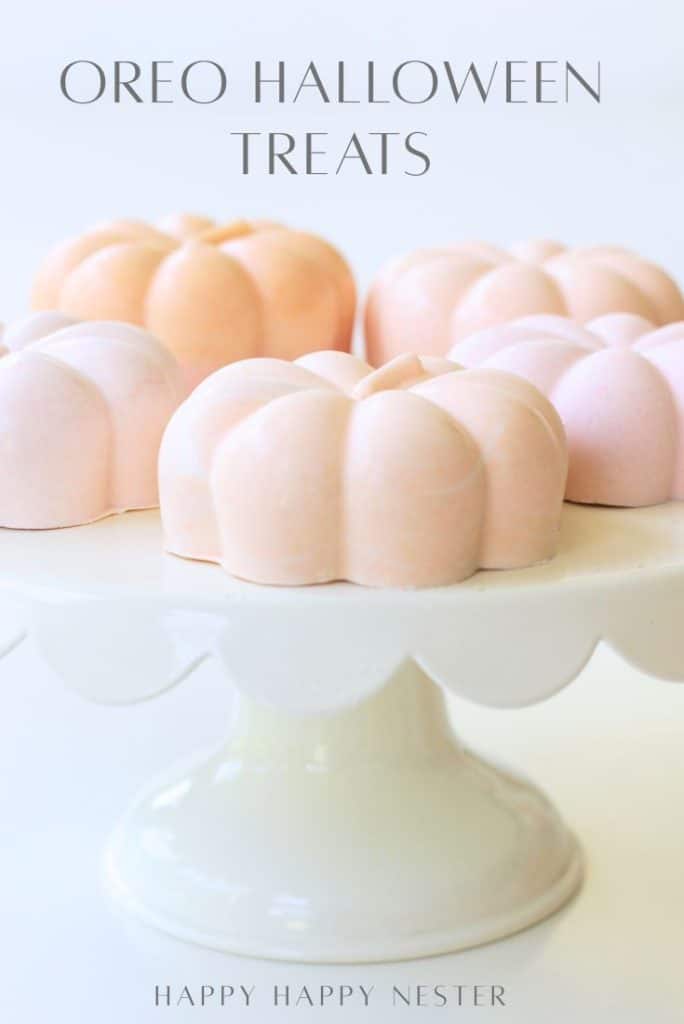
This Oreo Halloween Treats Recipe (Chocolate Pumpkins) is such a fun and easy dessert for spooky season! Made with pastel-colored melted chocolate and Oreo cookies tucked inside a pumpkin mold, these treats are cute, colorful, and perfect for parties or gifting. I’ll show you exactly how to make them!
I first spotted these adorable treats on Pinterest and, of course, I had to check them out! As cute as they were, I quickly realized they came with a pretty steep price tag. So, I rolled up my sleeves and decided to whip up my own version at home. The best part? They turned out to be such a simple and budget-friendly fall treat. With just a few ingredients and some easy tips I’ll share, you can make these fun Halloween goodies in no time at all!
Ingredients You’ll Need
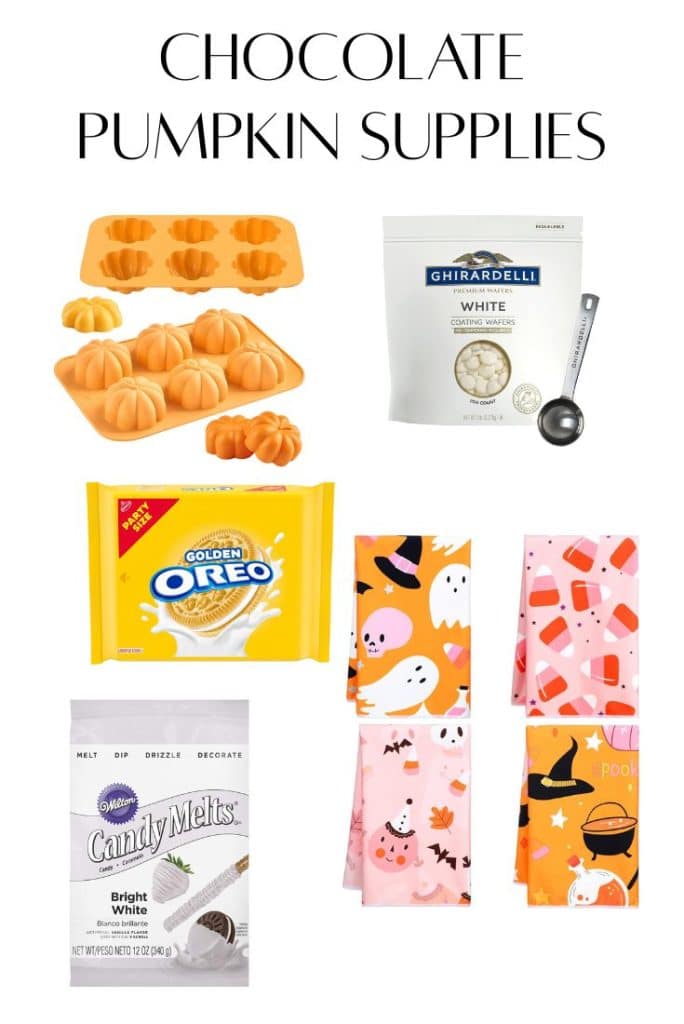
- Pumpkin Mold: Pumpkin-shaped silicone molds make it easy to create these Oreo Halloween treats
- White melting chocolates: These form the base of your pumpkins, creating a smooth and creamy shell that’s perfect for coloring and shaping.
- Shortening: A little shortening helps thin the melted chocolate, making it easier to pour into molds and coat the Oreos evenly.
- Food coloring: Just a few drops bring the pumpkins to life with festive shades of orange, pink, or any fun Halloween colors you like.
How to Make Chocolate Covered Oreo Pumpkins
The trickiest part of this easy little pumpkin treat is the melting of the white chocolate. It took me many past attempts to figure out the best way to melt these things.
Here are my tips!
Use a microwave-safe bowl – Heat in short intervals (about 20–30 seconds), stirring in between, to prevent burning.
Add shortening – A small spoonful helps thin the chocolate, making it smooth and easier to pour.
Don’t overheat – Too much heat can cause the chocolate to seize and solidify instead of melting.
Stir often – Frequent stirring distributes the heat evenly for a silky finish.
Work quickly – Once melted, use the chocolate right away before it begins to set.
Melt the Chocolate
In a microwave-safe bowl, add your white melting chocolate and a bit of shortening (this helps it melt smooth). Microwave for 1 minute total, checking and stirring at the 30-second mark, since every microwave is different.
Stir Until Smooth
Once most of the chocolate is melted, take it out and stir until it’s silky smooth.
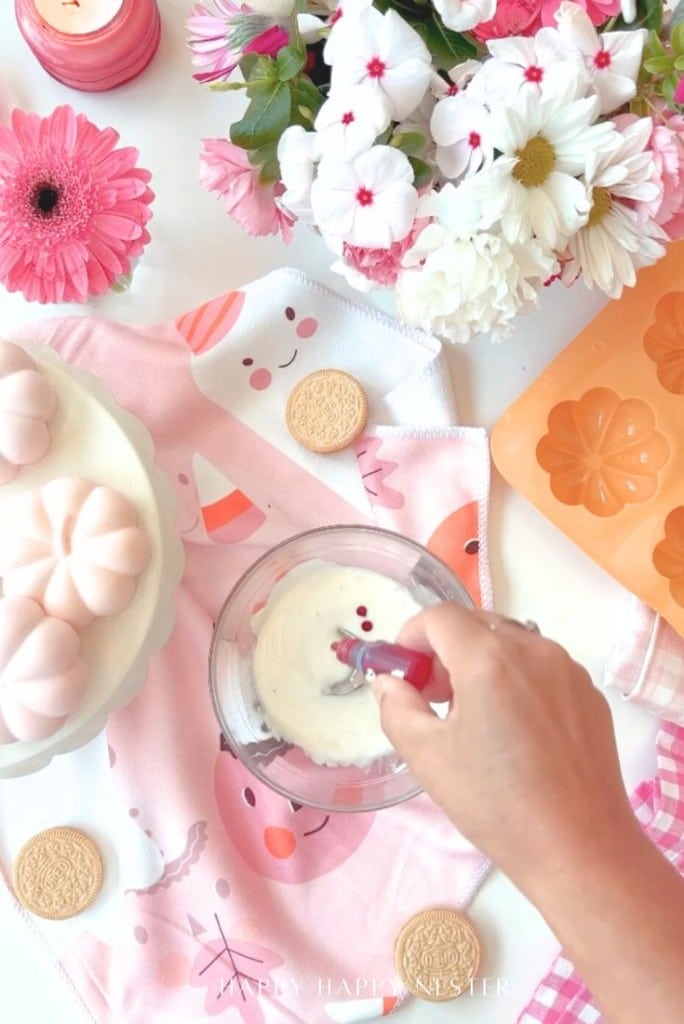
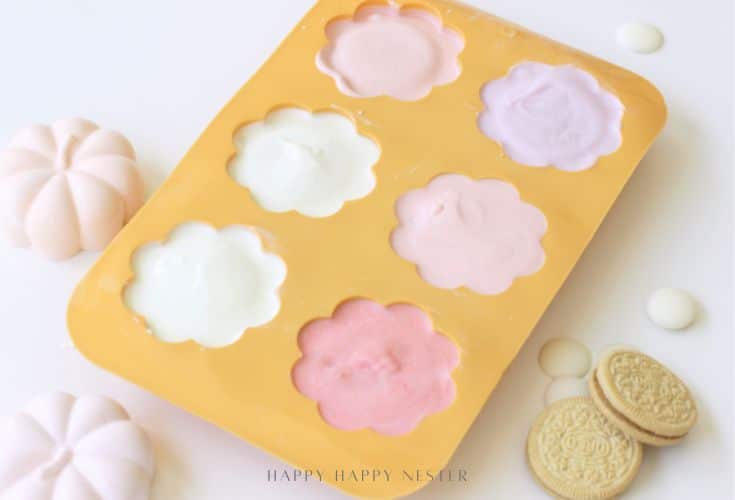
Add Color
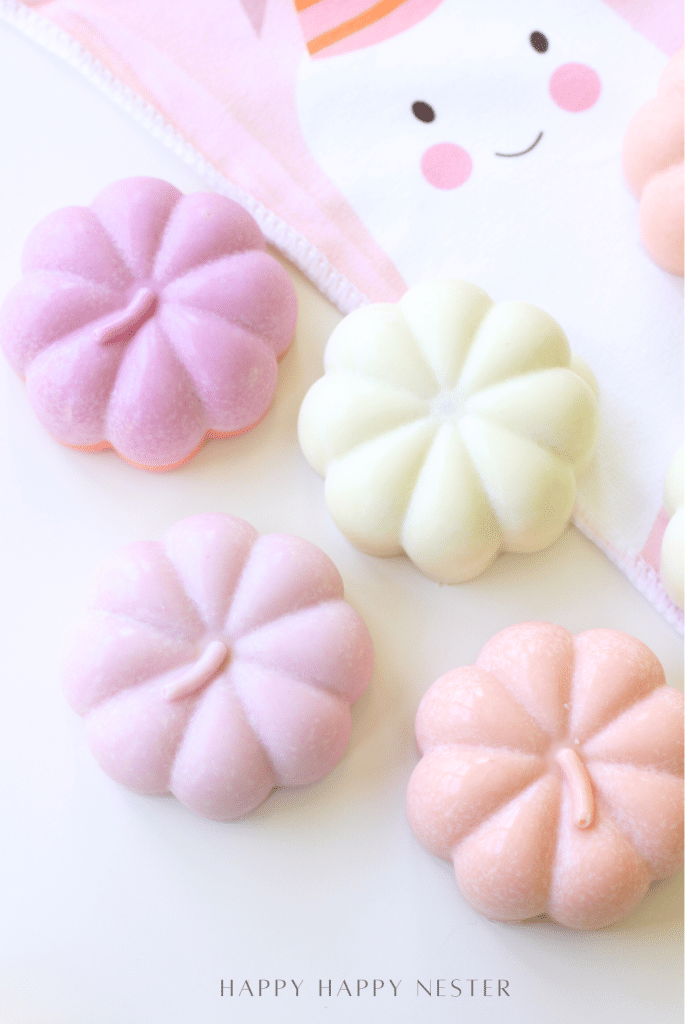
Add one drop of food coloring at a time, stirring in between, until you reach your perfect pastel pumpkin shade. (I love pinks and soft oranges!)
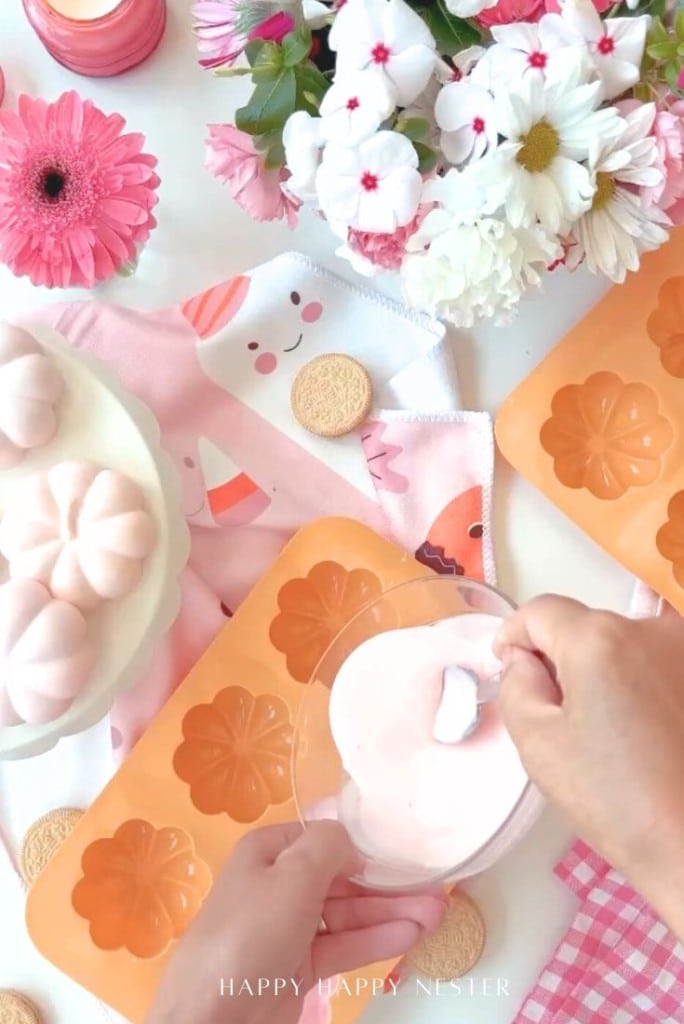
Pour the Base
Pour a little of the melted chocolate into the bottom of your pumpkin mold—just enough to fill about 1/4 of the mold.
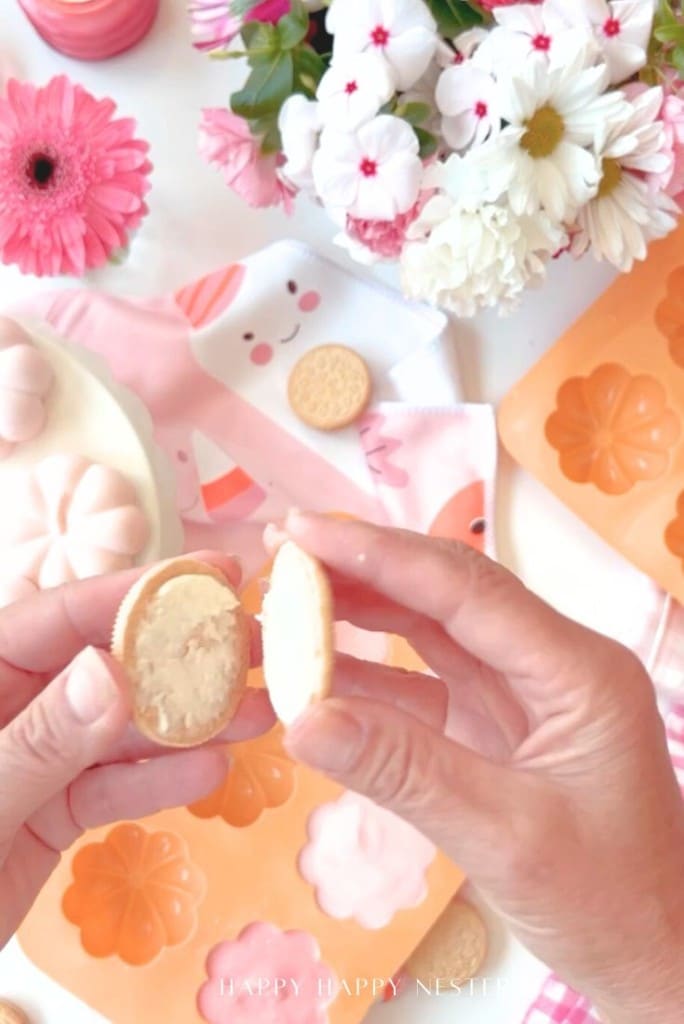
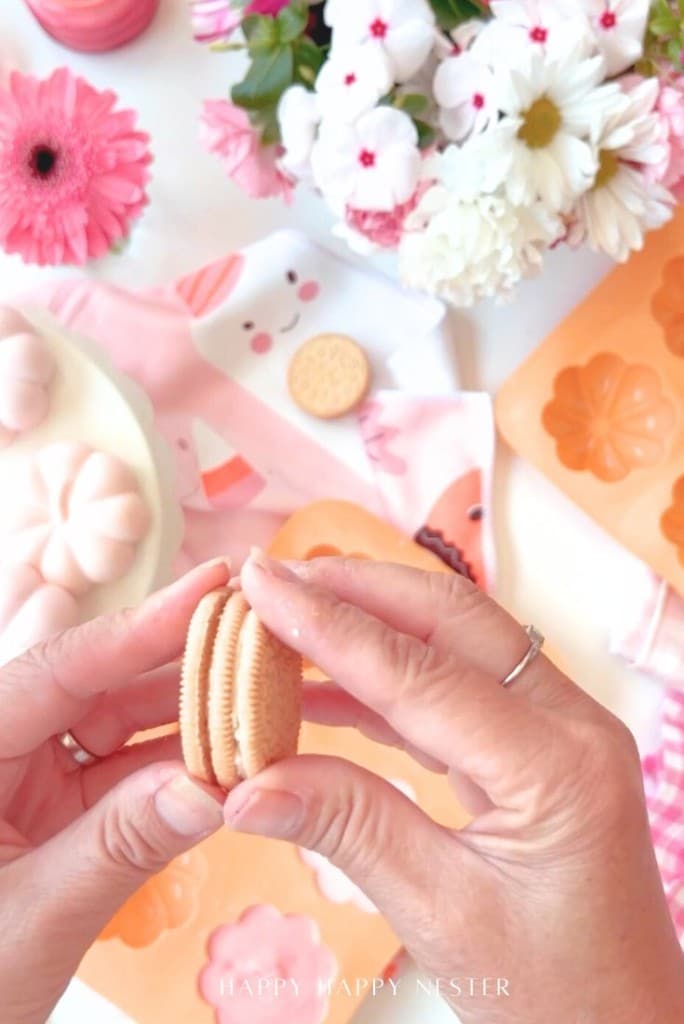
Stack the Oreos
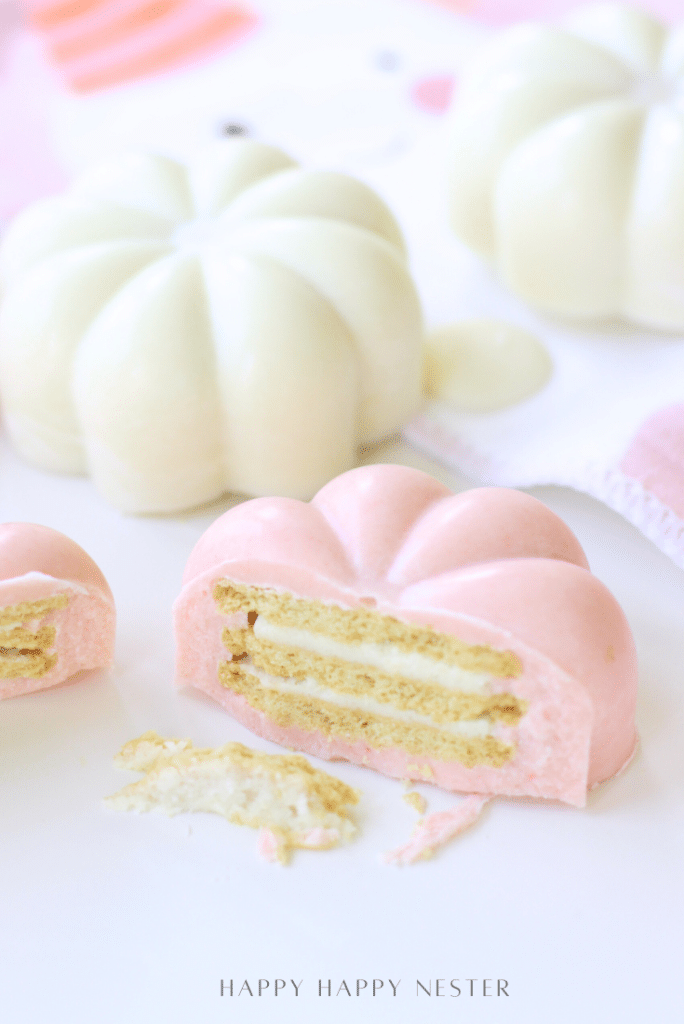
Twist an Oreo open, and place the filling side on top of a whole Oreo—making a cute little 1.5-cookie stack. Place the stack right into the mold on top of the chocolate.
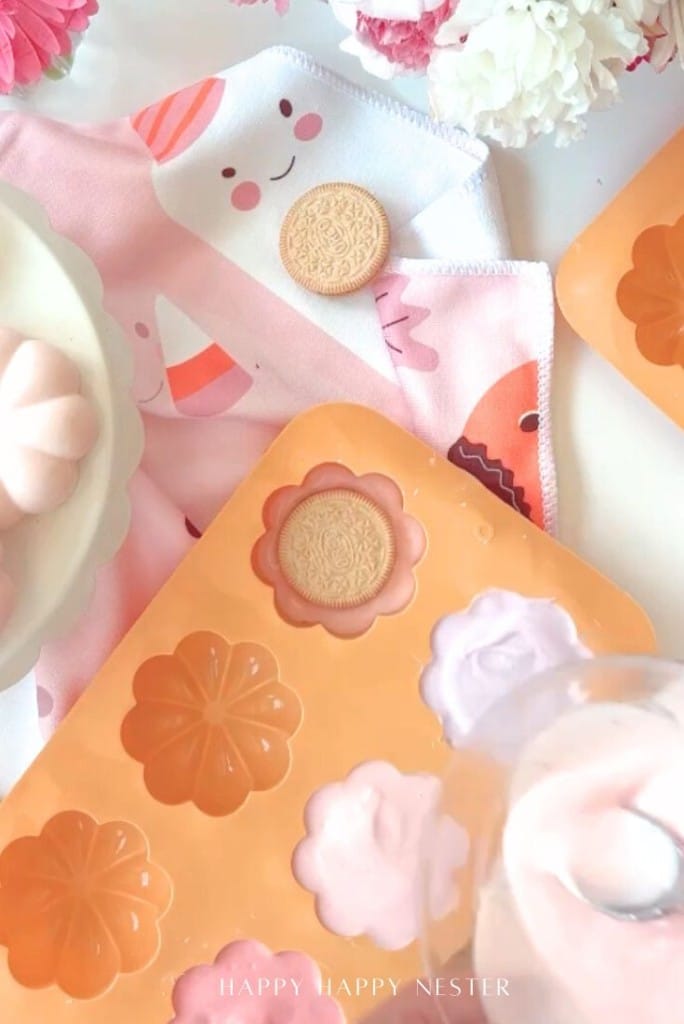
Fill the Mold
Pour more melted chocolate over the top and around the sides of the Oreo stack until the mold is completely filled.
Let Them Set
Let the chocolate cool and harden. You can speed things up by popping the mold in the fridge or freezer for a few minutes.
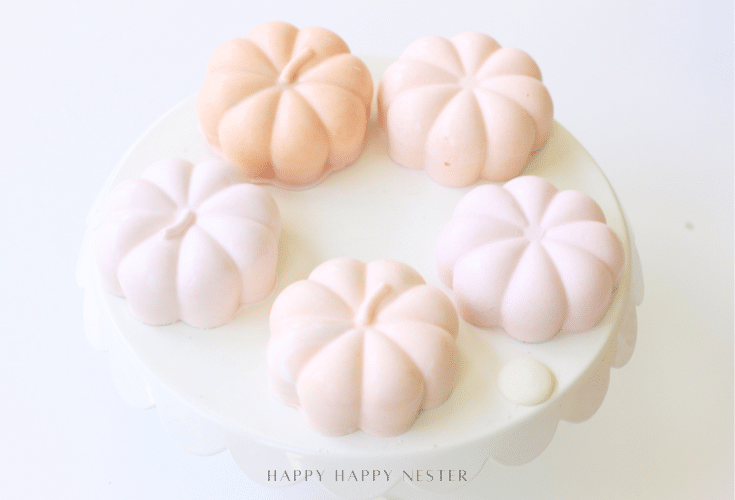
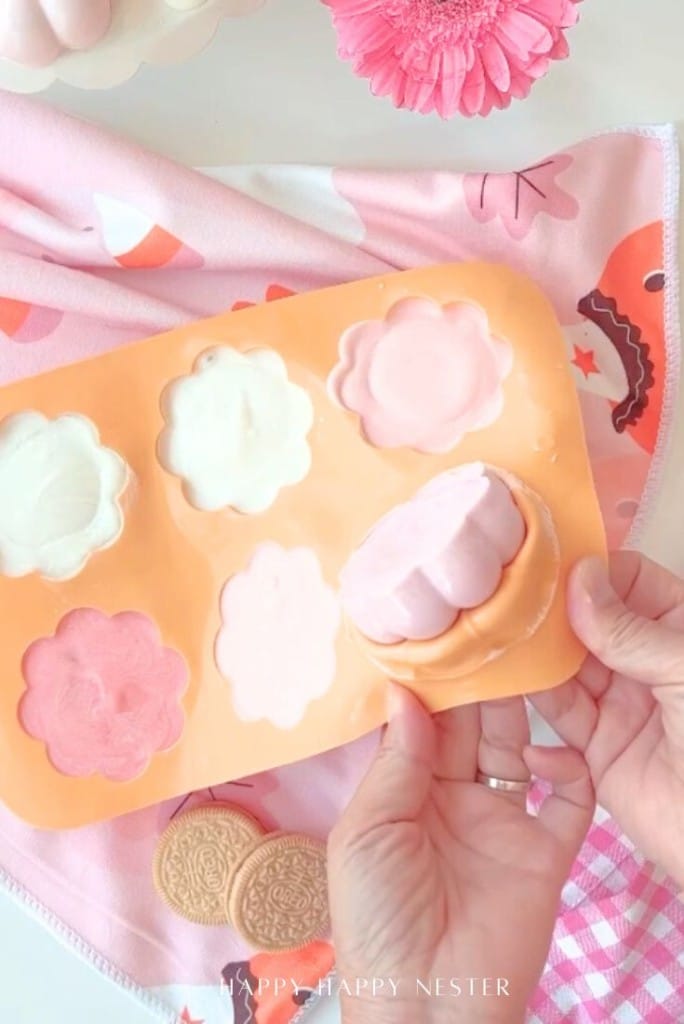
Pop ‘Em Out & Enjoy!
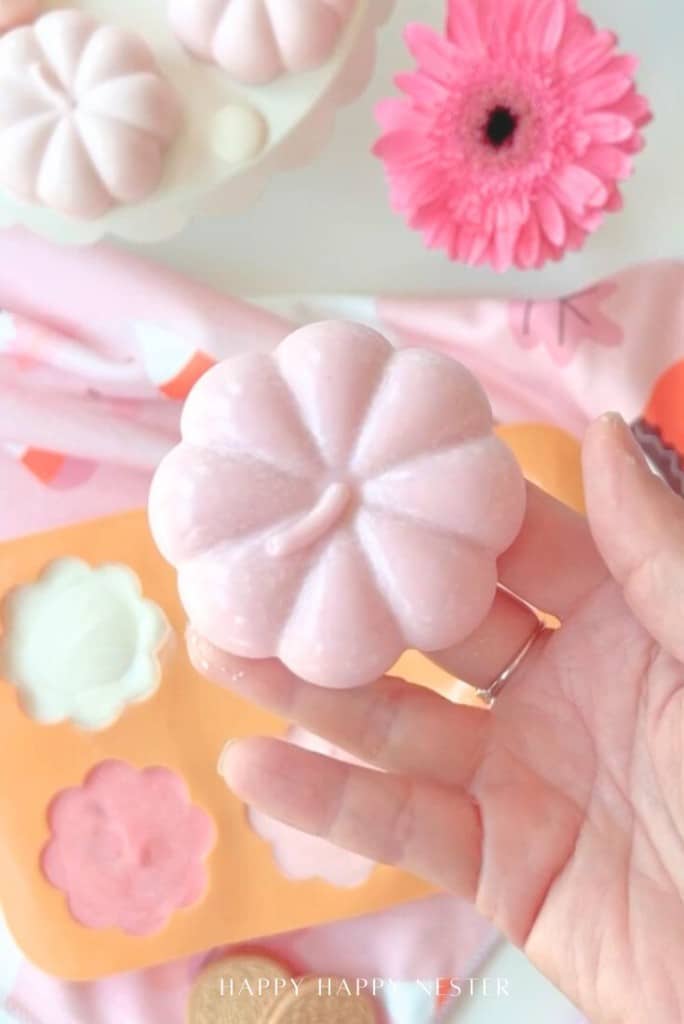
Once set, gently remove your pastel pumpkin Oreos from the mold. That’s it—adorable, festive, and way cheaper than Etsy! ✨🍪

Oreo Halloween Treats Recipe (Chocolate Pumpkins)
Ingredients
- ½ cup white melting chocolates each pumpkin uses a heaping ½ cup of chocolates
- 1½ Golden Oreo cookies
- 1 tsp shortening
- food coloring
Instructions
- Melt the Chocolate: In a microwave-safe bowl, add your white melting chocolate and a bit of shortening (this helps it melt smooth). Microwave for 1 minute total, checking and stirring at the 30-second mark, since every microwave is different.
- Stir Until Smooth: Once most of the chocolate is melted, take it out and stir until it’s silky smooth.
- Add Color: Add one drop of food coloring at a time, stirring in between, until you reach your perfect pastel pumpkin shade. (I love pinks and soft oranges!)
- Pour the Base: Pour a little of the melted chocolate into the bottom of your pumpkin mold—just enough to fill about 1/4 of the mold.
- Stack the Oreos: Twist an Oreo open, and place the filling side on top of a whole Oreo—making a cute little 1.5-cookie stack. Place the stack right into the mold on top of the chocolate.
- Fill the Mold: Pour more melted chocolate over the top and around the sides of the Oreo stack until the mold is completely filled.
- Let Them Set: Let the chocolate cool and harden. You can speed things up by popping the mold in the fridge or freezer for a few minutes.
- Pop ‘Em Out & Enjoy!: Once set, gently remove your pastel pumpkin Oreos from the mold.
Nutrition

Tap on Collage to Shop the Supplies!
Here are some other Halloween treats you might enjoy!
- Oreo Halloween Treat Ideas
- Halloween Treats for Kids
- Halloween Candy Charcuterie Board
- Halloween Treat Ideas for School
I love to make cute Halloween treats, and this Oreo Halloween Treats Recipe (Chocolate Pumpkins) is one of my favorites! These no-bake Halloween desserts are not only festive and fun, but they’re also surprisingly simple to create. With pastel-colored chocolate and Oreo cookies hidden inside, they look just like something you’d find in a fancy bakery display case. They’re the perfect Halloween party treat, kid-friendly snack, or even a creative edible gift for friends and neighbors. Plus, since they come together quickly with just a few ingredients, you can whip up a whole batch in no time for your spooky celebrations!
Want to see these Oreo Halloween Treats (Chocolate Pumpkins) come to life? 🎃 Head over to my Instagram and watch the reel where I share the step-by-step process. It’s a fun behind-the-scenes look at how easy (and adorable!) these little pumpkin chocolates are to make!
Happy Baking!


- Mochi Recipe: How to Make Easy Homemade Mochi - June 18, 2026
- Strawberry Oreo Cheesecake Recipe with Oreo Cookie Crust - June 15, 2026
- Ai Kitchen Remodel - June 12, 2026


Kim Waldorf
I love these! What a yummy and pretty treat!
Janine Waite
Thanks so much! Enjoy! Have a great day!