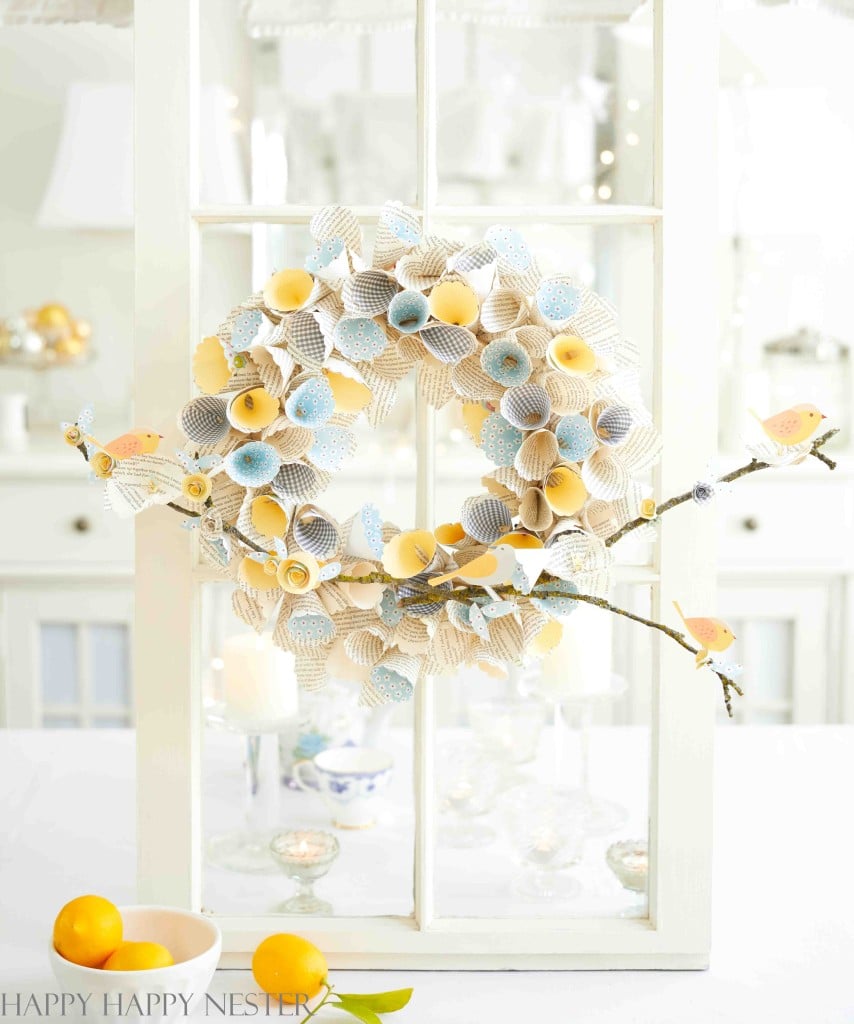
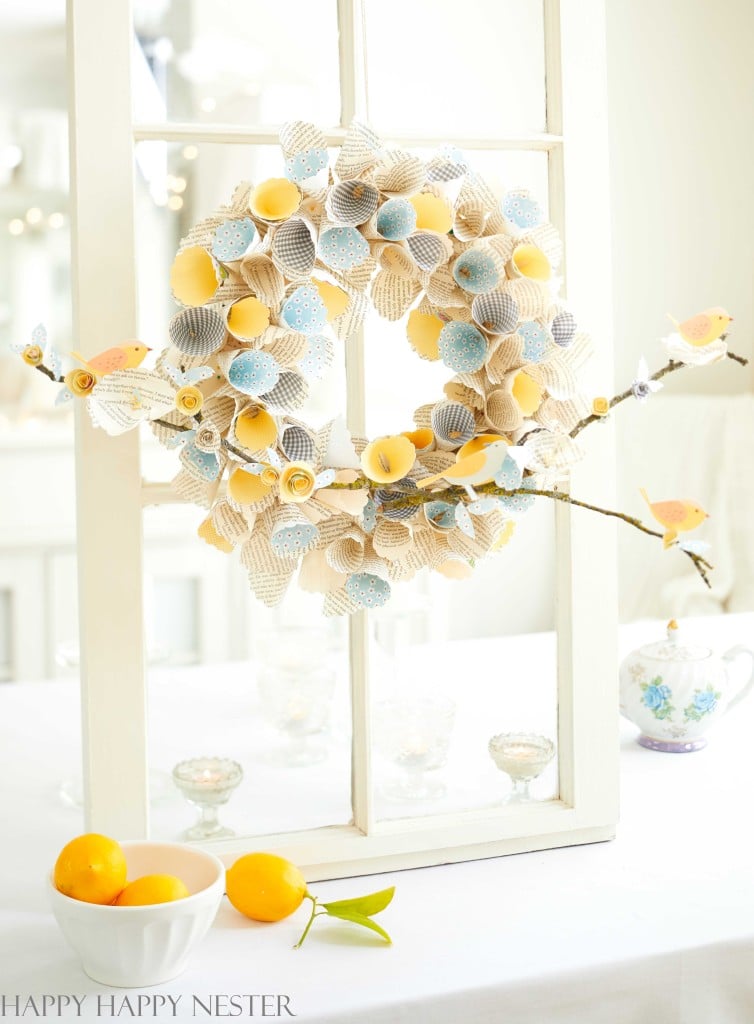
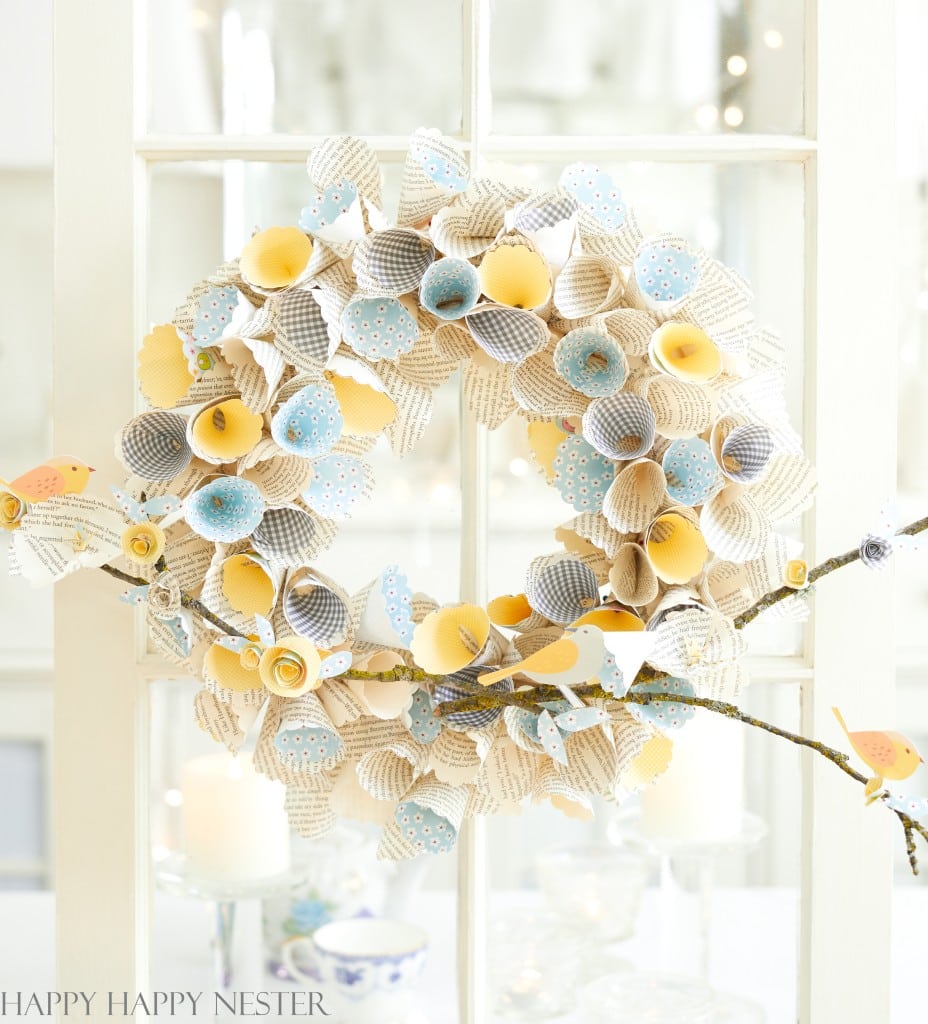
This Book Page Wreath uses pages shaped like cones. Crafters call this wreath a Dahalia book page wreath. So for this project, you’ll need only a few supplies, book pages, glue, and a wreath form. This wreath is stunning and inexpensive to create.
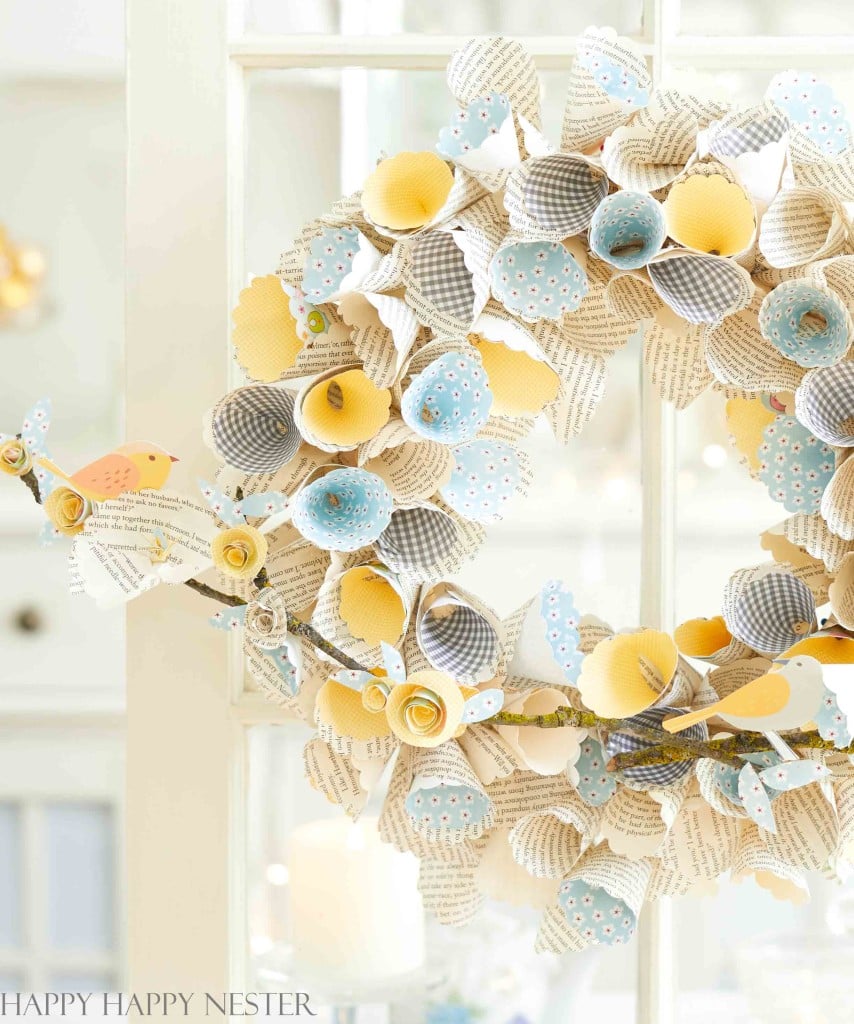
A book page wreath made from cone-shaped pages can be a fun and creative DIY project that adds a touch of literary charm to any room in your home.
Hey, if you’re visiting here, it’s because you’re into crafting, right? Awesome, welcome! I’m so excited that you’re here to take a look at my super fun paper cone wreath. I’ve wanted to make one of these for ages and finally did it. I’m thrilled with how it turned out, and I’m hoping I can convince you to give it a try too!
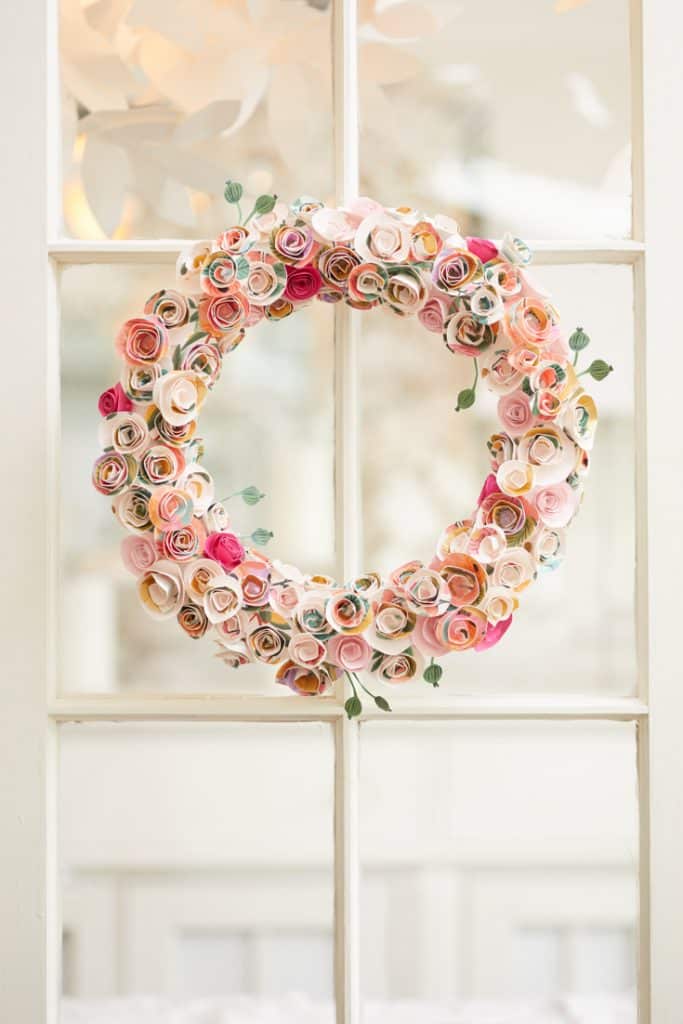
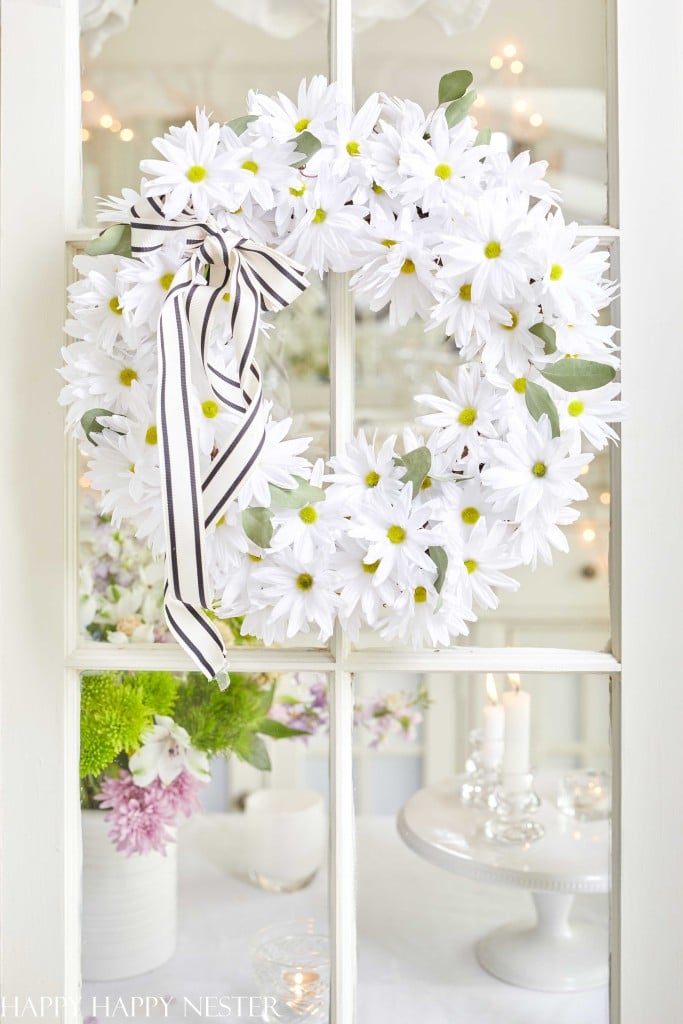
You know how much I love making my wreaths, right? Choosing the perfect design that goes well with my home decor is so fun, and I always add a personal touch to make it truly mine.
Take a look at some of my favorite wreath projects.
But before I get started on this super fun craft project, I gotta shout out that I’m joining my friends for a spring wreath blog hop. You can take a peek at the pics and links down below.
I know there are tons of Dahlia wreaths made from book pages out there, but my tutorial has a unique spin on it. The cone shapes still look like flowers, but I put them on a styrofoam wreath form in a random pattern. Plus, I made all the cones using a paper punch circle.
Even though I’m using a paper punch, this project still takes time. So, I advise splitting it into a few sessions; that way, you won’t feel too overwhelmed.
Also, I always have a good movie playing in the background when working on my paper projects.
Steps to Create a Book Page Wreath DIY
Wreath Supplies:
- 13-Inch Foam Wreath
- Book Pages (Make about 120 cones)
- Scallop Paper Punch
- Glue Gun or Glue Stick
- Scrapbooking Paper (Make about 40 mini-cones)
- Scissors
- Tree Branches
- Sewing Pins
- Digital Birds
Step-by-Step Instructions:
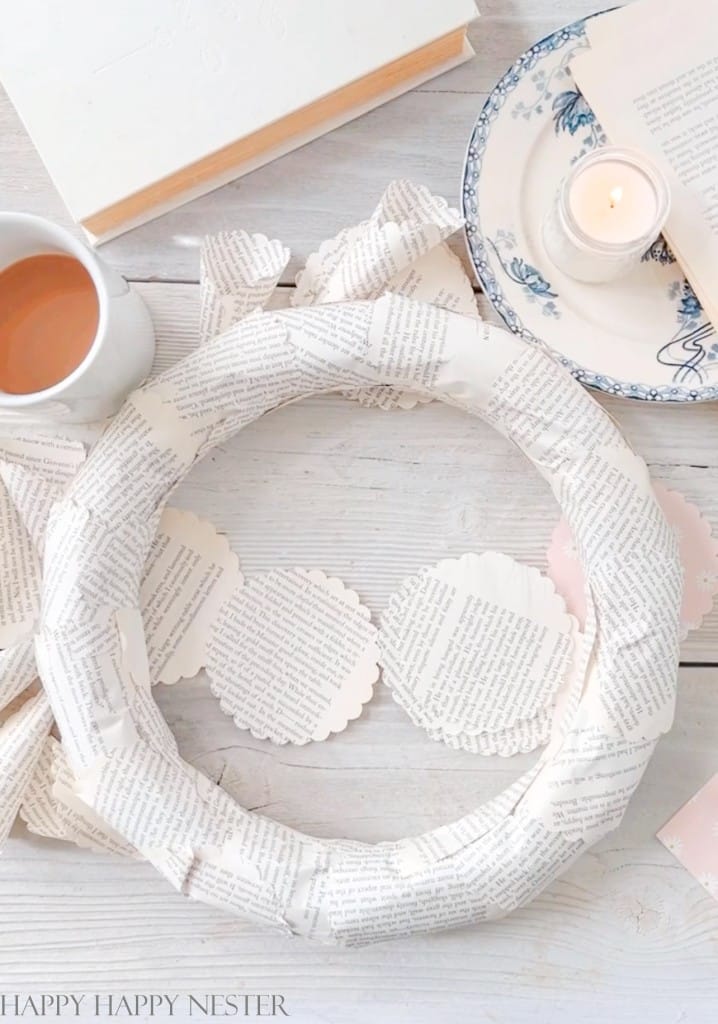
Step 1 – Cover Wreath Form
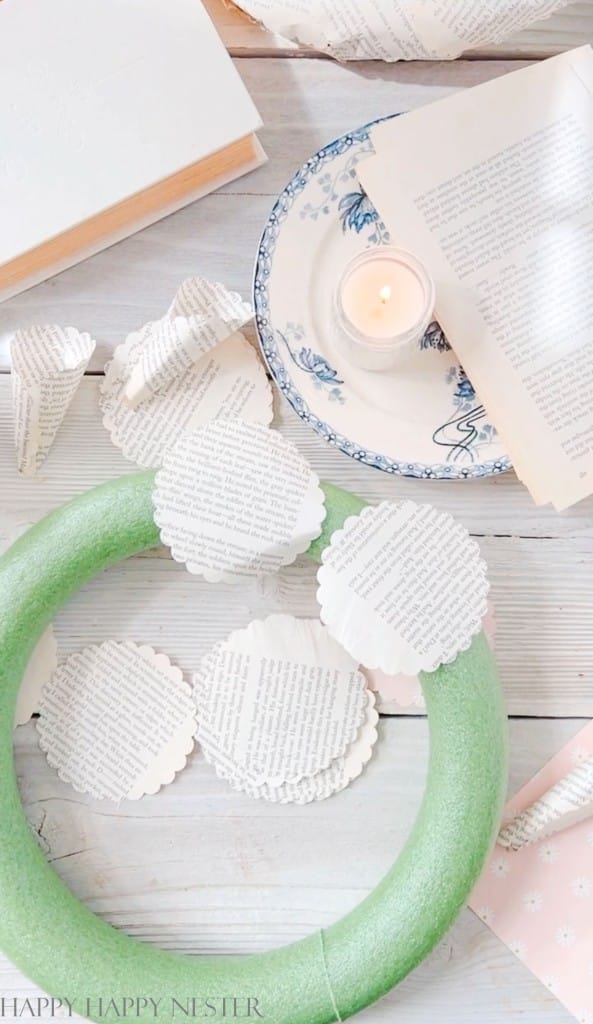
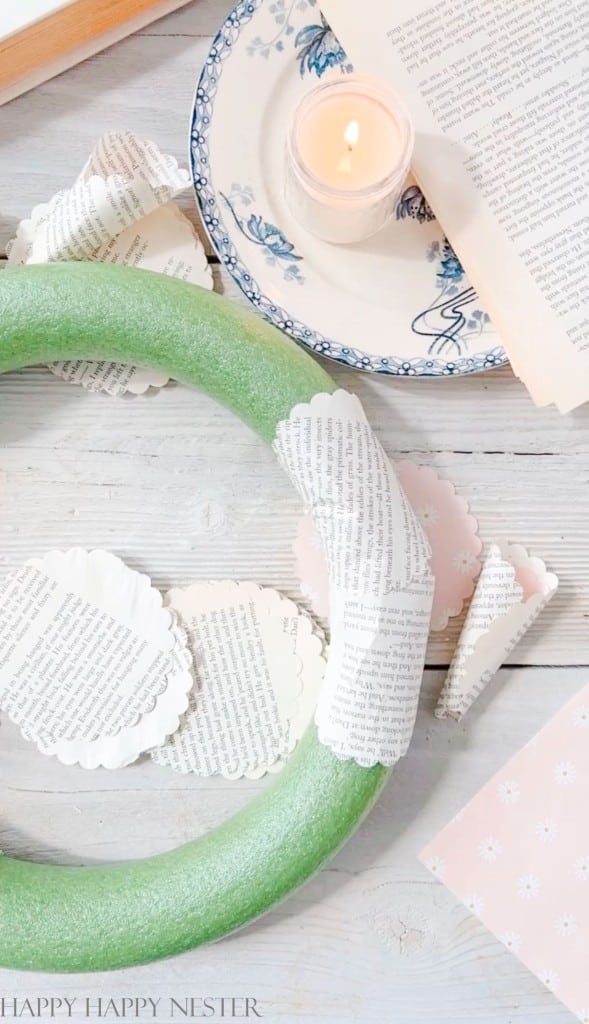
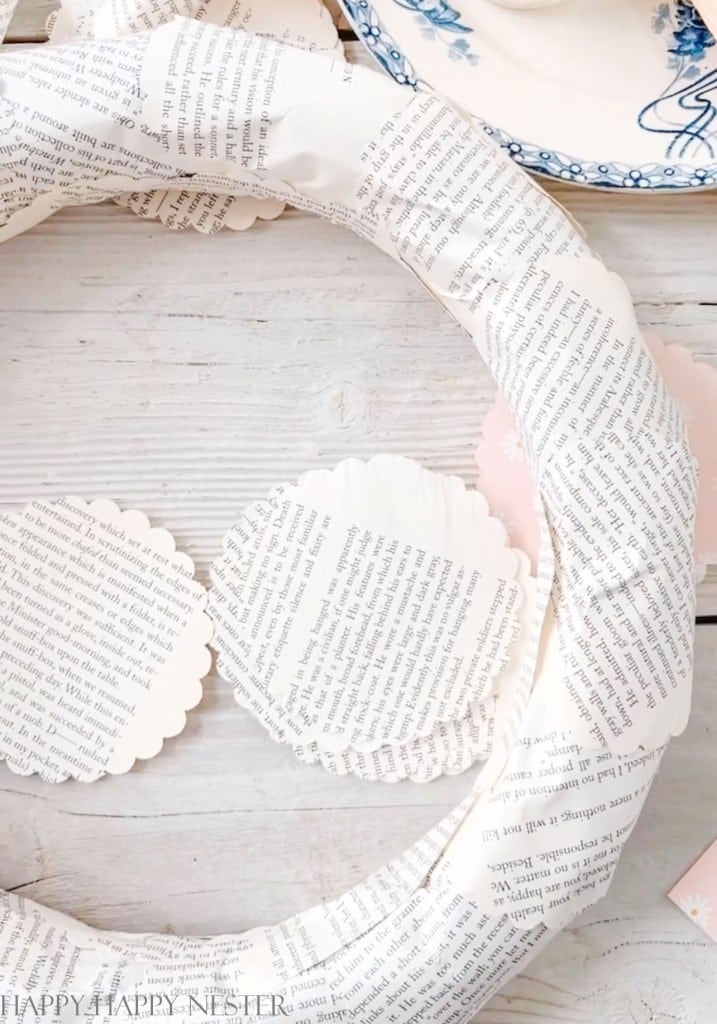
I used cutout circles of my book pages to cover the wreath form. But if you like, cover it with randomly shaped book pages. If you buy a white foam wreath, you could skip this step. I unfortunately only had the green wreath.
Glue the paper down with a hot glue gun.

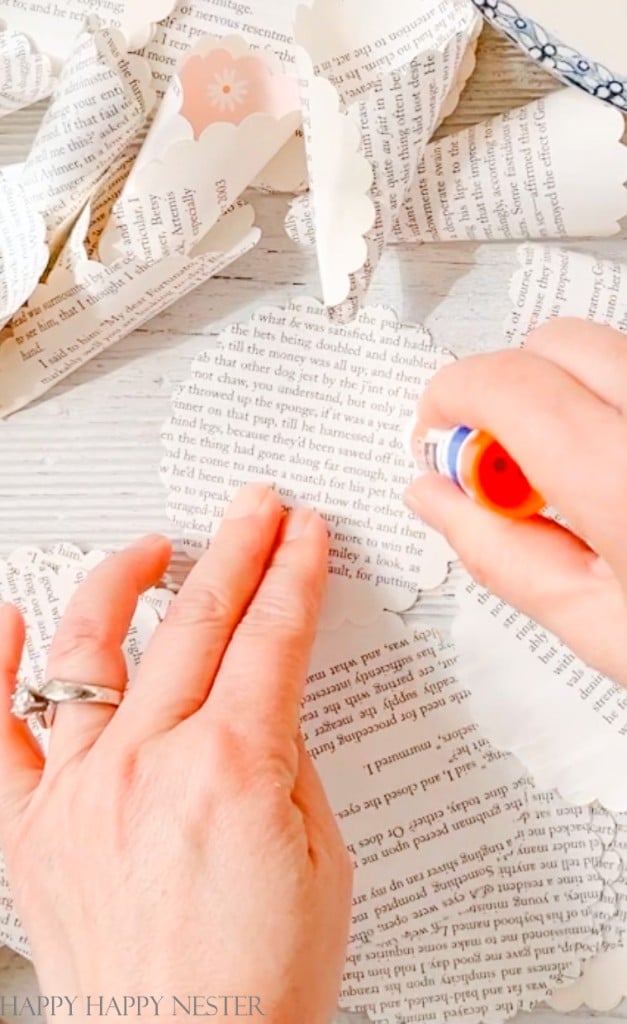
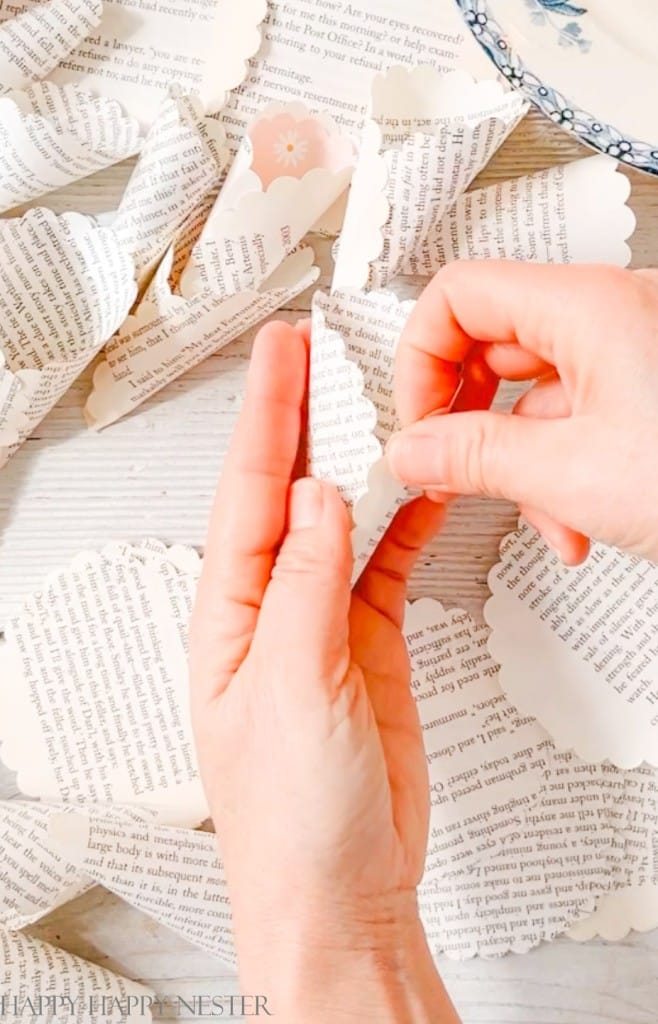
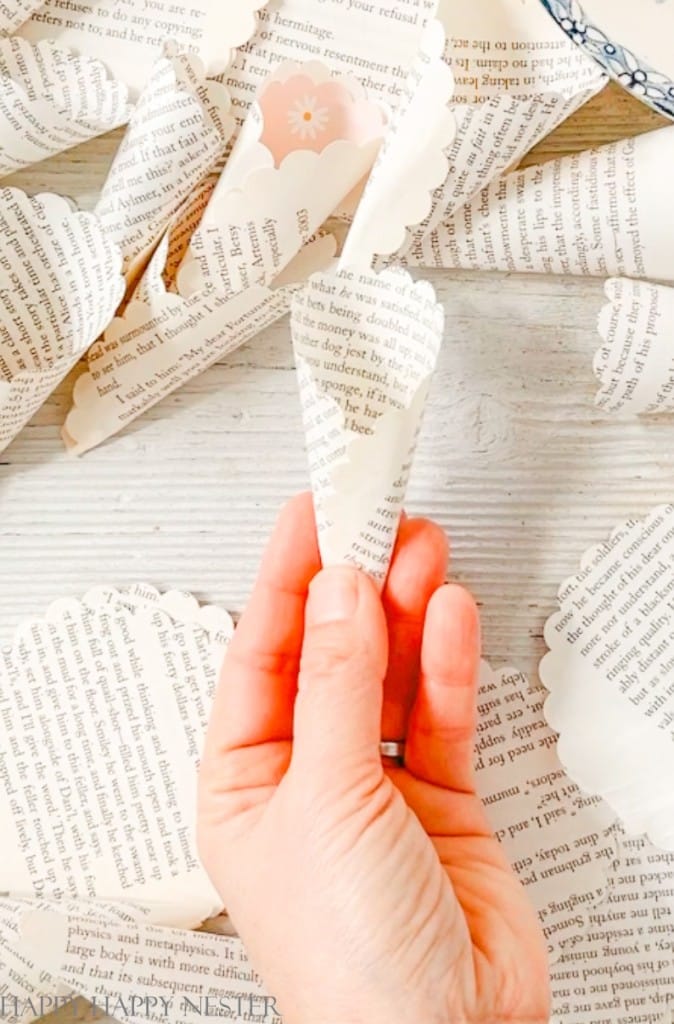
Step 2 – Create Cones
You’ll need to start by tearing out several pages from the book to create the cones.
Use a scallop paper punch to make the shapes.
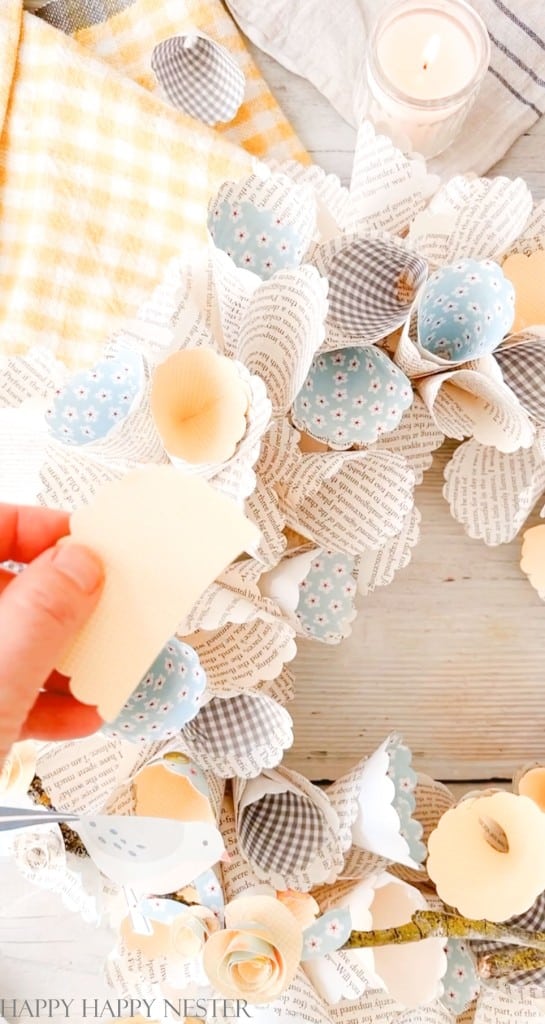
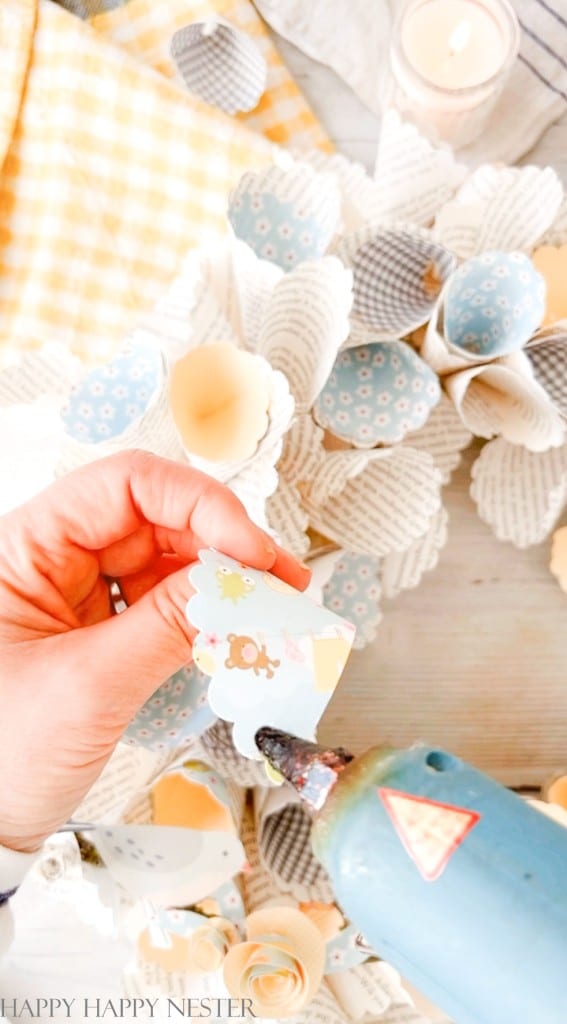
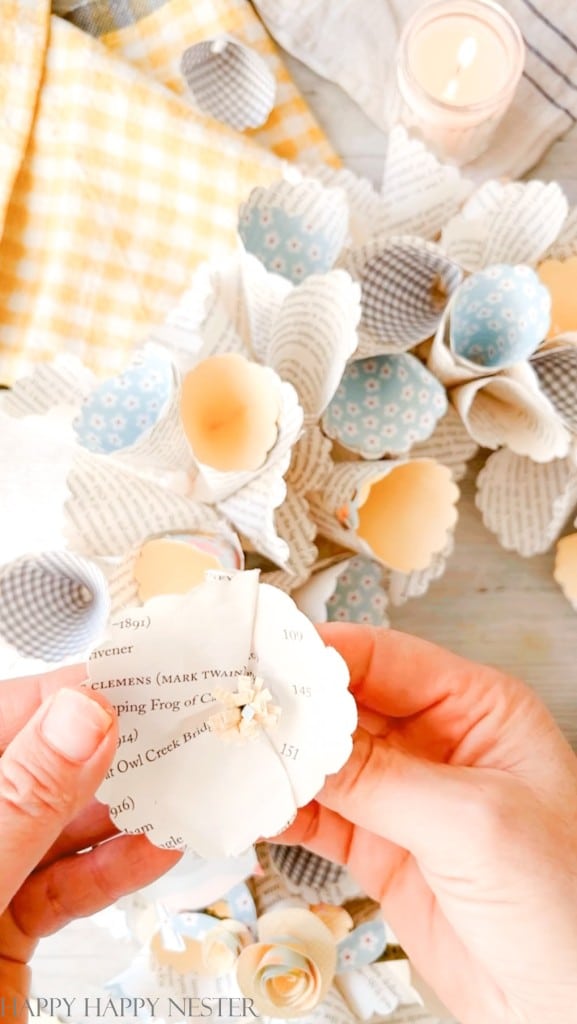
Then, you’ll need to fold each circle into a cone shape. If you view the circle in quarter sections, glue one of the bottom quarter edges. Then bring that edge over to the opposite edge and glue it down. Press the paper to hold, and you should have a cone shape.
I chose to make a somewhat open cone so that when you insert your second scrapbooking paper, it’s visible.
Step 3 – Scrapbooking Paper Cones
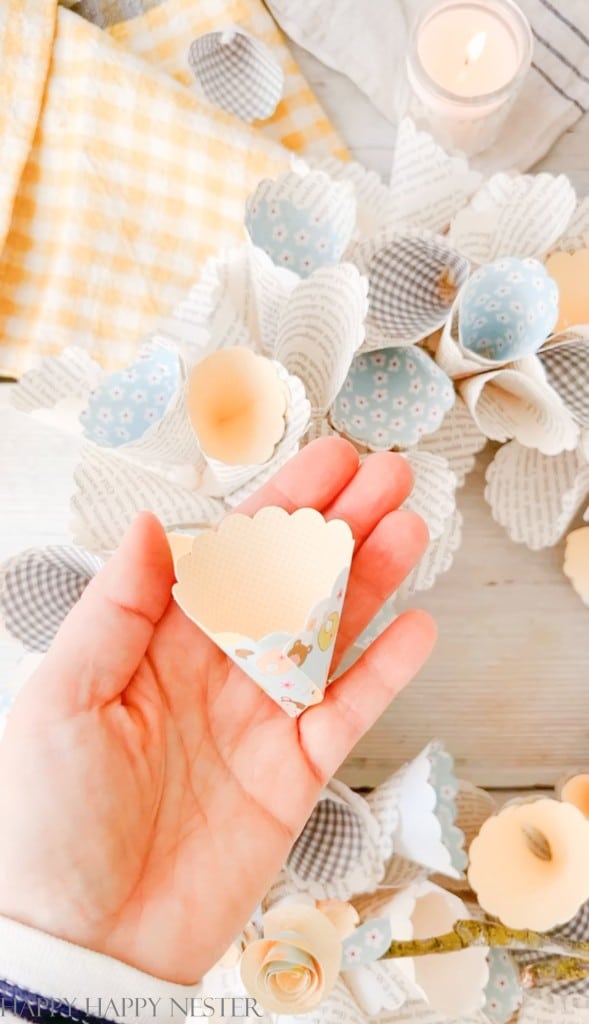
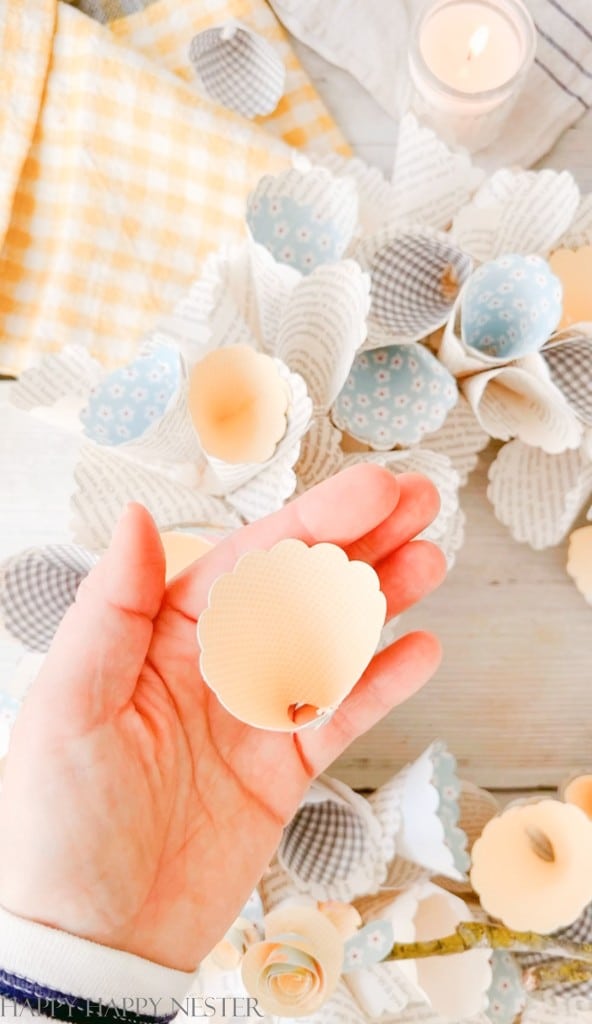
I used scrapbooking paper to make small cones that I inserted into the larger book page cones.
To make these cones, create a half circle. You can do this by punching out a full-size one and cutting it in half.
Once you have your half circle, make the cone the same way as the bigger ones. Glue the ends together. Just make sure that the pattern shows on the inside of the cone.
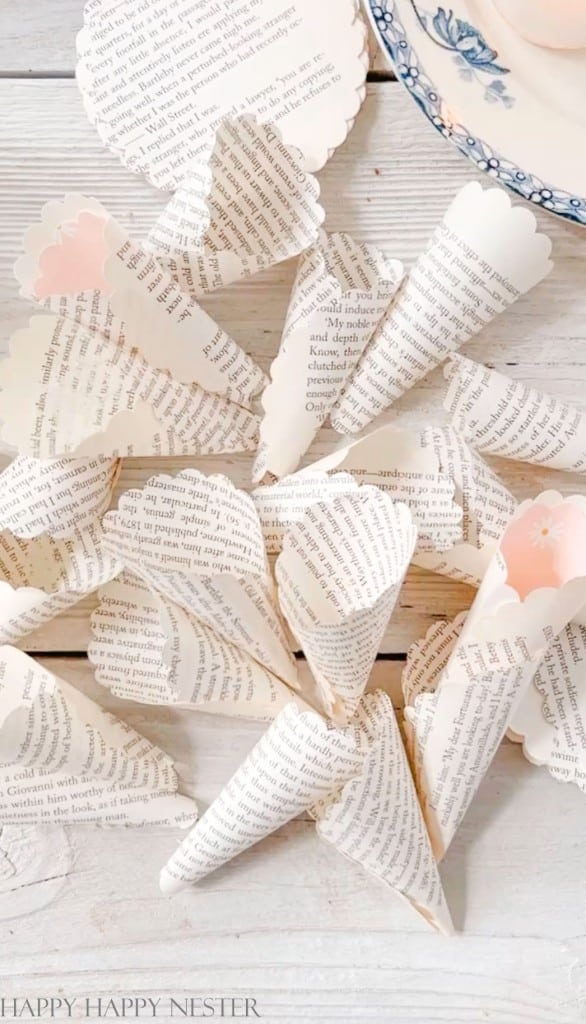
Step 4 – Make a Ton of Cones
You’ll have to make 120 book-page cones and about 40 scrapbooking cones. I know that’s a ton of cones, but it will be worth all the effort.
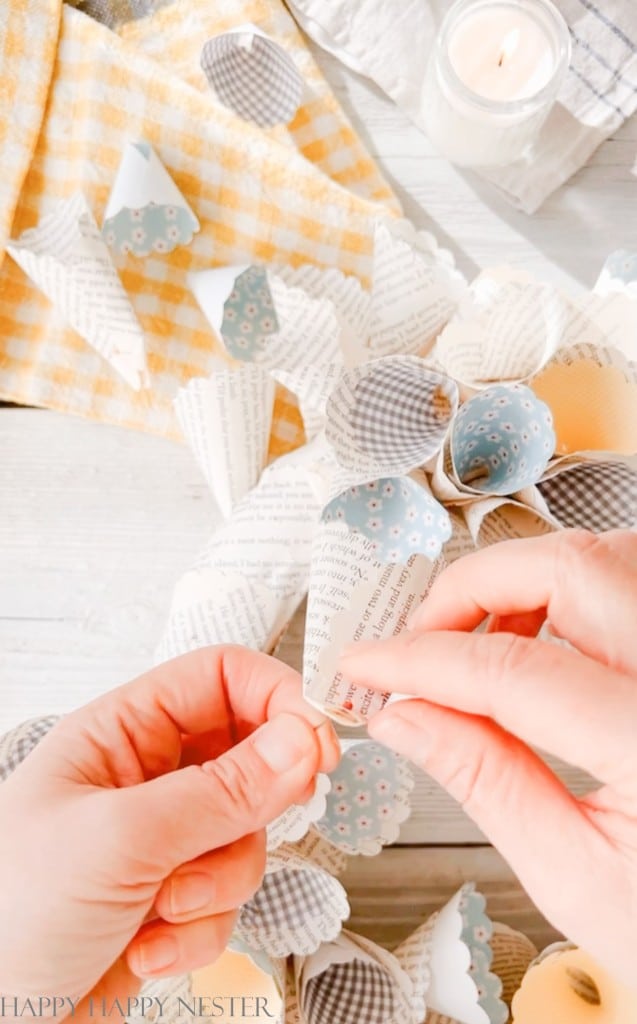
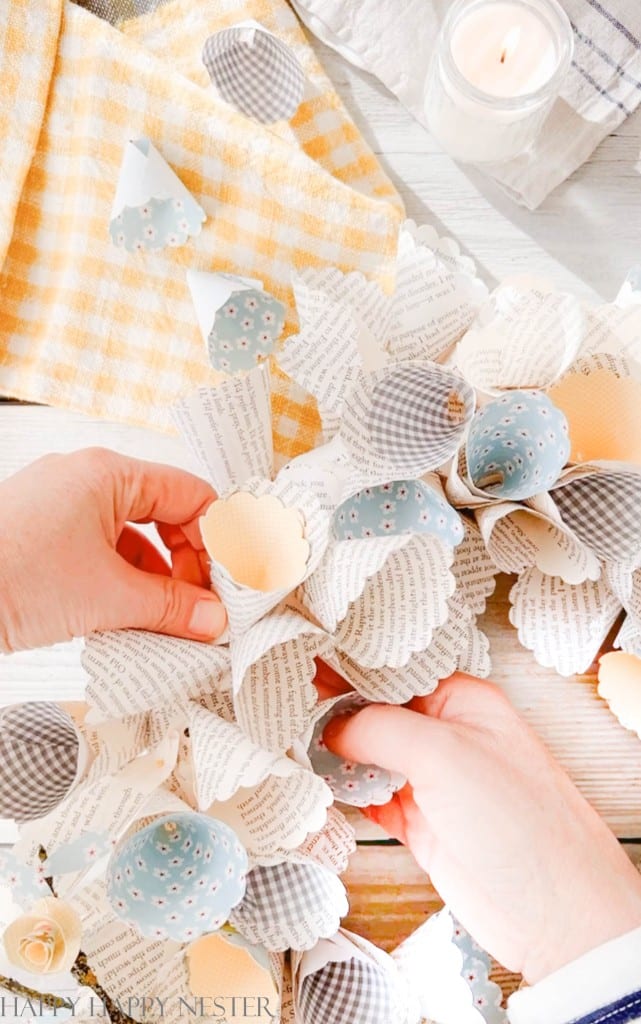
Step 5 – Attach the Cones
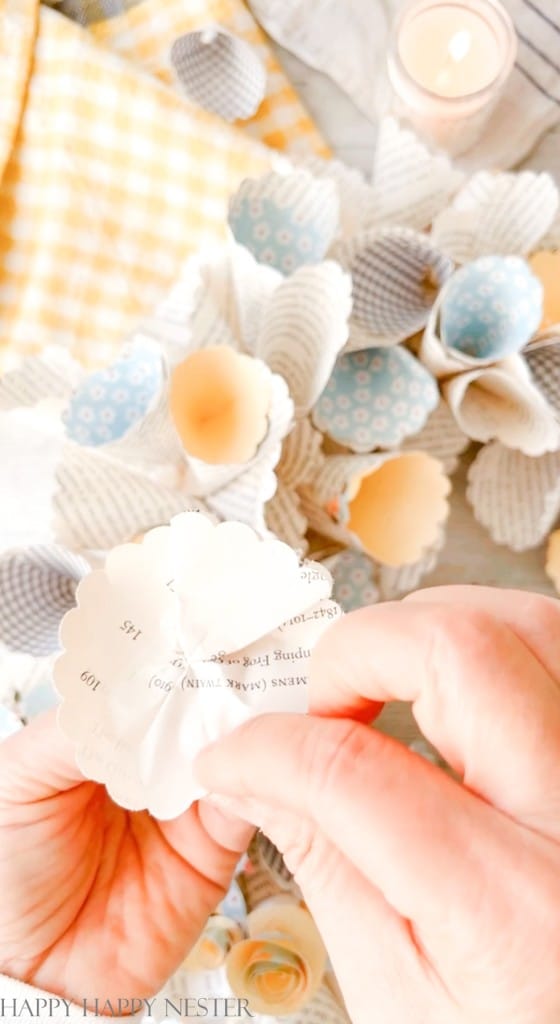
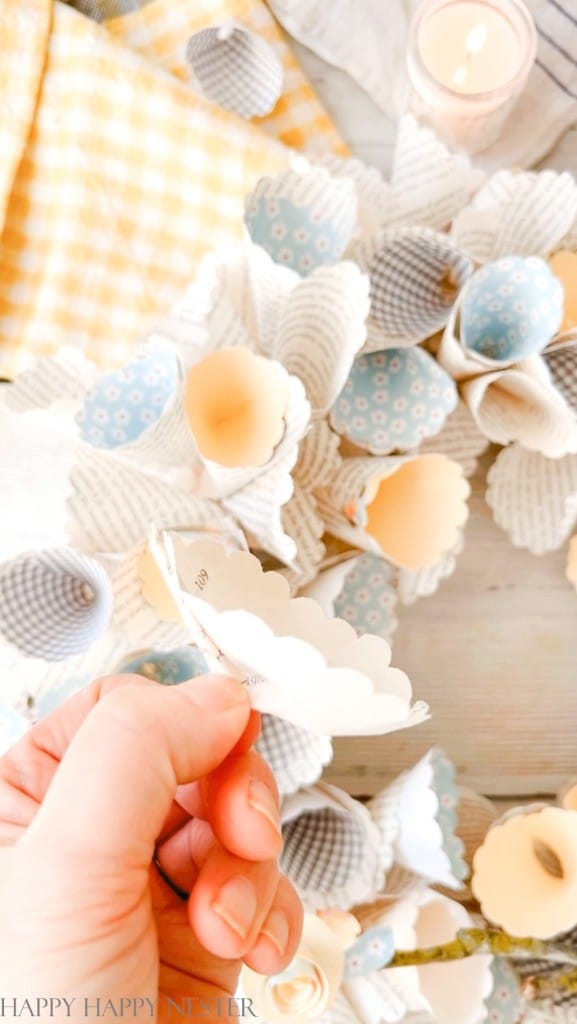
Once you’ve created your cones, you can place them onto the foam wreath form. You can choose to glue the cones with a hot glue gun, but I found putting them on a wreath with a sewing pin worked the best.
So, here’s why I like the pin rather than gluing. Hot glue is permanent, and if you place the cones in the wrong place, it’s challenging to move them. With the sewing pin scenario, you can move the cones around to be compositionally balanced.
As you place the cones onto the wreath form, be sure to vary the direction of the cones to create a visually interesting and dynamic wreath. You can also experiment with different ways to arrange the cones, such as layering them on top of each other.
Also, it helps if you make a small fold on the bottom of the cone. This folded part will sit better on the wreath rather than the tip of the cone.
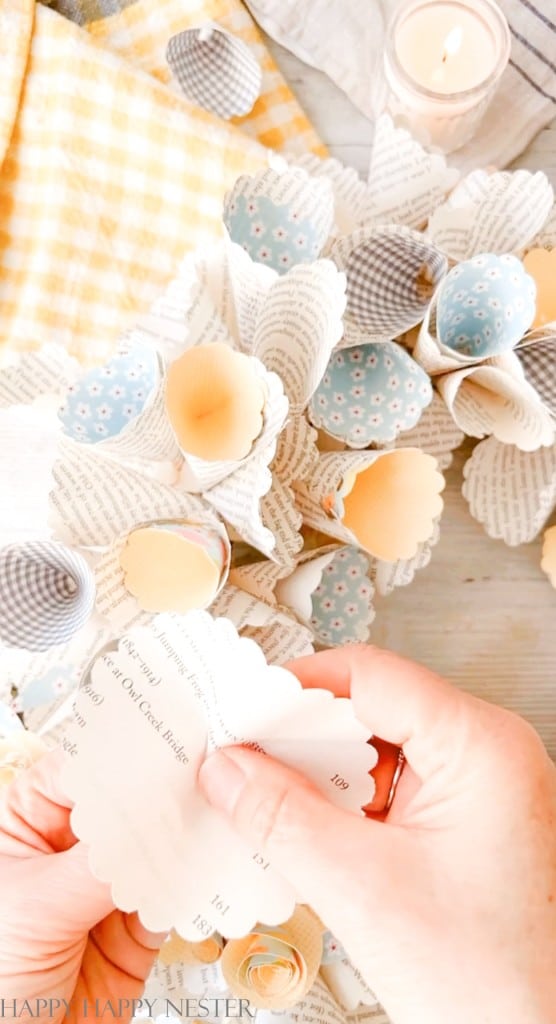
Step 6 – Add Tree Branches and Extra Flowers
Rosette Flowers – Here’s a link to a great rosette tutorial.
Cutout Birds – I bought the images here and then cut them out and attached them to my branches with hot glue.
Open Flower – Punch out a scalloped circle and pink the middle of it to form a little stem. Fold over some of the paper to keep a circle shape. Glue down those folds. Turn up the edges, so there is a little lip around the flower.
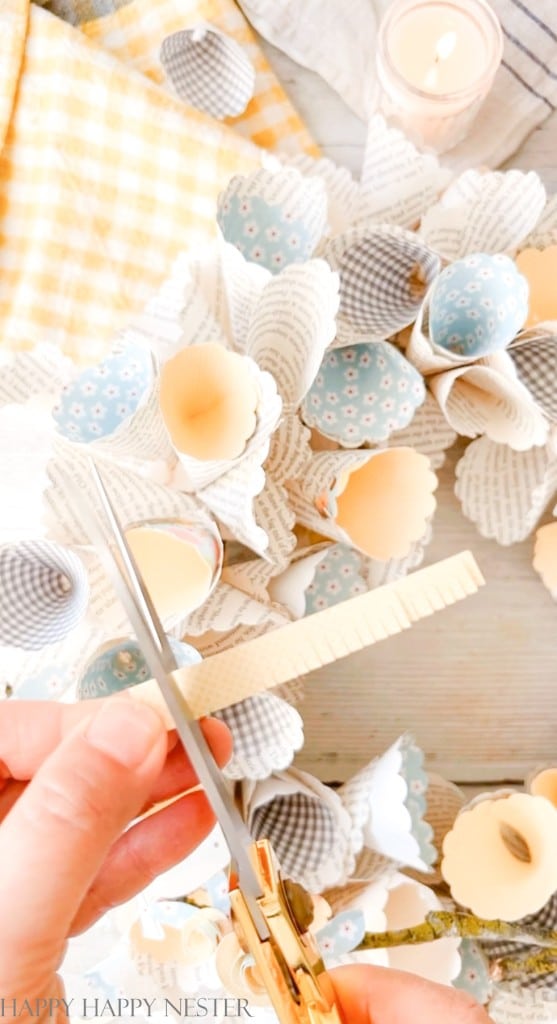
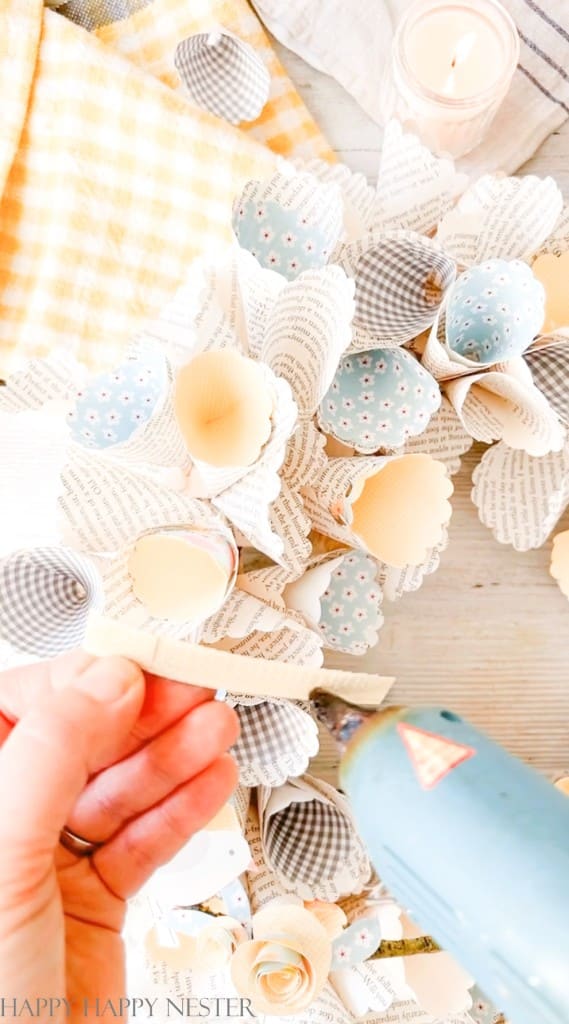
Cut a small strip along one edge with another piece of scrapbooking paper. Make sure not to cut through the paper. This process is called fringe or eyelash. Then roll up the paper with the fringe side up. Glue the bottom as you roll. Glue the bottom of the fringe to the middle of your flower. Spread out the fringe, so it resembles a flower’s pistils.
Once you’ve finished attaching all the cones, you can add any extra decorations or embellishments you like. You could tie a ribbon bow around the wreath, add some battery-powered twinkle lights, or attach a favorite book quote or passage.
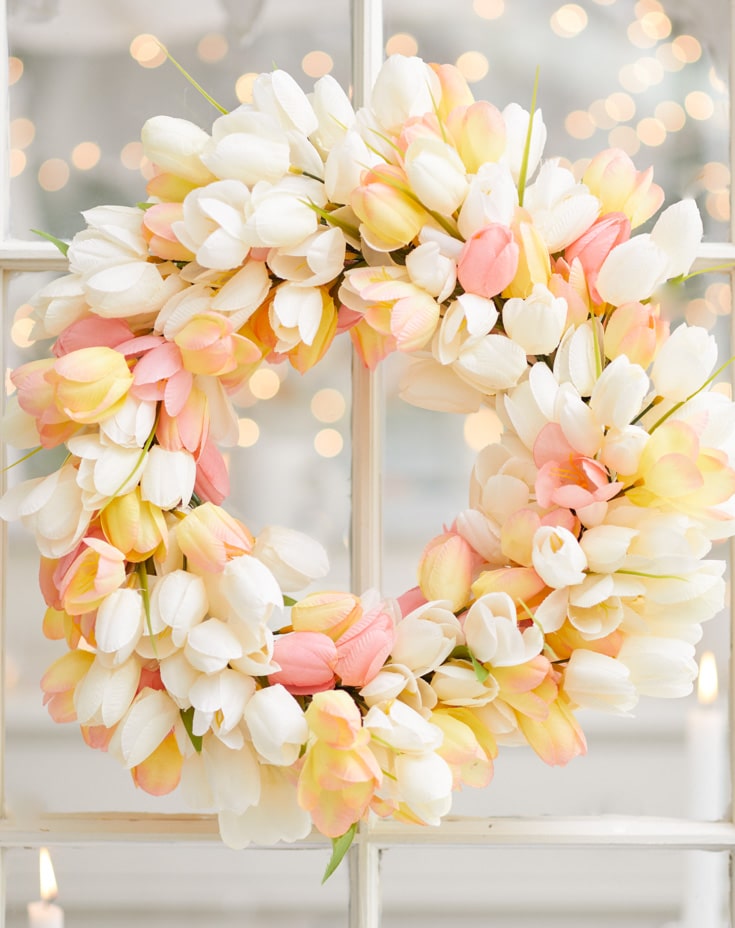
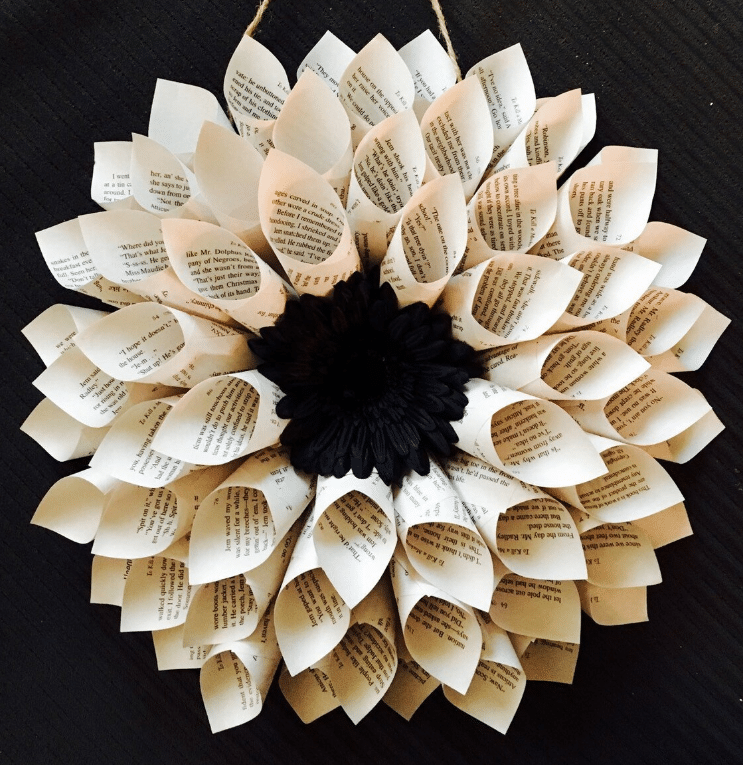
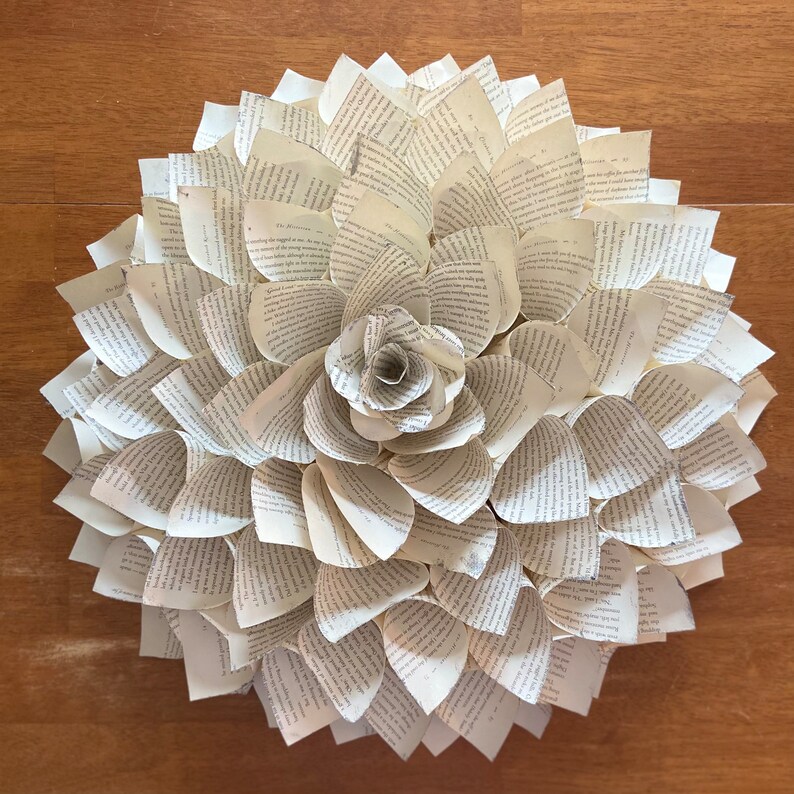
If you don’t have the time to make one, here are a few already-made wreaths. So you can get the look without the time commitment.
Click on images to shop for the wreaths.
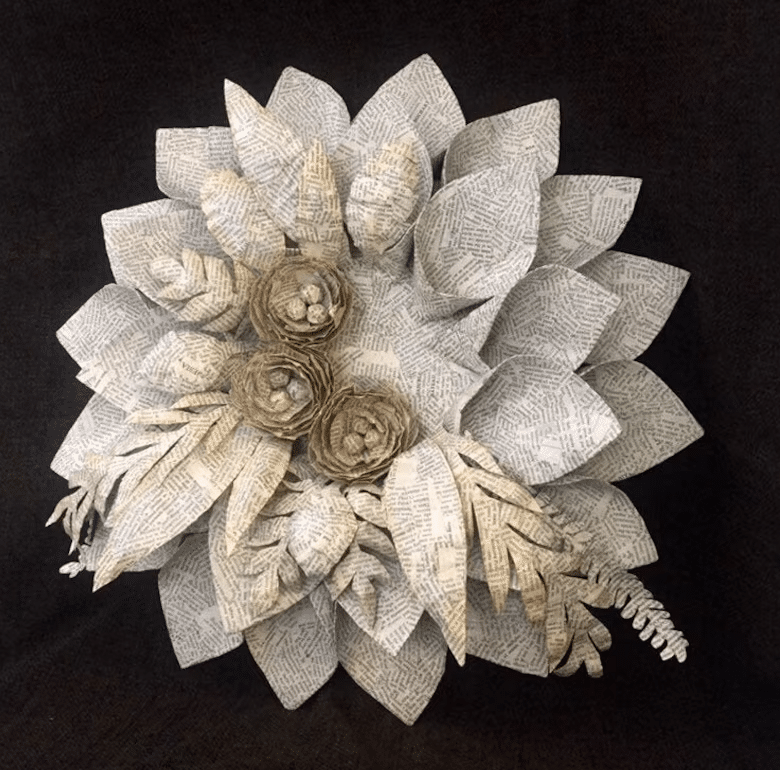
It’s fantastic to repurpose an old book into a vintage-looking wreath. And you don’t need to put in too much money to make this book page wreath a reality.
Just look around your house and snag an old book you don’t care about, or check out a thrift store to find one. Then, get busy crafting some simple paper cones – after that, the rest is easy peasy and super fun!
Happy Crafting!

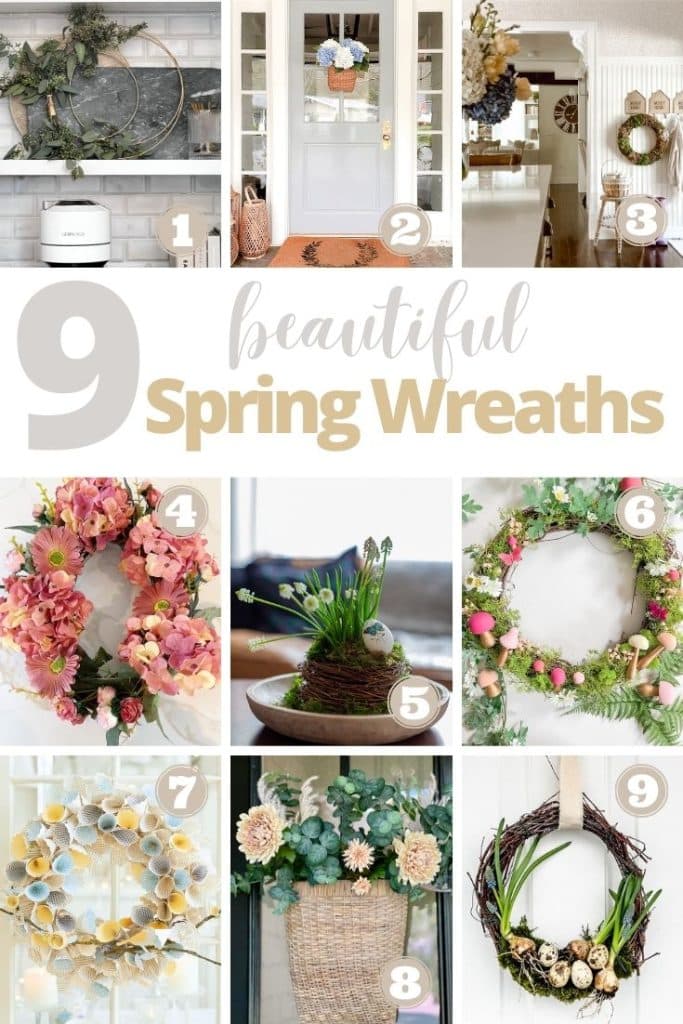
Blogger’s Best Spring Wreaths
- Modern Spring Wreath | My Sweet Savannah
- How To Make A Hydrangea Wreath | Modern Glam
- Moss Wreath DIY | Eleanor Rose Home
- The Fifteen Minute Spring Wreath DIY | My 100 Year Old Home
- Our New Home’s Easy Care Front Porch Decor | Classic Casual Home
- Spring Mushroom and Moss Wreath | Tatertots and Jello
- How to Make a Birds Nest From a Wreath | Craftberry Bush
- Book Page Wreath DIY | Happy Happy Nester
- Easy Birch Twig Spring Wreath | Most Lovely Things


- Heart Shaped Brownies Recipe - February 13, 2026
- Framed Artwork from Amazon - February 12, 2026
- Chocolate Covered Quinoa Recipe - February 5, 2026



Annie Diamond
Janine,
You always have the most beautiful and creative ideas! Your spring wreath is no exception!
annie
Melaine Thompson
I love how you did a mix of papers and adding the twigs is the creme de la creme!
Heidi
This may be the cutest wreath I’ve ever seen!!! Your ideas are always so inspiring Janine!
ASHLEY STRINGFELLOW
I love the twigs!
Jennifer S. Hadfield
Such a creative and pretty idea, Janine! Thank for letting me join in ! Pinned 🙂
xoxo
Janine Waite
Thanks so much, Jennifer!