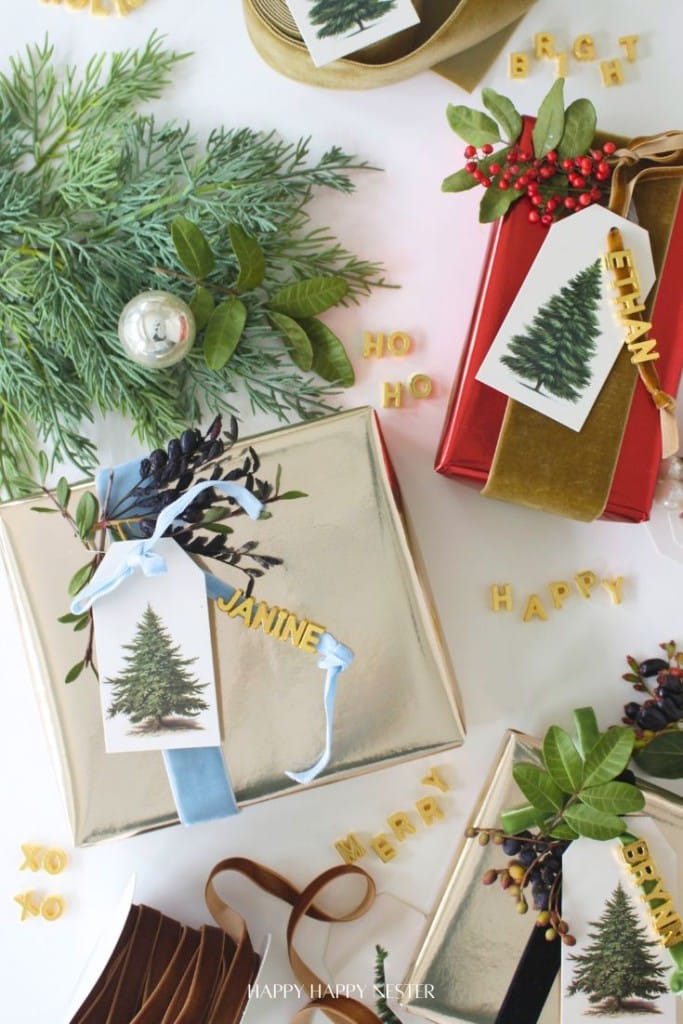
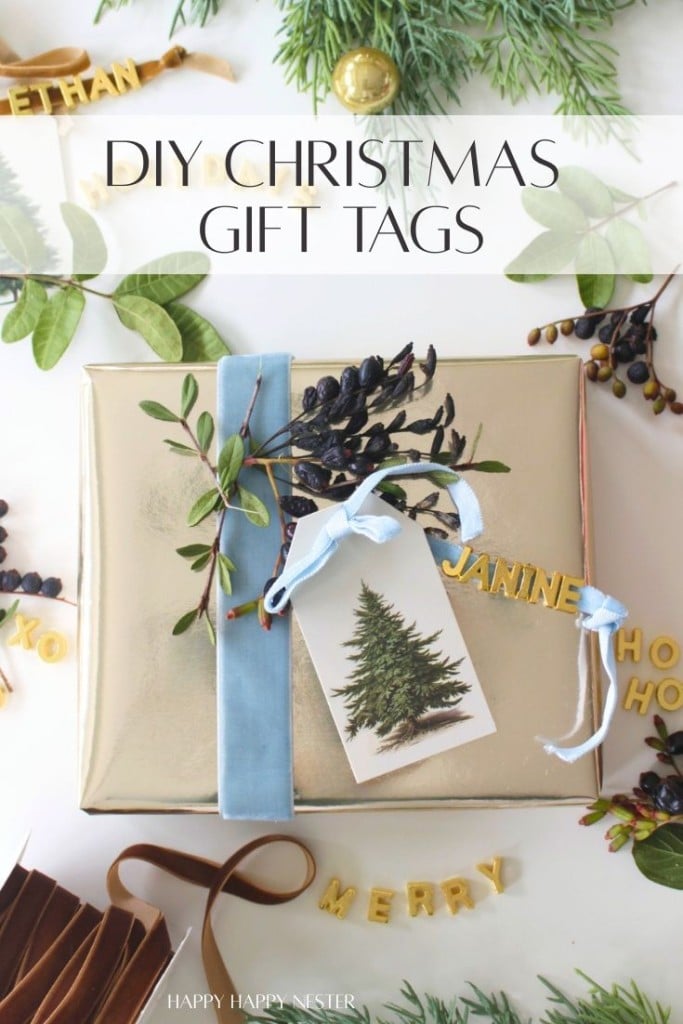
DIY Christmas Gift Tags are such a cute and personal way to make your holiday gifts feel extra special! Instead of a standard paper tag, these shiny gold letters attach right to your ribbon — and you can spell out any name you like. They look festive, feel thoughtful, and take just minutes to make. If you love easy holiday projects that look like you spent way more time on them, you’re going to adore this one!
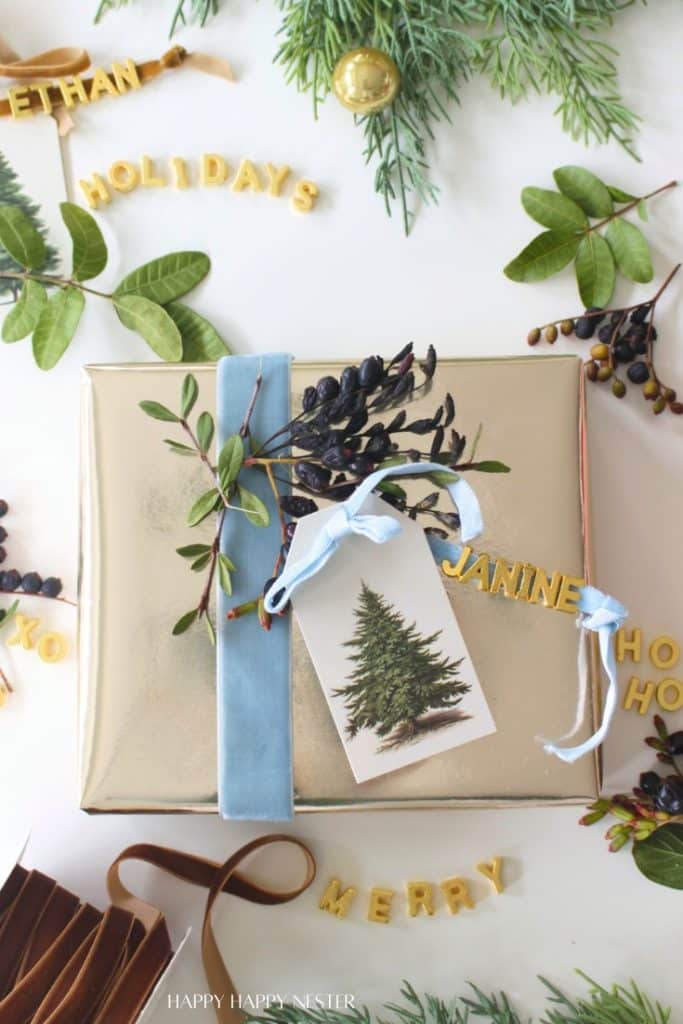
Every year my blogging friends (check out their projects below) and I have the best time sharing new gift-tag ideas, and this year I wanted to switch things up a bit! Instead of another printable, I thought it would be fun to create something you can actually add to your ribbon — these cute gold letters!
I’m obsessed with how easy they are… seriously, it takes seconds to slide the letters on, and suddenly your gift looks like a boutique wrap. Plus, I now have a whole stash of letters for other fun crafts — bracelets, ornaments, you name it!
And if you do love printables, don’t worry — I have plenty of adorable ones you can grab right here too.
Free Printable Vintage Christmas Gift Tags
Free Printable Christmas Gift Tags
Merry and Bright Holiday Gift Tags
DIY Christmas Gift Tags: A Festive and Personal Wrapping Idea
Why You’ll Love These Letter Gift Tags
Quick and easy to make
Fully customizable
Adds a special touch to any present
Supplies You’ll Need
Craft Materials
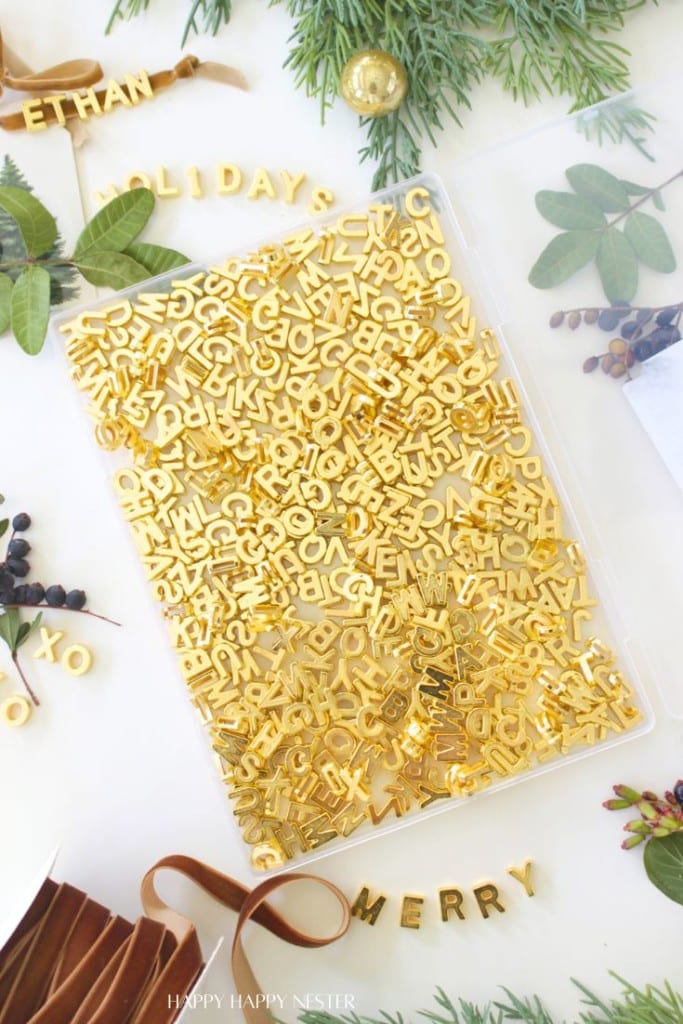
- Gold alphabet letters
- Ribbon (any color or width)
Optional Extras
- Bells
- Mini ornaments
- Stickers or greenery sprigs

Gold alphabet letters – these make the magic happen!
🎄 Shop lettering set: Letters
Ribbon – velvet, satin, knit, or twill… go with what matches your wrapping style!
🎄 Shop ribbon favorites: Ribbons
Wrapped gift or box – time to make those presents look extra fancy!
🎄Shop boxes here: Boxes
Tiny jingle bells – adds sparkle and sound!
🎄 Shop mini bells: Bells
Mini ornaments or charms – such a festive touch
🎄 Shop mini ornaments: Ornaments
Fresh or faux greenery – a little pine or cedar looks beautiful
🎄 Shop greenery picks: Greenery
Clear tape – helps create a “needle” end for threading wider ribbon
🎄 Shop clear tape: Tape
Step-by-Step Tutorial
Step 1 – Choose Your Ribbon
Pick a ribbon that fits your wrapping style — satin, velvet, twill, or even a fun striped holiday print. Cut a length long enough to wrap around your package and tie a bow.
Tips for Color + Texture
- Match your theme: Let your wrapping paper be your guide! Bold paper → simple ribbon. Minimal paper → go glam.
- Contrast is key: Dark ribbon makes gold letters shine. Light ribbon looks great with silver or white letters.
- Mix textures: Try layering a thin metallic ribbon over a wide velvet one for a gorgeous, high-end look.
- Stay coordinated: Warm tones pair best with gold accents—think reds, greens, browns, and neutral kraft.
- Shop your craft stash: Leftover ribbon is always fair game and sometimes ends up being the winner!
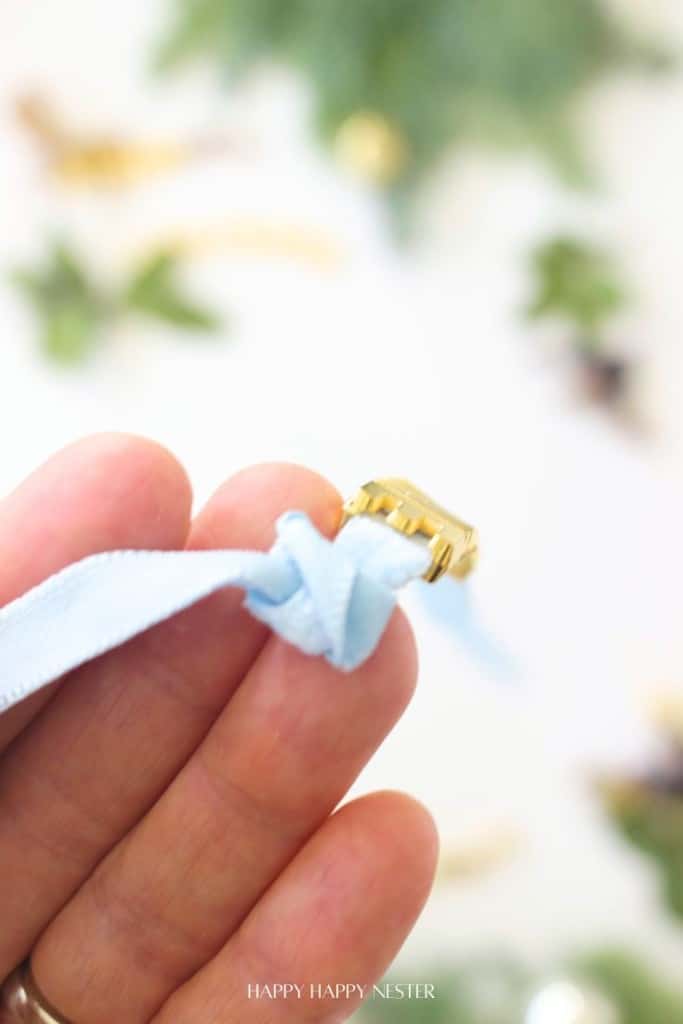
Step 2 – Add the Letters
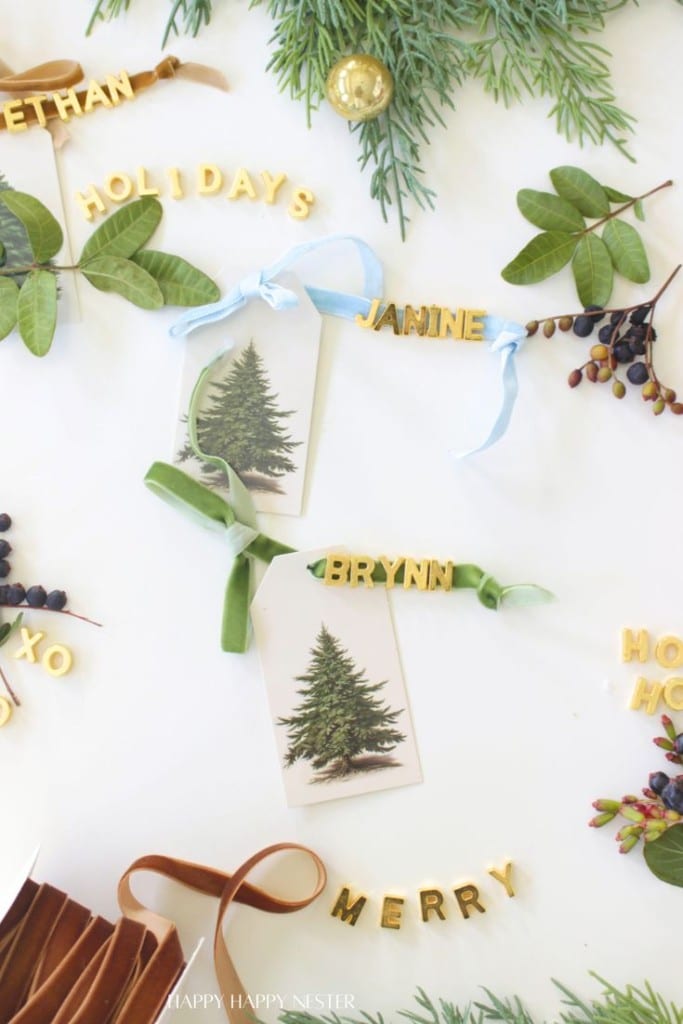
Slide the letters onto the ribbon to spell out a name or a fun holiday word like Joy, Noel, or Merry. Space them evenly before tying your bow for the neatest look.
Make Sure They Face the Right Way
- Hold the ribbon as if it’s already on the gift so you don’t accidentally string letters upside down.
- If a letter twists while tying, gently flip it into place once the bow is secure.
- Longer names? Center the middle letters first, then work outward for better balance.
Step 3 – Secure + Style Your Gift
Wrap your ribbon around the gift box, tie a bow, and adjust until the letters sit front and center. On one of the ribbon tie a bow so the letters won’t fall off.
Frequently Asked Questions
Yes! The letters slide onto the ribbon snugly, so they stay put once tied around the gift. Just keep in mind that the narrower the ribbon, the more the letters may shift, so aim for medium-width ribbon for the best hold. After you’ve positioned them where you want, give the ribbon a good pull to tighten your bow — that keeps everything secure and in place.
Both ¼-inch and ⅜-inch ribbon work great! The ¼-inch size is easier to slide through the letter openings, but the letters may wiggle a bit more on the narrower width. The ⅜-inch ribbon holds the letters more securely and looks a little more substantial on your package. If you’re using the wider ribbon, just place a small piece of tape around the end to make a smooth “needle” — it threads through the letter holes perfectly!
Yes! Each set comes with plenty of letters — more than enough to spell multiple names or repeat popular letters (like A, E, or S). You can happily label a lot of gifts without running out.
Definitely! This is a great hands-on project for kids — threading the letters on the ribbon is like a little puzzle. They’ll love spelling out names for family members and helping wrap the gifts. But make sure that your kiddos don’t try to swallow these small letters.
Not at all. These letter tags instantly elevate any wrapping — even simple kraft paper looks stunning when paired with gold letters. Use what you have and let the ribbon and letters shine.
I just love how these DIY Christmas Gift Tags instantly make any present feel special. They’re quick, they’re customizable, and they have that extra little “wow!” moment when someone sees their name spelled out right on the ribbon. No fancy wrapping skills needed — just a little ribbon, a few letters, and you’re holiday-ready.
Have fun crafting, and I can’t wait for you to try these on your gifts this year!
Cheers,

Blogger’s Best Holiday Christmas Tags

DIY Photo Gift Topper Ornaments (That Double as Tree Decor) | My Sweet Savannah
Make meaningful DIY photo gift topper ornaments using family pictures, pets, or snowy scenes. Easy tutorial and styling ideas included.
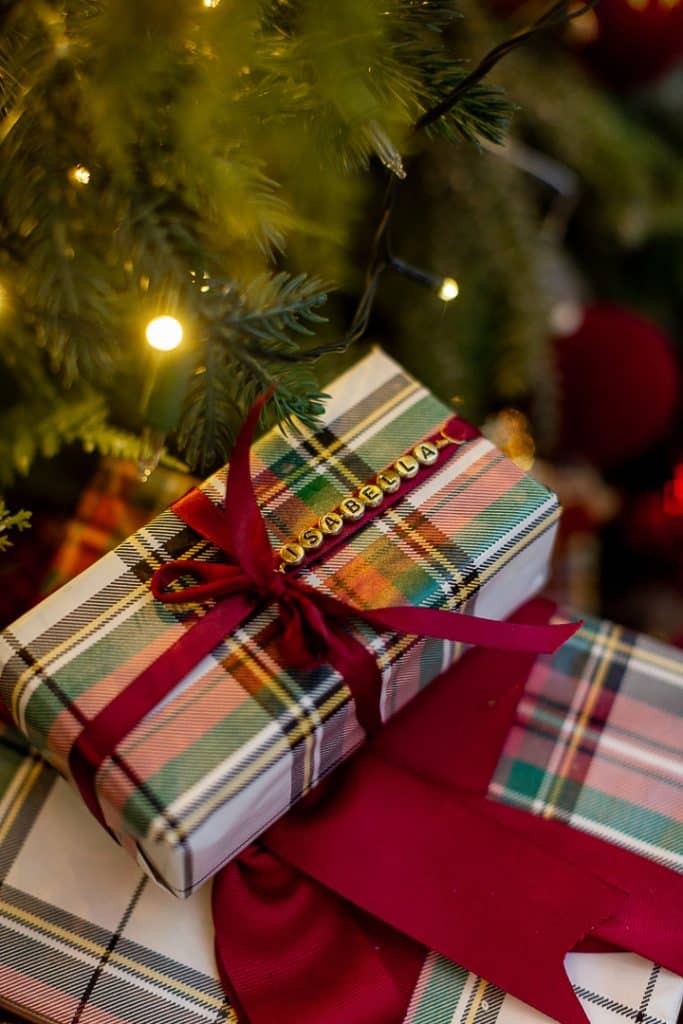
Beaded Name Gift Tag | Craftberry Bush
These cute little personalized gift tags can be repurposed as a key chain or purse chain.
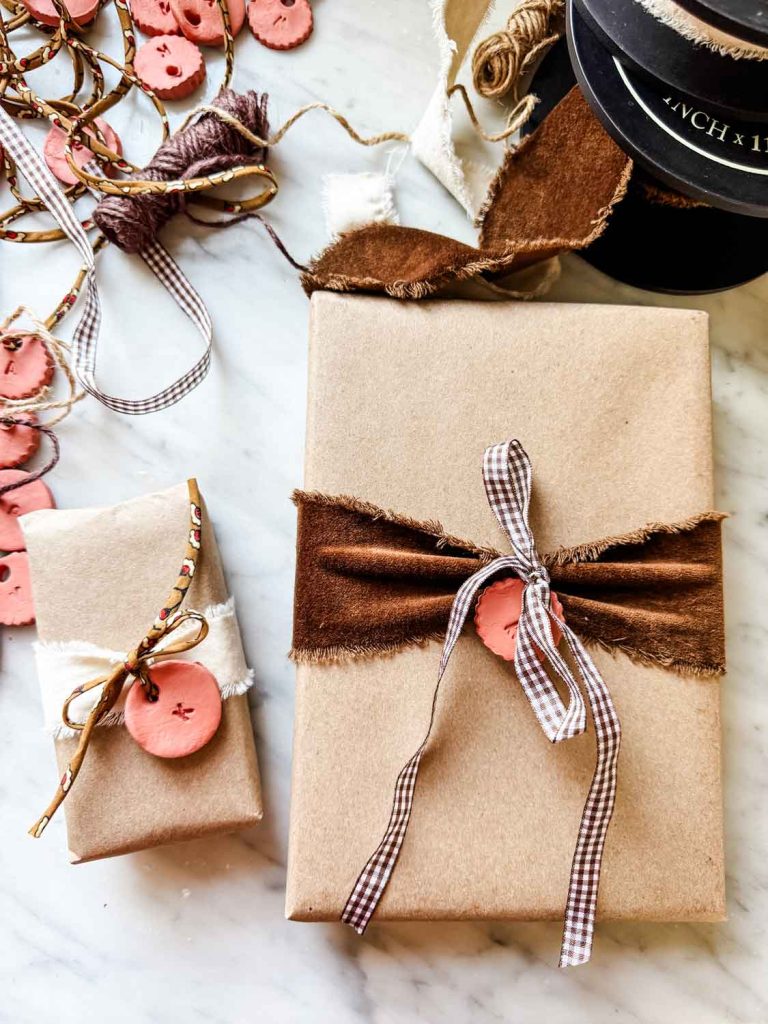
Clay Initial Tags | Most Lovely Things
Make simple clay tags with initials to use on packages, stockings, napkin rings…save and reuse them from year to year!
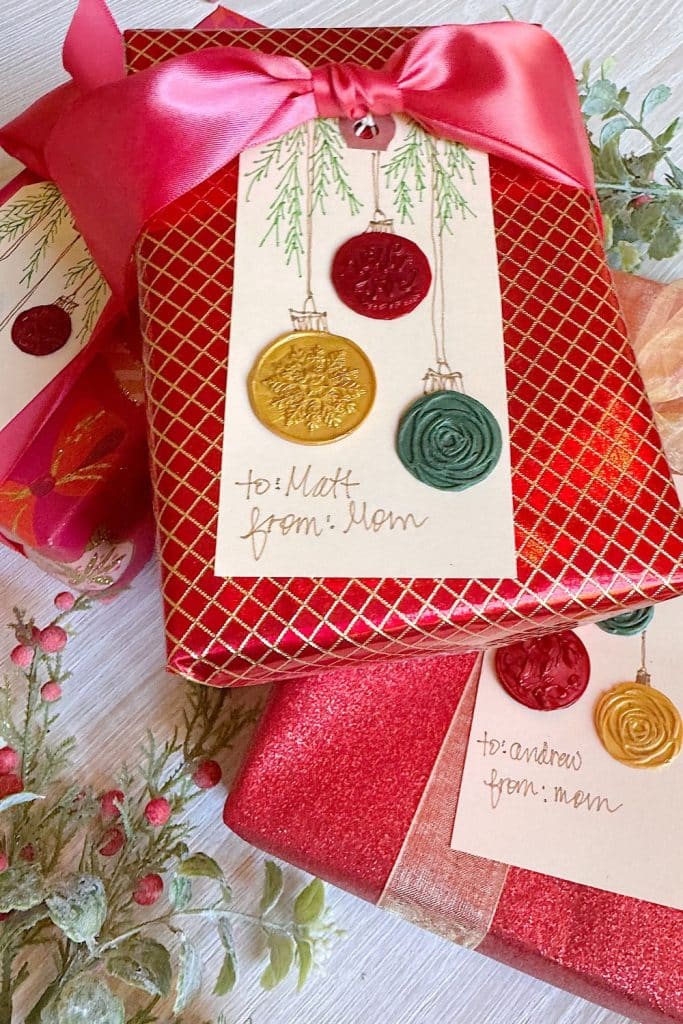
Handmade Christmas Gift Tags | My 100 Year Old Home
This season, I decided to create my own Handmade Christmas Gift Tags using a mix of sketching and wax sealing. They turned out beautifully as they are whimsical, vintage-inspired, and perfectly imperfect in all the best ways.


- Best Recipes for Breakfast - April 11, 2026
- Overnight Oats Recipe with Yogurt - April 10, 2026
- Springtime Throw Pillows - April 8, 2026


Leave a Reply