Have you seen the pretty wreaths over on Etsy? Today, I’m sharing how to make one in this Felt Wreath DIY post. I love any felt craft project, and I’ve always wanted to create one. You’ll be happy to know that you can change the felt colors and create a pretty Christmas wreath or, for that matter, a fall wreath. The beauty of this project is that you can make it whatever color matches your decor.
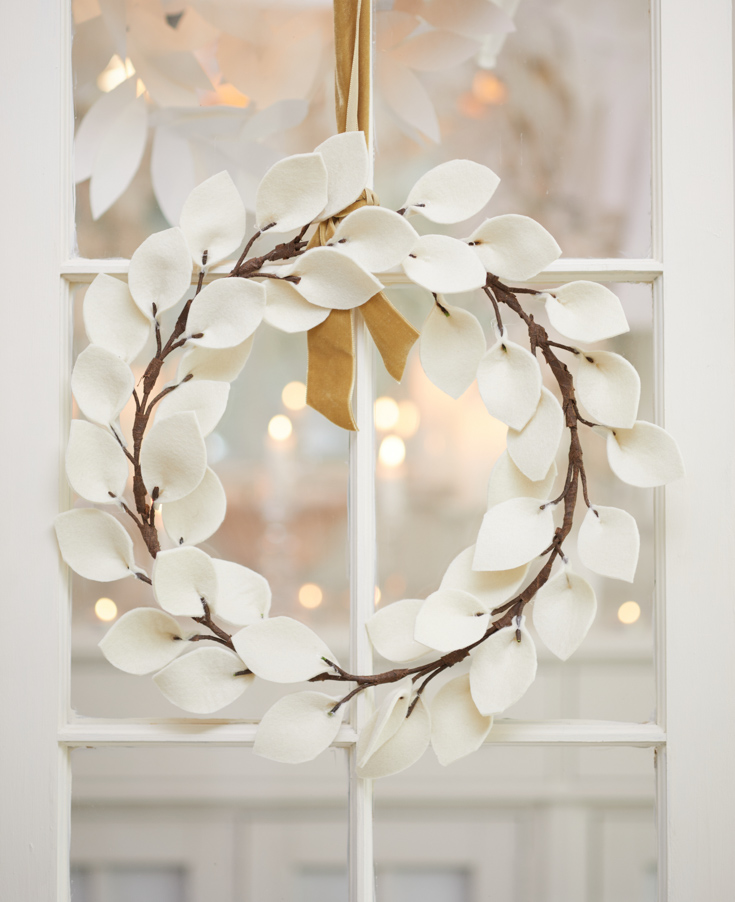
The leaves are attached to a bendable wire, so move them to whatever shape you like. Add some wool pom-pom balls if you like a few more accents. Also, use whatever colors of felt that you like to match our home decor. I love the ivory since it goes with any room color. The sky’s the limit on this felt project.
As you all know, I love the look of felt, and I have quite a few easy felt crafts over here on the blog.
This project requires a little bit of time cutting and attaching, so I recommend spreading the various tasks over a couple of days. I always tackle projects like this over a couple of days, so I don’t get too burnt out.
So, if you have a favorite television series, work on your wreath while watching tv. I made the leaves one night, cut and wrapped the wire another night, and then attached the leaves on the final evening. I guess I got this productive streak from my mom, who was always busy working on a knitting, embroidery, or sewing project.
Besides cutting out felt leaves, one tricky part is attaching the leaves’ stems to the wire hoop. But, I’ll get it into the details below.
But if you don’t have the time or interest but want to own one of these beautiful felt wreaths, here is one you can buy.

Felt Wreath DIY Tips
- The floral tape becomes sticky when you stretch it. When the tape is stretched, the adhesive is activated, making it sticky. I wish I had learned this little trick a while ago.
- The floral tape becomes sticky when you stretch it. When the tape is stretched, the adhesive is activated, making it sticky. I wish I had learned this little trick a while ago.
- My favorite beige felt is from Hobby Lobby.
- Attach two leaves of leaves at a time, making it easy to wrap them into the wire hoop. Before attaching them, I placed them with the hoop in between the stems.
Supplies You’ll Need for This Felt Wreath:
1/3 – 3/4 yards felt or 4 felt sheets from Hobby Lobby that are 2 – 3mm in thickness
felt leaf template (sign up for the printable below)
wire cutters
12-inch wire hoop (there is a bronze-colored hoop)
scissors
glue gun
How to Make This Easy Felt Wreath
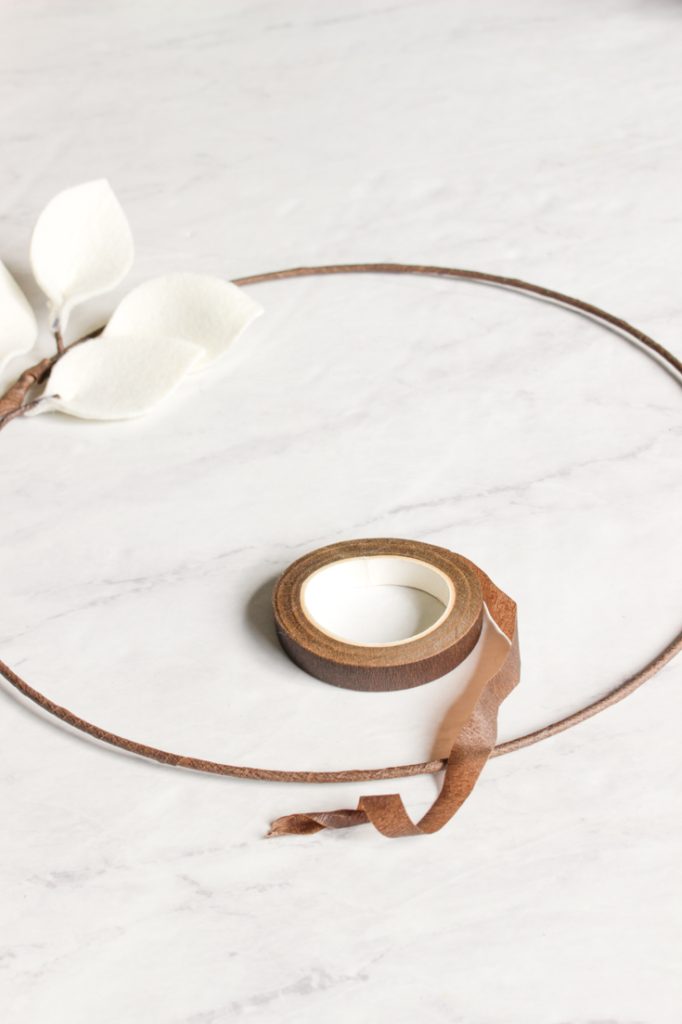
Step 1 – Wrap Your Wreath
Wrap your wire hoop wreath with brown floral tape. When wrapping the tape remember to stretch the tape to activate the stickiness. Make sure to wrap the loop with the tape thoroughly so all the gold is covered.
This step is optional if you like the gold wire loop look.
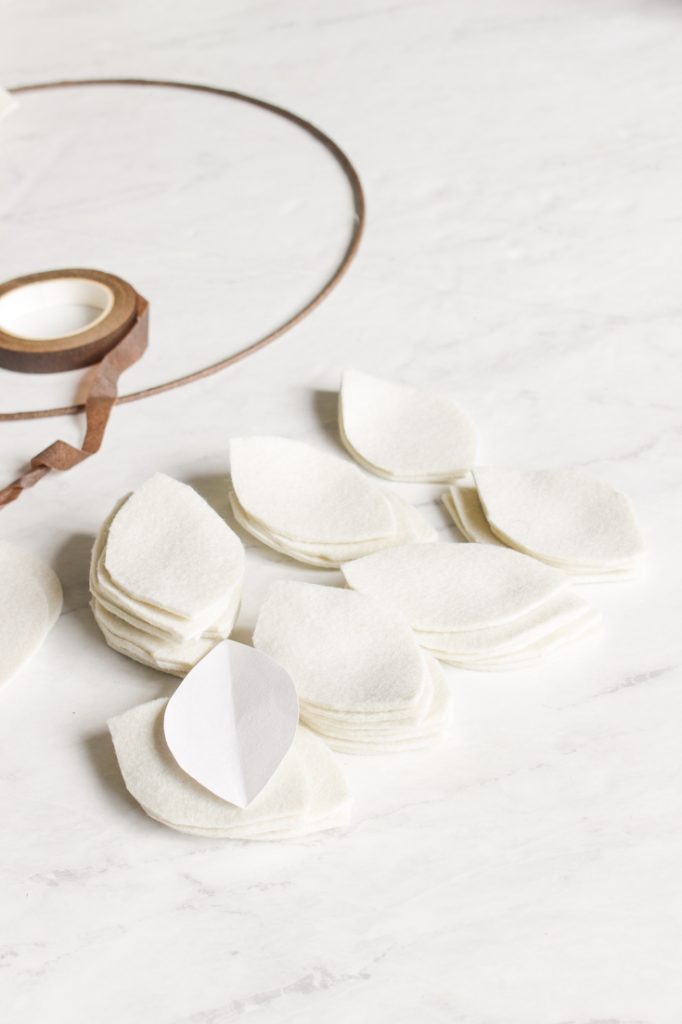
Step 2 – Print Leaf Pattern and Cut Leaves
Download the leaf template and print out the leaf pattern. Then cut out the leaf template and make sure to cut inside the dotted lines.
Next, I cut the felt into squares the size of the leaves. Then I cut out two leaves by placing two squares together with my paper leaf pattern on top of the pile.
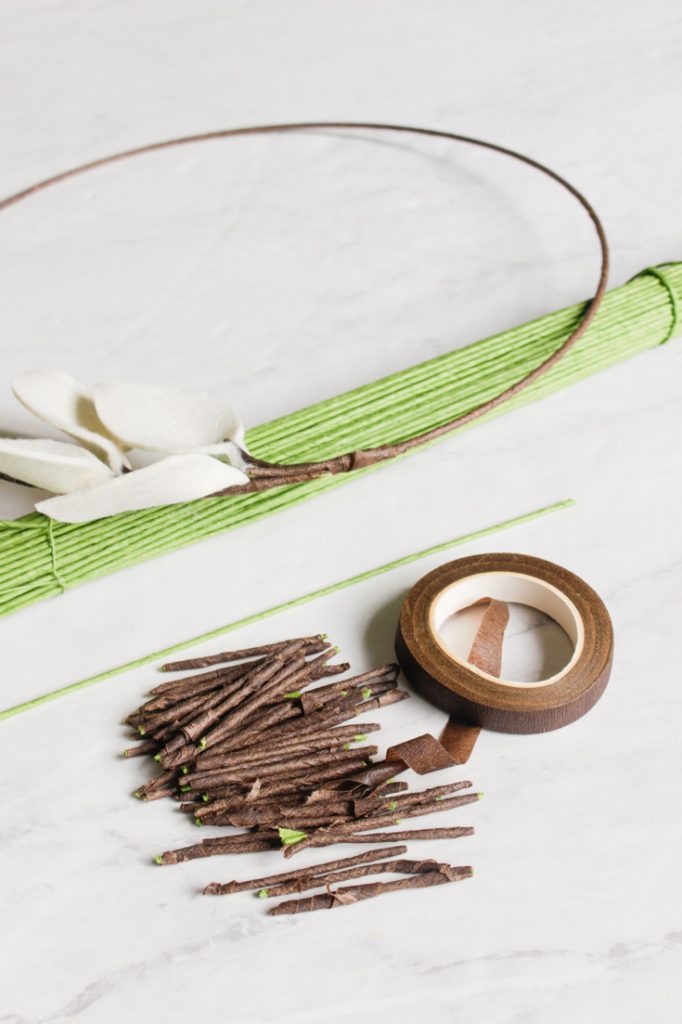
Step 3 – Cut and Wrap Stems with Tape
I recommend that you buy the brown wire to avoid this step. If you don’t have the brown wire, wrap the wire in the brown floral tape. Next, cut the wire into 2-inch pieces. You’ll need roughly 40 stems.


Step 4 – Attach Stems to Hoop
So take two covered stems and place one stem on the left of the wreath and the other stem directly across on the right side. Then take your floral tape and wrap both stems to the hoop. Wrap until the stems are stable and tight but still can move a little bit.
Cover the hoop leaving about a 2-inch space between the pair of stems.

Step 5 – Attach and Arrange Leaves
Place hot glue on the end of felt leaves. Then place the tip of the stem right in the middle of the glue. Pinch the felt and stem together to form a pleat. Hold in place until the stem, glue, and felt attach.
Once all the leaves were attached to the loop, I arranged my paired leaves in a symmetrical pattern with the leaves facing the same direction. A few leaves I arranged on top of the wreath loop. You can see what I’m talking about in the above photo.
But, be creative and style your leaves however you like.
Step 6 – Add a Velvet Ribbon
I love beautiful velvet ribbons. The browns and amber colors are perfect for fall. But, if you’re making this for Christmas, maybe a purple or Burgandy ribbon would be just as beautiful!
I tied the ribbon onto the hoop and created a knot at the base. The loop becomes the hook on which to hang the wreath.
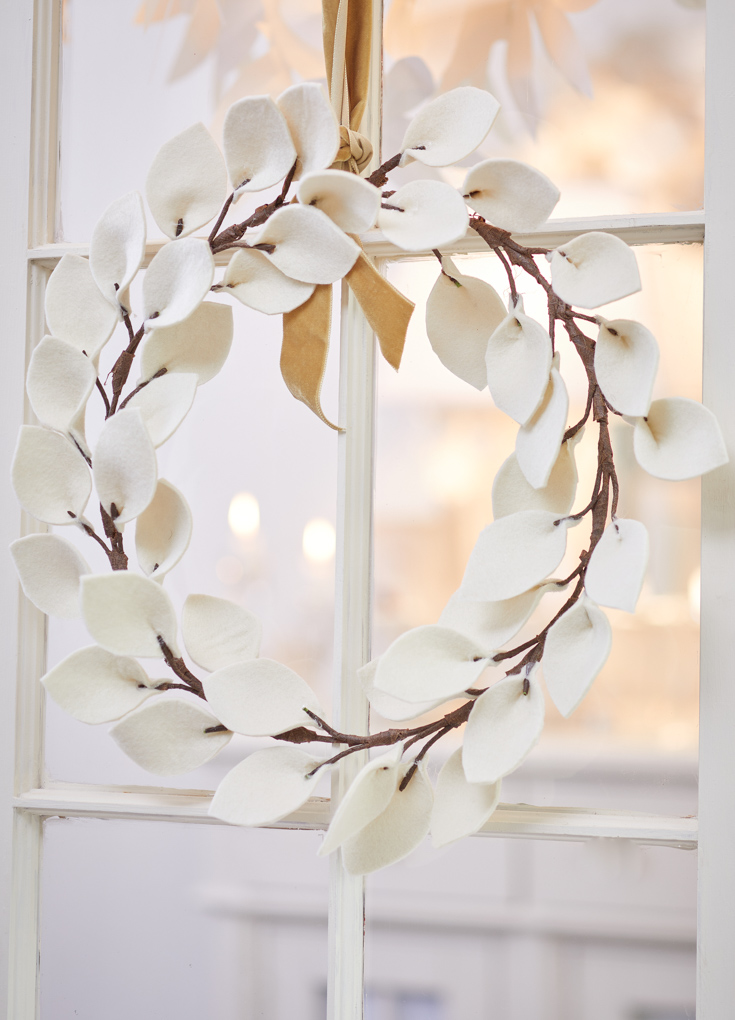
This easy-felt wreath came out so pretty, and I’m super happy that I finally made it. I love that this cream-colored wreath will look nice all year round. I guess during the holidays, I could add a few red wool balls to make it festive. But in the meantime, I hope you enjoyed this felt wreath DIY post!
Don’t worry, if you aren’t crafty or don’t have the time to make this felt wreath. You can buy one over here.
Happy Crafting!
Cheers,


- Lazy Saturday Morning Breakfast Ideas - July 18, 2026
- Lemon Blueberry Crumble (With Creamy Mascarpone) - July 16, 2026
- Red and White Christmas Tree - July 9, 2026


")
Melaine Thompson
absolutely darling! You are so creative!
happyhappynester
Ah thanks, Melaine!
Lolly Jane
This wreath is simply stunning. Absolutely adore it! xo
Erin
Can you confirm if it’s 2 mm or 3 mm felt? The blog says two but the link takes you to a 3 mm felt.
Janine Waite
Hi Erin,
Sorry I have that error on the blog post. The thicker felt is best, so use the 3 mm felt. Since the leaves are the main subject the see-through felt isn’t the best for this wreath. I’ll make sure to change the post. Thanks, for reaching out to me!