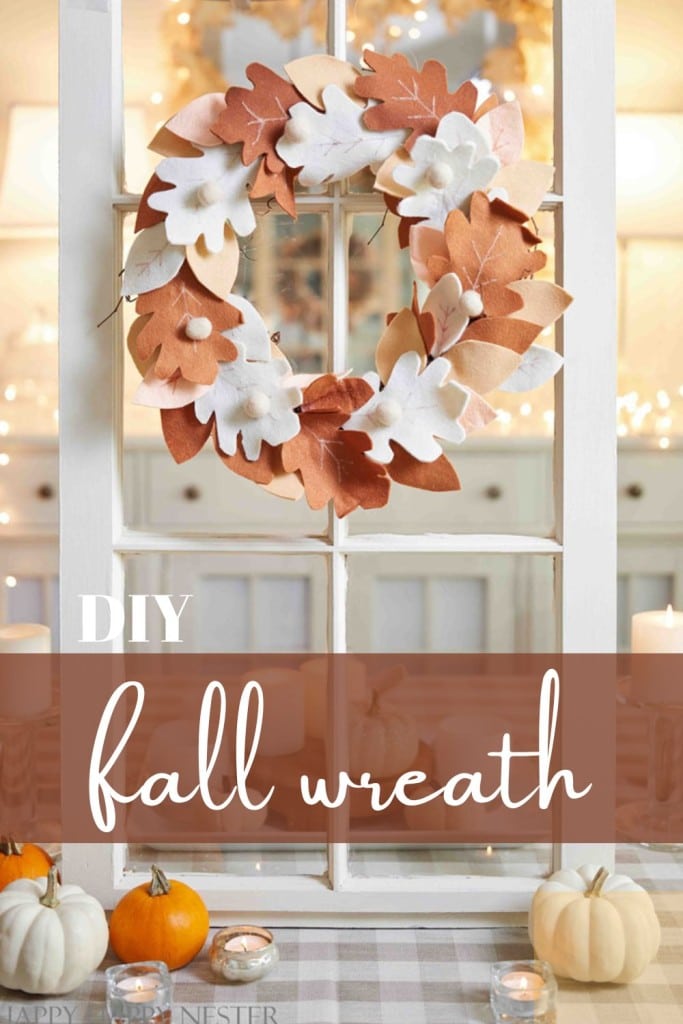
This DIY Fall Wreath made of felt leaves is an easy autumn wreath that uses cut-out felt leaves attached to a grapevine wreath. Add a few felt tip lines on the leaves and some wool balls and hot glue the leaves to the wreath. This simple fall wreath is a fun felt project with beautiful results.
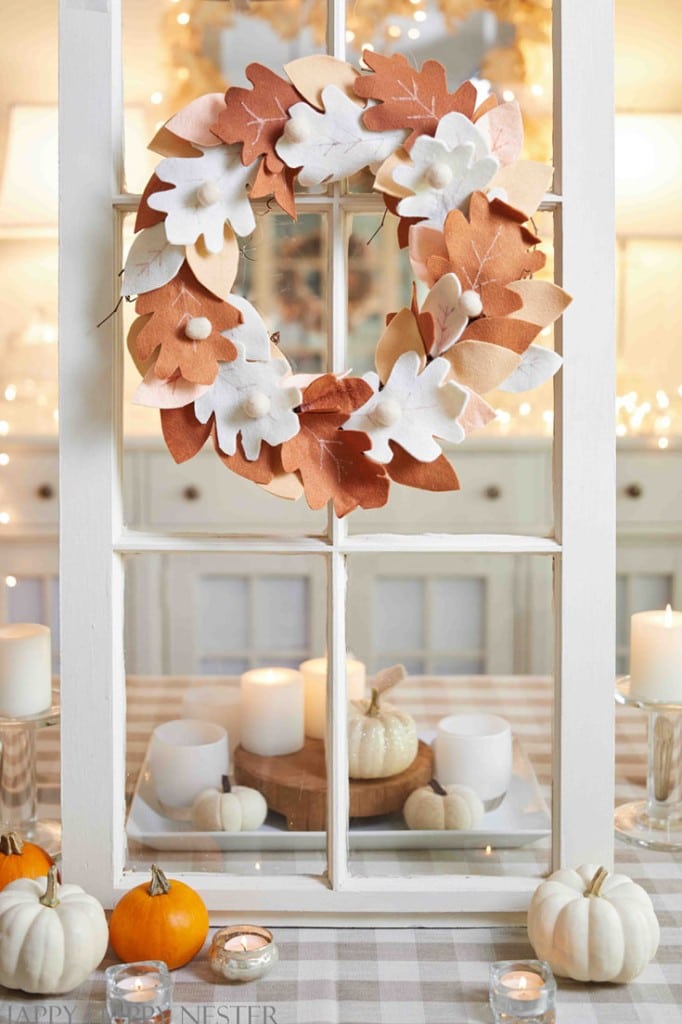
Decorate your home this fall with this simple fall craft. A wreath brings a new season and beauty to our home and I love how easy they are to create.
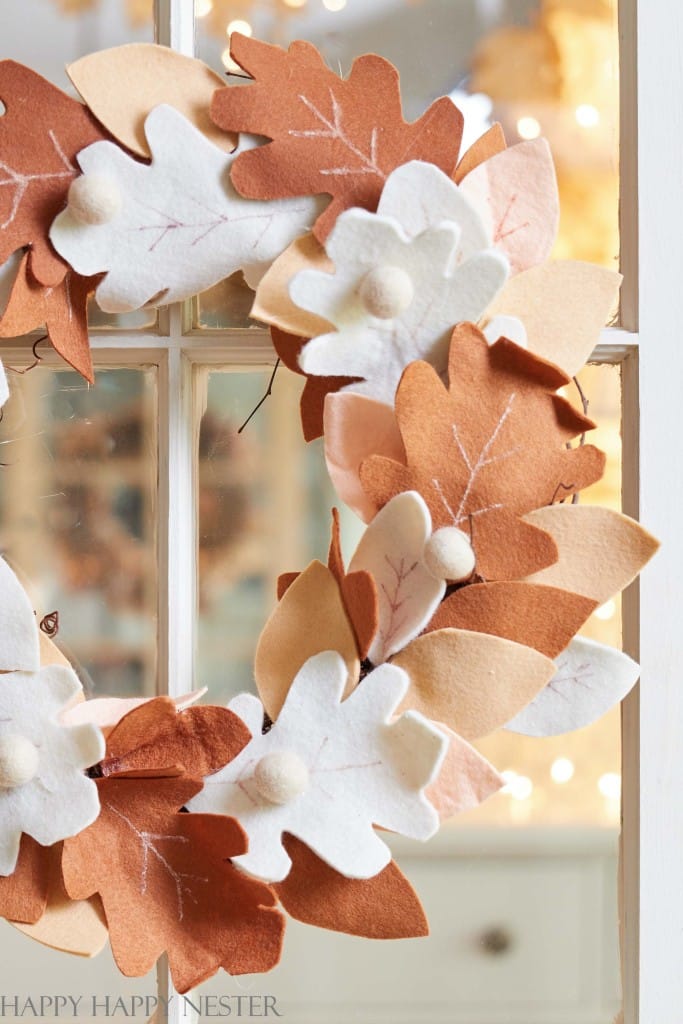
Fall wouldn’t be complete without a few fall wreaths.
I know how many wreaths can a girl have. I guess my answer is, “not enough”! Creating things is my passion and job. I love inspiring you with food, home decor, and crafts.
Here are a few other fall projects that you might find interesting.
Whenever I made a wreath, my goal is to make something that you’ll not see at a craft or home decor store. My favorite material to experiment with is felt. I can’t get enough of felt crafts and I’m not sure why that happens. Maybe it was growing up with felt Christmas ornaments! I guess the handmade ornaments had a big impression on me.
Anywho, I hope you enjoy this fun DIY fall wreath post.
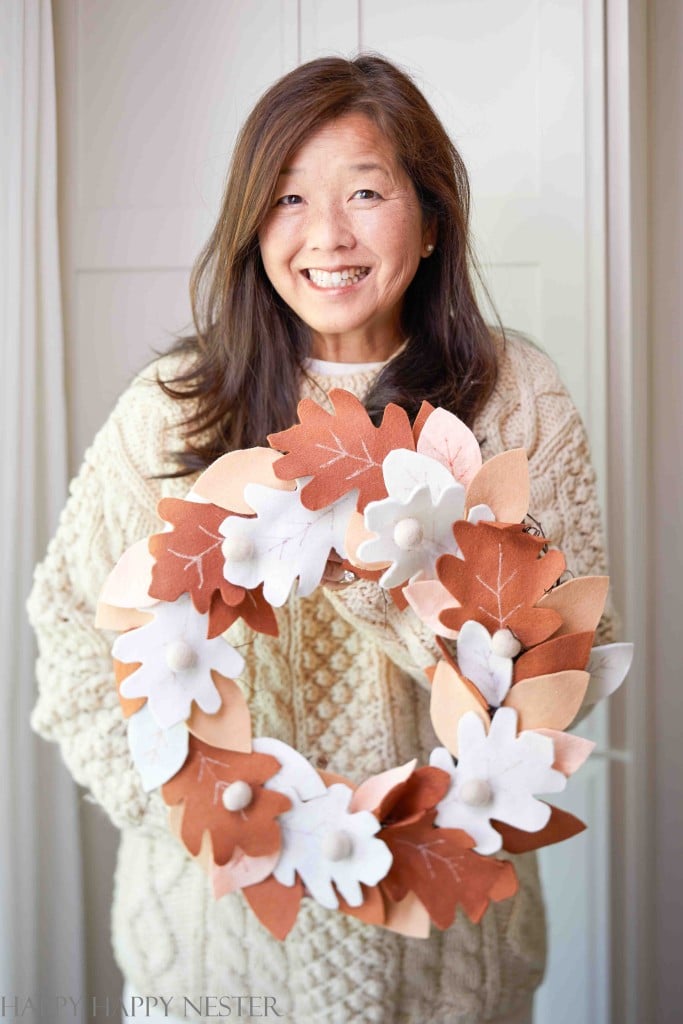
Let’s get started on how to make an autumn leaf wreath!
DIY Fall Wreath
Supplies you’ll need
felt – beige, coral, rust
scissors
oak leaf pattern, simple leaf template
Let’s tackle how to make an autumn wreath step-by-step.
Step 1 – Cut Out Leaves
Signup for my leaf template. Print out the leaf and use that as your pattern to outline and cut out leaves. I also added a simple leaf that is easy to create with two arching lines. Here are all the leaves I created.
5 beige oak leaves
5 pumpkin color oak leaves
21 beige, pumpkin, and tan simple leaves
Step 2 – Draw Leaf Veins
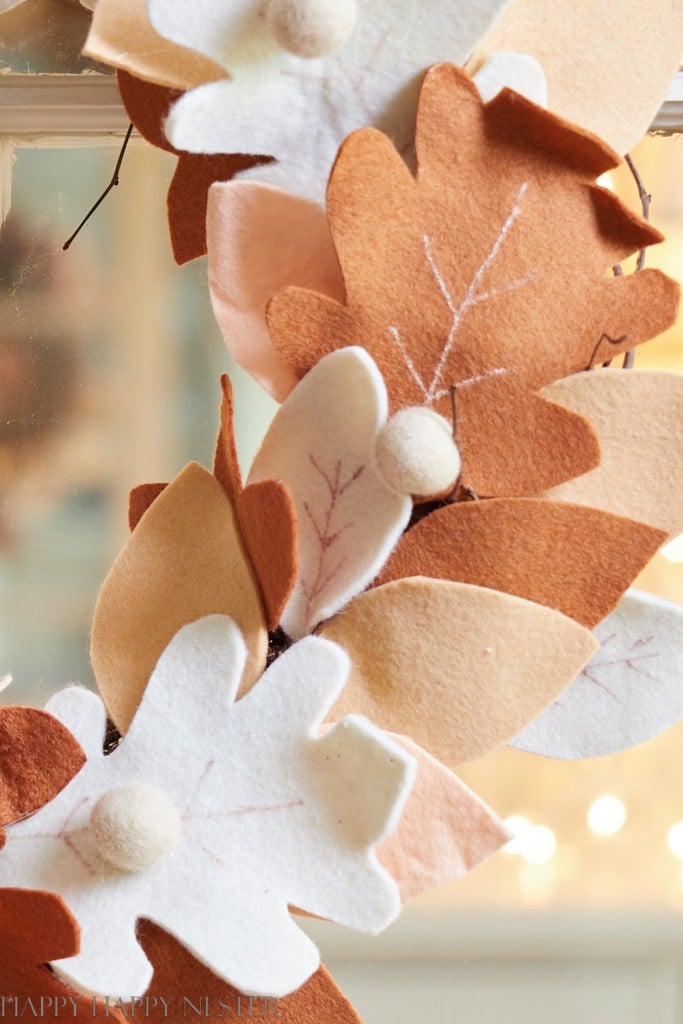
Once you have all your leaves cut out, draw leaf veins on a few of the felt leaves. On the dark leaves, I used an opaque white marker and for the other leaves, I used a sharpie.
Step 3 – Attach Leaves
Once your leaves are prepped, lay out the leaves on your grapevine wreath. I love to plan them so the colors and leaves are balanced. Once you have the leaves where you want them, begin to glue them to the wreath. Don’t be afraid to overlap the leaves to create a sense of depth to your wreath.
Step 4 – Attach Wool Balls
If you like, you can attach beige wool balls on top of your leaves. I placed them sporadically along the top of the wreath. I think they add a nice touch.
Step 5 – Attach a Hanger
I use a fishing line and loop it through the top of my wreath. Then I make a knot or another loop at the top. And that’s it, you can now hang your wreath on your wall or door.
I hope your fall is off to a good start. I’m bracing for fall and the holidays. My brain is full of all my fun festive projects.
Enjoy making this DIY fall leaf wreath!
Happy Crafting,


- My Favorite Cakes - July 5, 2025
- Outdoor Tables and Chairs - July 2, 2025
- My Favorite Floral Desserts - June 28, 2025



Leave a Reply