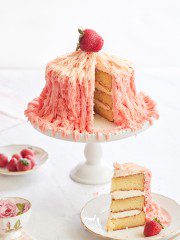
Need a beautiful feminine cake for a special occasion? Then it would help if you made this Easy Rosette Cake Tutorial. This stunning cake is impressive with its gorgeous floral frosting. Make the flowers in either a couple of colors or create an ombre effect. It would be best if you had some buttercream frosting a Wilton 1M tip, and you’re ready to make these cute rosettes.
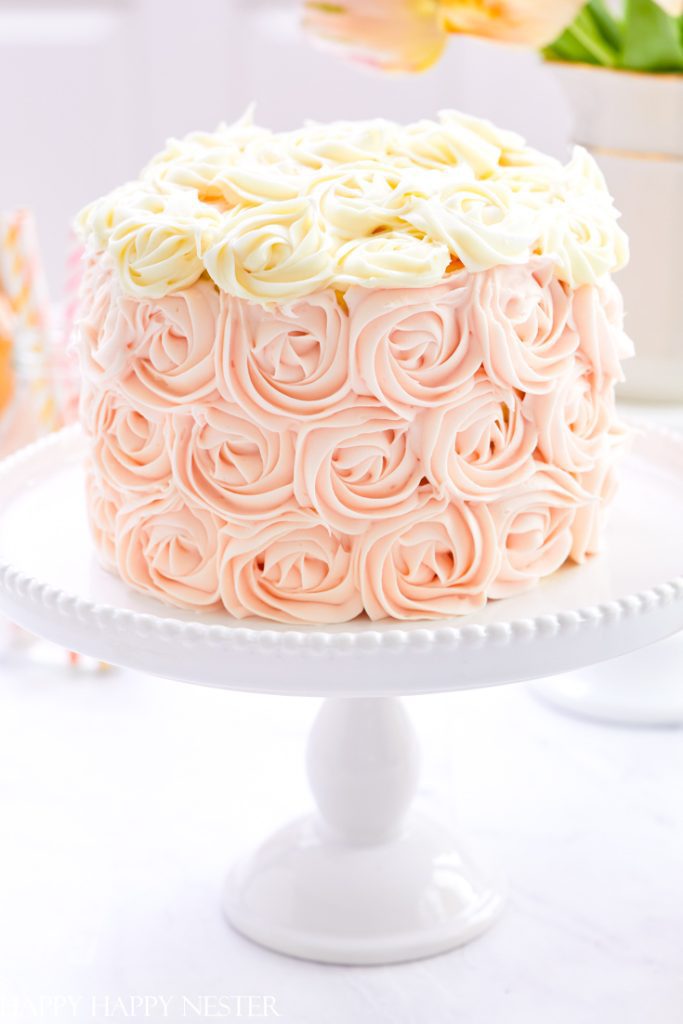
If you’ve never made this cake, I’ve got you covered. Walk you step-by-step through everything you need to know to make rosettes in this post post.
Today, I’m sharing my Cake of the Month! Every month I share a cake that I hope will challenge your cake-making mastery. Please think of this as a little baking academy where we encourage each other to hone our baking skills.
If you make a rosette cake, please send me your photos!
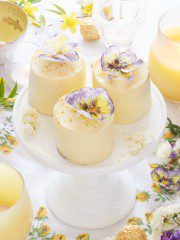
Here are a few delightful cakes that you may enjoy trying this spring.
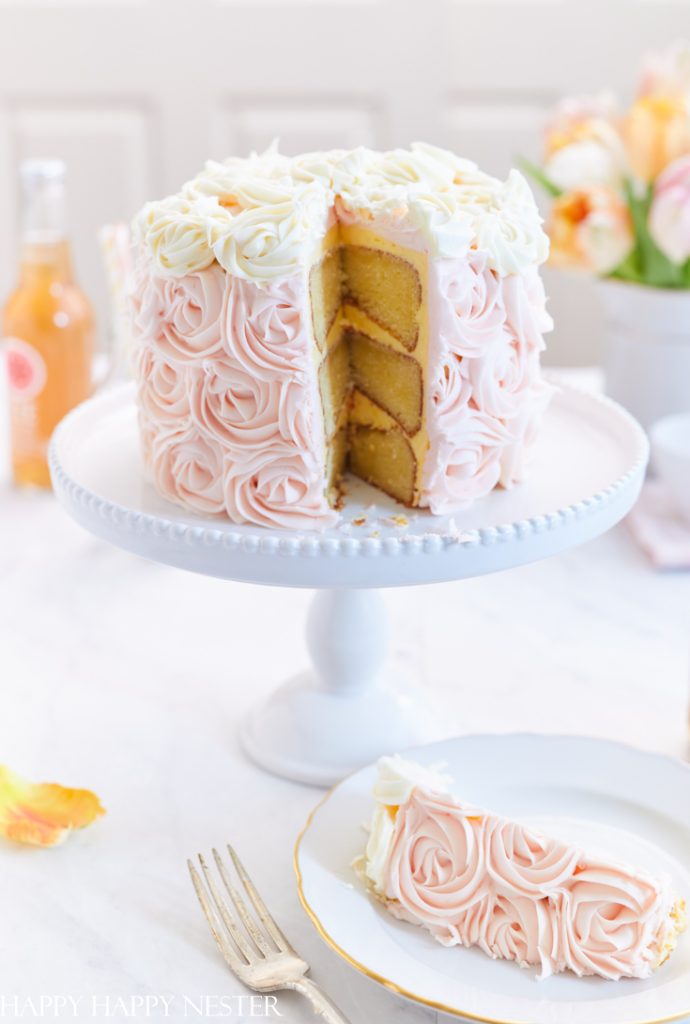
My Rosette Cake Obsession
*The following post contains affiliate links
For years, I eyed this cake in the Whole Foods bakery section. I tried making a rosette while decorating cakes, but for some reason, I always flopped. Looking back, I realized that I didn’t have the correct cake decorating tip.
It always boils down to having the right equipment.
So, once I had the right pastry tip, the rest was a breeze was super surprised by how easy it was to decorate this cake to tell you the truth.
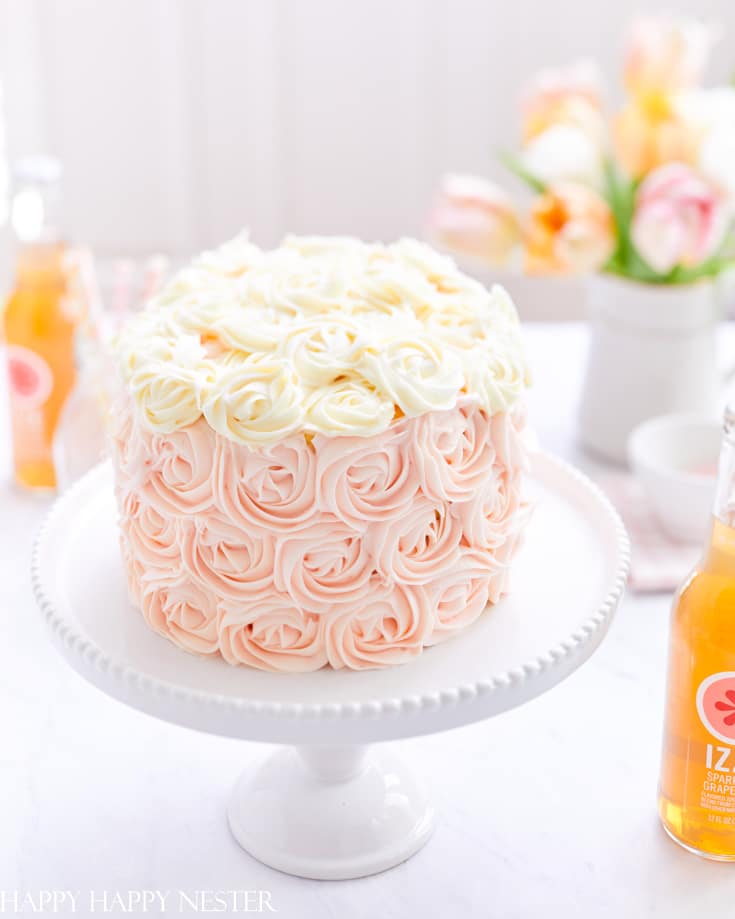
What You’ll Need To Make This Easy Rosette Cake
As I mentioned earlier, it’s essential to have the right baking equipment. So here’s a list to follow before beginning this project.
- Couplers (couplers allow you to change tips from bag to bag)
- Chantilly Cake (see recipe below) and pre-made Buttercream Frosting
My Hack on Making Rosettes
I must admit that I am lazy. I know I should provide buttercream to make the rosettes, but I used the pre-made storebought frosting instead. I wanted to get right to piping and not run out of buttercream.
I ended up using 2 1/2 containers of Betty Crocker’s Whipped Frosting. It worked perfectly, and the flavor was okay.
I did frost the three-layer cake with my delicious Sabayon Cream recipe, buttery and creamy. I provide the recipe down below.
How to Make This Easy Rosette Cake
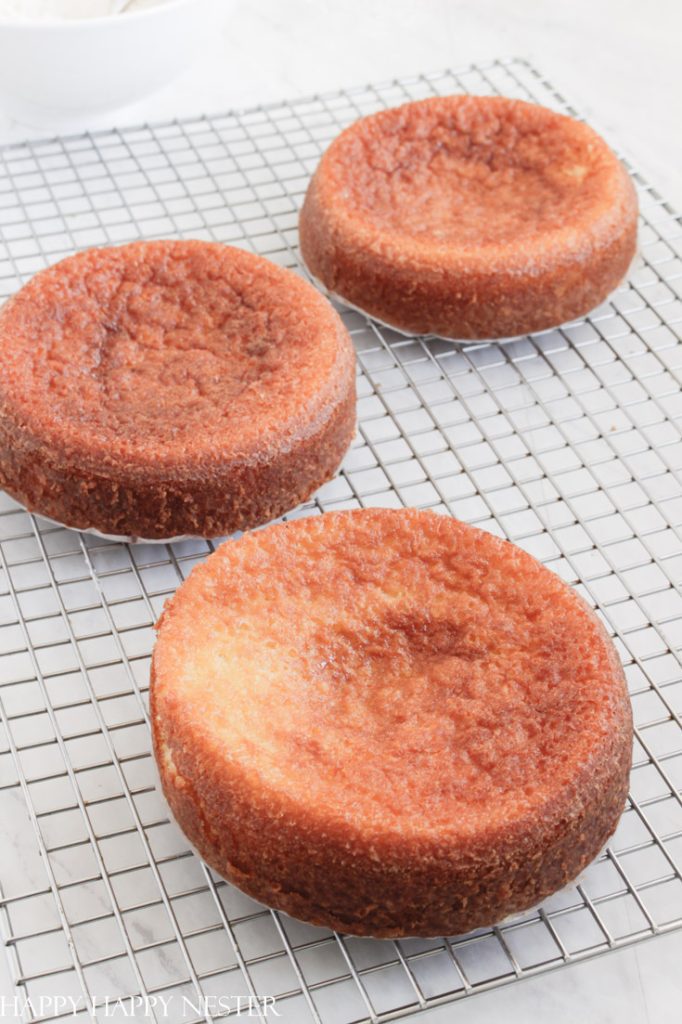
Step 1 – Bake Three Mini-Cakes
I baked three 6-inch Chantilly cakes. I provide the recipe below.
Step 2 – Make the Cake Frosting
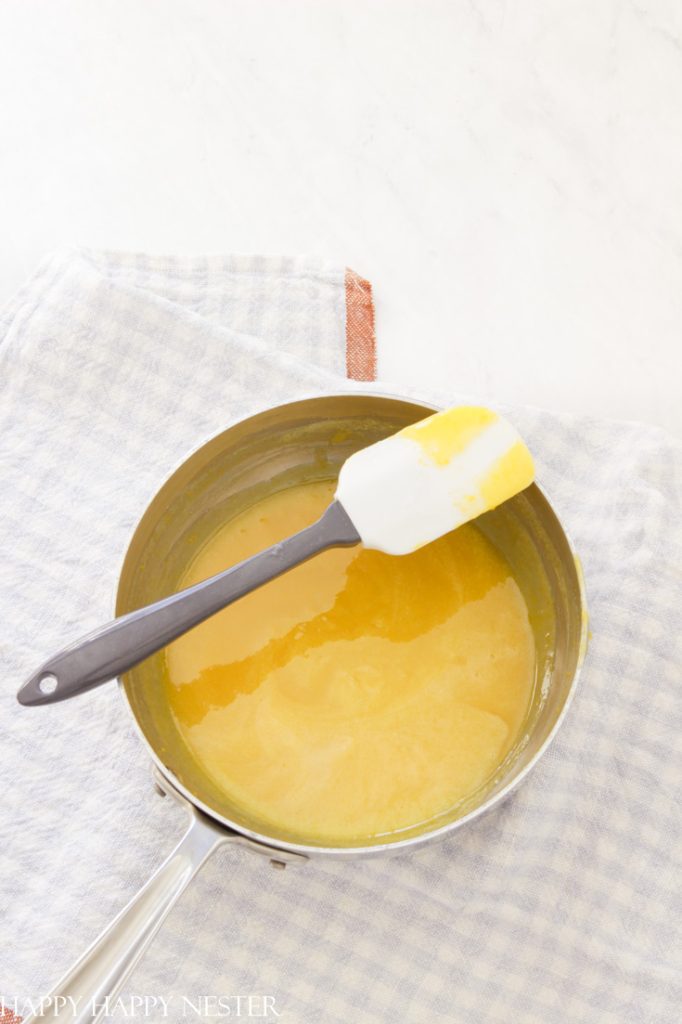
I used my favorite Sabayon Cream frosting. As you can see, it uses a lot of butter in the recipe. The above photo shows when the cooked egg mixture is ready for adding butter.
Swipe a finger on the spatula to check if the egg is thick, and if you get a distinct line without running, then it’s cooked.
This frosting melts in your mouth. I did think about using this frosting for the rosettes, but it would take a ton of butter. Also, I’m not sure about consuming that much butter? I would have to hike for 24 hours to burn off the calories I consume!
Step 3 – Frost the Cake
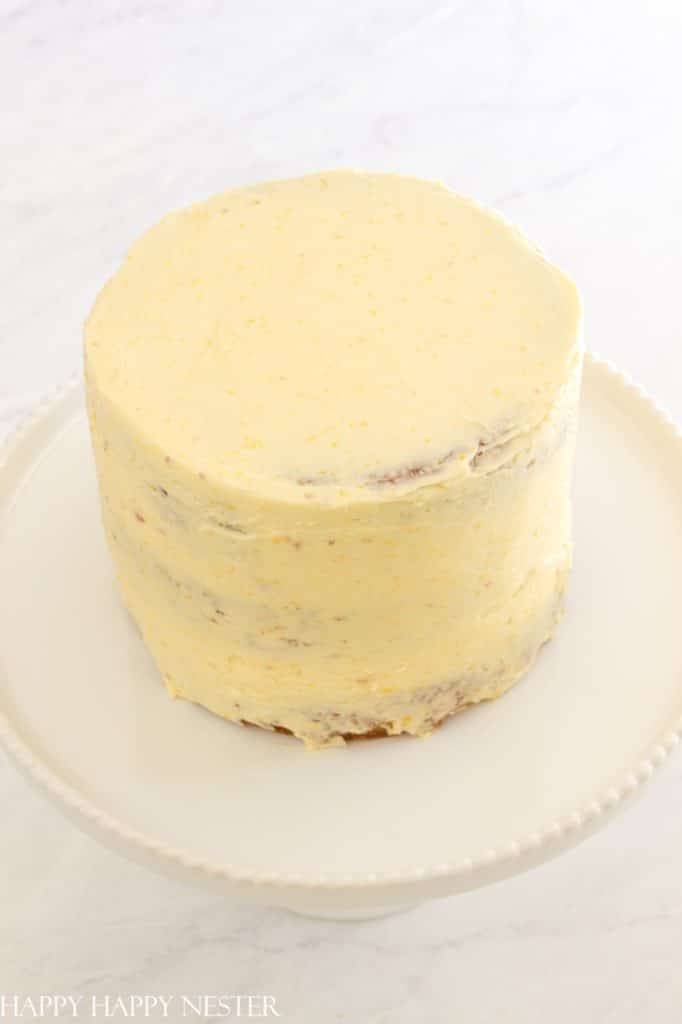
I frosted the cake with my homemade Sabayon frosting. At this point, you don’t have to be too meticulous about the frosting since you’ll cover it in rosettes.
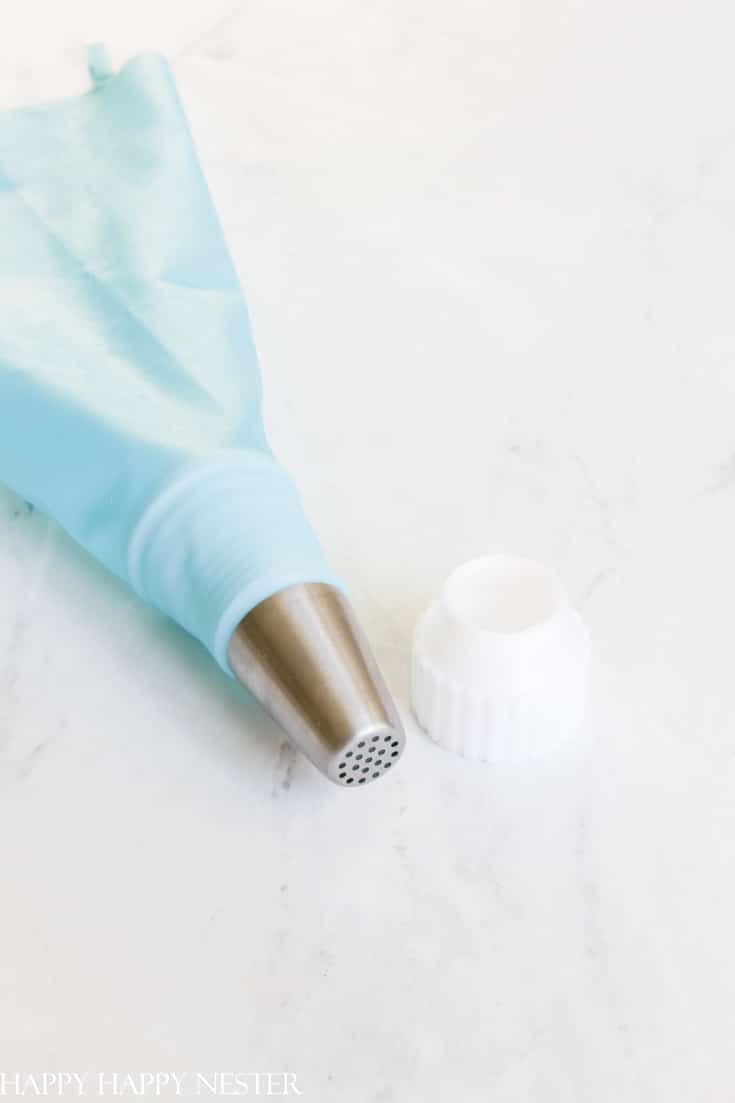
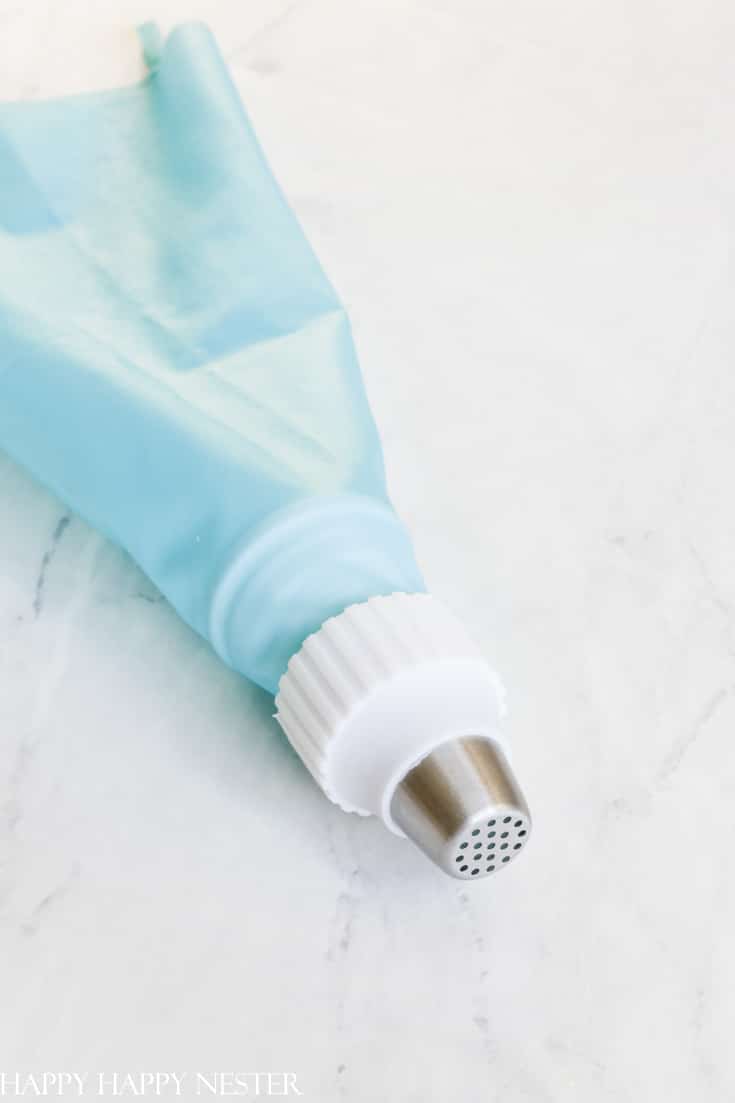
Step 4 – Fill Pastry Bags
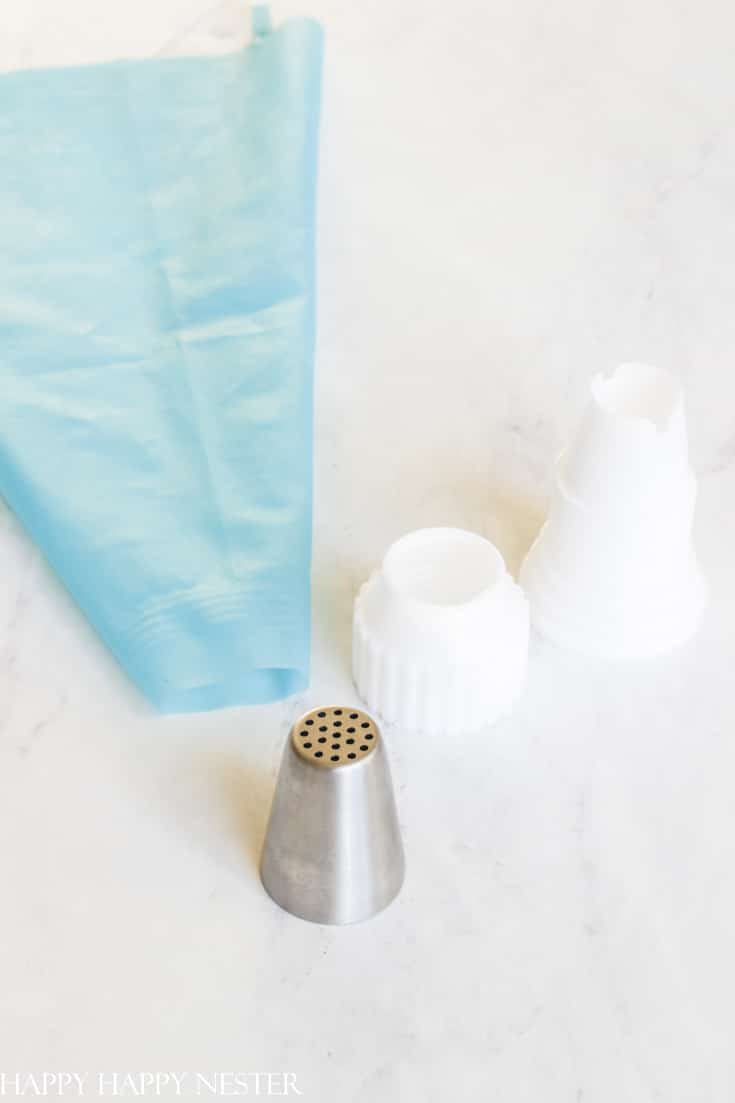
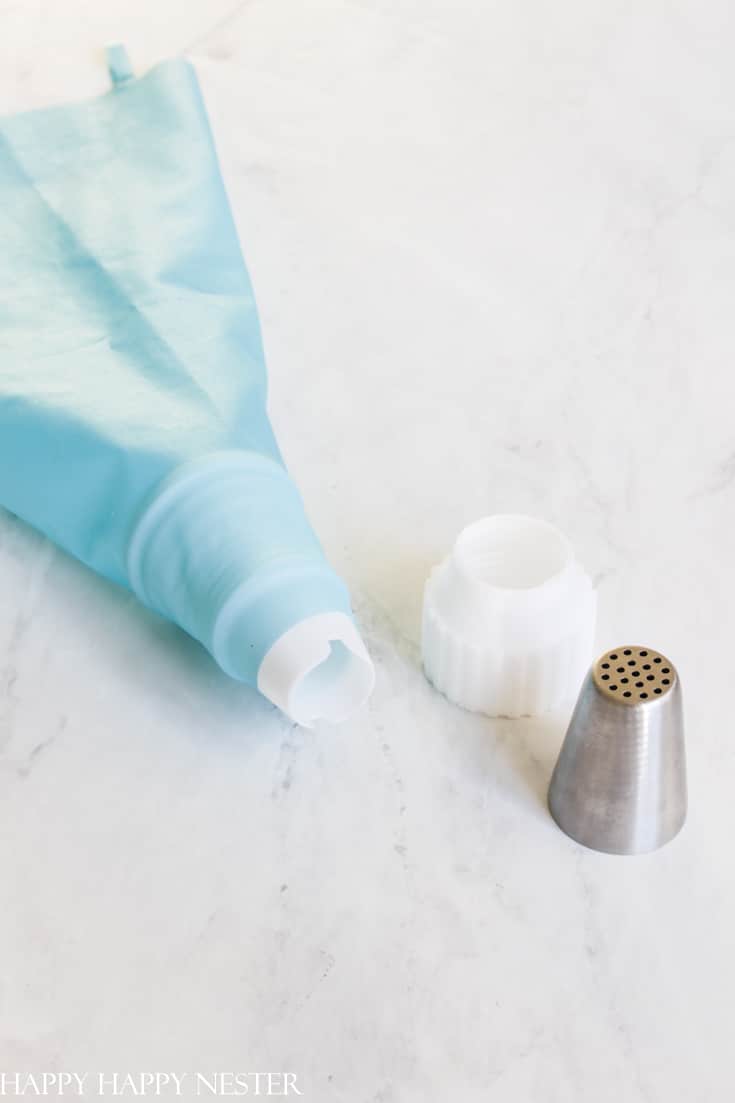
Place the pastry couplers on the bag. Note that the tip shown is not the correct tip.
Once the coupler is on the bag, place the bag in a tall glass. Then fold the sides down over the outer part of the glass. Then fill the bag with frosting. I like to fill my bag this way since it’s difficult to hold the bag and fill it simultaneously.
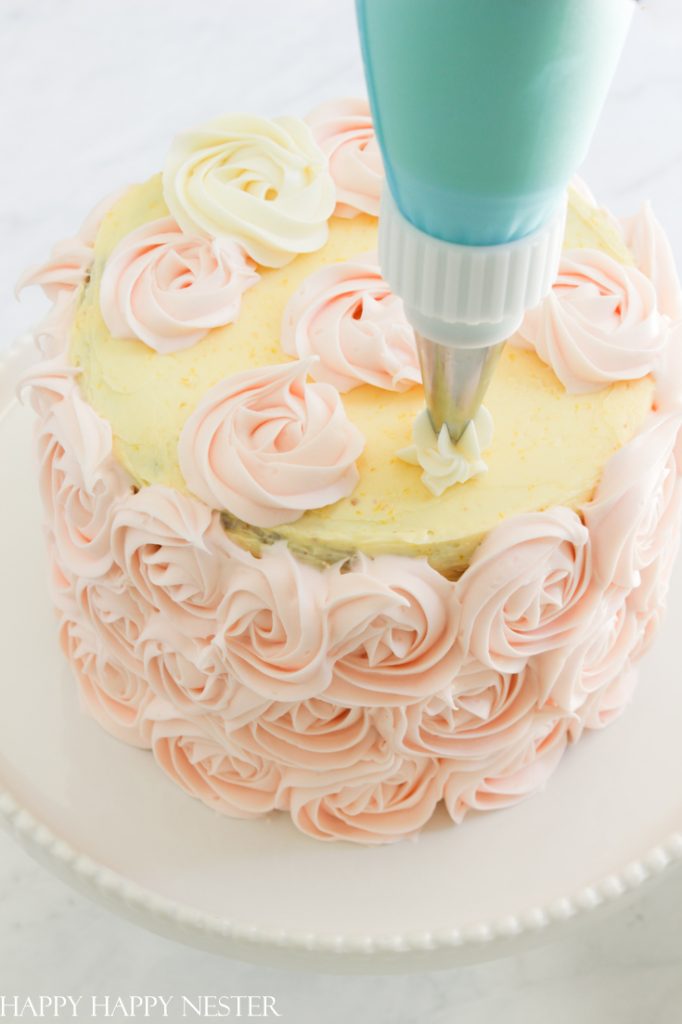
Step 5 – Begin Making the Rosettes
Once you fill your pastry bag and place the frosting tip on the end, you’re ready to make your rosettes.
Place your pastry bag at a 90-degree angle to the cake. Start with the middle of your rosette and make a star.
Continue to the next step.
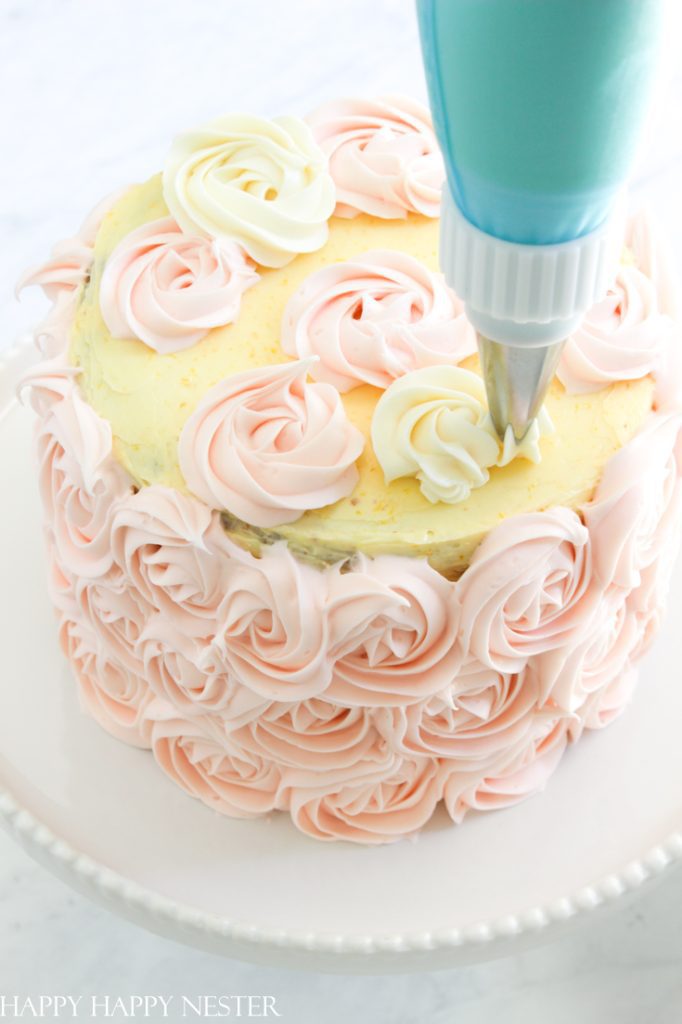
Without lifting the tip, continue from the star and begin to wrap it around the outside in a circle.
Encase the star and when you return to where you started, let up on the pastry bag and lift the tip.
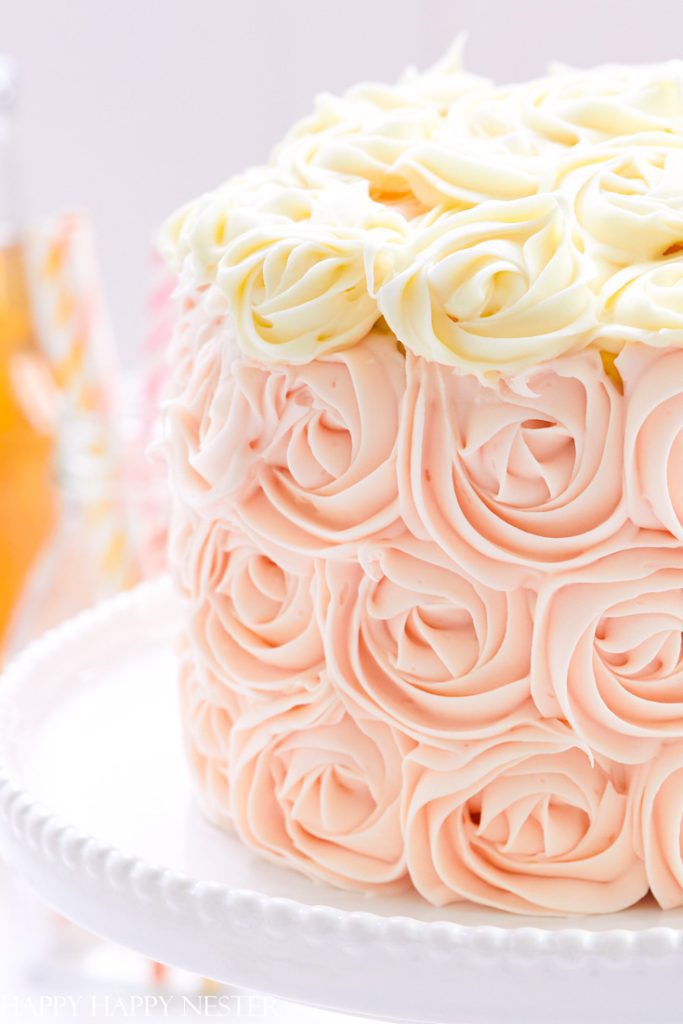
Step 6 – Cover the Cake with Rosettes
I started with the bottom layer of flowers, and then the next layer, I alternated the roses. So, in between each rose, I placed my second rosette. I like this pattern rather than the lined-up look that is too symmetrical.
But, it’s your choice and what look you prefer.
Rosette Cake
Ingredients
Chantilly Cake
- 1½ cup cake flour
- 1½ cup granulated sugar I use Baker's sugar it's more refined
- ¼ tsp baking soda
- 3 tsp baking powder
- ½ tsp salt
- 1¼ cup milk
- 1 cup butter room temperature
- 3 oz vegetable oil
- 3 tsp vanilla paste or 2 tsp vanilla extract
- 3 eggs room temperature and whisked
Sabayon Cream Frosting
- 3 egg yolks room temperature and whisked lightly
- ¼ cup milk room temperature
- 1 cup granulated sugar
- 1 cup unsalted butter room temperature
Instructions
Instructions
- Preheat oven to 350°
Cake
- Prep 3 – 6" round pans. Grease and line bottom with parchment. Grease the top of the parchment and flour the pans.
- Place dry ingredients, flour, sugar, baking powder, baking soda, and salt in a bowl.
- Slowly mix in cubes of room temperature butter into dry ingredients. Mix at a low speed.
- Add a third of the milk and a third of the oil to the dry ingredients.
- Increase speed to medium and mix thoroughly.
- Reduce speed to low and add the rest of the milk, oil, and whisked eggs to the batter. Once the milk, oil, and eggs are incorporated, increase the mixer speed and mix thoroughly.
- Add vanilla paste and combine thoroughly.
- Evenly fill three 6" round cake pans. I filled them about ¾ full.
- You may have a bit of extra cake batter so fill some muffin tins with the overflow.
- Bake for 25 minutes. A toothpick should come out clean when cooked.
- Cool on racks. Once cakes are cool, remove them from the pan. And remove parchment paper.
Sabayon Cake Frosting
- Whisk the egg yolks in a medium-size saucepan.
- Add sugar and milk to the yolks.
- Place your saucepan over medium to low heat.
- Stir frequently with a rubber spatula. To test if the filling is done, there is a little trick. Take your finger and run it on the spatula, and the mixture should not run into the line.
- Take off the stove and let the filling cool. It should settle into two layers.
- Transfer the filling to a mixing bowl and white it is cooling mix the two layers. Then add in small chunks of the room temperature butter.
- The filling should thicken like buttercream. If it is runny (the butter wasn't cooled), keep mixing for 8-10 minutes. As the butter cools, it thickens.
- Place in pastry bag and pipe on the bottom of a macaron. Then place the second macaron on top with the two feet sandwiching the filling.
- Frost cake with sabayon cream.
Nutrition
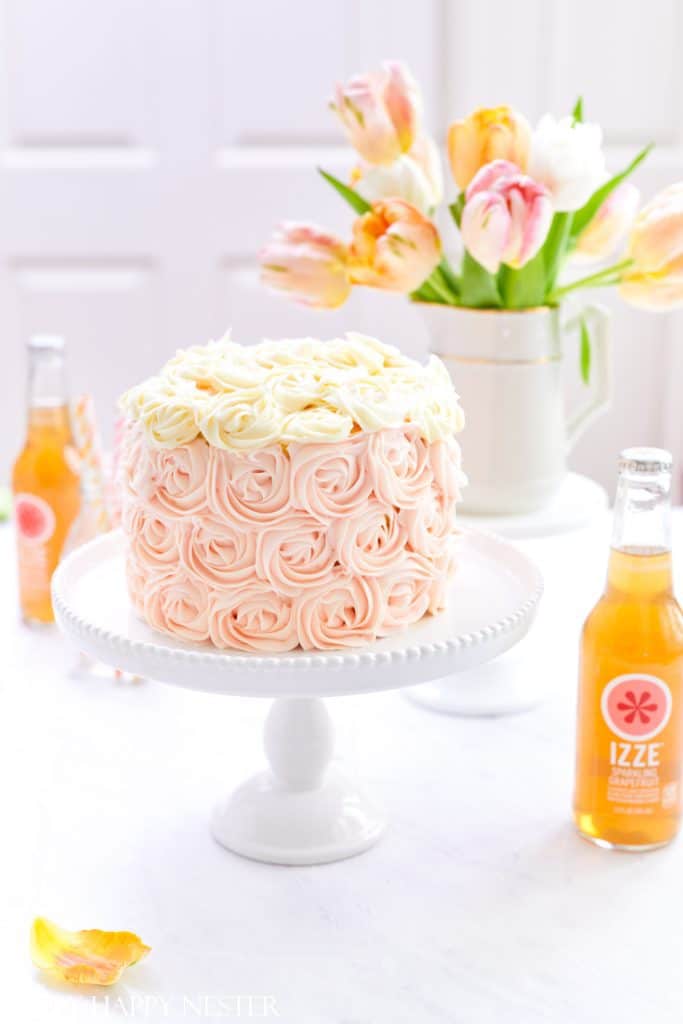
This rosette cake is stunning, and the beauty of it is that it was super easy to create. I love that it looks like I slaved!
I hope you all have a chance to make this cake one of these days. Send in your photos, and I’ll post them over here! Let’s create a baking community over here.
Happy Baking,


- Framed Artwork from Amazon - February 12, 2026
- Chocolate Covered Quinoa Recipe - February 5, 2026
- Valentine’s Day Gifts from Amazon - February 4, 2026


Leave a Reply