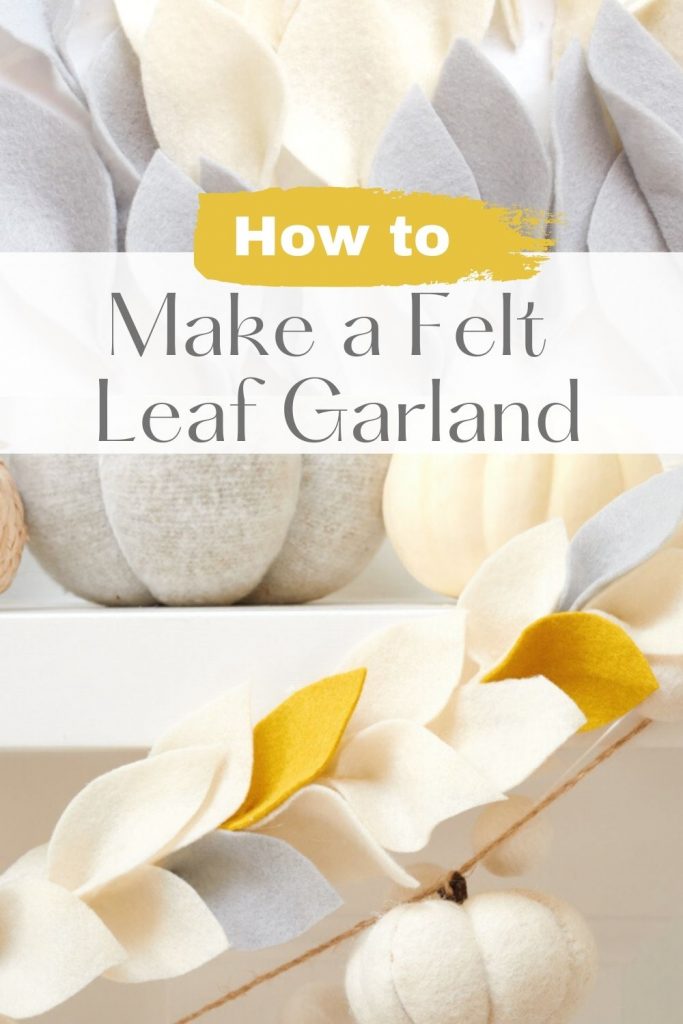
Learn how to make a Felt Leaf Homemade Garland in this easy DIY. I’ll teach you how to make felt leaves. Choose your colors for this project.
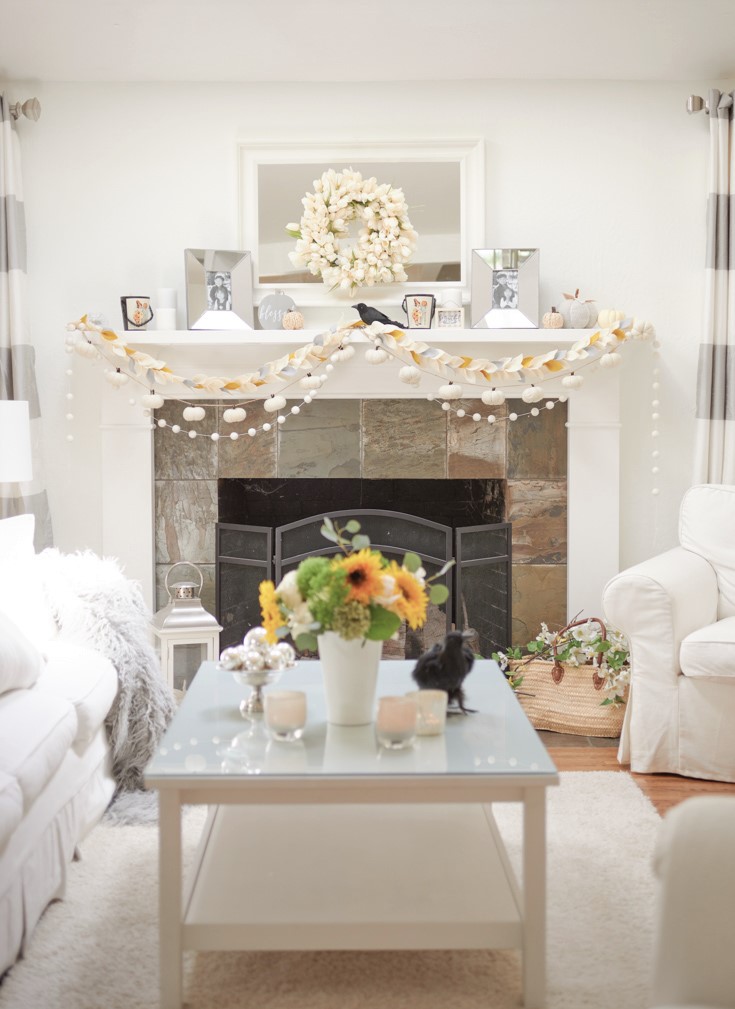
As we begin to spend more time indoors, this time of year screams for decor. I love to decorate with garlands, so I got busy and made this fun felt project.
I love any felt decor. Felt draws me in with its inviting and cozy look. And as you know, I have quite a few felt projects:
*The following post contains affiliate links
Here are Some of My Favorite Felt Decor
Now, getting back to this cute felt leaf garland. I first spied them over on Etsy and immediately knew that I wanted to make one. I always dream of making my decor to choose out the colors that match my style and decor. But if you don’t share that same dream, you can purchase some over on Etsy.
This felt project is pretty simple, but you’ll need a bit of time to cut out the felt leaves. I should warn you that cutting out the leaves is the most time-consuming part of this DIY. Like all projects, I break them up into a couple of days. So the first evening, I’ll cut out all my leaves, and then I’ll assemble the garland the following evening. I find that my projects are more manageable if I tackle them this way.
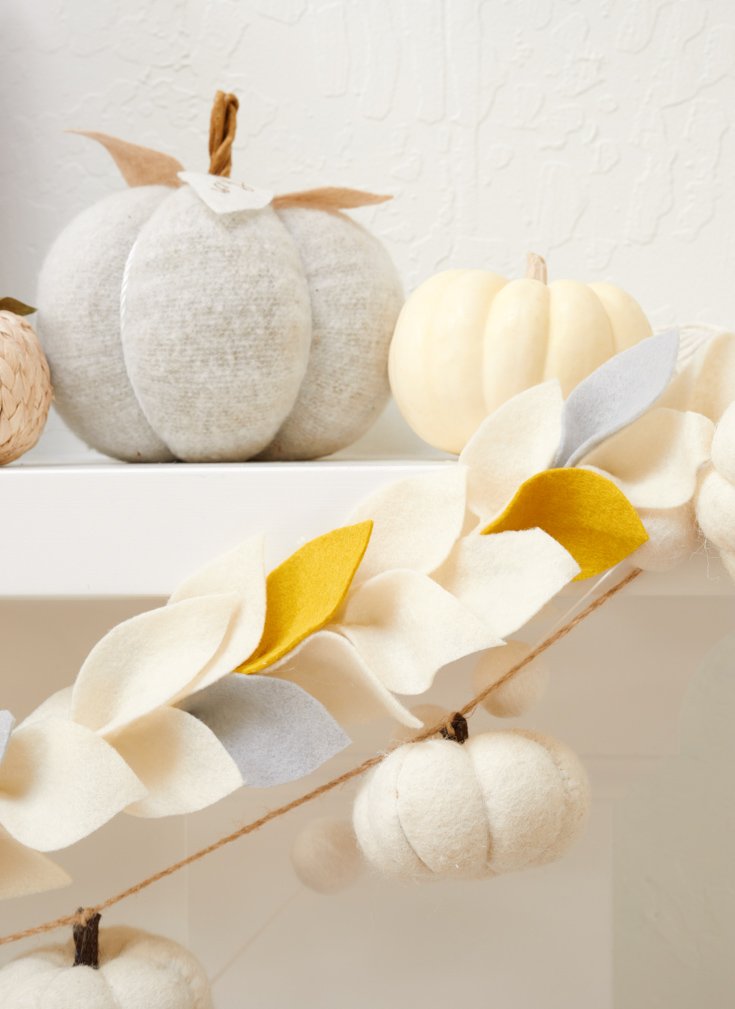
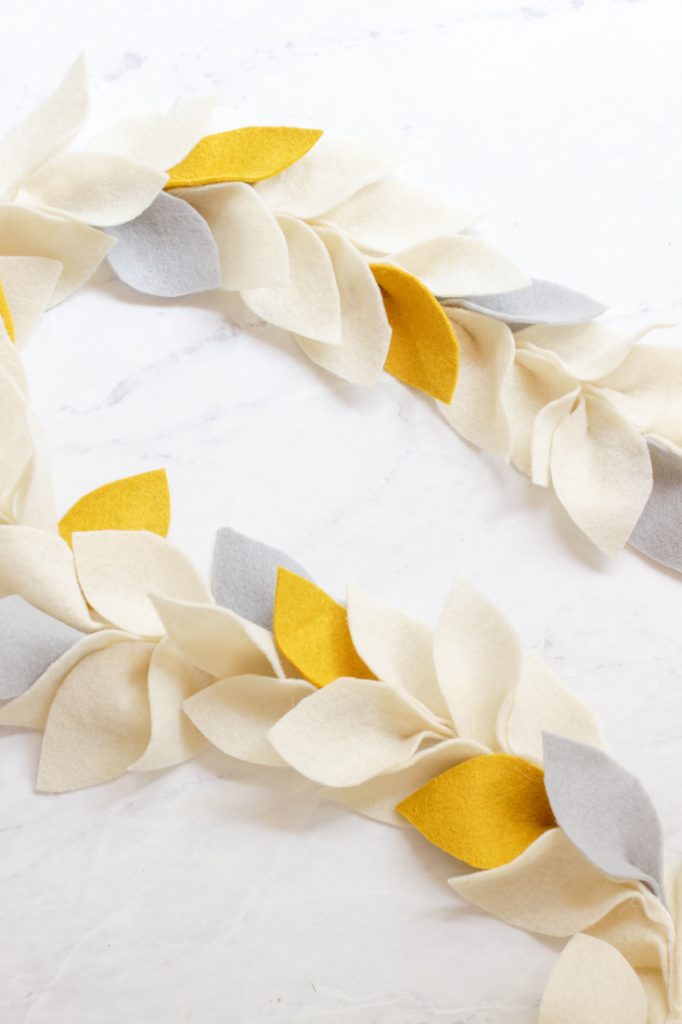
For this felt leaf garland DIY, feel free to choose a different color scheme and length. The following tutorial is based on the garland that I created, which is 7 1/2 feet long, and the leaves are about 3 inches long.
Also, when I buy my fabric at Joann’s, I order about 1/4 – 1/2 yard of fabric. I always have leftovers, but I usually use them for other projects. I think Joann’s, you can buy as little as four inches of fabric. So, whatever size you make, feel free to buy less or more material.
Felt Leaf Garland DIY
7 1/2 ft Garland
Supplies:
Felt – I bought like 1/4 yard of each color, and I had extra fabric.
The amount you’ll need depends on your garland length.
You can purchase felt from Joann’s, Amazon*, and Etsy.
Not all felt is good quality. I have bought felt from my Etsy link, and I love their felt.*I haven’t bought my felt from my Amazon link.
Baker’s Twine (You’ll have way too much of twine, I use it for lots of projects and even when roasting a chicken or turkey)
Paper/Pen
Make Sure to Watch this Video Tutorial
Step 2 – Cut Leaf Template
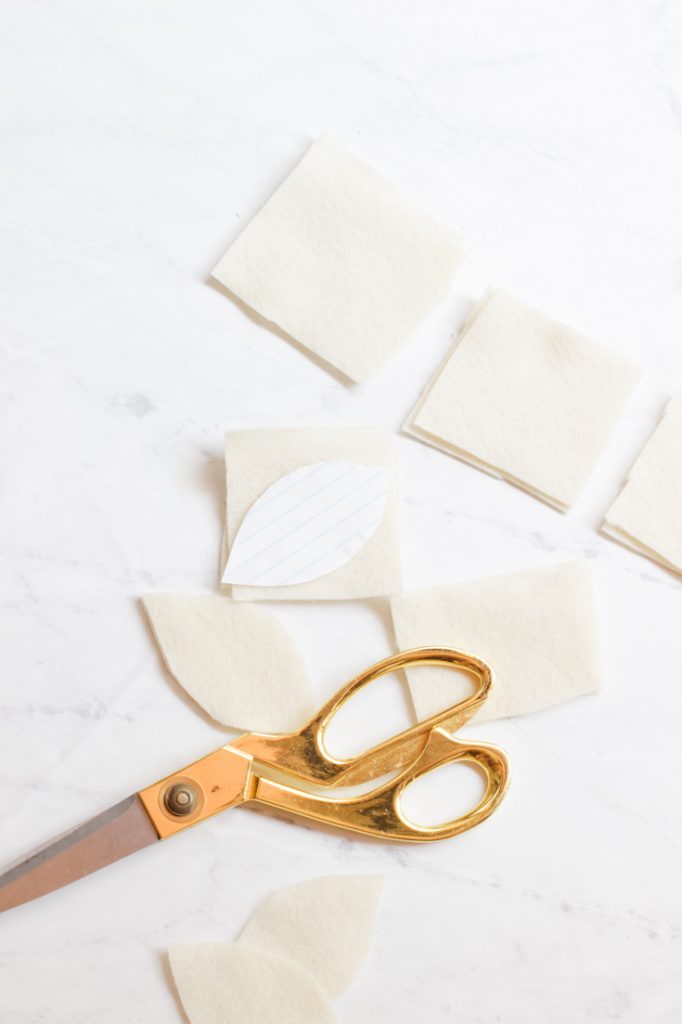
Draw and cut out a leaf template from paper. My leaf is about 3 inches long and about 2 3/4 inches wide. But, you can make it any size leaf. Once you draw your leaf, cut out the template.
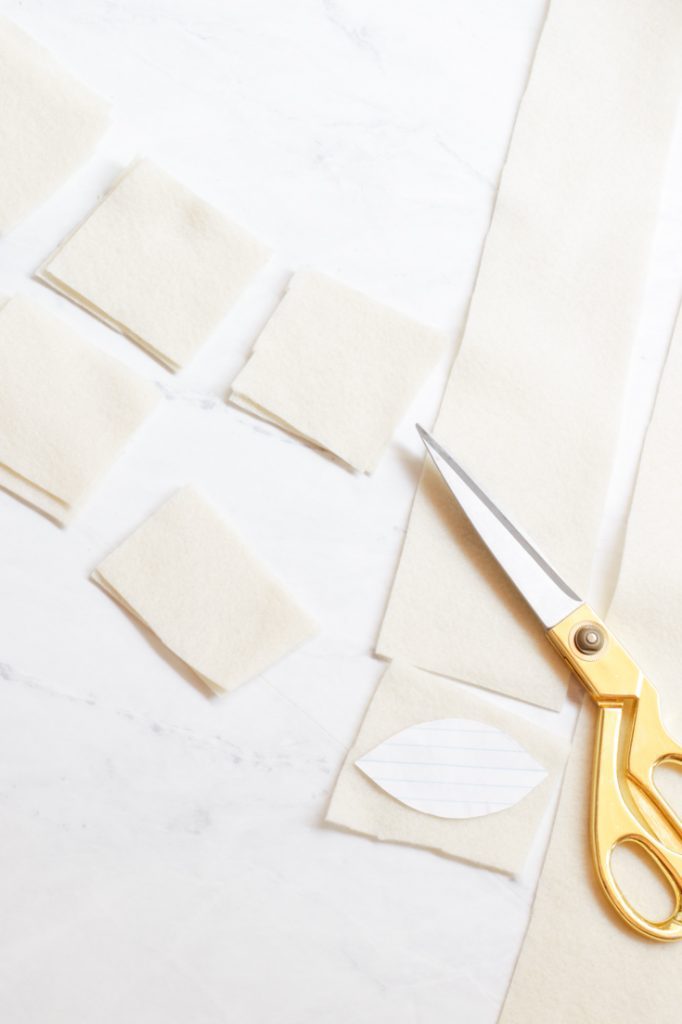
Step 2 – Cut Fabric
I like to cut strips of felt. But, make sure you place your leaf down on the fabric, so you cut out the correct dimensions.
Then place two squares together and place your paper template on top. Next, cut along the edges of the leaf template and cut out leaves. Repeat this for all your leaves.
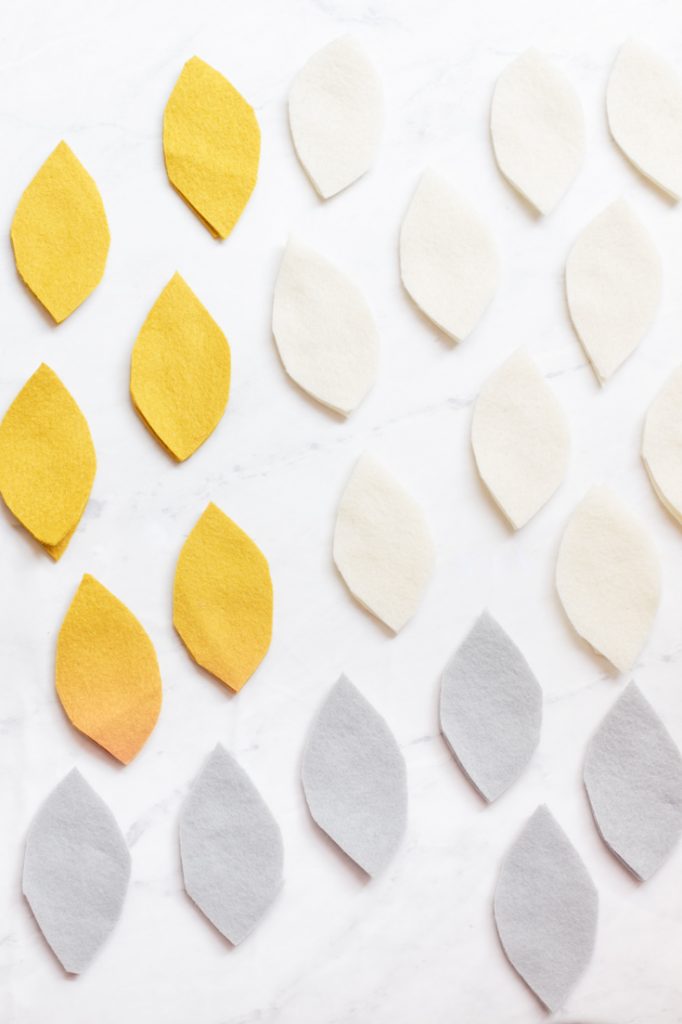
Step 3 – Leaves
How many leaves you cut depends on the length of your garland.
For a 7 1/2 ft garland, I cut out the following amount of leaves:
White Leaves – 115
Blue Leaves – 21
Yellow Leaves – 21


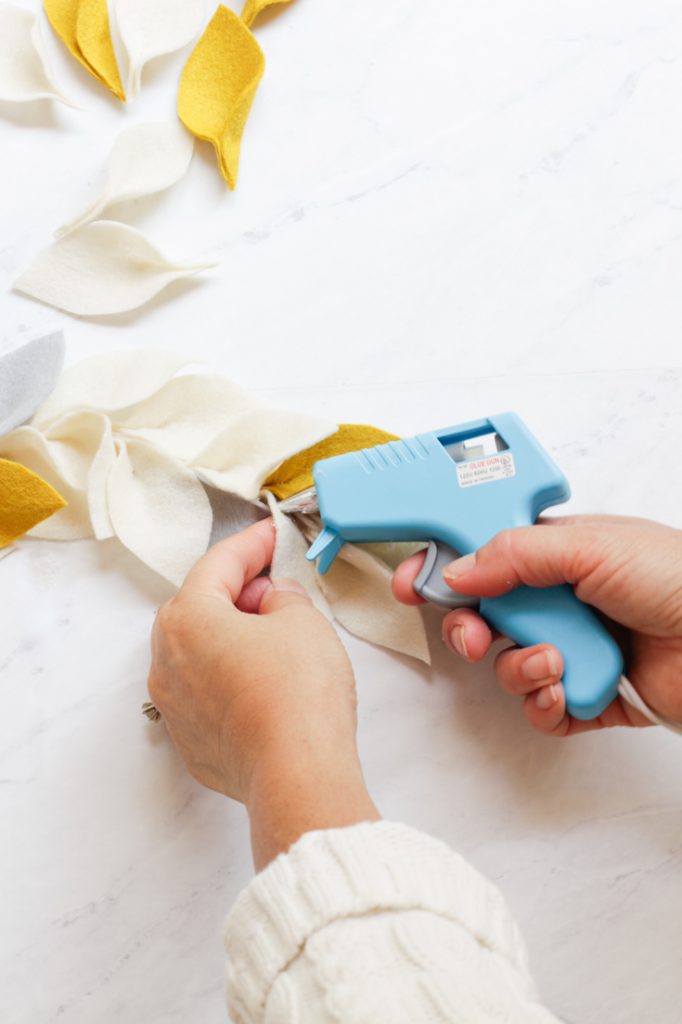
Step 4 – Glue and Pinch Leaves
Place a small line of glue from the end of one point to about a half-inch towards the center. Then pinch the sides together and hold the fabric in place.
Now you’re ready to start this felt leaf garland DIY.


Step 5 – Beginning Making the Garland
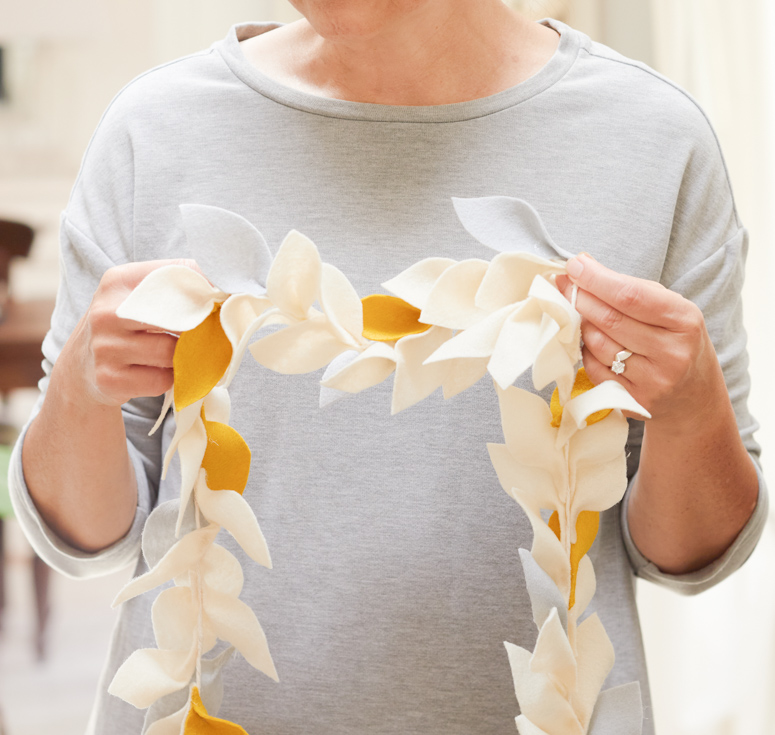
If you want to make a garland like mine, start with two white leaves. Position your leaves so that the middle edges line up with the string. Now, place one leaf on one side of the cord and the other on the opposite. Then glue the section that you pinched together. Attach them to the string and squeeze the string in between the leaves. Refer to the above photo.
Step 6 – Glue Down the Leaves
From the glued section, you can glue them further, so they don’t move around. Also, if you like, you can glue it to the top of the next set of leaves. I glue the leaves together, but I kind of like the more organic look.
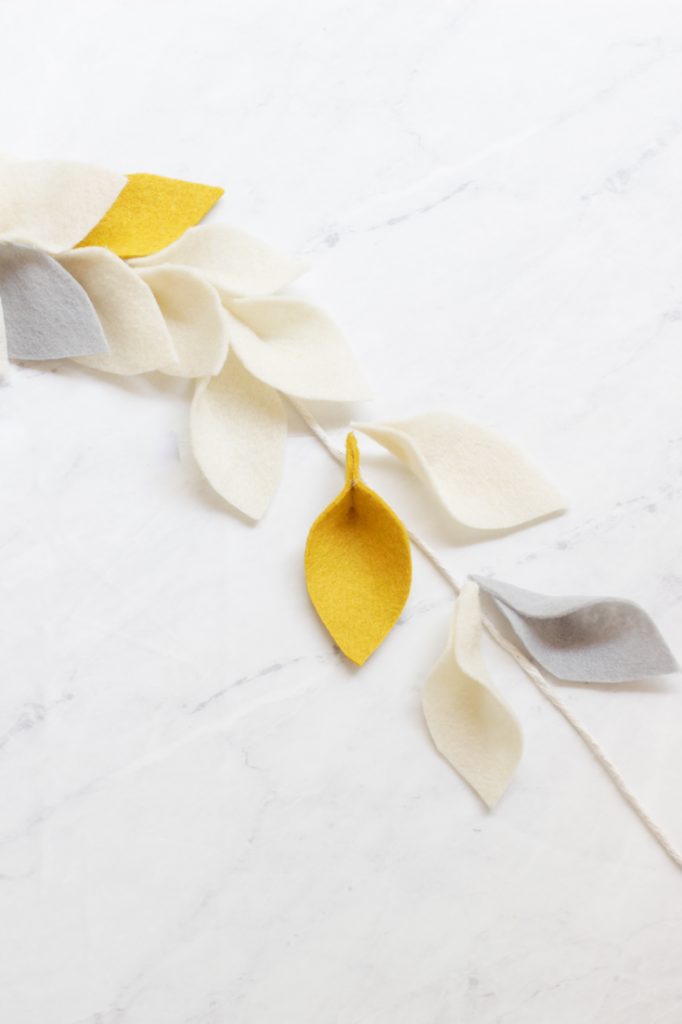
Step 7 – Continue Glueing Leaves in a Pattern
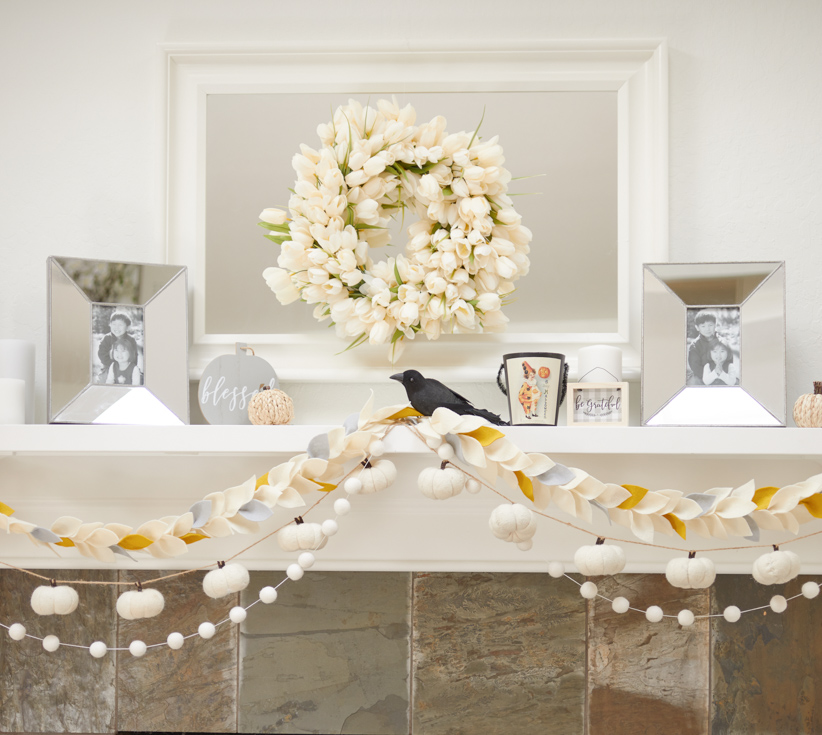
As you can see, I glued two rows of white leaves together, and on the third one, I alternated with my yellow and blue leaves. I laid them out in the above photo to show you the pattern. So, the next set of leaves with be two more rows of white and then a blue leave on the bottom and a yellow leave on top. I alternate my leaves. It’s up to you how you want to design your felt leaf garland.
When I first made this felt leaf garland DIY post, I meant to make a fall garland. But, as you can see, my colors are pretty light and not too autumny. That’s the beauty of this project. Tweak the colors to your style. Oh well, I tried!
Thanks for stopping by for my week of crafting!
Cheers,


- Springtime Throw Pillows - April 8, 2026
- Cherry Blossom Cookie Recipe - April 3, 2026
- Amazon Simple Porch Decor - April 1, 2026


Leave a Reply