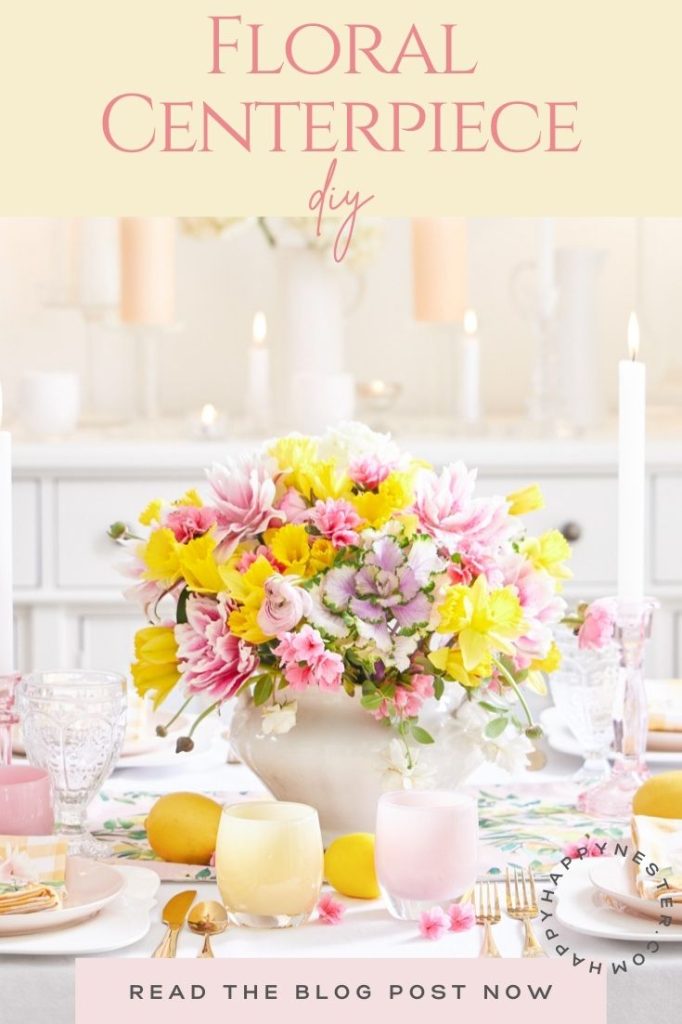
Here’s an easy Floral Centerpiece DIY that uses grocery store flowers and a few garden flowers and fillers. A few factors go into designing a flower bouquet, and this tutorial will help you create the prettiest table settings once you implement these key components!
Flowers are my thing in the spring, and everything is bursting with flowers. Decorating a space with either fresh, faux, or paper flowers is easy.
As I mentioned, I decorate with flowers quite a bit, and I have a lot of blog posts.
Here are a few if you’re interested.
Also, if you still need more spring DIY ideas, scroll to the bottom of this post. My friends are joining me today with their fun projects.
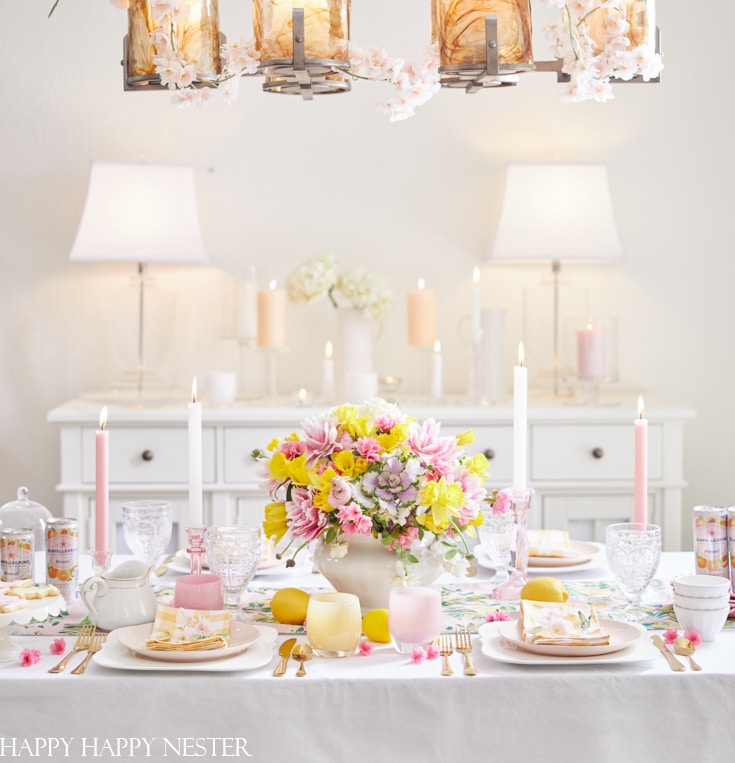
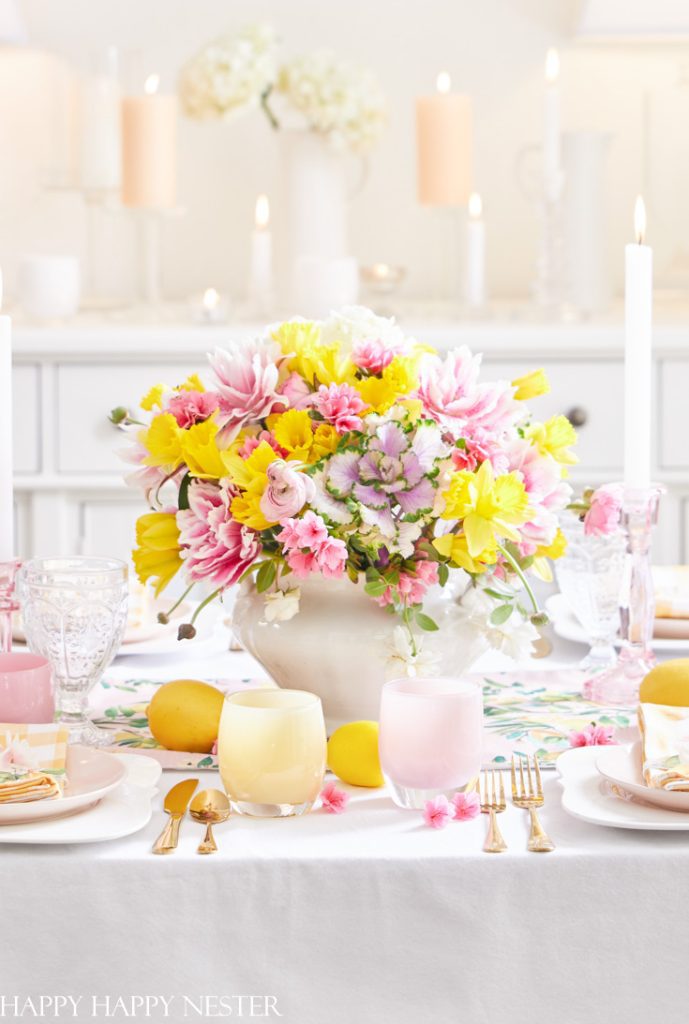
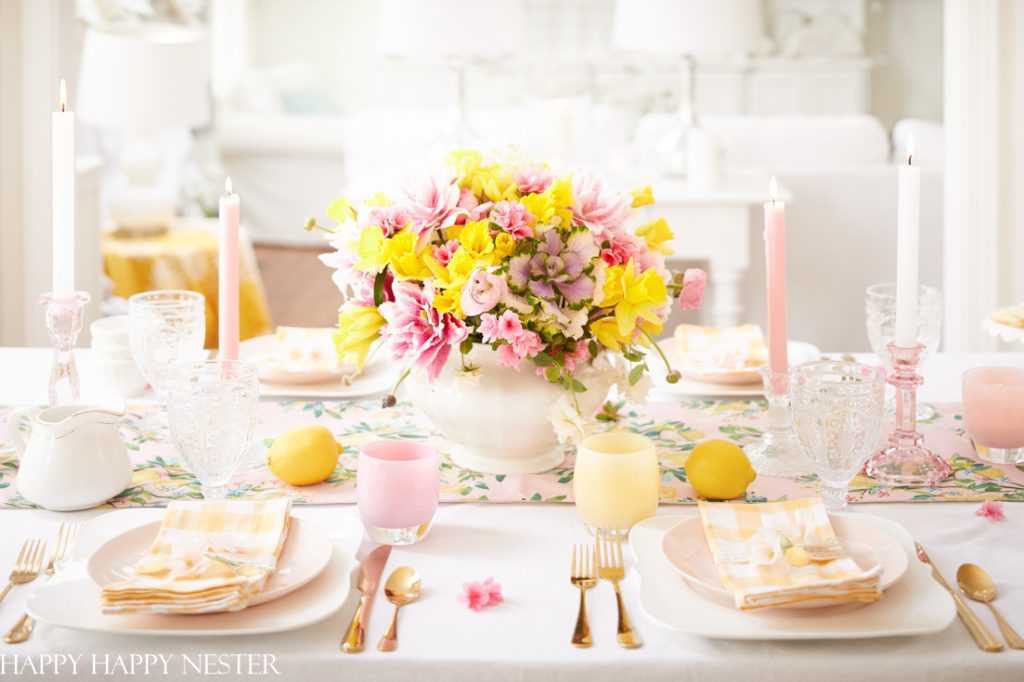
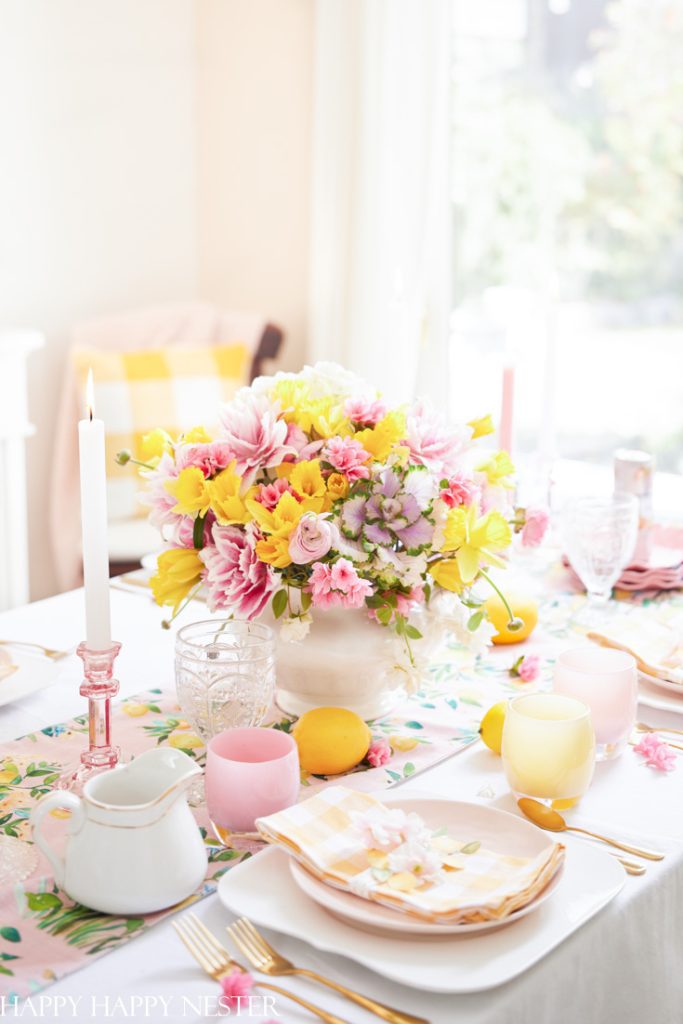
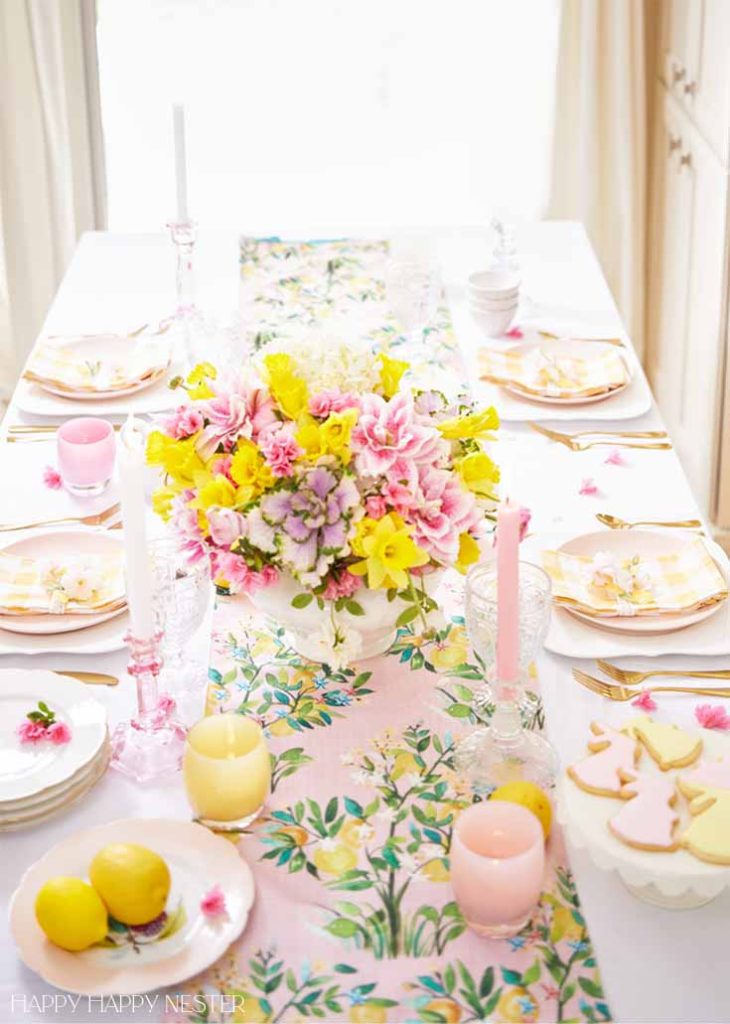
Floral Centerpiece DIY
Raise your hands if you buy your flowers from your local grocery store? Don’t worry, and I won’t judge you since I do the same. There is no shame in buying your flowers while you grocery shop.
I feel that in our area, flowers are popular among our community since our grocery store carries a wide selection, and they place them right near the entrance to the store.
The other day, I popped into our grocery store, finding ornamental lavender kale and seasonal ranunculus. These two items are difficult to find, but hopefully, you can make a similar arrangement.
I hate to admit that once I create a floral centerpiece, it’s difficult for me to stop and take photos. I get swept up in the flowers, and before I know it, it’s too late to take step-by-step photos. Sorry that I don’t have many pictures for this floral centerpiece DIY.
Here are a few essential elements when designing a floral arrangement.
Choose a Vase
Choosing a vase is one of the first things I determine before beginning my project. There are a few considerations when choosing your floral container.
- The height of the vase – The taller the vase, the harder it is to hold a conversation between the flowers.
- The bigger the opening, the more flowers you’ll need. My soup tureen has a six-inch space.
- The more neutral the vase color, the more the flowers are the main focus.
Choose a Color Theme
I always decide on my color theme before shopping for flowers. Selecting colors is super important when I visit the San Francisco Flower Market since the selection of flowers is overwhelming! Choosing a color helps me stay focused when perusing flowers.
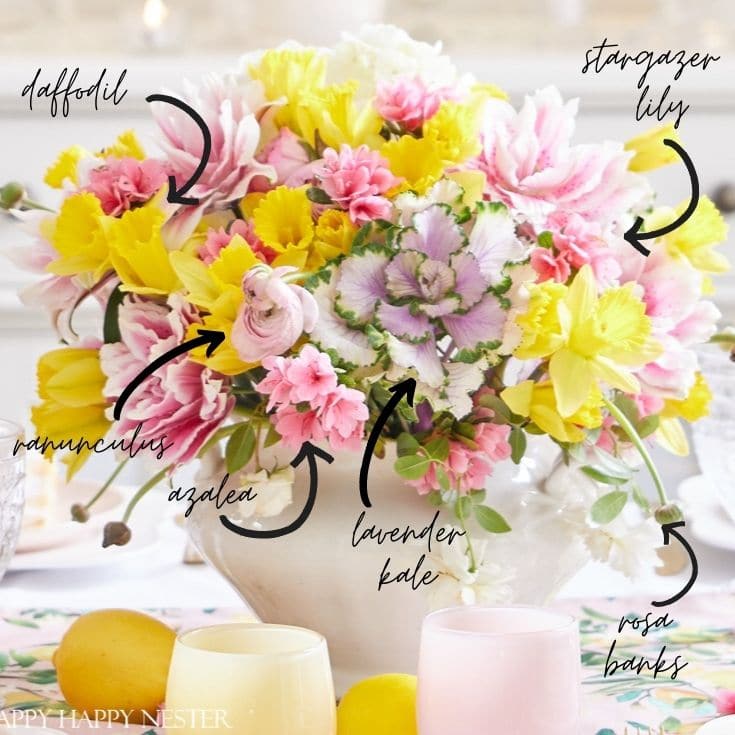
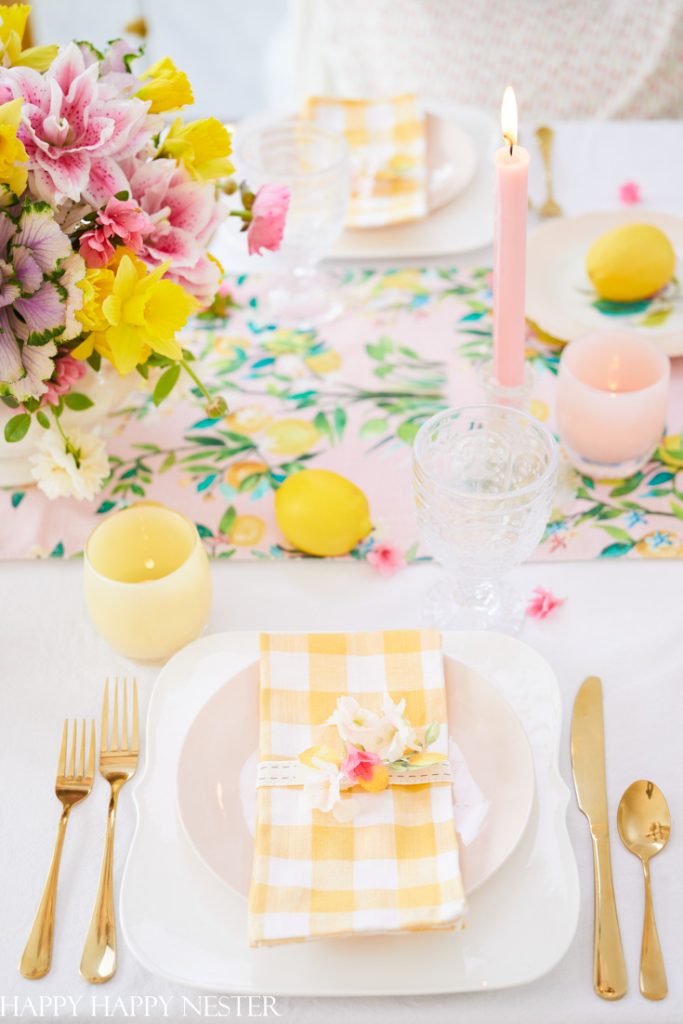
For this floral centerpiece DIY, I chose a pink and yellow theme. These are my favorite colors lately.
Buy Flowers
Buying flowers is the fun part. There is nothing quite like standing in front of many beautiful flowers! It can be an overwhelming task, but if you have the color palette chosen and a few flowers in mind, then that’s half the battle.
Choose the Main Focus
So for this pink and yellow floral arrangement, I chose the cute daffodils and the pink stargazer lilies as the primary focus. They are both bold and playful, creating a fun dynamic together.
Prep Your Vase
I don’t use a flower foam but rather a reusable metal flower frog. I love that I always have it on hand for my floral designs and that it also nicely holds the flowers in place. The key is to get a heavy frog, so it doesn’t tip over in the vase when you attach the flowers.
Another technique that does well is placing floral tape in a grid pattern across the top of your vase. Also, don’t panic if you don’t have the skinny and sticky green floral tape. On occasion, I’ve used regular scotch tape, which works great.
Some florists use chicken wire to hold flowers. I found you have to jam quite a bit of it in the vase, so it doesn’t tip over and rotate with the heaviness of the flowers.
*The following post contains affiliate links
Flowers You’ll Need to Create This Flower Bouquet
2-3 dozen Daffodils
1 dozen Pink Stargazer Lilies
1 dozen Pink Ranunculus
3 Purple Cabbage
Pink Azaleas/Rosa Banks Roses
Directions:
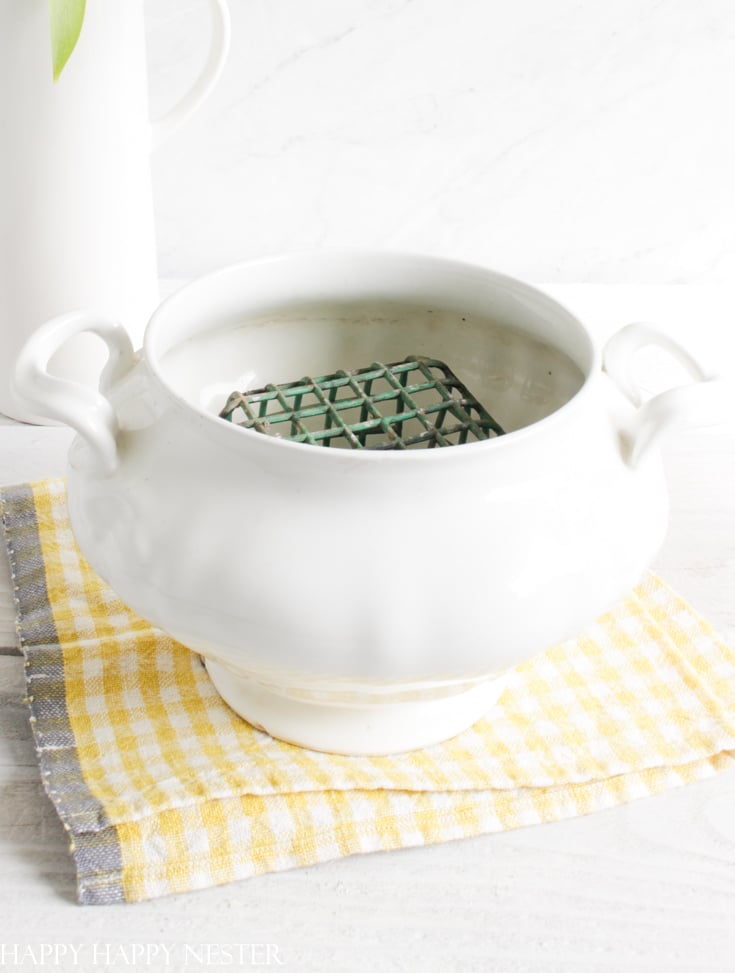
Step 1 – Prep the Vase
Place your metal flower frog in the vase. Fill your container with water and flower preserver solution.
If you don’t own a metal frog, a grid of tape on the containers opening works just as well.
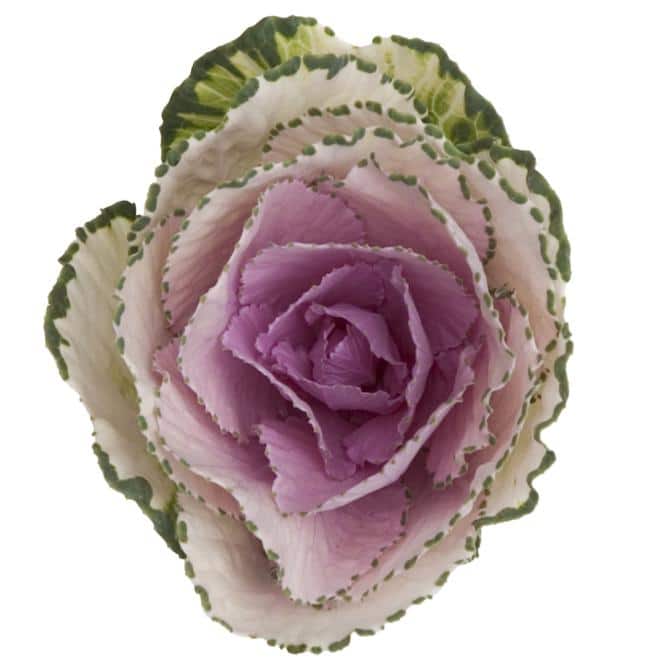
Step 2 – Place Lavender Kale in the Vase
I placed my kale in the vase first since they are big and take up a lot of space. I also removed the bottom leaves and kept the top of the kale intact.
I love how kale adds a bit of surprise in a flower arrangement. Whenever I find lavender kale in the stores, I always buy them.
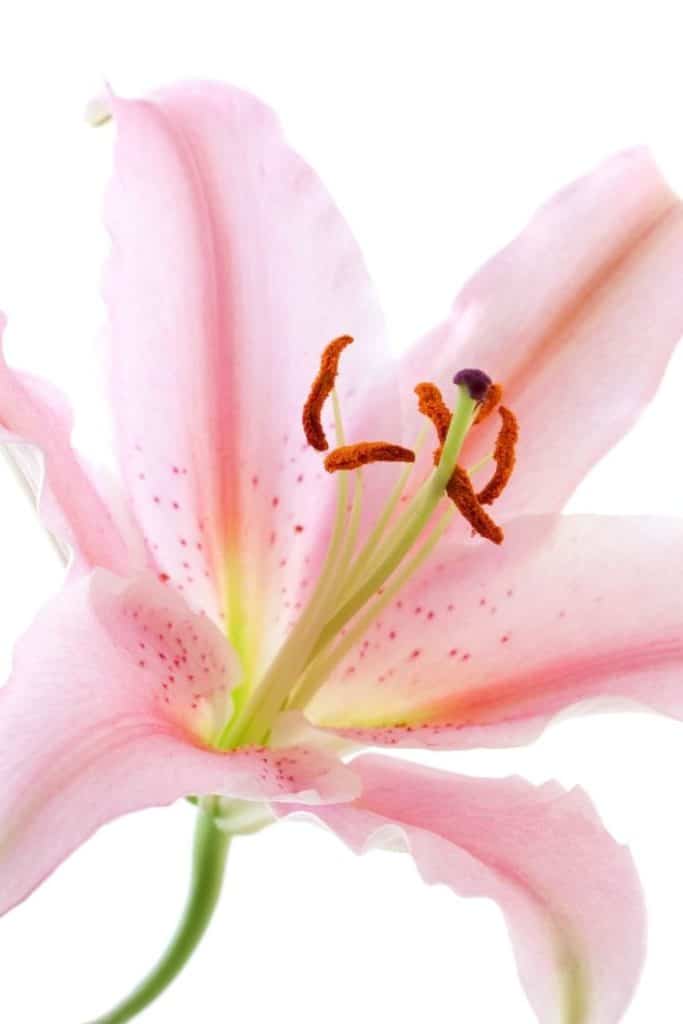
Step 3 – Place Stargazers in Vase
Since the pink stargazers are significant and prominent, I placed them in the vase next. Then right alongside them, I inserted my daffodils. The pink and yellow colors are a combination that I love. They do a little visual dance when placed by each other.
Then, I inserted the ranunculus wherever I saw a vacant space.
Step 4 – Fill in the Rest of the Vase
I placed some azaleas and white rosa banks from my garden in this arrangement. If you look closely at the display, you’ll see that I put ranunculus buds hanging in the front and sides. I always love flowers drooping a the base of the vase. It creates visual movement for the eye.
Don’t be afraid to play around with the flowers when tackling a flower arrangement. Also, I’m a big fan of using greenery and flowers from your garden. Mixing up a bouquet with other elements makes it have an organic cottage garden style.
The element of surprise adds a dimension that goes beyond any commercial florist. Homemade arrangements are the best, in my opinion.
I hope you have a moment to try create a beautiful bouquet with some pretty flowers.
Cheers,

Blogger’s Best Spring Table DIY
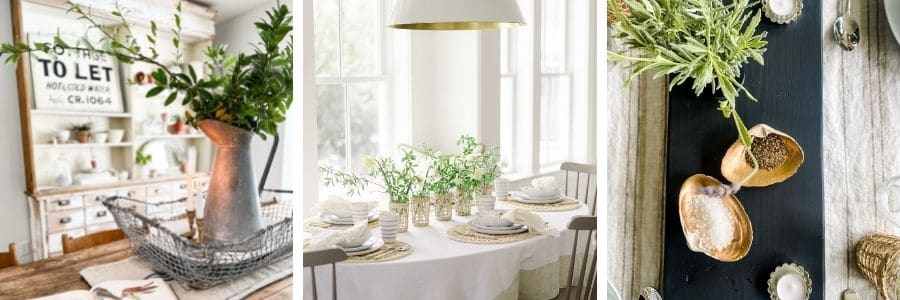
5 Easy Ways to an Almost-Free Spring Centerpiece | Robyn’s French Nest
A Simple Spring Table | Finding Lovely
Clamshell Salt Cellars | Most Lovely Things
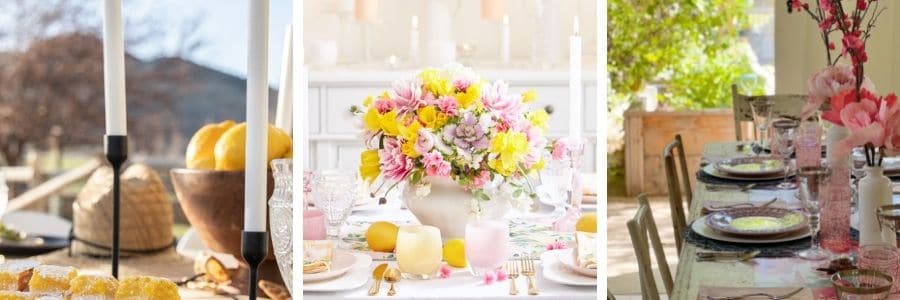
Lemon Inspired Spring Tablescape | Twelve on Main
Floral Centerpiece DIY | Happy Happy Nester
Easy DIY Spring Wallpaper Runner | My 100 Year Old Home
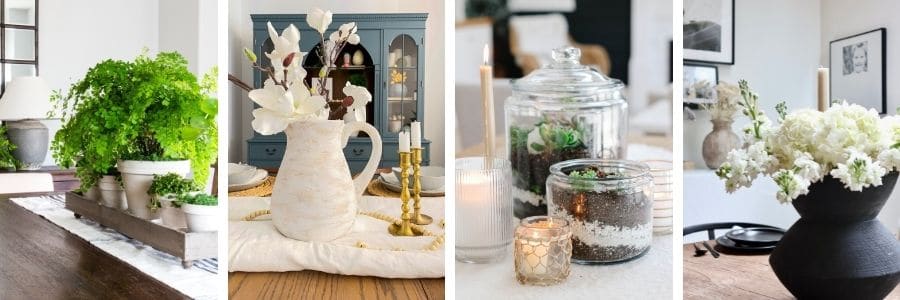
Easy Spring Centerpiece with Potted Plants | Inspiration for Moms
Pottery Barn Hand Painted Earthenware Vase Knockof | The Happy Housie
How To Make A Beautiful Succulent Terrarium | Modern Glam
Neutral Spring Table Decor | My Sweet Savannah


- Lazy Saturday Morning Breakfast Ideas - July 18, 2026
- Lemon Blueberry Crumble (With Creamy Mascarpone) - July 16, 2026
- Red and White Christmas Tree - July 9, 2026


Laura
Such a gorgeous arrangement and I love the addition on cabbage! Beautiful!
happyhappynester
I love adding some surprises to my bouquets. Thanks for your sweet comment!
Melaine Thompson
So festive and perfect for spring!
happyhappynester
Ah thanks so much, Melaine!
Robyn Huff
Your flowers are stunning! So cheerful too!
happyhappynester
Thanks so much, Robyn!
Krista
It’s absolutely gorgeous! And I love how detailed your tips are! Honestly looks like a super expensive high end centrepiece!
happyhappynester
I know, crazy that I bought the flowers at Safeway!
Annie Diamond
Janine!
Your flowers are gorgeous! The colors with the candles, and the gingham napkins….a very happy spring table for sure!!