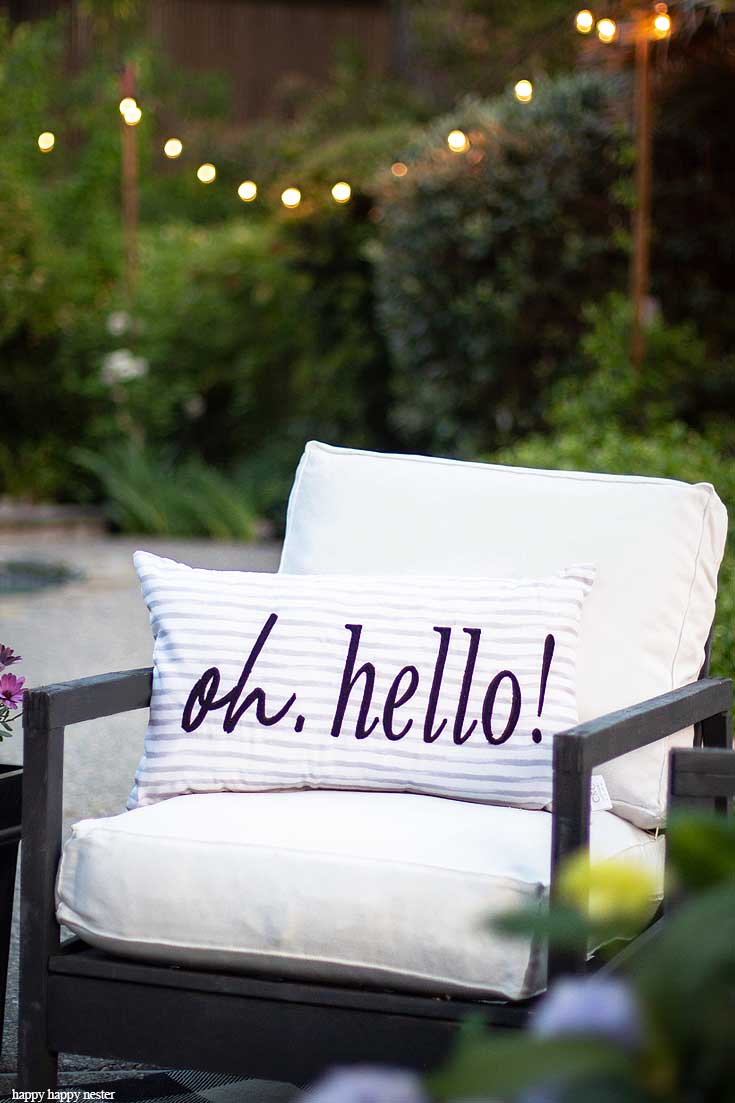
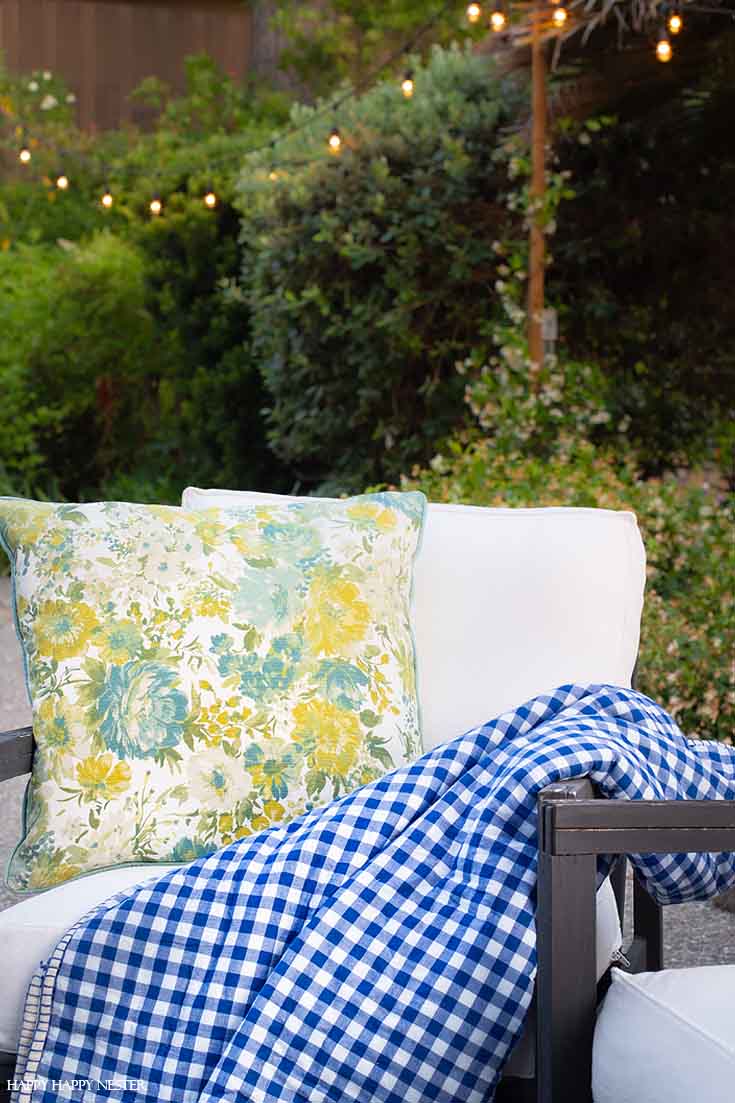
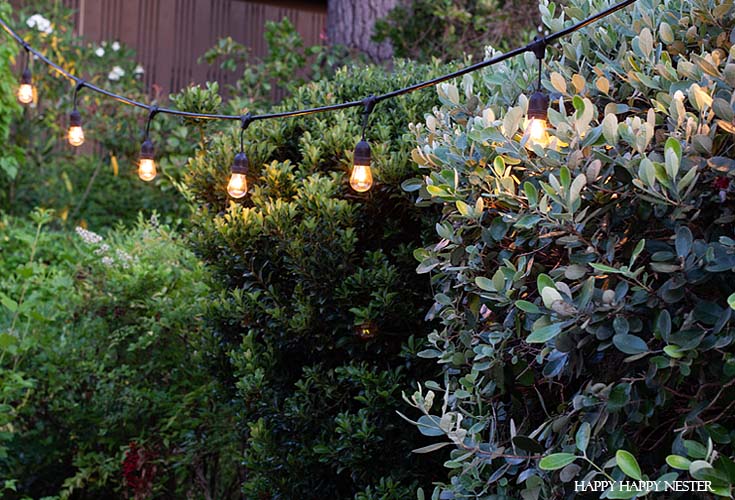
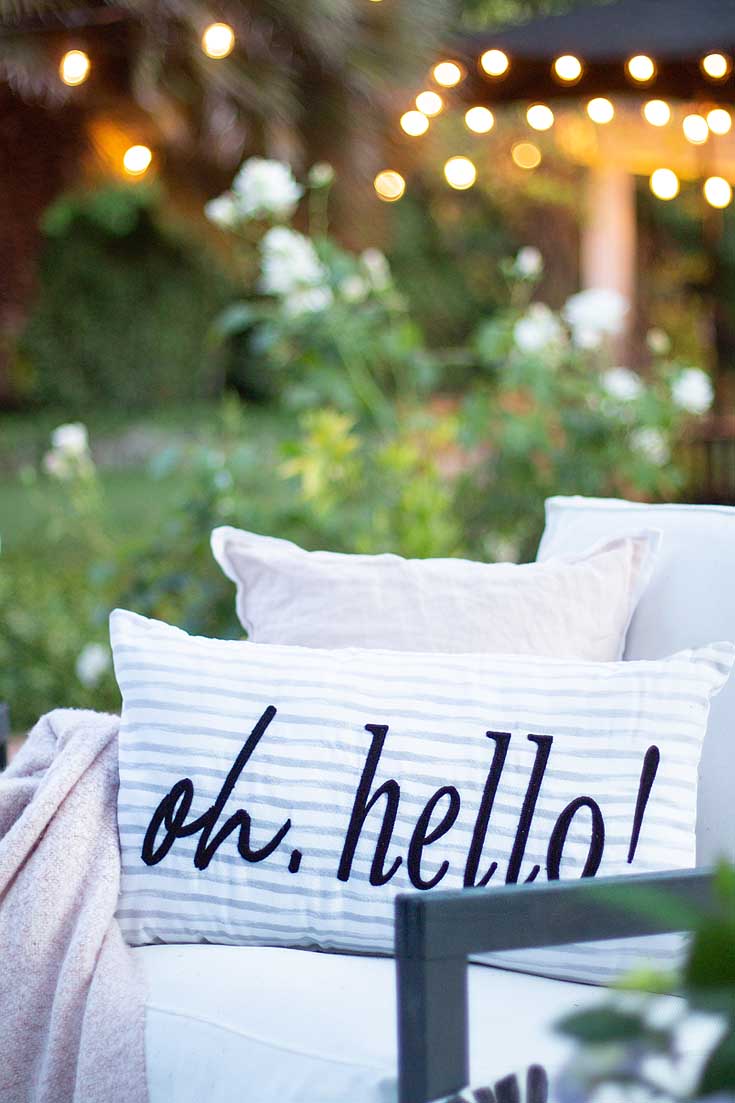
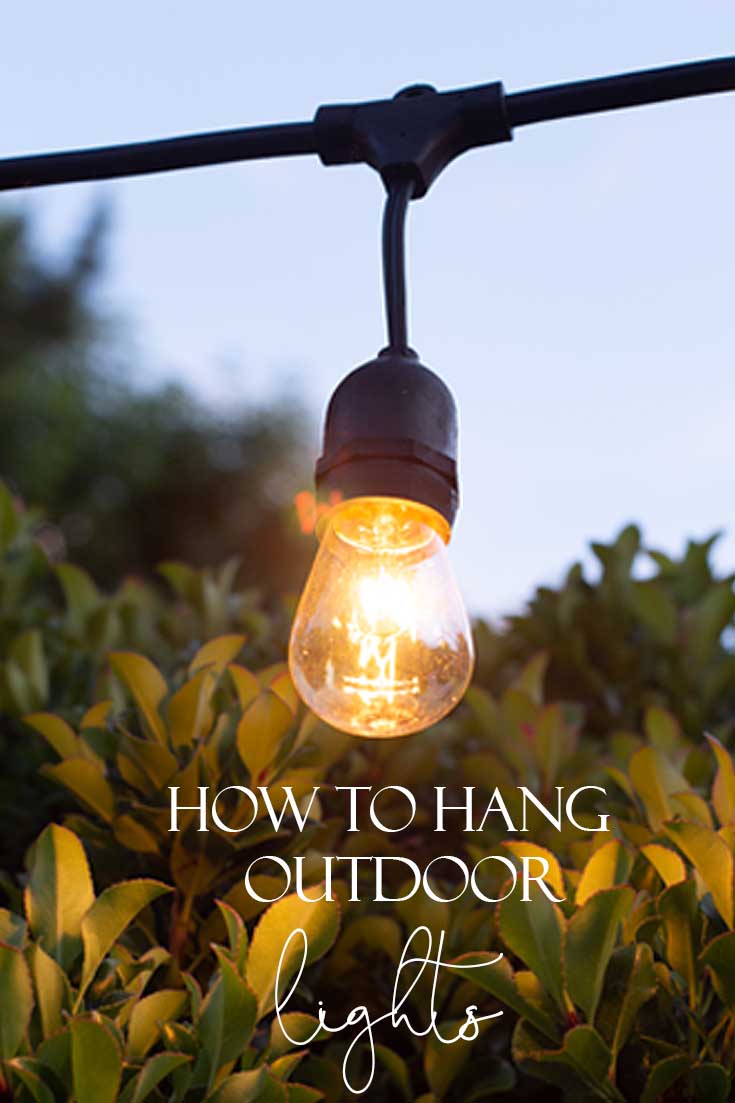
So now that it is officially summer, do you want to learn How to Hang Outdoor String Lights? Our backyard is lovely when the sun goes down, and our outdoor Vintage Edison Bulbs create such a magical atmosphere! You can view more of our summer backyard in my outdoor container garden post.
Around our home, my husband installs things so that last forever! He is so different than my father, who rarely installed anything around our house let alone something that is stable. Well, you’ll find in this tutorial on how to hang outdoor string lights, my husband doesn’t mess around, and he placed the wooden post in cement that is super permanent.
*The following post contains affiliate links
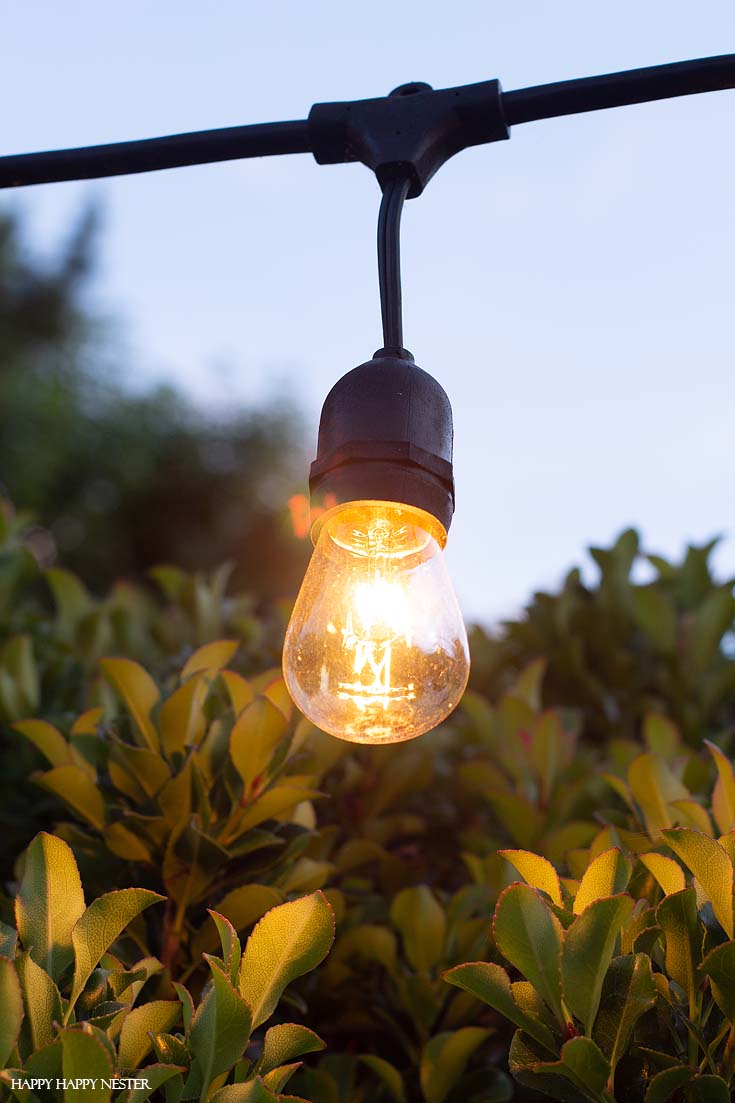
Don’t you just love these retro outdoor vintage style lights? We bought ours at Costco, but you can find them online, outdoor string lights. I love how these lights give off an amber glow and how everything in our yard shimmers at twilight and in the evenings.
Here are a few things to consider when planning your lights.
1. How much energy can one outlet hold?
If you have a standard voltage of 110 and you use these LED low wattage bulbs (1-2 watts per bulb) you don’t need to worry about overloading your outlet. We safely strung 4 strands of lights in one outlet. So a total of 60 bulbs. The brand we bought at Costco are LED but the light is a warm amber color. I’m not sure about these Amazon lights, but the photo shows them as giving off a warm yellow color.
2. What is the distance or span you want to cover?
If you want to string lights over a long distance, then you may want to think about using a wire for added support or adding another support pole. The longer the length, the more tension on the poles and more your light string will droop down. We have a bit of that happening on some of our strings of lights.
3. Do I need to use wire rope for added support?
I saw on the Home Depot website that they used a wire rope for support and the lights didn’t sag as much. It appears they add that extra support for the long distances. But I asked my husband, and he says that the wire will still put pressure on your pole, so it probably still will sag a bit. In the post on their site, I did notice they attached their wire to trees which would definitely hold a lot more pressure than a pole.
4. Placing your poles in cement or dirt?
Cement is always the best choice for securing your light poles. Once the poles are secured in cement, no moisture will surround the pole, so then no rotting will occur. When you put them in either dirt or pebbles, water will seep in and coat the wooden poles and they will eventually over time rot. You don’t want to have to replace all your poles down the road, so make sure to install them in cement.
5. What type of wooden poles, untreated vs. treated wood.
Pressure treated poles will last longer against the elements of rain, snow, termites, and fungus. It has a life span of about 15 years, which makes it an excellent choice for hanging lights.
6. Using poles or trees for hanging lights?
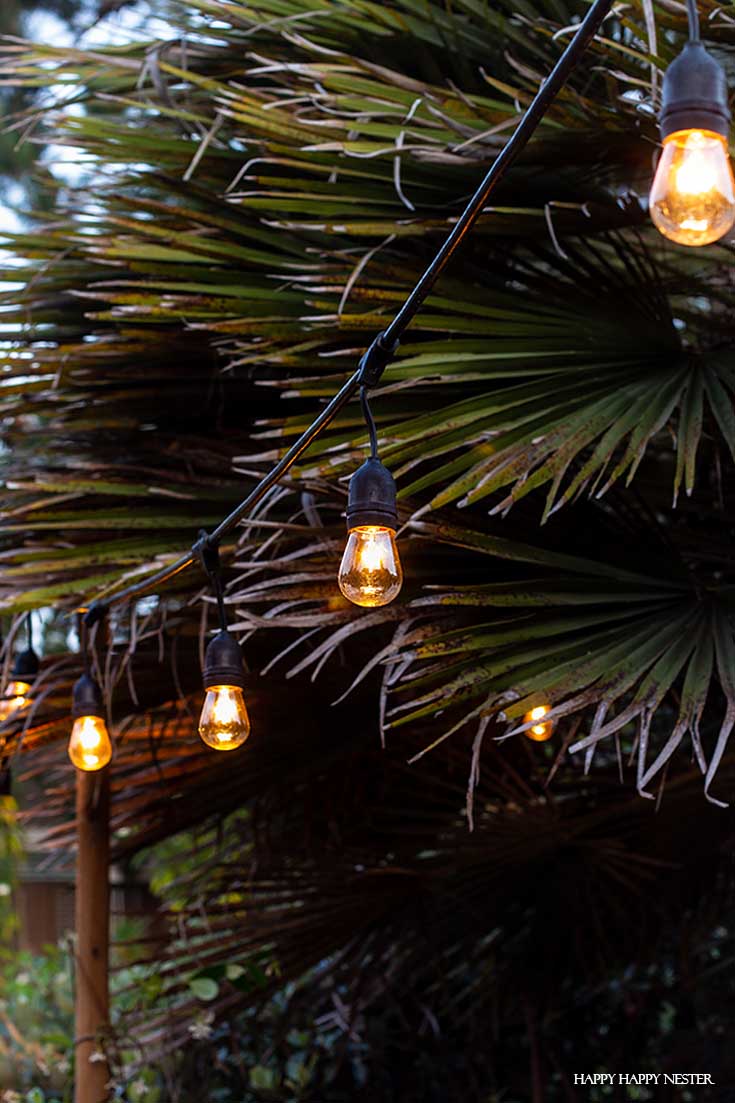
We have a palm tree that is in the perfect spot for a light post, but we chose not to use it. Yes, we were very tempted to attach a light hook to our palm tree, but I’m happy we didn’t since the tree grew about 2 feet last year. I’m confident this palm will grow even taller, which would mean our lights would lift higher into the sky as well. If you don’t mind your lights moving with the tree, then go for it. Otherwise, I would recommend installing a pole right near your tree.
How to Hang Outdoor String Lights
Here is what you’ll need for this project
Wooden Fir Poles – pressurized treated wood poles – 10 ft long (you can find them at Home Depot in the garden section)
Hangers (nonrusting metal outdoor hooks)
Wood screws (the size depends on the hole in the hanger)
40 pounds Cement – Concrete Mix – Quikcrete. 40 pounds will be enough for two holes. I recommend you buy it Home Depot since my Amazon link is way too expensive.
Bucket (5 gallons or larger) or wheelbarrow
How to hang outdoor string lights.
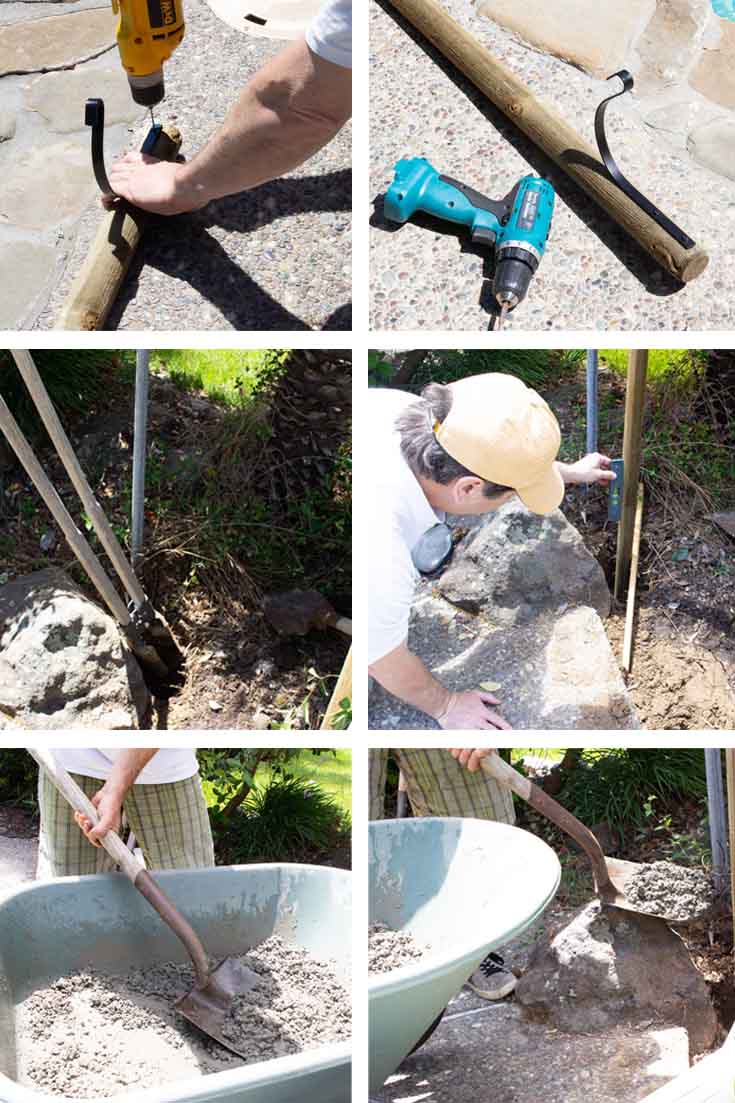
1. Wooden Poles
Buy a wood pole that is around 10 feet tall. You will sink about 2 feet in the hole with cement.
2. What Type of Hooks
Next, drill a hole in the pole where you plan to install the hanger. Use a drill bit the same size or a tiny bit smaller of your wooden screw. If you decide to use natural wood, then you can attach your hanger at this point. But, if you choose to stain your’s white like my friend Amy, then you’ll want to stain it before placing the hooks on it.
3. Install Your Hangers
Install the screws to secure the hanger to the pole.
4. Dig Your Holes
Next start digging your hole with a post digger tool. Dig a hole about 2 feet deep.
5. How to Install Your Poles
Place your pole in the hole so that it is in the hole that is 2 feet deep. Then nail a small piece of wood horizontally to secure the pole in place. Use a level to make sure your pole is not crooked. Check out the above photo for examples.
6. Mix the Cement
You are now ready to mix the cement in a wheelbarrow or large plastic bucket. Place your bag of cement (40 lbs fills about two holes) in the wheelbarrow and slowly add water. Mix with a shovel and if dry, add more water to the mixture. The consistency you are looking for is wet but not runny.
7. Install the Cement
Place cement in the hole and fill around the pole. You’ll fill the hole to the top. The cement should be ready in 24 hours.
8. String lights on the poles and enjoy.
Natural Wooden Poles vs. Stained Wooden Poles
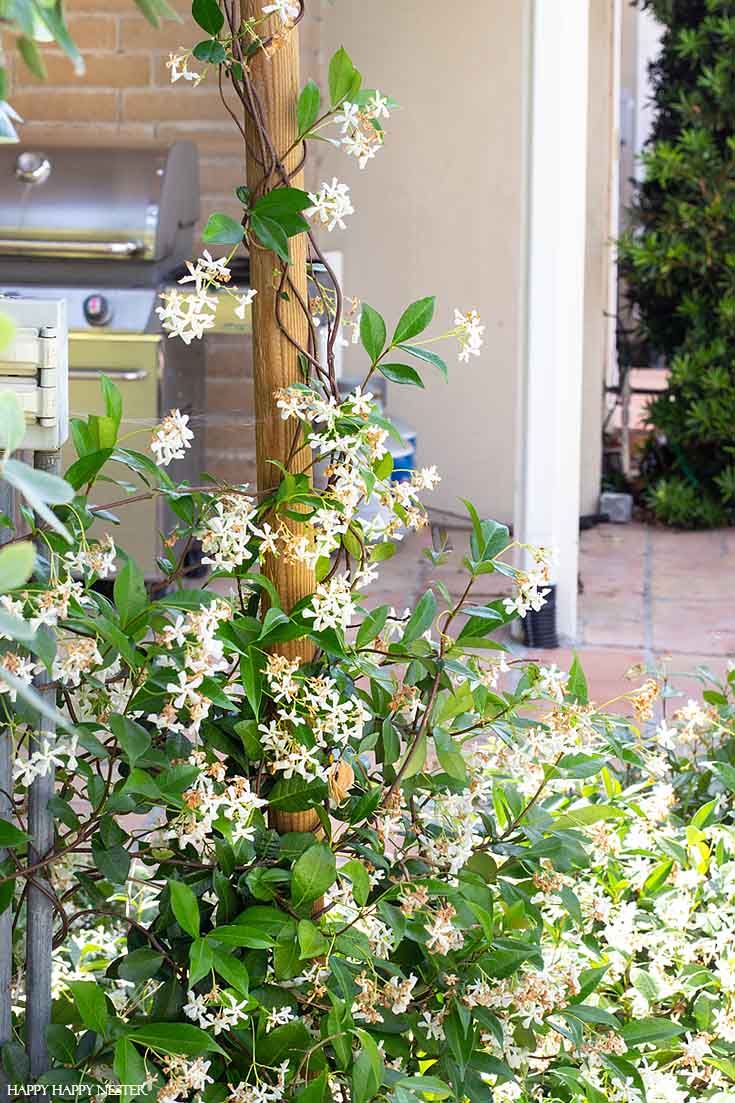
Since our poles are natural, we are letting our jasmine grow up the pole to look like it is part of the landscaping. Our other pole is near a honeysuckle vine, so we will train it to grow up that one. We love a natural solution, but if you want a more clean look, then you might like my friend, Amy’s white light poles.
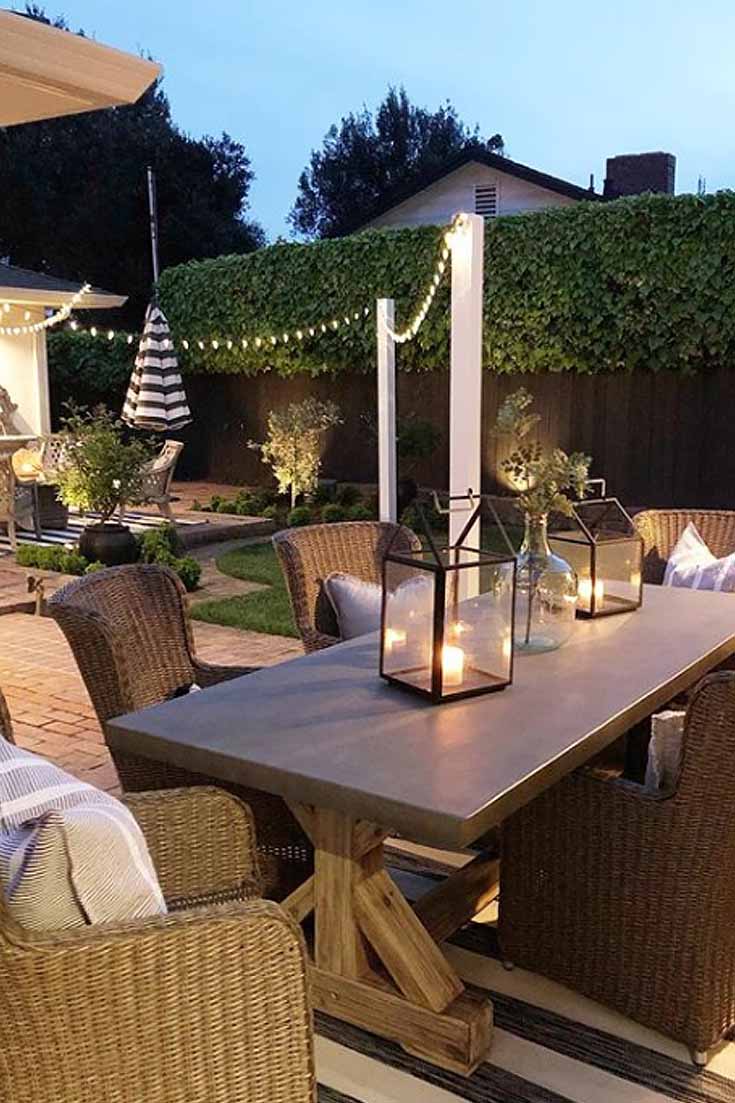
This photo shows my friend Amy’s outdoor light poles. It looks like she stained her poles white, which goes nicely with her backyard patio. She has done such a fantastic job in creating a beautiful outdoor living space.

Here is our natural outdoor pole with our jasmine wrapping around the pole. My husband loves the natural jungle look in our backyard. So depending on your preference, you can choose to go either way with the look of your light poles.
I hope you enjoyed this post on how to hang outdoor string lights. I can’t tell you how much I love our lights during our summer evenings. In fact, I love them so much that I want to install more around our little fire pit! I think I’ll try and make this a fun summer projects one of these weekends.
Thanks for stopping by!


- Cherry Blossom Cookie Recipe - April 3, 2026
- Amazon Simple Porch Decor - April 1, 2026
- Recipes For Springtime - March 28, 2026


Leave a Reply