My 100 Year Old Home
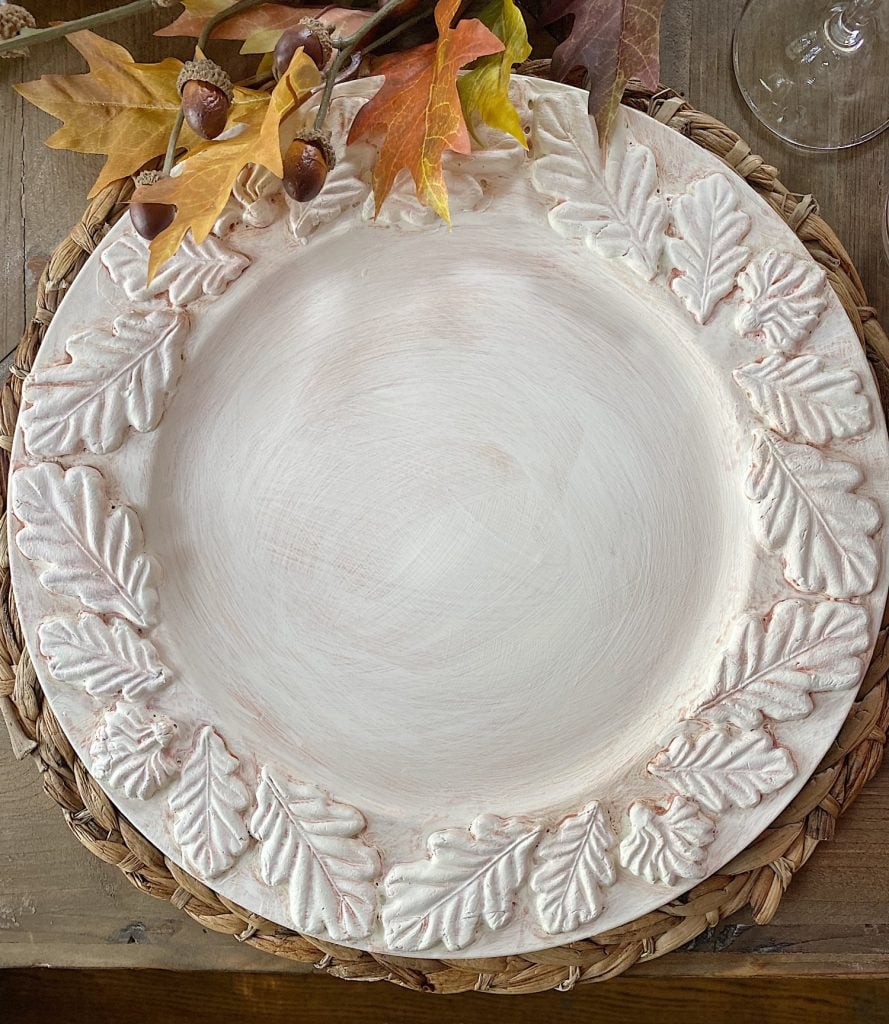
I am obsessed with Iron Orchid Designs and all of their products. Look at these amazing Fall Table Setting DIY leaf chargers I made!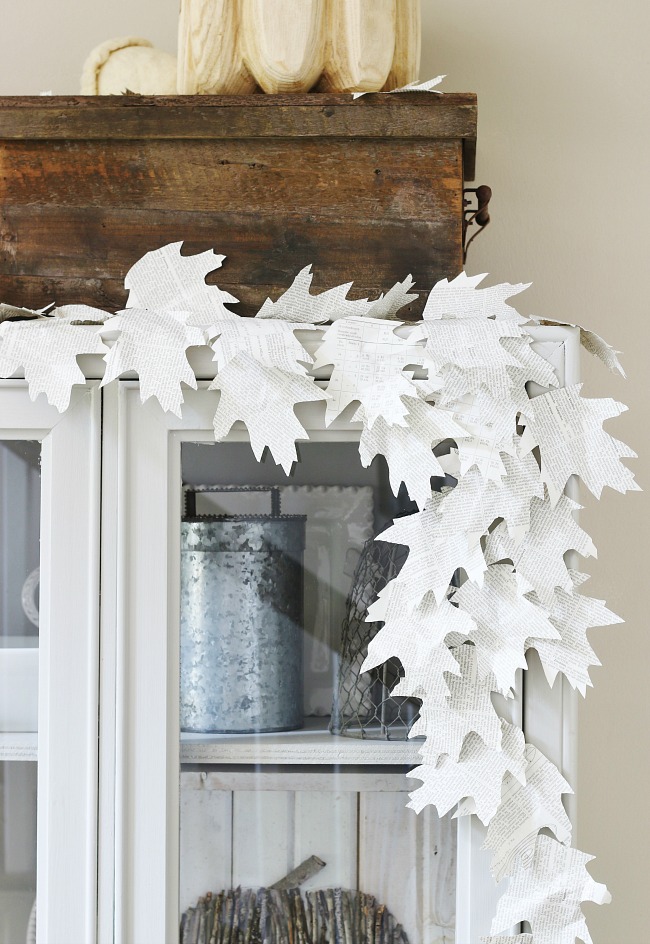
Thistlewood Farms
Looking for easy fall project ideas? Here are seven creative leaf project ideas you can make in less than an hour to get your home ready for fall.


")


COCO intheKitchen
Love this idea, bet it smells heavenly. We have a laurel plant in the backyard. I should raid it and make a li'l one. The leaves can just dry on the wreath and be used later in cooking. Love your step-by-step pics. xo
Janine Waite
Hi Coco ~ Thanks so much for commenting!!! You're so sweet!!! Sorry it took me a while to get back to you, I was off to Napa! Yes, the Bay Leaves smelled heavenly, but now that they are dried…they are just beautiful! It is such a fun and easy project, ya gotta make one!! Have a great week!! ~ J
Lisa @ Texas Decor
I bet that smells SO good in your house! You did a great tutorial! I also like the green on green look with the addition of they hydrangeas. So pretty, friend!
Janine Waite
Hi Lisa ~ Thanks so much for your kind comments!!! Wow! Yes, the green on green is quite pretty! I love hydrangeas. These blossoms were blue and turned green. I need to add the stuff to the soil to keep them blue. Also, I need to move the bushes since I think they get way too much sun. Boy, between the hot weather and the deer they don't have a chance of surviving. Speaking of heat, I hope you are staying cool at your house! Have a great week! ~ J
Marci
So beautiful and seems like it's easy enough that I could do it. Thank you for the step by step instructions. Happy Holidays!
yuni
well, that’s just gorgeous! i looooove it but i’m partially a wreath-aholic 😀
happyhappynester
Thank you, Yuni! This post is one of my most popular posts on the blog! I probably should make more wreaths!
Pucci
Not sure if this will reach you as it’s such an old post. I came looking because I’ve spent days and hours on a bushy luscious looking bay leaf wreath, only to have it end up curling and fading into a not so happy yellowish/brownish curly mess.
I have also used wire wreaths (ones that have 3 or 4 wires going around), and it’s been a nightmare weaving tight wires in between to secure super tightly. I’m an artist so I’m super disappointed and sad it didn’t look anything like pretty bay that I can hang in the kitchen and use, or put on the front door.
So I guess my question is how do you dry it? I saw you put a tea towel on top, but can I get more details? How do you attach with wire (hate to use styrofoam, metal can recycle too)! How long do you dry the wreath or the leaves? How do you prevent yellowing? Thanis
happyhappynester
Oh my goodness, I had the same issue when making a Bay Leaf wreath. So, I kept trying to come up with solutions on how to prevent them from curling. Finally, covering it with a light tea towel did the trick! I did try a pool towel, but it was way too heavy. Also, I think it took a few days for the leaves to lay flat. Once your wreath is covered, keep checking it, and when the leaves are the way you want them, it is ready to display!
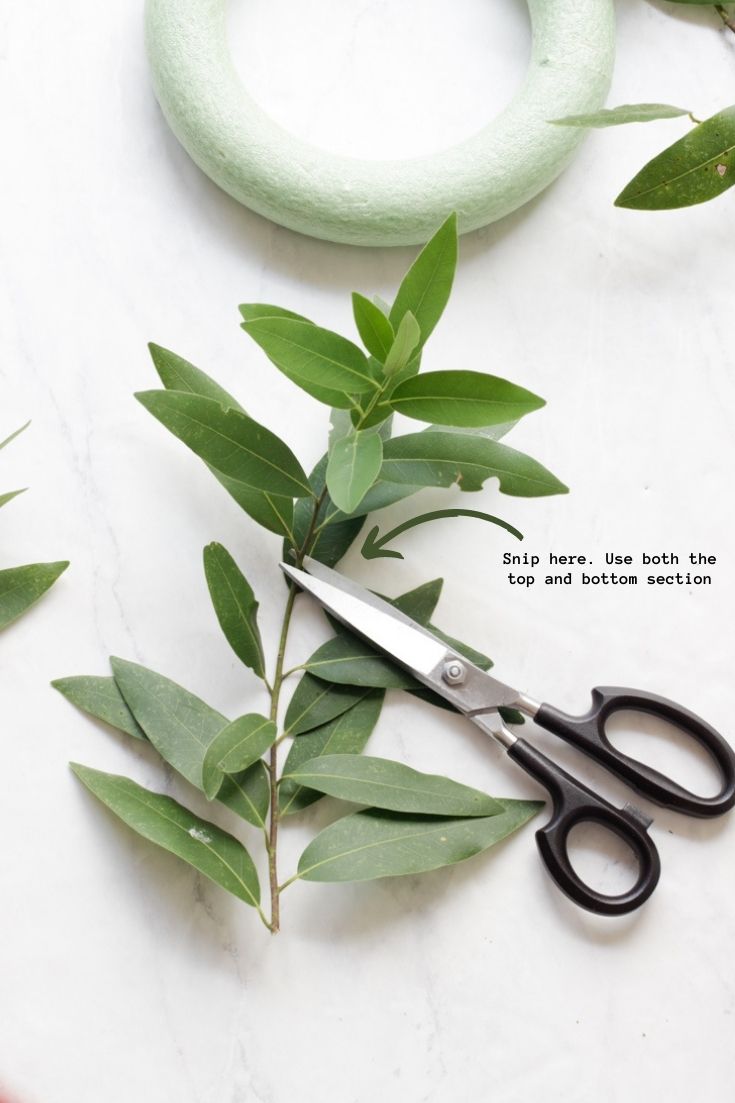
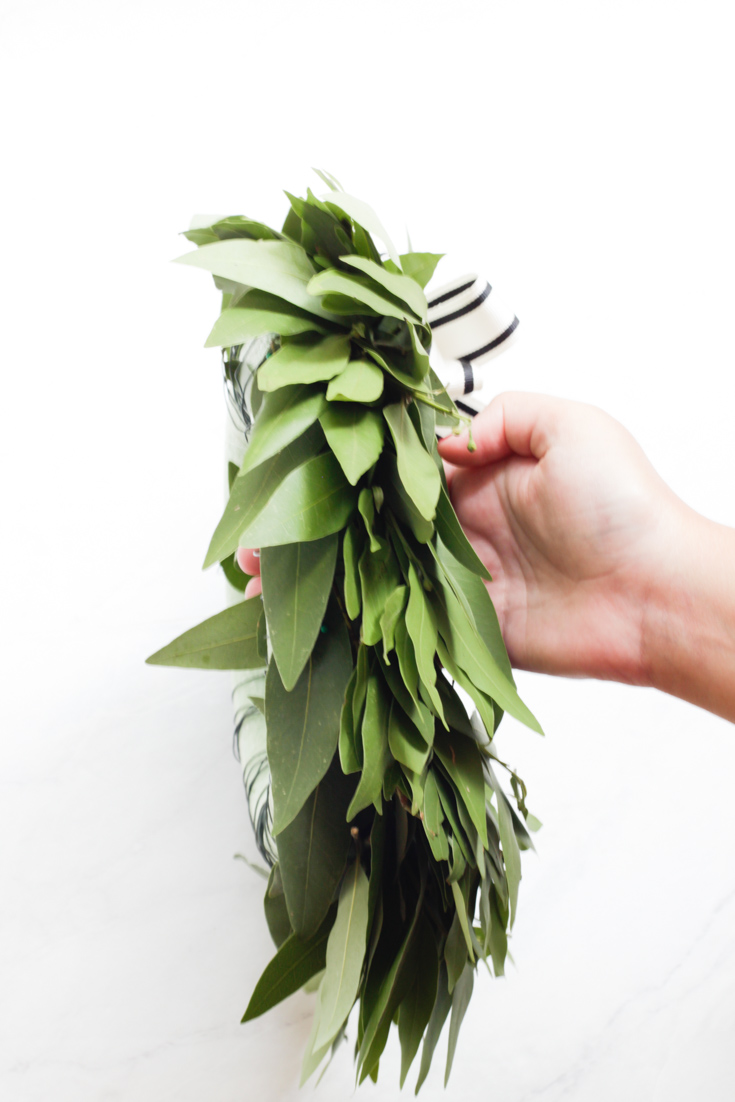
Also, make sure to prune the branches before placing them on the wreath. This is super important too. I have a section about this in my instructions. If you remove the leaves sticking out, this will eliminate the wild look from your wreath.
I did not treat my wreath, and it’s been around since summer, and the leaves are still green.
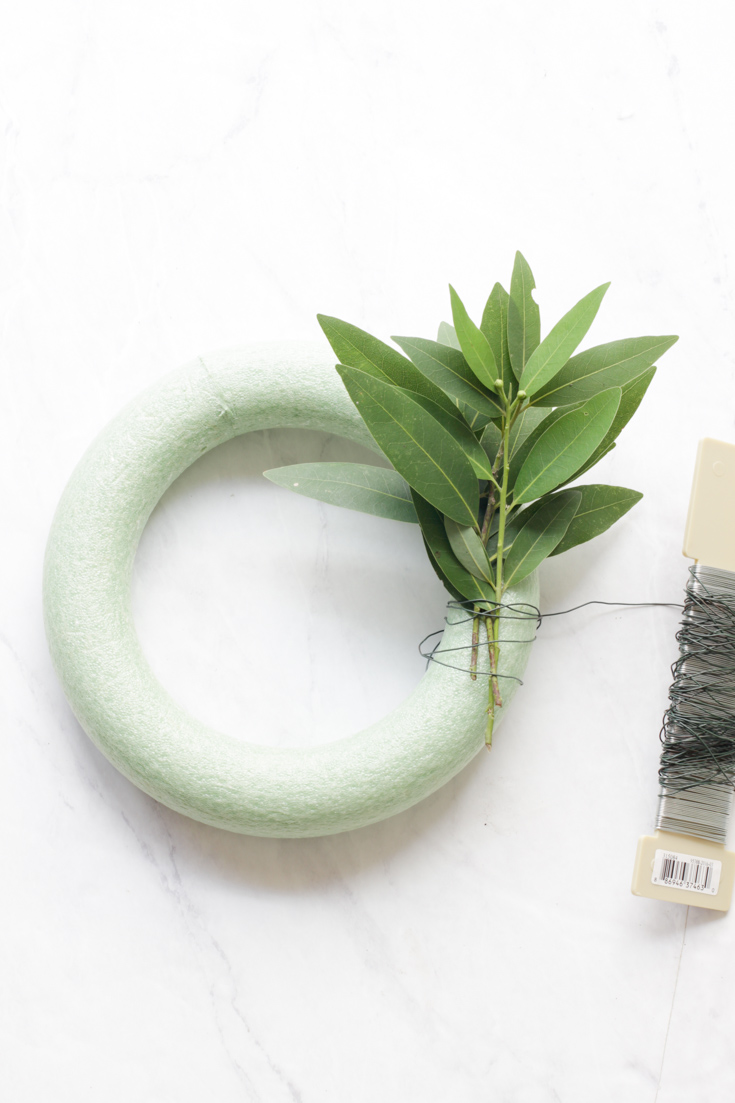
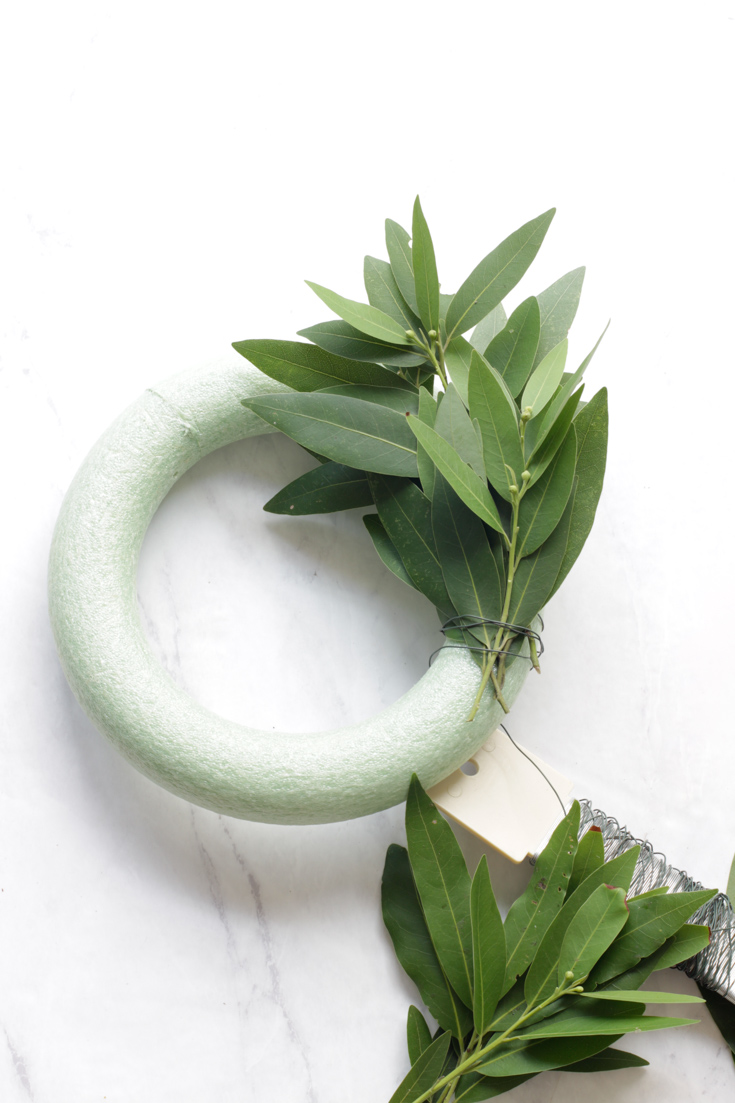
You can use a wire wreath form instead of styrofoam. First, you will wrap your bay leaf with wire into small bouquets and then attach it to the wreath with wire. Next, attach the branches to the wire form exactly how I did to the styrofoam wreath. Also, I show how to secure them in step 5.
Good luck, and let me know how your wreath turns out!