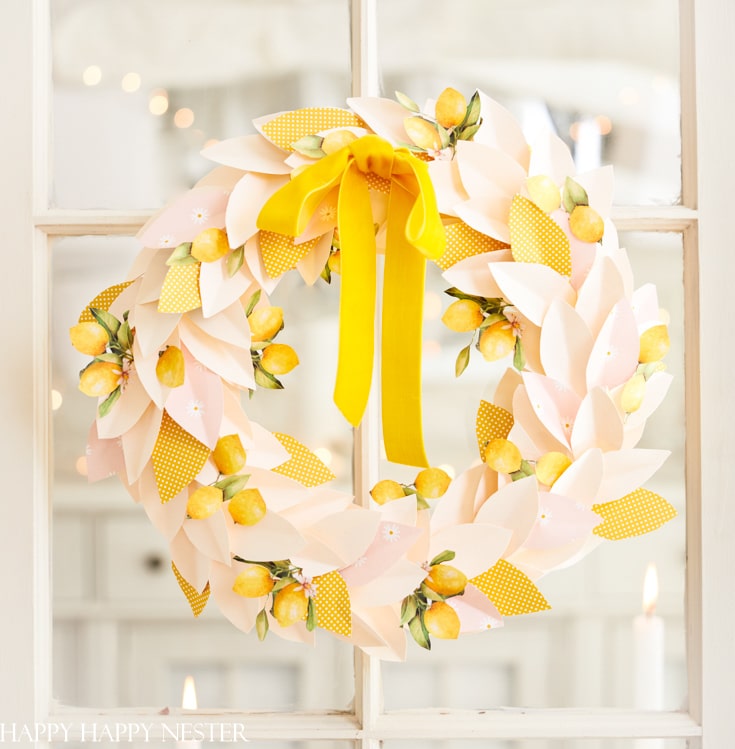
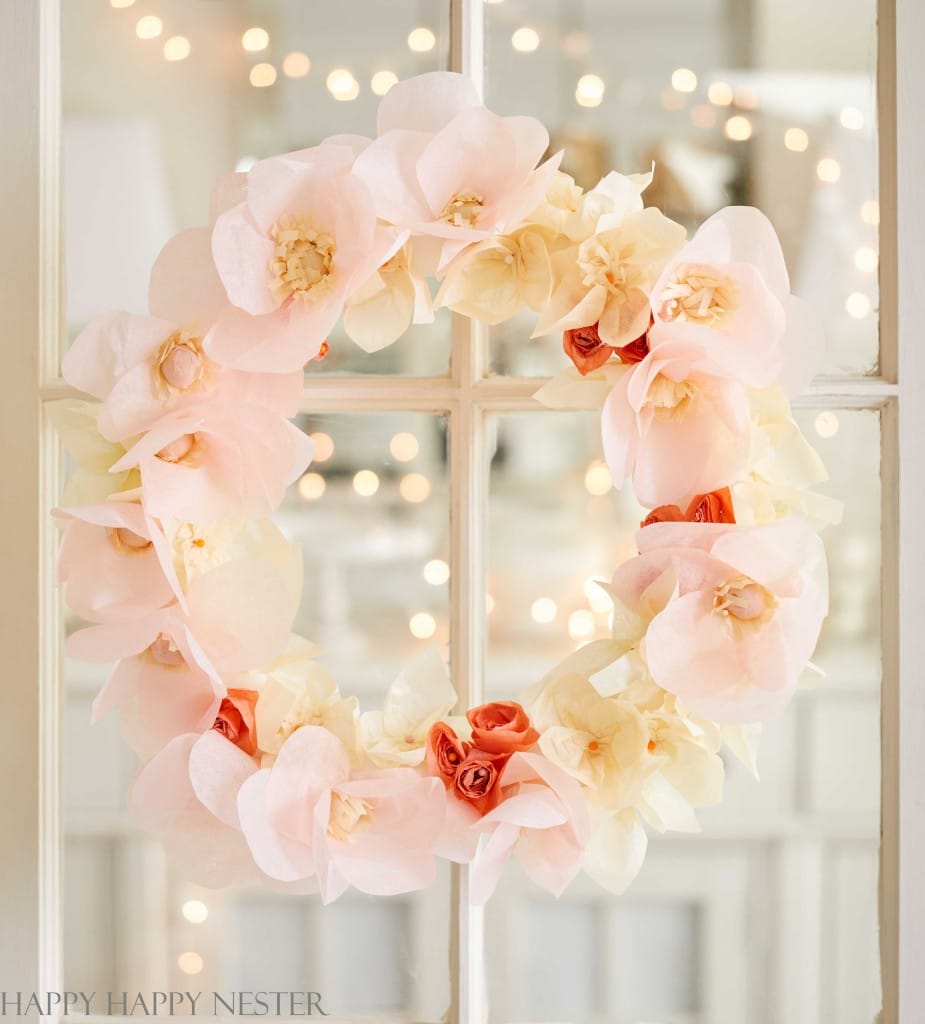
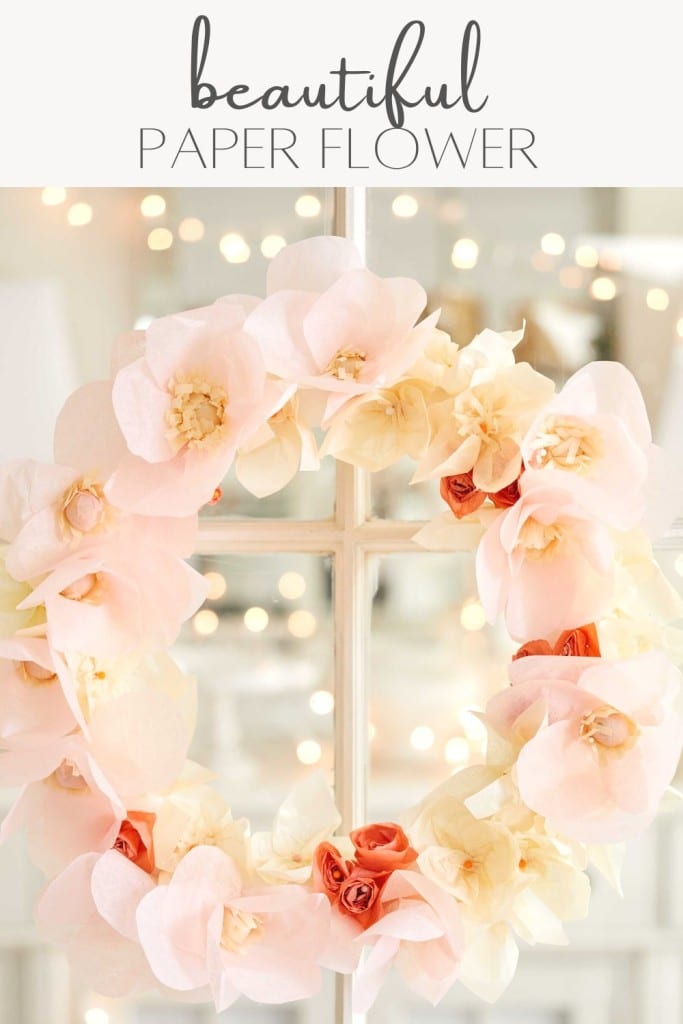
This paper wreath DIY combines paper flowers on a foam wreath. The flowers on this tissue paper wreath are a blend of paper roses and anemone flowers. Make it with light colors for a spring wreath, or choose different shades of paper for the holiday season. Place this gorgeous wreath on your wall or a bookshelf.

This wreath project relies on making flowers out of tissue paper. This wreath has three types of paper flowers a rosette, an anemone, and one I created. And I didn’t add any paper leaves, but if you like, you can. Don’t panic. The flowers are super easy to assemble. Plus, this flower wreath requires very few supplies, so there are fewer things to buy from the craft store.

Today’s post is part of a blog hop Valentine’s Day DIY. My friends are sharing many fun, creative ideas for Valentine’s projects. So check out their projects at the bottom of this post.
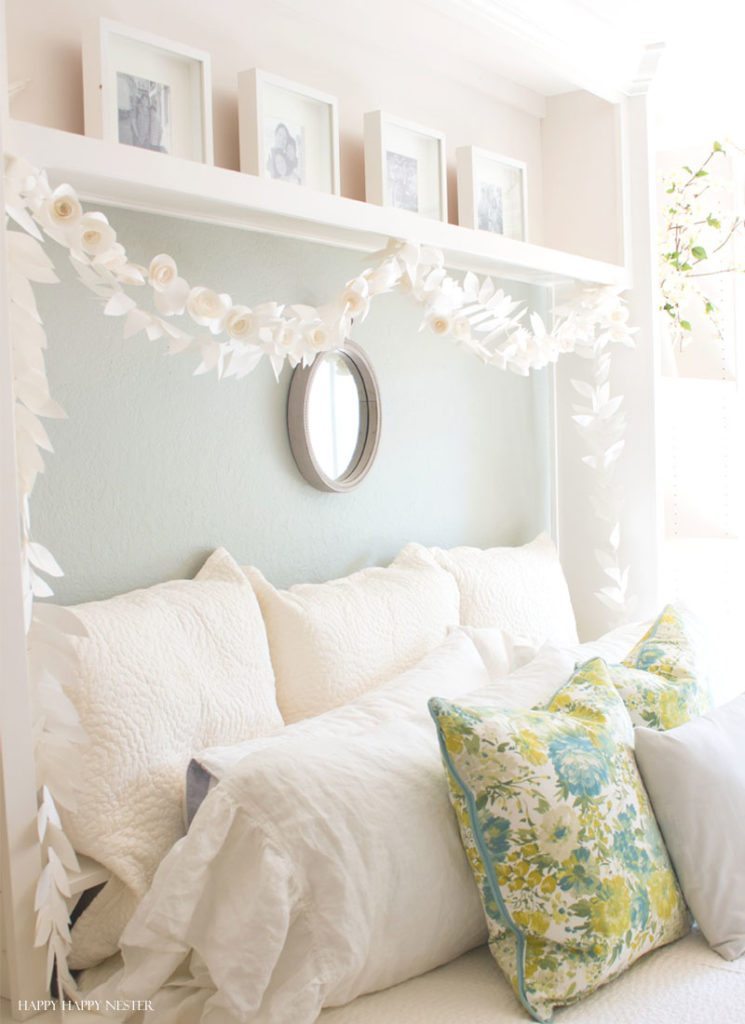
I love making paper flowers! Flowers are my passion this time of year. And so I have lots of paper projects here on the blog.
Check out my other paper crafts:

How to Make This DIY Paper Flower Wreath
This Tutorial Includes Three Flowers
For this paper wreath DIY, you’ll make three different paper flowers. Initially, it may seem overwhelming to make some paper flowers. But once you learn how to make them, you’ll have no problem covering your wreath with them.
Muted Colored Tissue Paper
When I designed my wreath, I specifically picked muted spring colors. I love the pale salmon-colored tissue paper and the muted yellow, beige-colored paper. And because of the softer colors, these flowers have an almost antique look.
Here’s the Breakdown of How Many Flowers You Need to Make
This wreath is 12 inches in size, so plan accordingly
- 20 Anemone/Rose Flowers (Pale Salmon Tissue Paper)
- 22 Simple Flowers (Pale Yellow Tissue Paper)
- 16 Rosettes (Coral Tissue Paper)
Basic Supplies You’ll Need to Make the Paper Flowers
- Foam Wreath Form (I used a white wreath shape)
- Tissue Paper (pale salmon, beige, and coral)
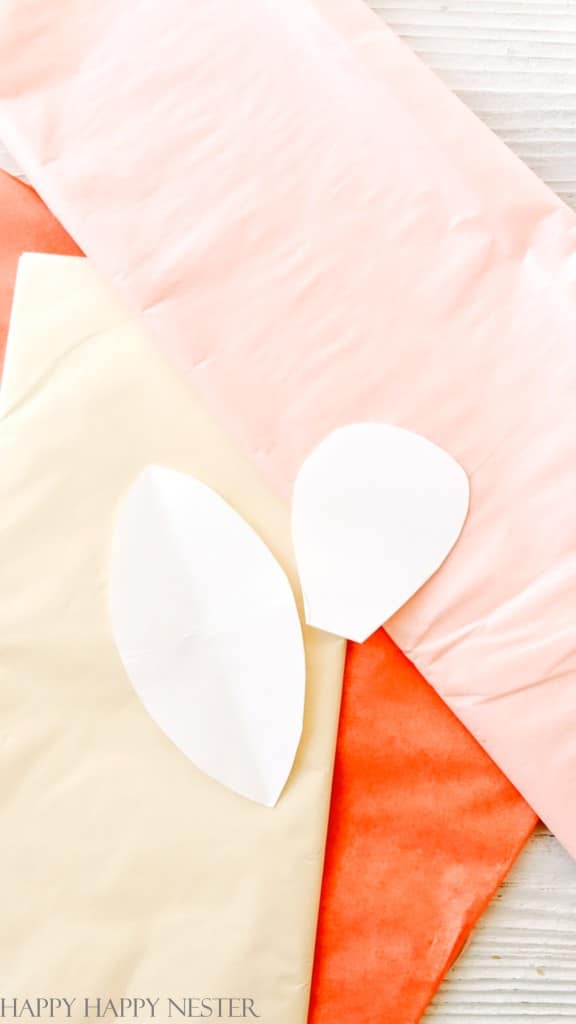
- Petal Template
- Wooden Beads
- Scissors
- Fringe Scissors (optional)
- Hot Glue Gun
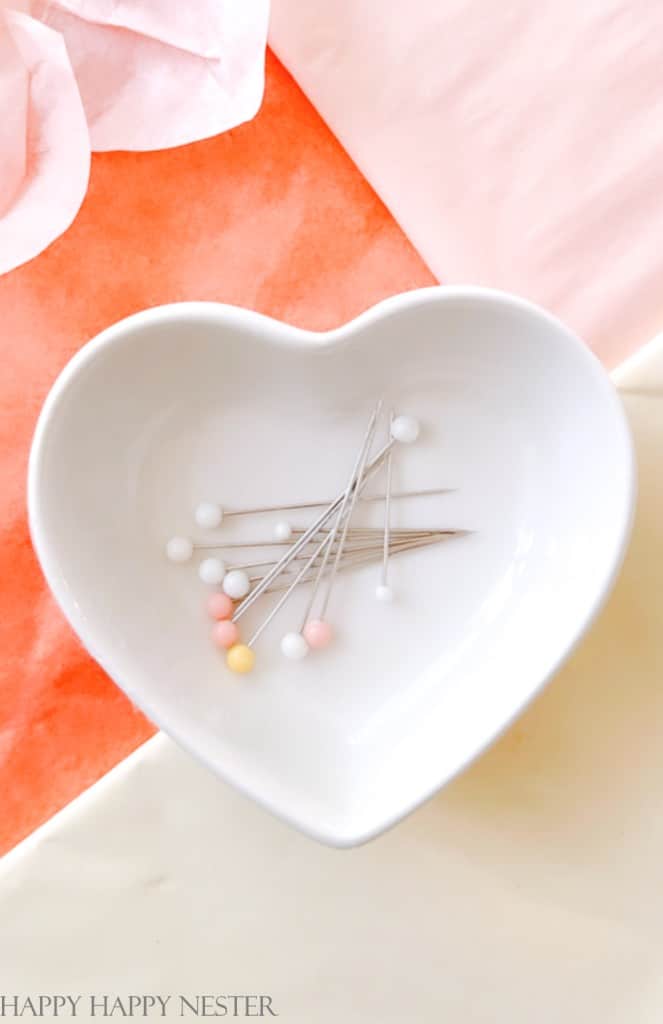
- Sewing Pins
How to Make Three Paper Flowers
Roses/Anemone
Step 1 – Rose Petals (Pink Tissue Paper)
Download my petal pattern and cut out one with cardstock paper. This will be your template or pattern for the petals.
Place the pattern on top of six tissue paper squares that are the size of the petals. Then with your scissors, cut around the template and cut out six petals.
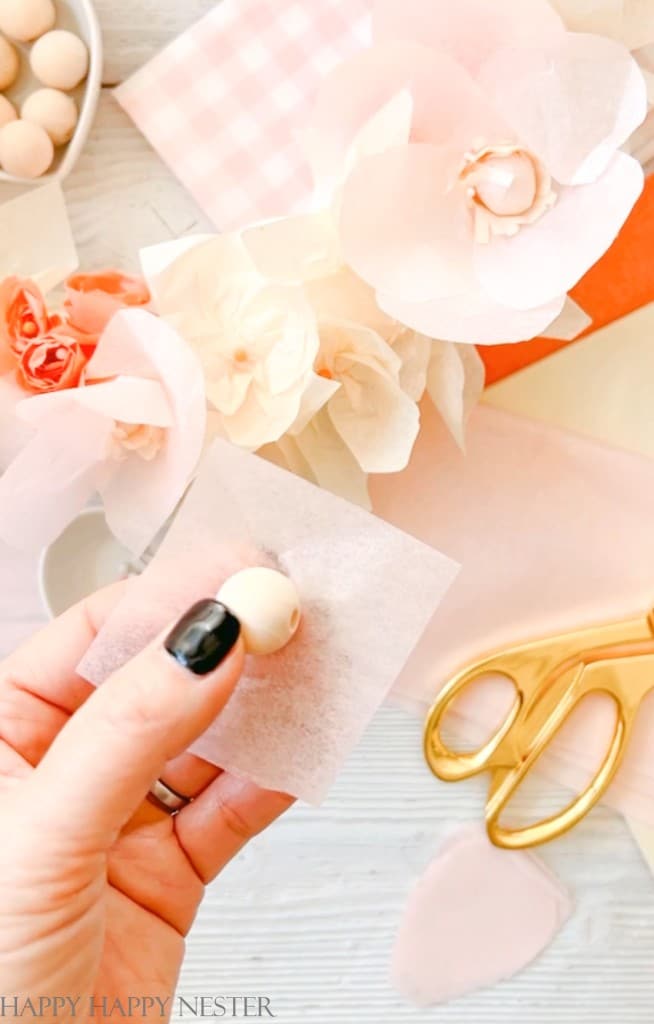

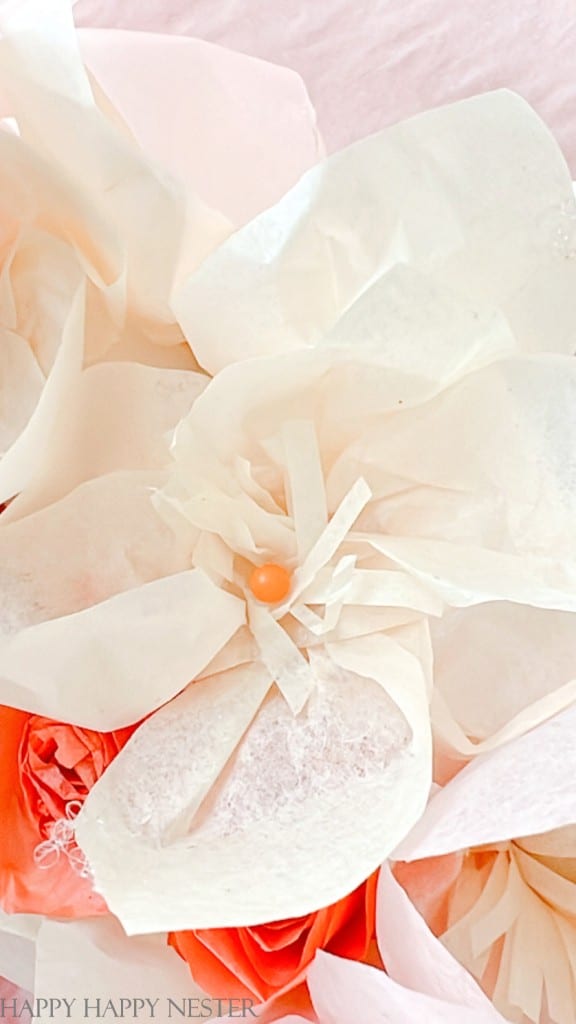
Step 2 – Make the Rose Middle ( Yellow Tissue Paper)
Take a piece of tissue paper and cover a little wooden bead. There is no correct size of beads, but I used the smallest one in my package. Add glue to the ball and adhere the tissue paper to the ball.
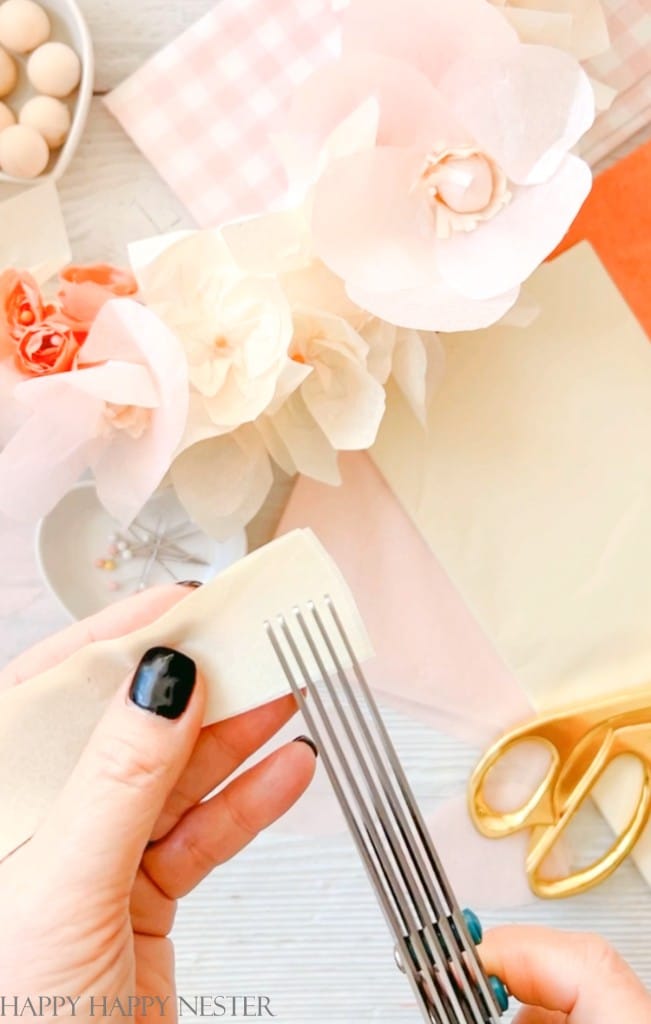
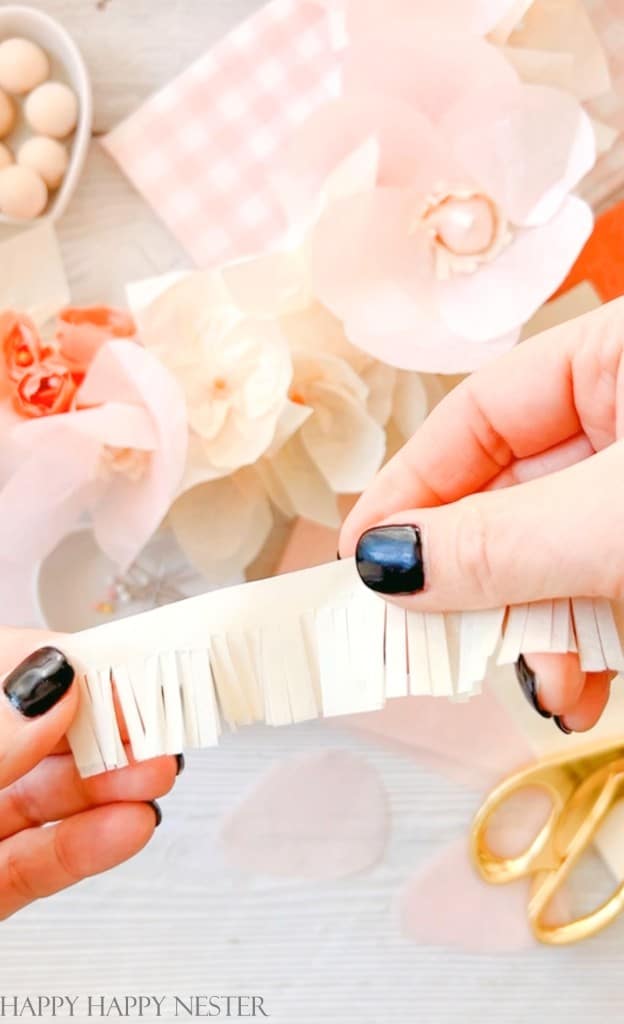
Step 3 – Make Tissue Paper Eyelashes (Yellow Tissue Paper)
Cut a 1 to 2 inch strip of tissue paper roughly 8 inches long. Using your eyelash scissors, but the paper vertically, make sure to stop about 1/4 inch from the top.
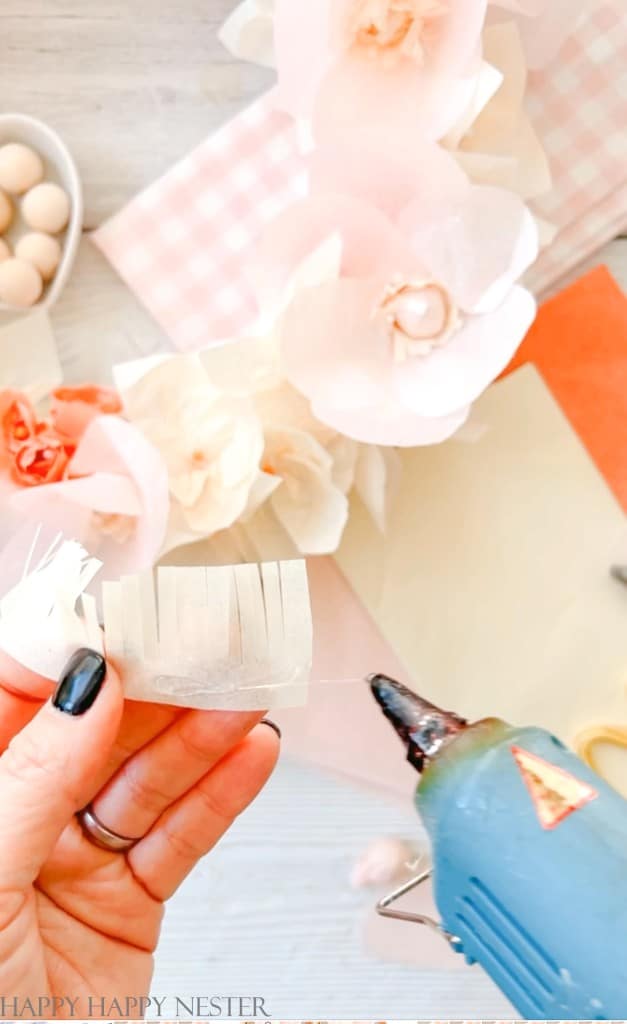
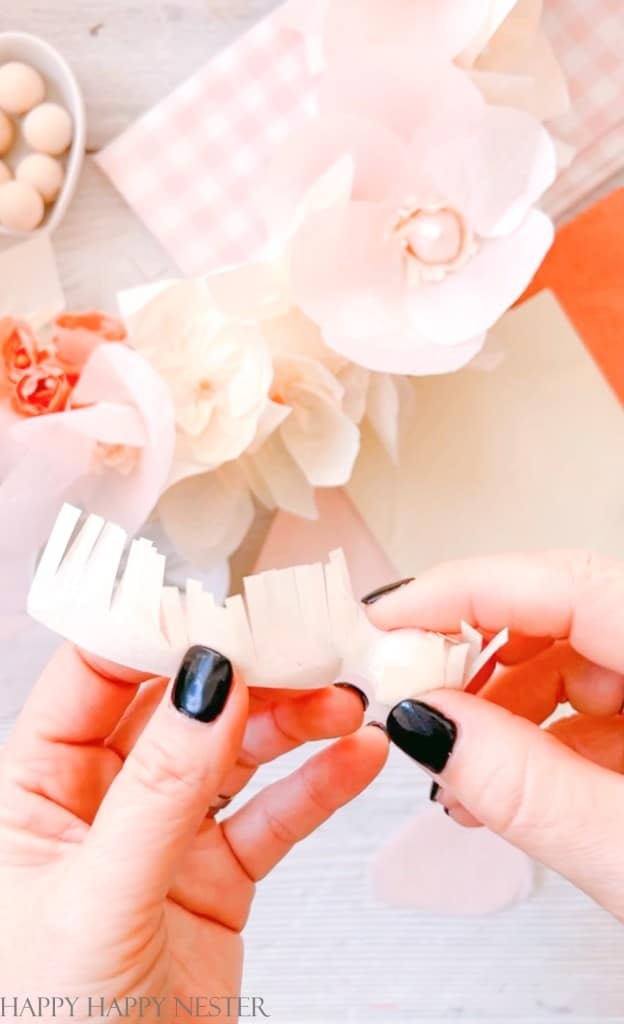
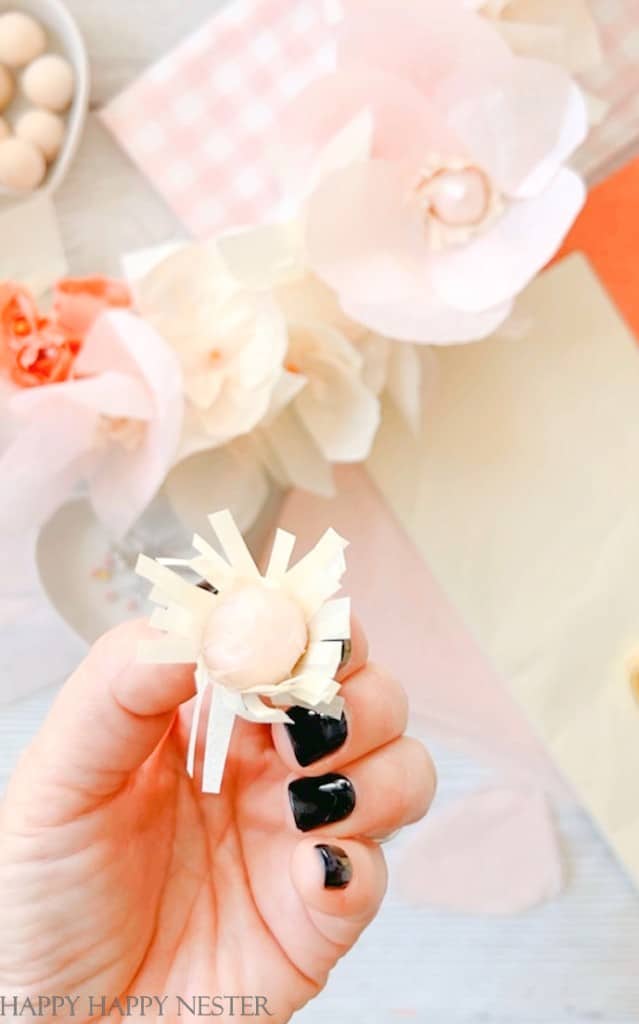
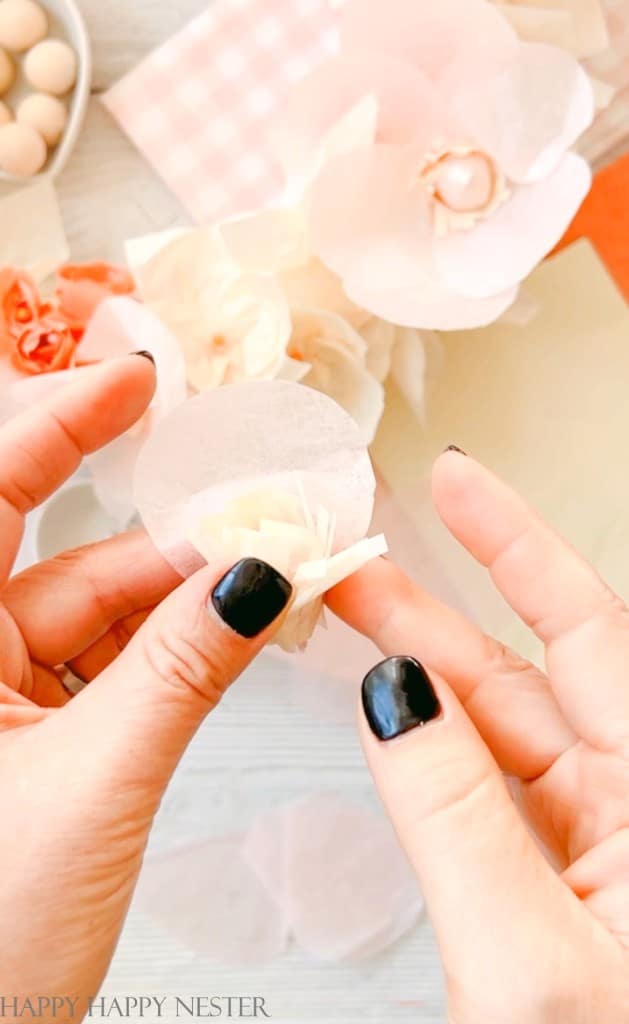
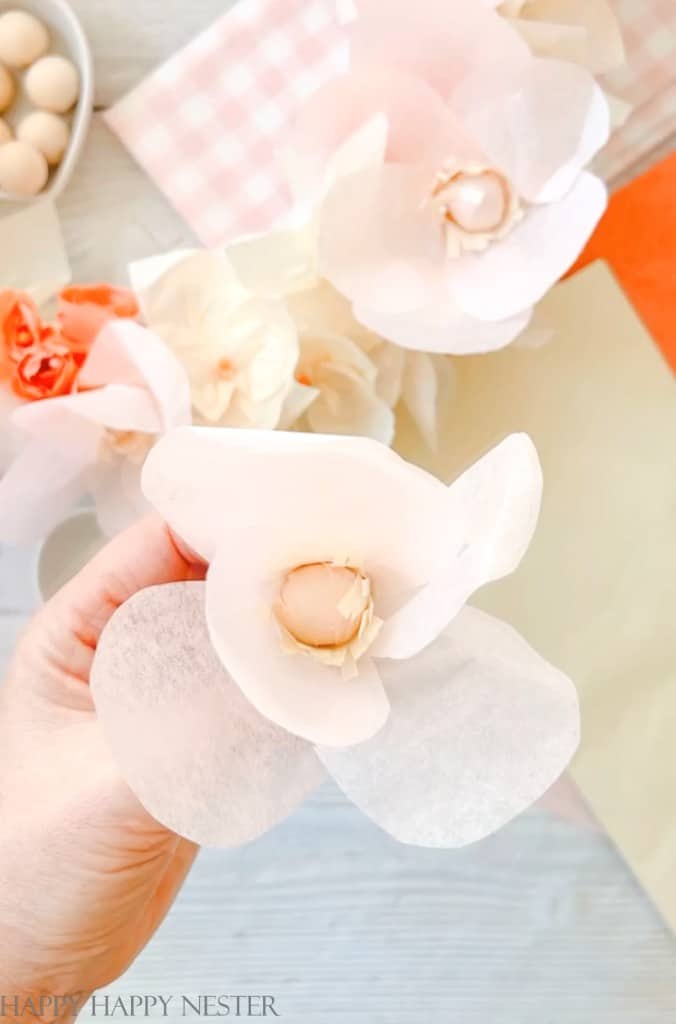
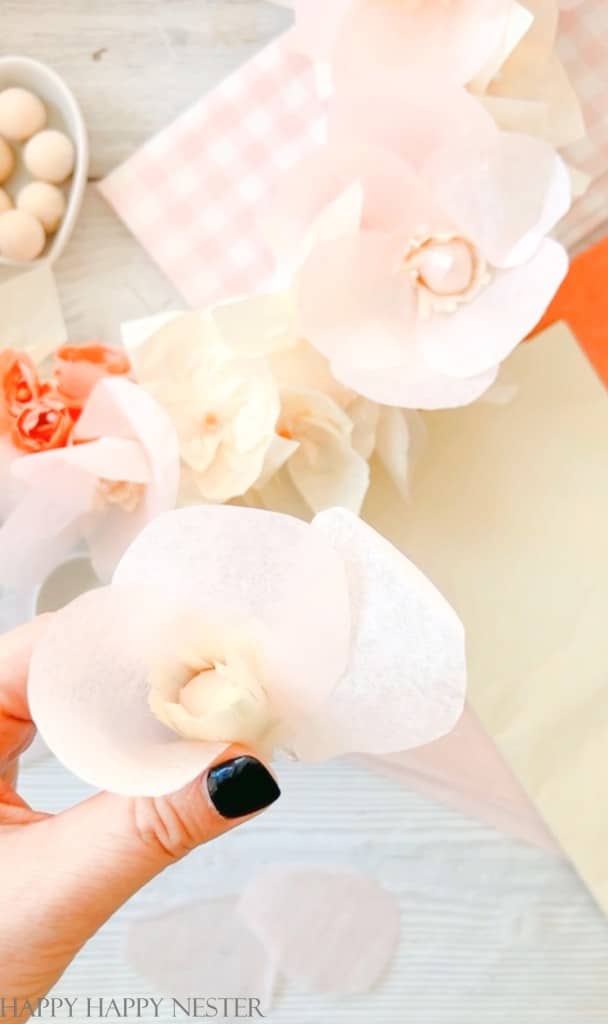
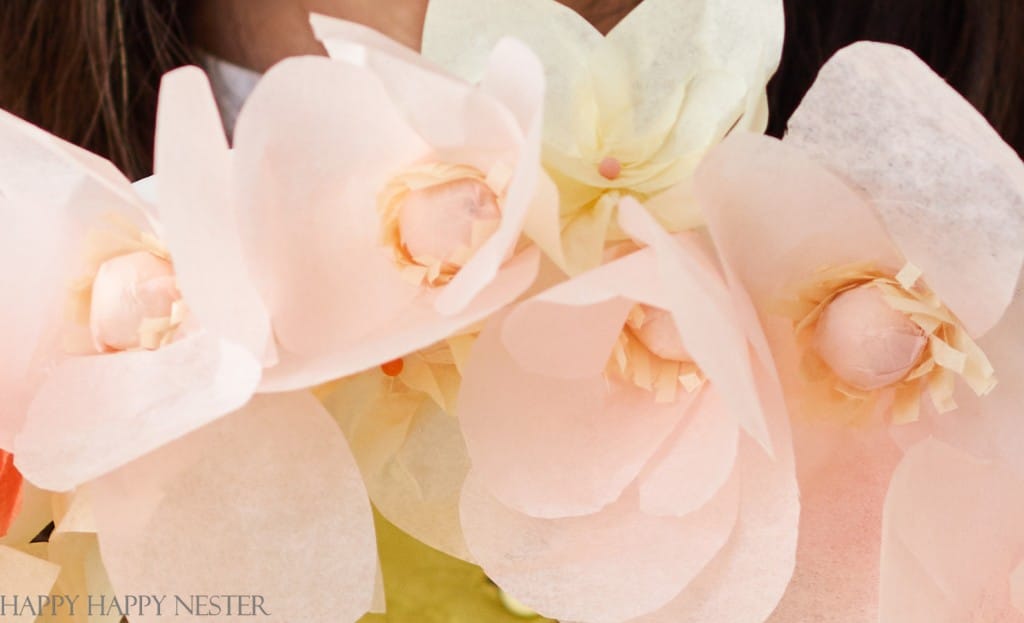
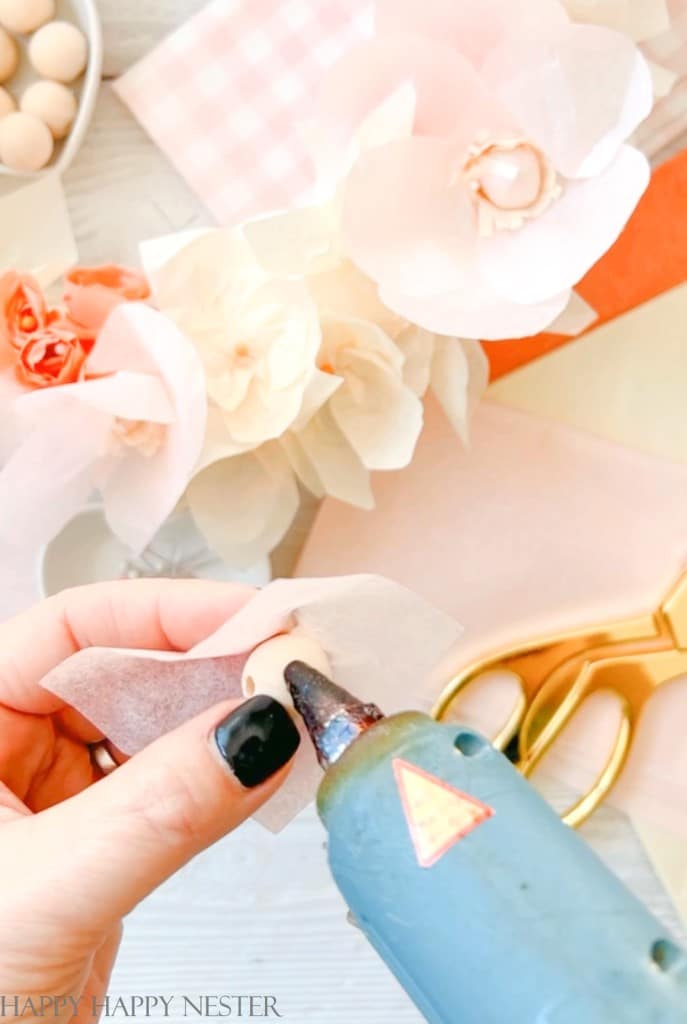
Step 4 – Build the Rose
Take your covered ball and place a little bit of glue on the ball. Add the base of the eyelash to the glue. Continue wrapping and gluing the eyelash to the ball until you have covered the outer surface of the round shape.
You’ll begin forming your flower at this point. Place a small amount of glue at the bottom of your petal. Place the glued petal to the base of the ball and eyelash. Your next petal will overlap the previous petal. Keep adding petals making sure to overlap them. You can add more petals (I used 6 petals) if you have some gaps in between the petals. Once you finish surrounding the middle of the flower, you’re done.
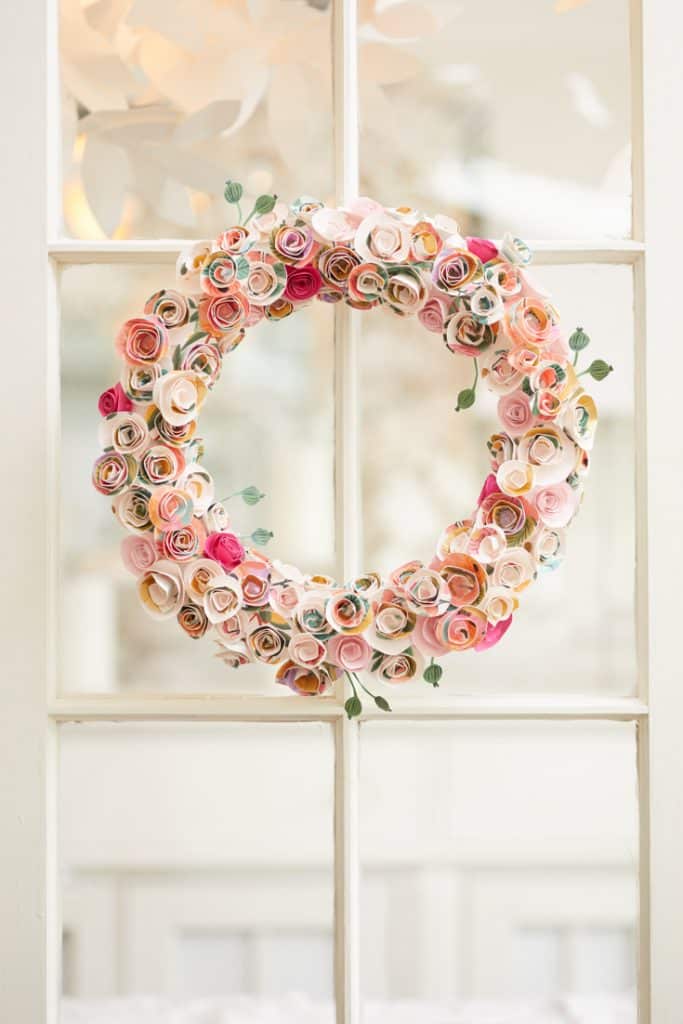
Rosettes
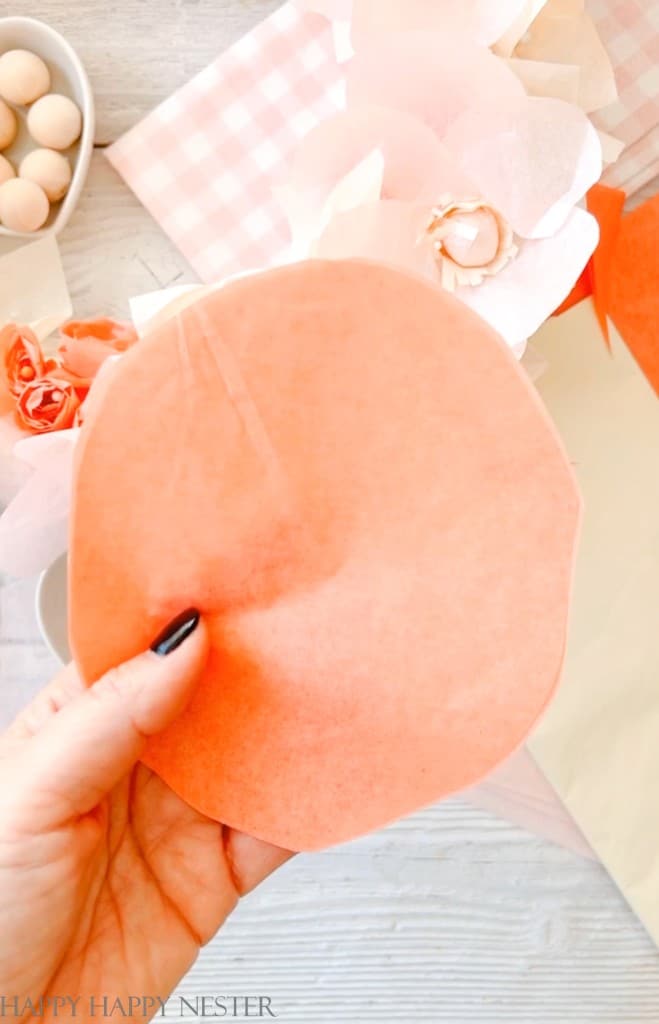
Step 1 – Cut a Circle
Cut your tissue paper and make a circle. I made about a 5-6 inch circle.
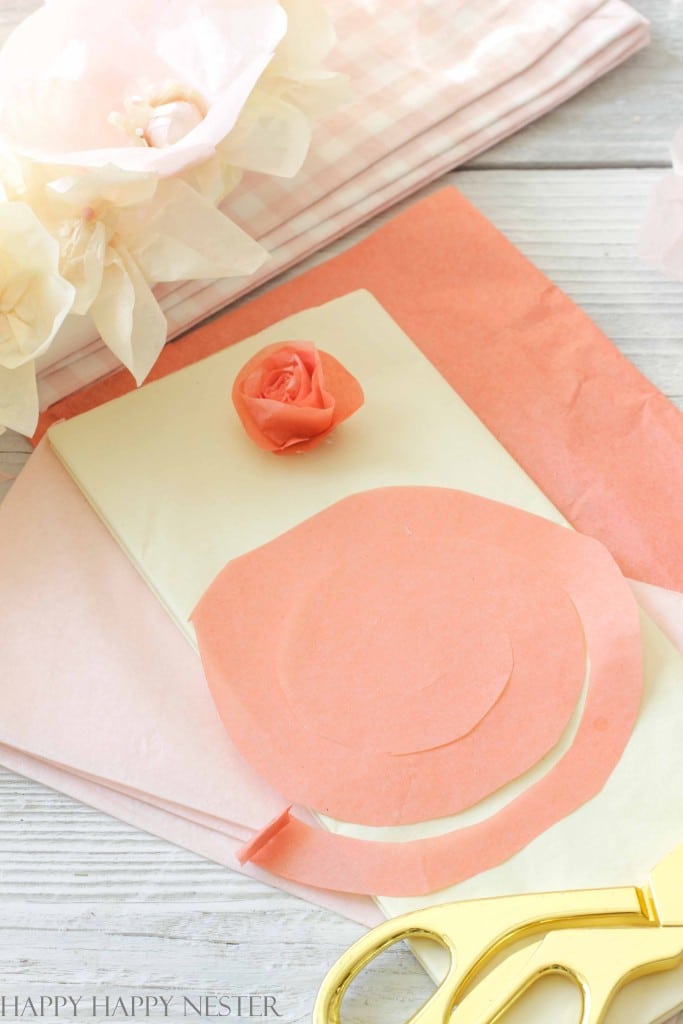
Step 2 – Cut a Spiral
Starting at one edge of the circle and begin cutting into the circle. You’ll continue cutting into the circle like a spiral. You’ll end in the middle of the circle with a smaller circle.
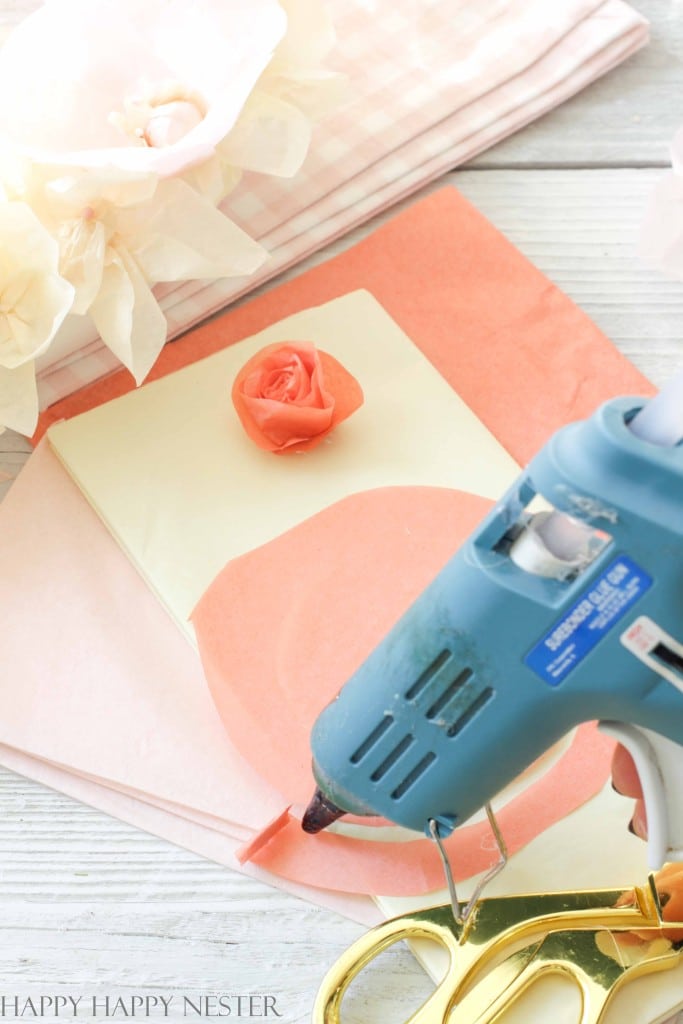

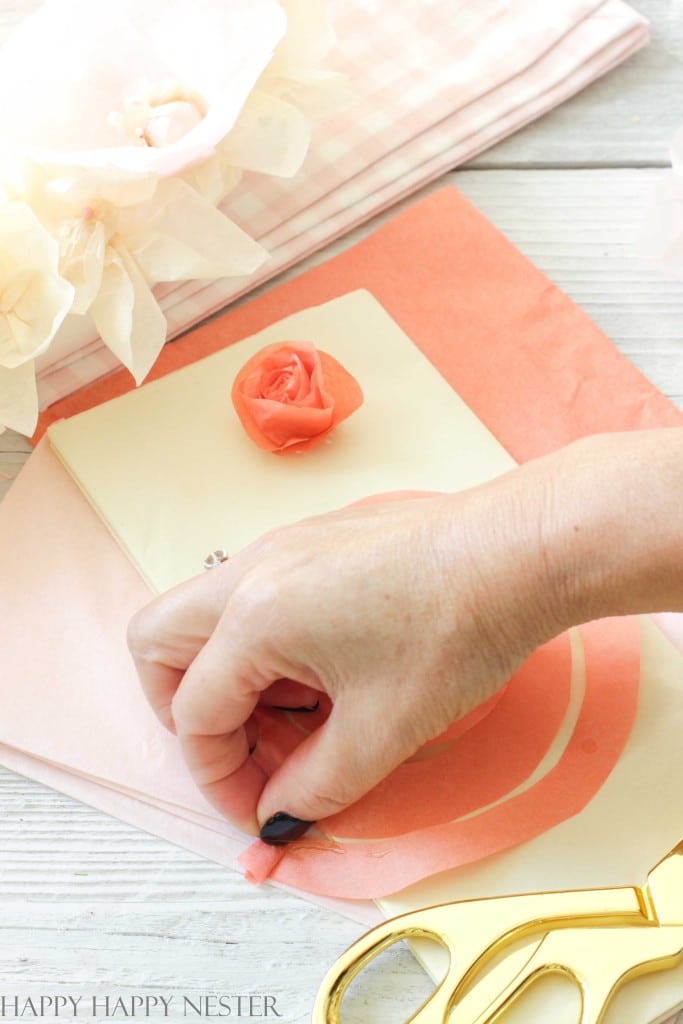
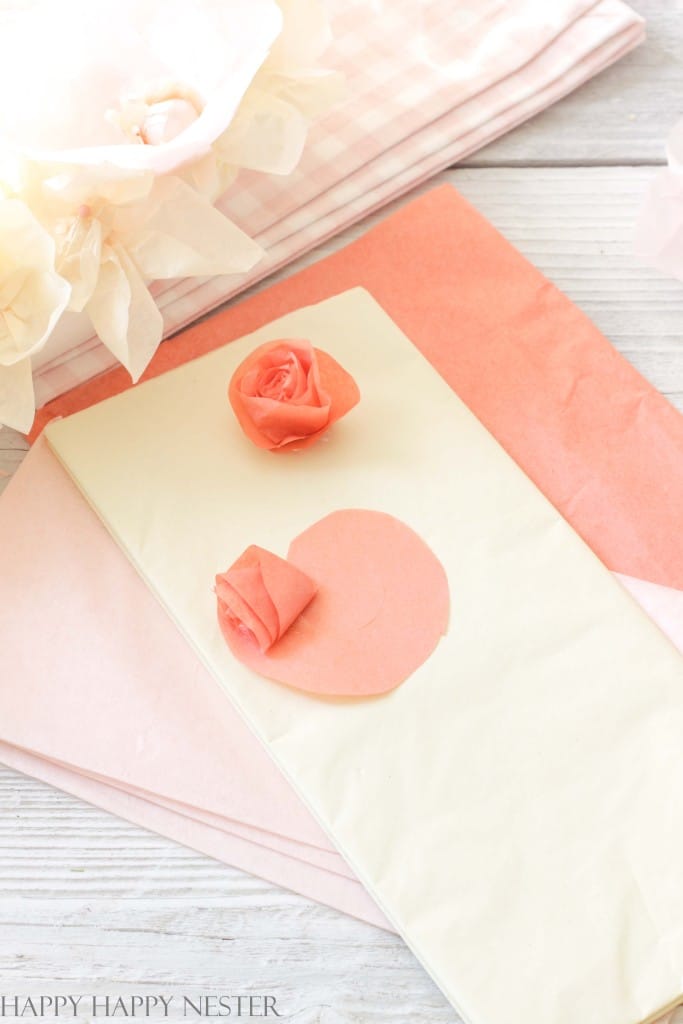
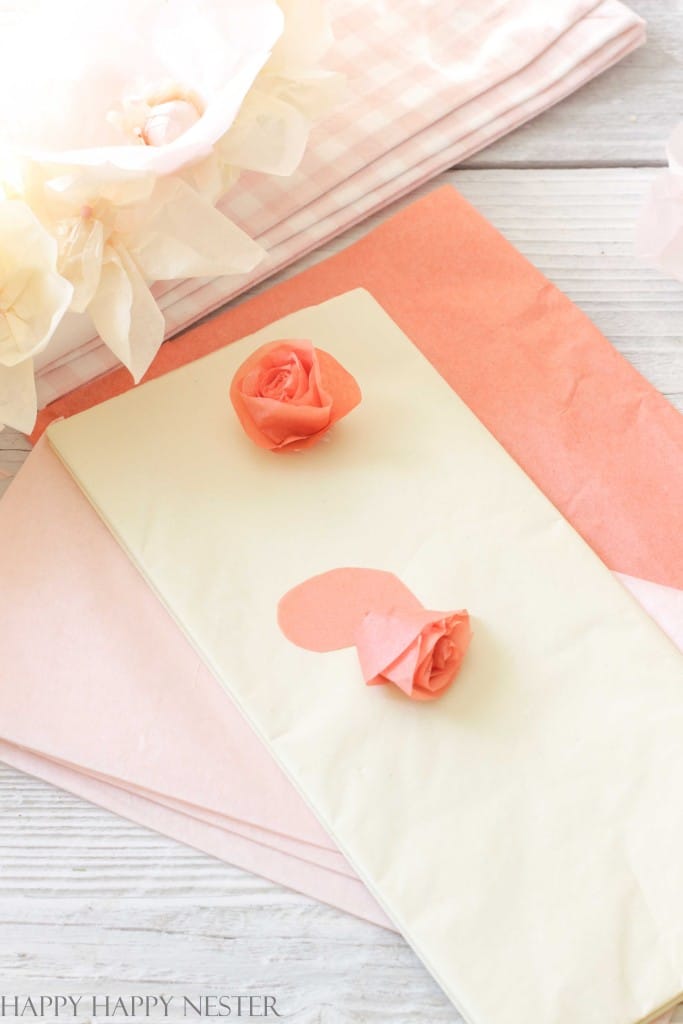
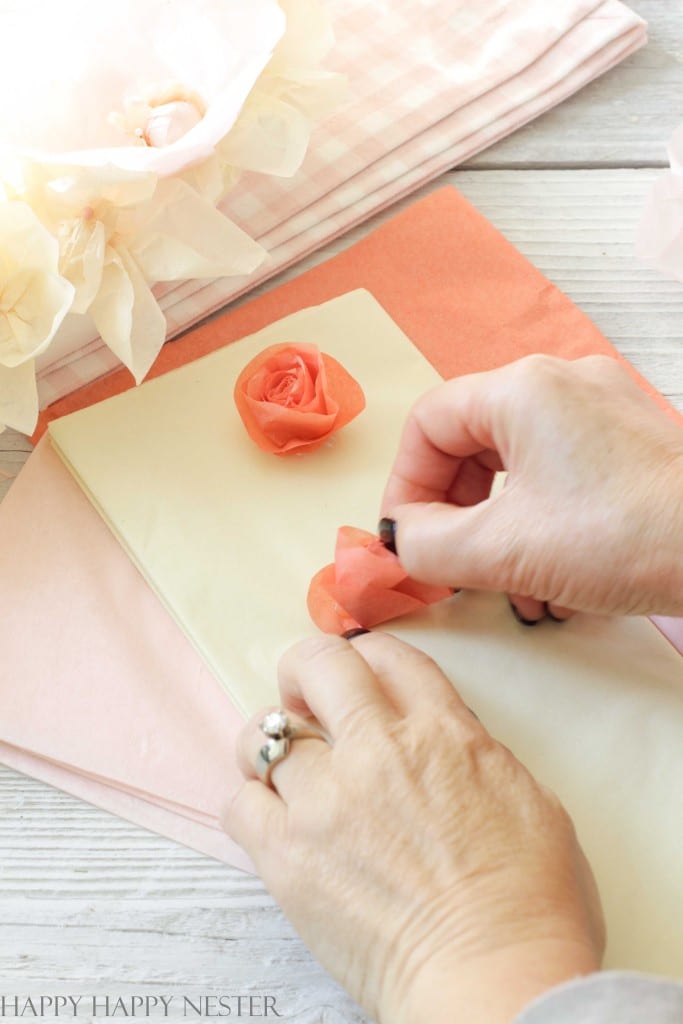
Step 3 – Roll the Paper
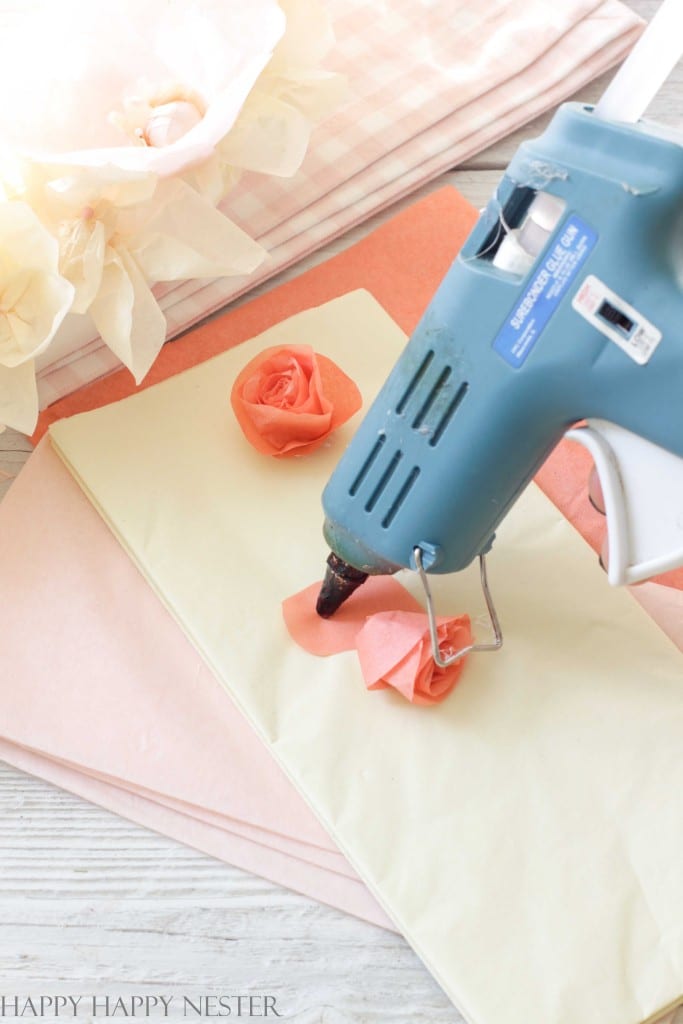
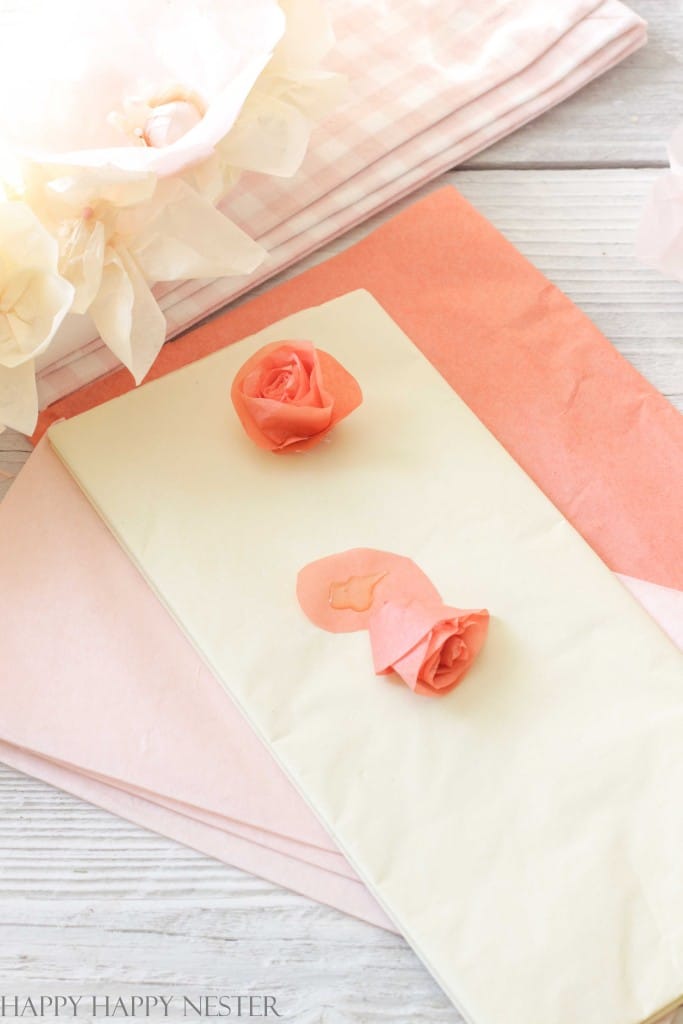
Next, begin rolling your paper at the end of the spiral or tail. Keep rolling and gluing until you get to the middle of the circle.
Place a dab of hot glue on the inner circle and plop your rolled-up flower on top of the glue. Hold the rose until the glue is dried and the flower is in place.
Simple Flower
Step 1 – Cut out Two Petals
Copy the shape to the left for this flower.
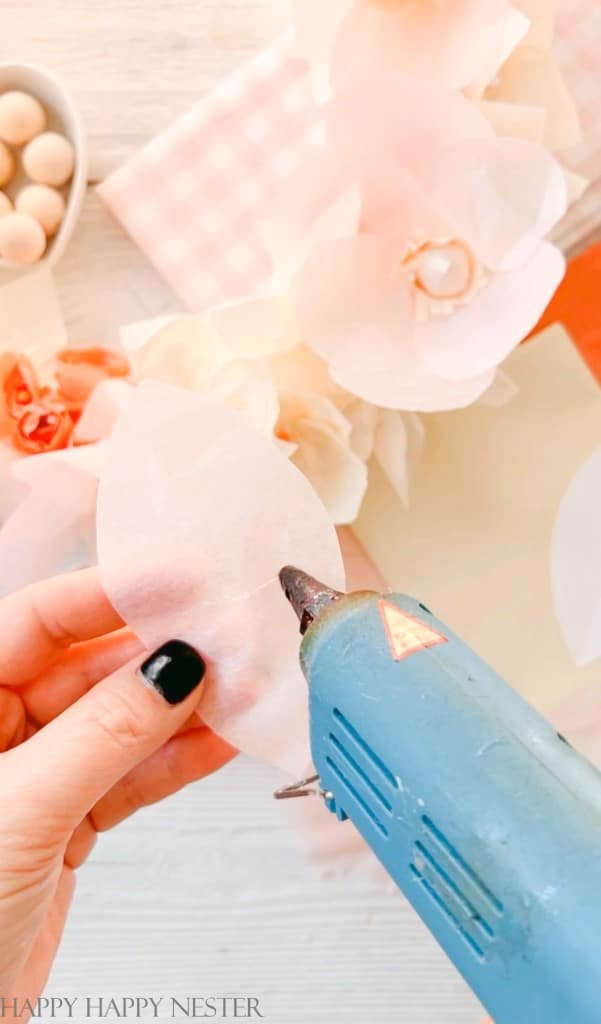
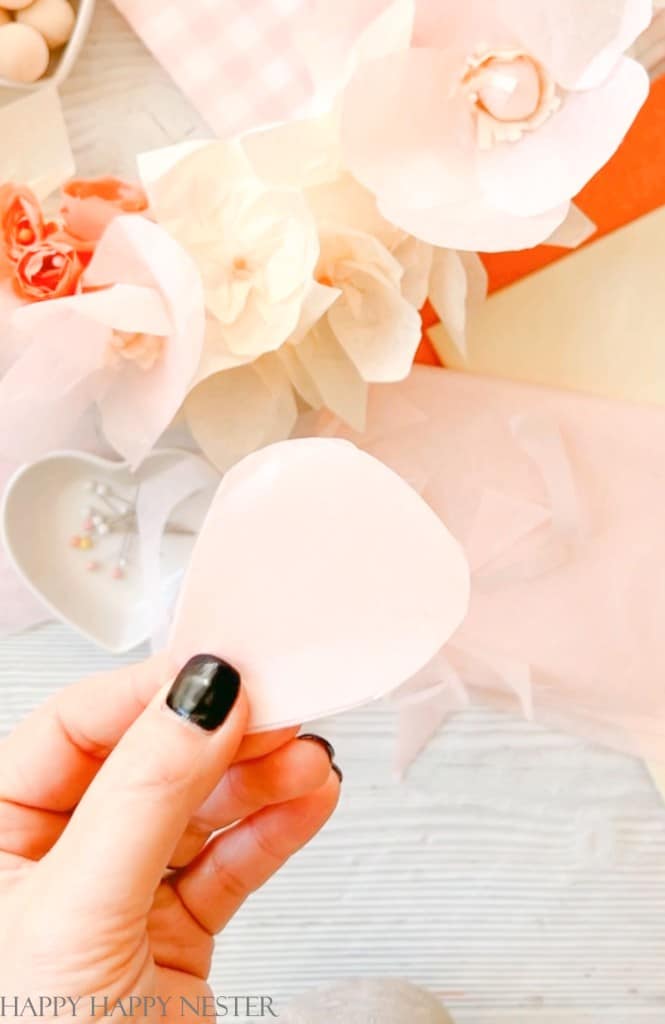
Step 2 – Glue Petals
For the petals, I created a leaf shape template with cardstock. Then I used the template to cut out two tissue paper petals. Place a line of hot glue in the middle of the petal, as shown in the photo. Bring together the middle, so now you have two petals.
FYI, to create the petal, I drew an arched lines connecting at two points to create leaf patterns. It’s super easy, and you can make them any size. Mine is 4 1/4″ long by 2 1/4″ at the widest point.
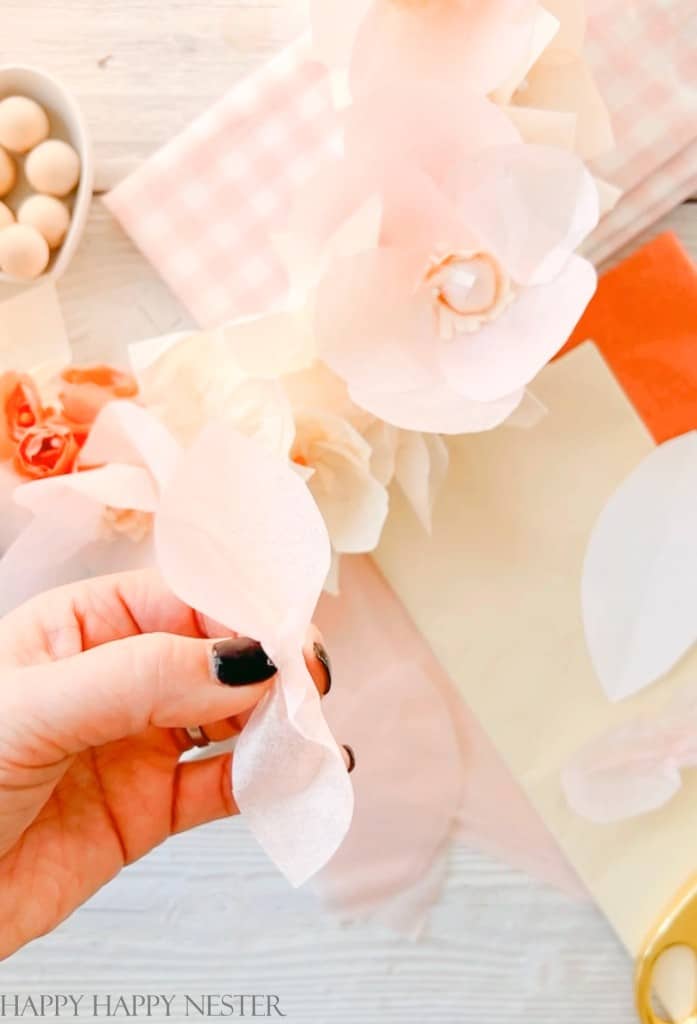
Step 3 – Make the Flower
Place a dab of glue in the middle of one of the flowers. Place the other flower on top. Make sure to place the top flower off-center from the bottom one.
Make the Wreath
Fill the entire wreath form with flowers.
I used sewing pins to attach the flowers to the wreath base. I liked the little spot of color they added to the flowers. Sometimes I get tired of using hot glue, so I used the pins, but if you like, you can glue the flowers.
Fill in the sides and middle with flowers but keep the back of the wreath empty so it can lay flat on a front door or wall.
Optional Embellishments.
Add some leaves or other flowers that are made with these alternative papers.
- Crepe Paper
- Cardstock Paper
- Wrapping Paper
- Craft Papers
- Scrapbook Paper

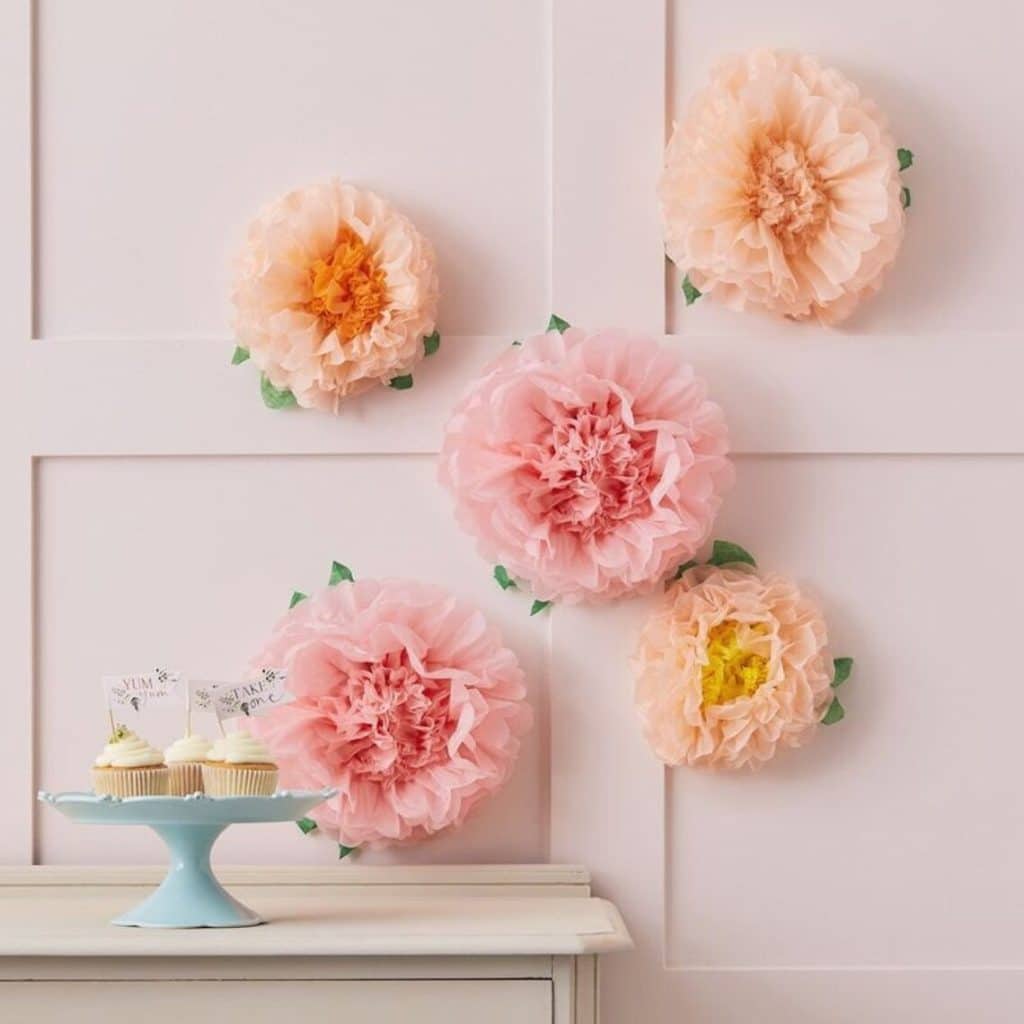
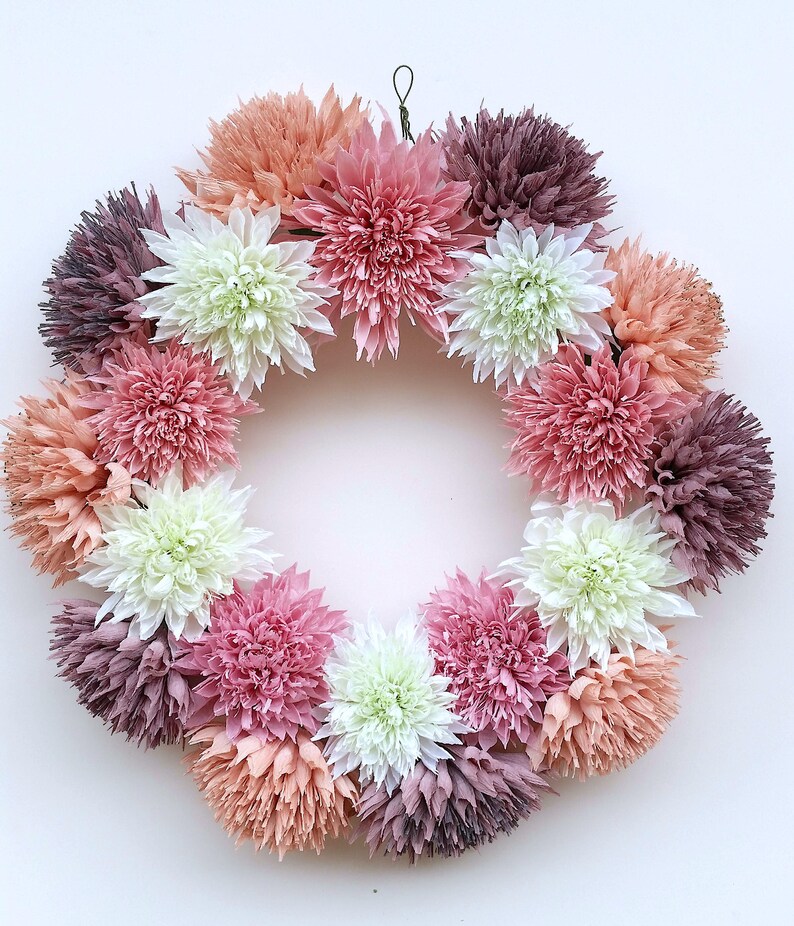
If you don’t have time to make these paper flowers, check out these, I found that you can buy.

I should’ve made a video tutorial for this post, but I did post one on my social media over on Instagram.
Well, I hope you can make this beautiful wreath this spring. I enjoyed making this paper wreath DIY with its romantic and pretty paper flowers. I love the antique look of these tissue paper flowers. But the skies the limit when it comes to choosing your colors!
Thanks for stopping by and checking out my latest project.
Happy Crafting!


Blogger’s Best Valentine’s Day DIYs
- DIY Valentine’s Day Porch | Tatertots and Jello
- DIY Heart Wreath | Eleanor Rose Home
- Boho Valentine’s Day Wreath | Modern Glam
- DIY Wrapping Paper + FREE Printable Gift Tags | My Sweet Savannah
- Valentine Hearts DIY | My 100 Year Old Home
- How to Make a Twig Tree for Valentine’s Day | Most Lovely Things
- Hand Painted Valentine’s Day Candles | Craftberry Bush
- Paper Wreath DIY | Happy Happy Nester
- Valentine’s Day Shell Heart DIY | Zevy Joy


- Cherry Blossom Cookie Recipe - April 3, 2026
- Amazon Simple Porch Decor - April 1, 2026
- Recipes For Springtime - March 28, 2026

")

")
Melaine Thompson
Another adorable project!
Heidi
This is the cutest wreath ever Janine! I am pinning this so I can remember to make this sometime soon!
Janine Waite
Thanks, Heidi!
Kim | Shiplap and Shells
This is the most beautiful wreath, Janine. I would love to feature this on my weekly wrap-up blog post on Sunday.
Janine Waite
Hi Kim,
That sounds lovely. If you can please link back to me, that would be awesome! Thanks so much for the reshare.