Welcome to our second installment in our four days Valentine’s Day Series. Today, I’m sharing Valentine Sugar Cookies Decorating Ideas.

I know I mentioned this project is one of a series of four Valentine’s Day Projects.
Sunday’s Post – Valentine’s Day Wreath Tutorial
Tuesday’s Post – Valentine’s Day Cookie Packaging
Wednesday’s Post – Valentine’s Day Card
Do you love the iced sugar cookies but feel intimidated by the whole process? Well, today we are going to tackle how to make and decorate ice cookies.
Well, a good royal icing recipe is probably key to your success. Also, I might mention a good sugar cookie recipe that keeps its shape is just as important. So, I’m sharing my favorite recipes in this blog post. I feel you can’t have one without the other.

Valentine Sugar Cookies Decorating
BAKING COOKIES
I always wanted my sugar cookies to look like store-bought ones. I was always frustrated when the cookies spread while baking, and sadly I ended up with a bloated shaped cookie.
A couple of years ago, I finally cracked the case on how to make a perfectly shaped sugar cookie. And I’m sharing my tips with you today. I promise that you’ll have the prettiest shaped cookies if you follow the sugar cookie recipe directions.
Ok, here is the first part of your tasks, baking your sugar cookies.
Sugar Cookie
Ingredients
- 2 cups unsalted butter room temperature
- 2 cups granulated sugar
- 2 eggs large
- 5 cups all-purpose flour
- 3 tsp vanilla extract
- 1 tsp salt
Instructions
- Cream the butter and sugar together until light and fluffy. This takes about one minute on low speed.
- Add eggs and vanilla and mix well.
- Mix flour and salt in a separate bowl.
- With your mixer on the lowest speed, slowly add flour mixture to the butter. Mix for 30 seconds until the dough is thoroughly incorporated.
- Divide dough into two parts. Place each between two pieces of parchment paper.
- Roll out each set of dough. I rolled mine out to a 6 mm thickness, but it is whatever thickness you prefer.
- Transport each cookie dough to a cookie sheet.
- Refrigerate the cookie doughs for 1 hour.
- Preheat oven to 350°
- Take chilled cookie dough and cut out cookie shapes and place the cookies on a parchment lined cookie sheet.
- Place cut out cookies back in the fridge for about 10 minutes.
- Reroll extra dough and place cut out cookies back in the fridge for 10 minutes.
- Remove chilled cookies from fridge and bake for 8-10 minutes.
- With the extra dough reroll and chill for 10 minutes. The colder the cookies the better they keep their shape when baking. I hope this makes sense.
Nutrition
LET’S TALK ABOUT ICING
For years, I didn’t attempt icing sugar cookies since they intimidated me.
Finally, I took the plunge.
I learned a few things along the way about making pretty iced sugar cookies. First, a good icing recipe is key, and secondly, the right cake decorating tools. I finally broke down and invested in some good pastry bags and tips.

Let’s chat about how to frost your sugar cookies.
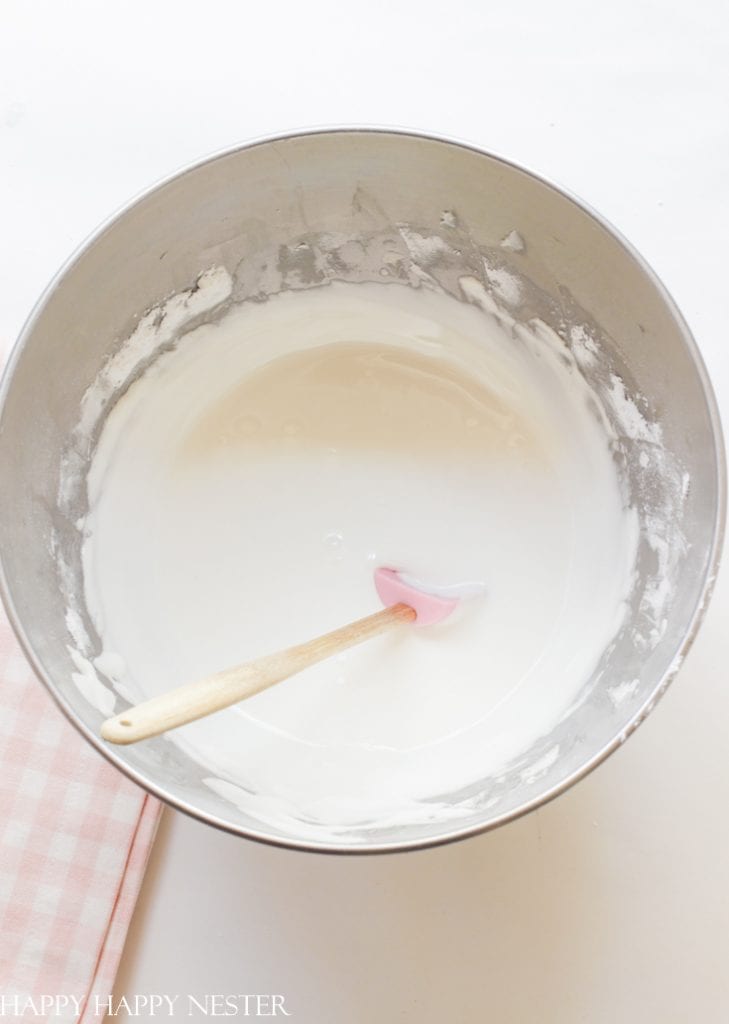
When it comes to icing, you’ll want a consistency that is similar to marshmallow fluff. If you aren’t familiar with fluff, then look for a frosting that is a bit on the runny side. If you watch my icing video, you’ll see the consistency.
Here is another easy tip: The 10 Second Rule. To check the consistency, drag the tip of a knife through the surface of the icing, letting the knife go approximately an inch deep, and slowly count to 10. If the surface of the icing smoothes over in approximately 10 seconds, then your icing is the correct consistency and is now ready to use.
Royal Icing Recipe
Ingredients
- 3 ounces warm water
- 2½ tbsp merinque powder
- 4 cups powdered sugar
Instructions
- Using your mixer bowl add warm water and meringue together.
- Whisk by hand until frothy.
- Place mixing bowl on mixer, now add the powdered sugar all at once.
- Attach the paddle to the mixer and mix the icing on the lowest speed for 10 minutes.
- You are looking for a slightly runny frosting. If it is too thick, add small amounts of water to get the right consitency.
- Place icing in bowls and add desired colors.
- Cover extra icing with plastic wrap. I place the plastic straight onto the icing preventing air from drying it out.
Nutrition
The following post contains affiliate links
BAKING SUPPLIES
Now that you made the icing and are ready to decorate your cookie, here are the steps:
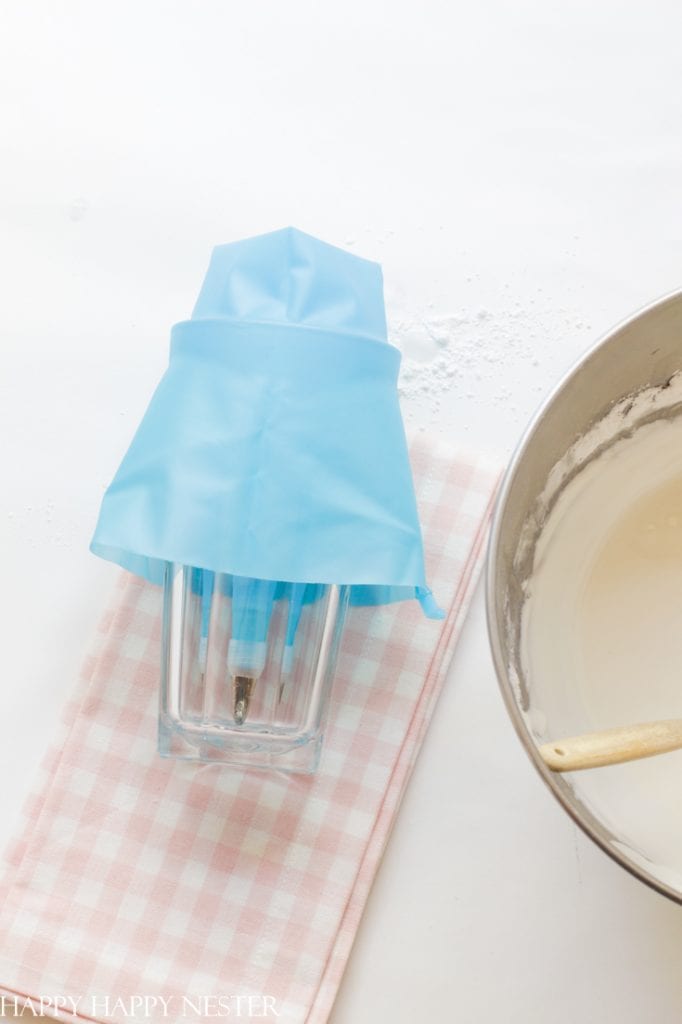
Step 1: Place the Coupler and Tip on the Bag
Place the coupler and round tip (size #1-5) on the pastry bag and place in a tall glass. Take the ends of the bag and fold it down the sides of the glass.
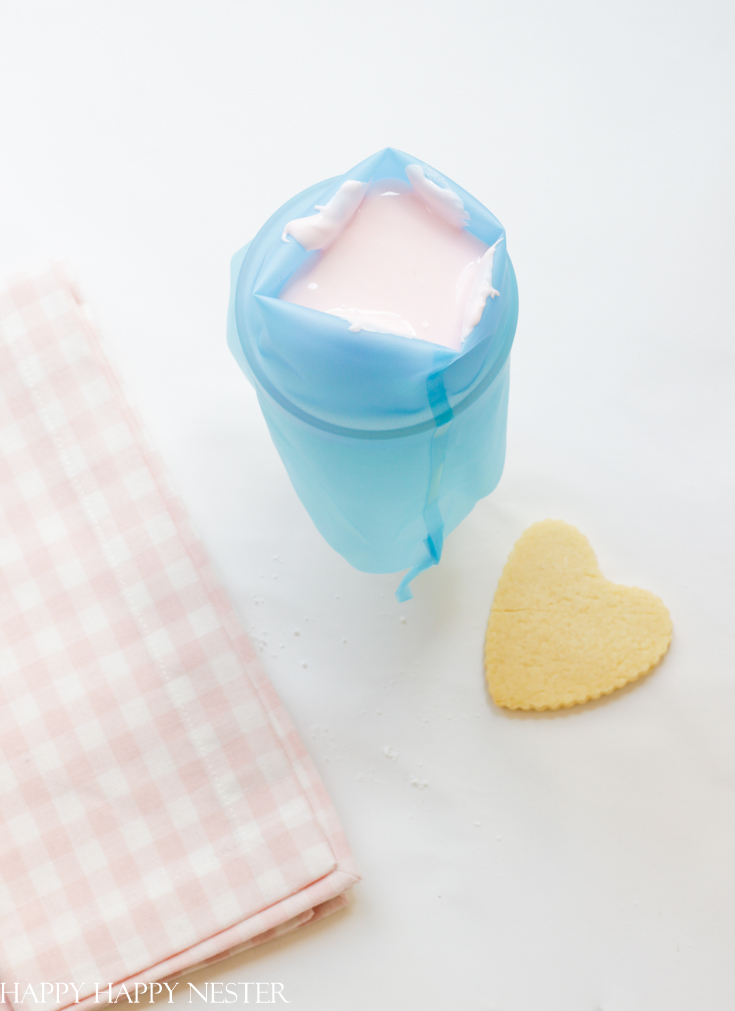
Step 2 – Fill The Pastry Bag
Carefully fill your pastry bag with the icing.
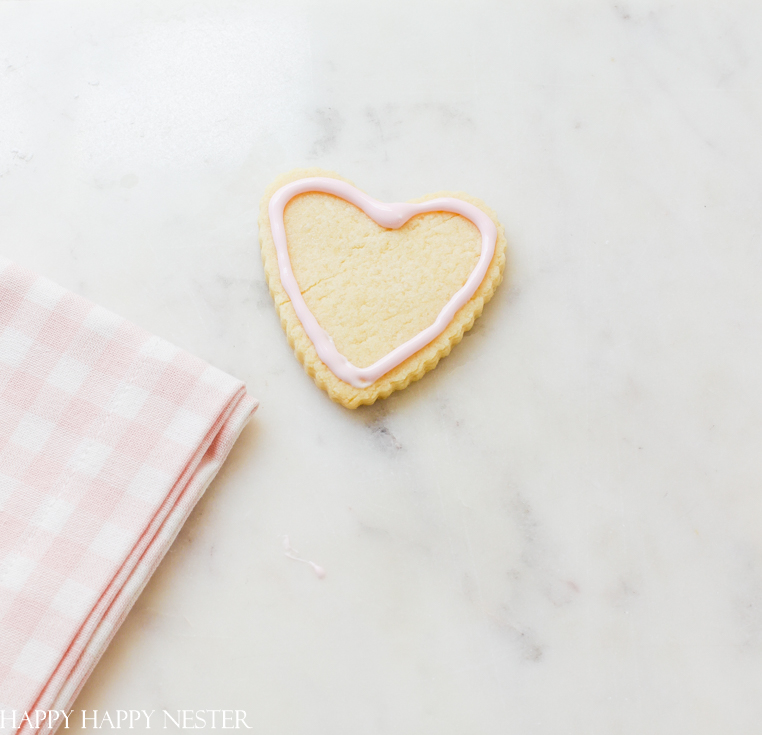
Step 3 – Start Piping
Outline your cookie with a single line of icing.

Step 4 – Flood the Icing
By going back and forth with your icing, fill in lines of icing. Don’t worry if you have a few empty spots. Now take your cookie and hold it on the sides and jiggle it back and forth. This will spread the icing and create a smooth surface. I did shake one of my cookies too much and it seeped out of the outline. So, I took my finger and cleaned up the outline. 🙂

Step 5 – Write Your Valentine Sayings
Allow the icing to fully dry, this may take an hour or more. Once you have a hard surface, use your Food Writer Marker on your cookie.

I hope this project isn’t too overwhelming. Once you make these cookies you’ll be on your way to making pretty cookies for every holiday. It is the basic recipe that you’ll enjoy forever.
I’m super excited to share my friend’s
Gorgeous Valentine’s Day Cookies!
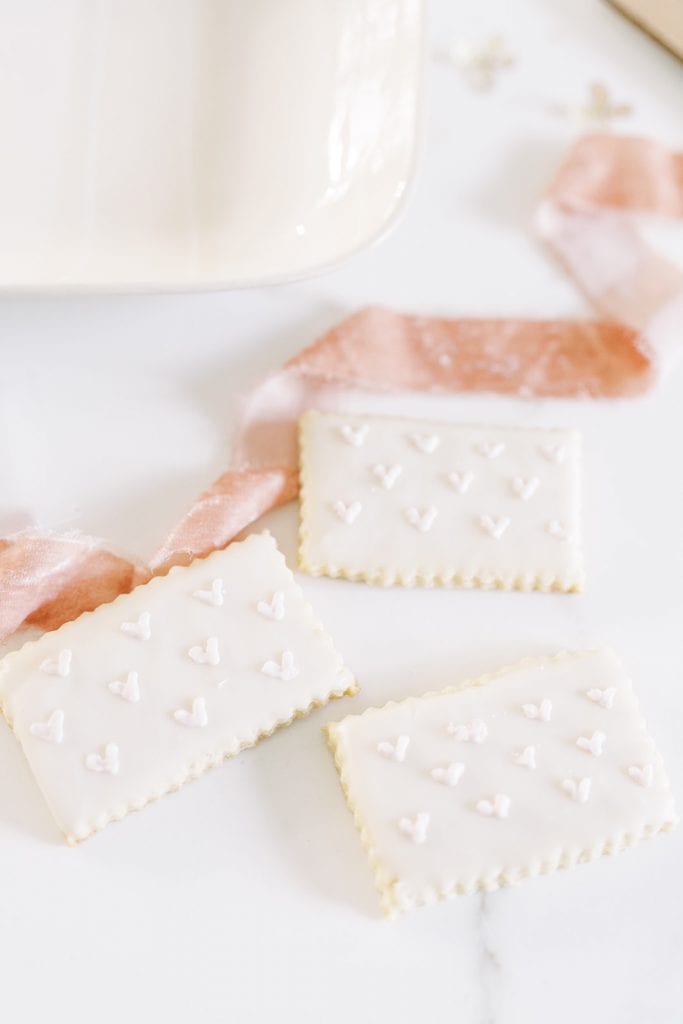
Finding Lovely | Lovely Frosted Sugar Cookies
These sweet scalloped cookies are decorated with delicate hearts for the perfect Valentine’s Day treat.

My 100 Year Old Home | Valentine’s Day Sugar Cookies
These Valentine’s Day sugar cookies are so much fun to make. I love that everyone can learn how to decorate these cookies.

Modern Glam | Shortbread Cutout Cookies With Raspberry Glaze
Make these delicious heart-shaped shortbread cookies with raspberry glaze for your valentine!
I hope you enjoyed this Valentine Sugar Cookies post. I can’t wait to share tomorrow’s post, Ok, I’ll see you on Tuesday!
Happy Baking,

- Spicy Edamame Recipe - July 26, 2024
- Easy Crepe Paper Flowers for Beginners - July 25, 2024
- Summer Rugs - July 24, 2024





deborah johnson
Hello… I love everything you do. When I was a child in school the favorite thing for kids to say was … dont look… dont be a copy cat…Well I am 67 and proud to say I am a copy cat of all that you share. That being said I would love to make these sugar cookies but you left out the amount of flour needed to make them. Could you please go back and fill that in. Thanks and please keep doing what you do. Deb from Canada
happyhappynester
Hi Deborah,
Thanks for your sweet comment. Yes, I think I am distracted these days. I just placed the flour in the recipe. You’re so nice to leave such a wonderful comment! Have a great day baking!
ASHLEY STRINGFELLOW
These are the sweetest! So fun.
happyhappynester
Thanks so much, Ashley!
Debbie
Thanks for explaining all that
I am for sure using this recipe
They are so pretty
happyhappynester
Hi Debbie,
You’re so welcome! I always use this recipe for my holiday sugar cookies. If you bake the cookies too long, they get a little hard, so observe the bake time. 🙂