Pumpkin carving is one of my favorite Halloween traditions, but a few simple tricks can make the whole process so much easier. These pumpkin carving tips and tricks come from my friend Marci, who has spent years carving pumpkins and has learned some clever techniques along the way. From prepping your pumpkin to carving the design, her tried-and-true tips will help you create a jack-o’-lantern you’ll love.
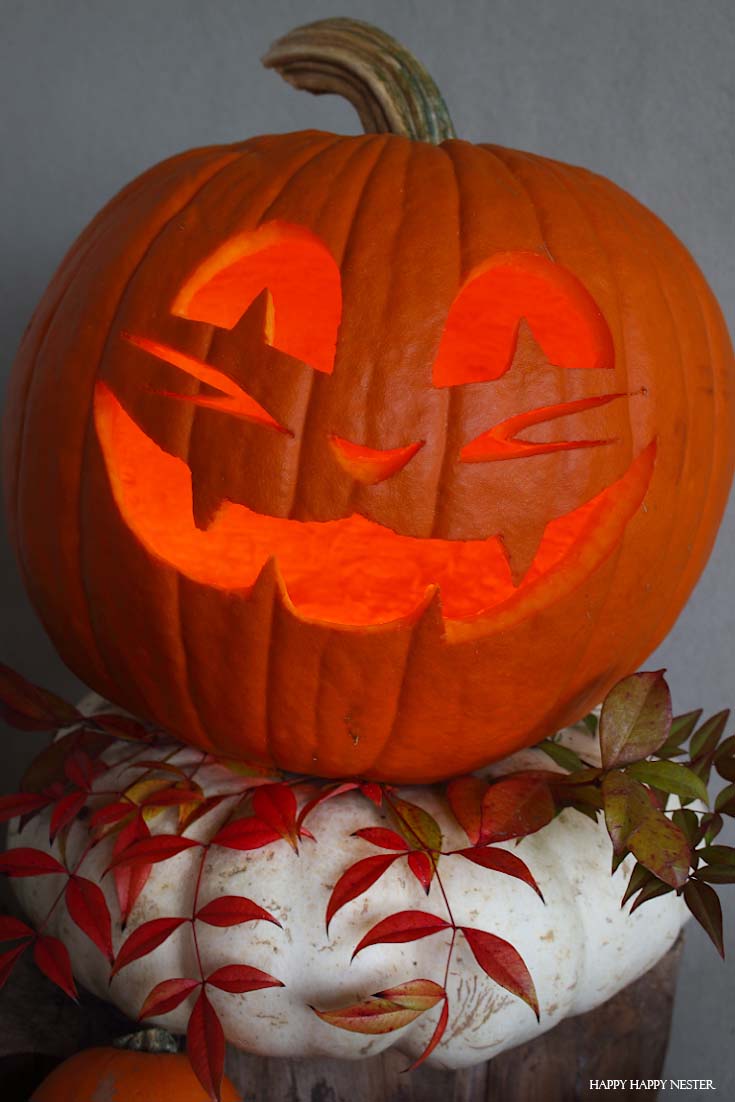
And if you’re decorating your porch for Halloween, you might also enjoy my easy paper bat Halloween craft or these inexpensive Halloween front porch ideas. They’re both fun ways to add a little Halloween personality to your entryway.
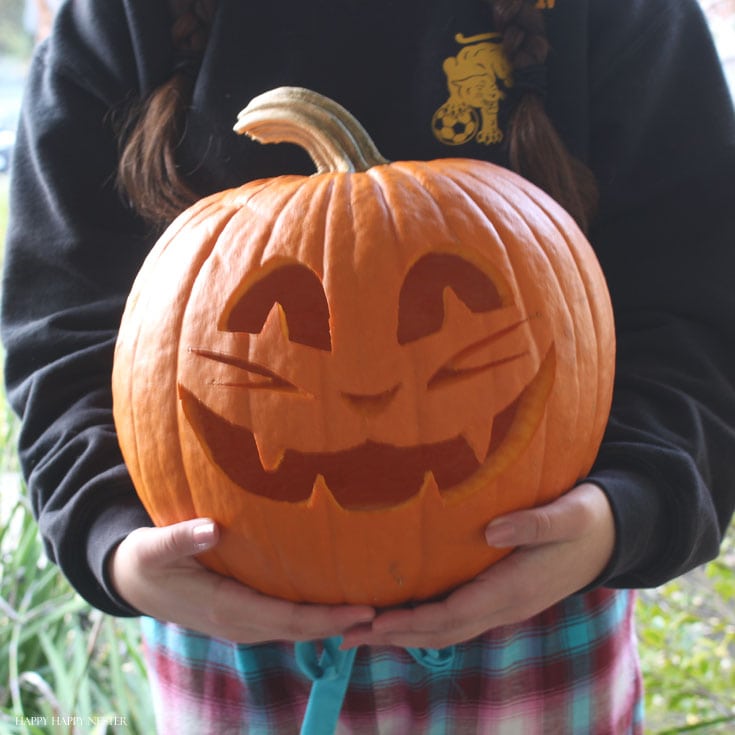
Pumpkin Carving Supplies
You don’t need a lot of special equipment to carve a pumpkin, but having everything ready before you begin makes the process much easier.
- Fresh pumpkin – Choose a firm pumpkin without soft spots or deep bruises.
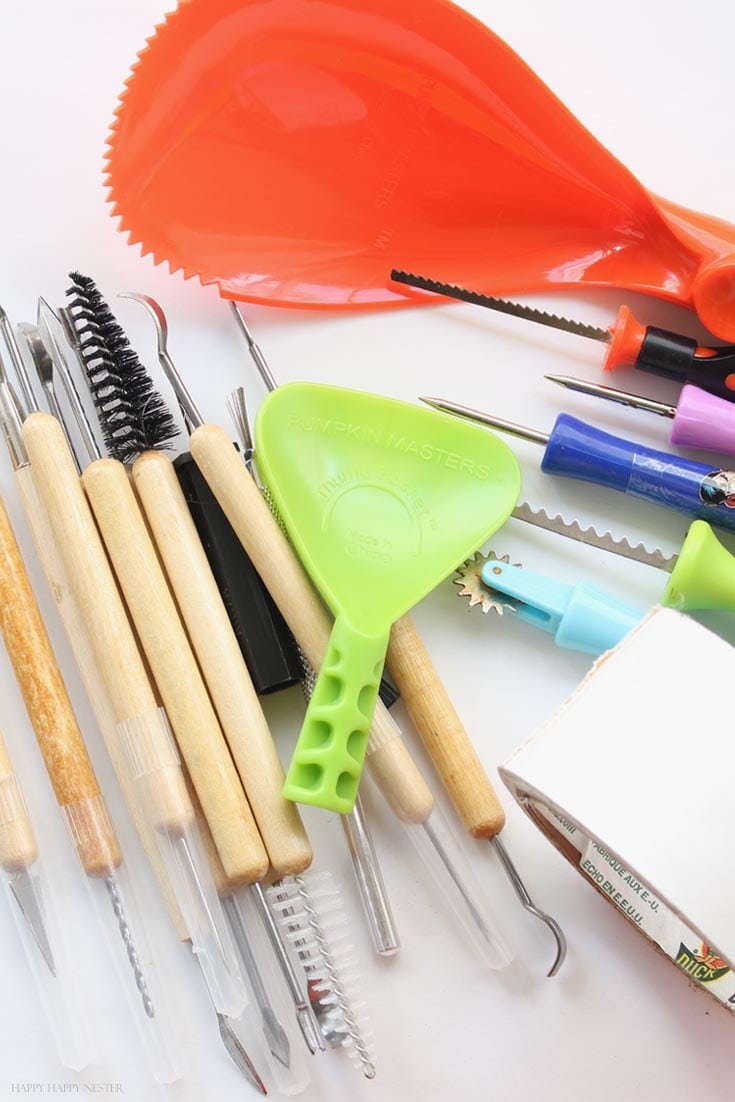
- Pumpkin carving tools – A small serrated carving saw and detail tools make intricate designs much easier to cut.
- Pumpkin pattern or stencil – Use a printable design or create your own.
- Masking tape – Helps hold your pumpkin pattern securely in place while transferring the design.
- Flour – One of Marci’s clever tricks! You’ll use this to make the transferred pattern easier to see.
- Bleach Wipes – Use these to gently wipe the inside and exposed cut surfaces of your carved pumpkin to help reduce mold and decay.
- Disposable Gloves – Wear disposable gloves when using bleach wipes to help protect your hands while treating the carved pumpkin.
- Large bowl – For holding the pumpkin seeds and pulp as you clean out the inside.
- Toothpicks – Keep a few nearby in case you accidentally cut off a piece that needs to be reattached.
- Aluminum foil – Place it shiny side up beneath your battery-operated lights to help reflect more light through your carved design.
- Battery-operated votive candle – An easy way to illuminate your finished jack-o’-lantern.
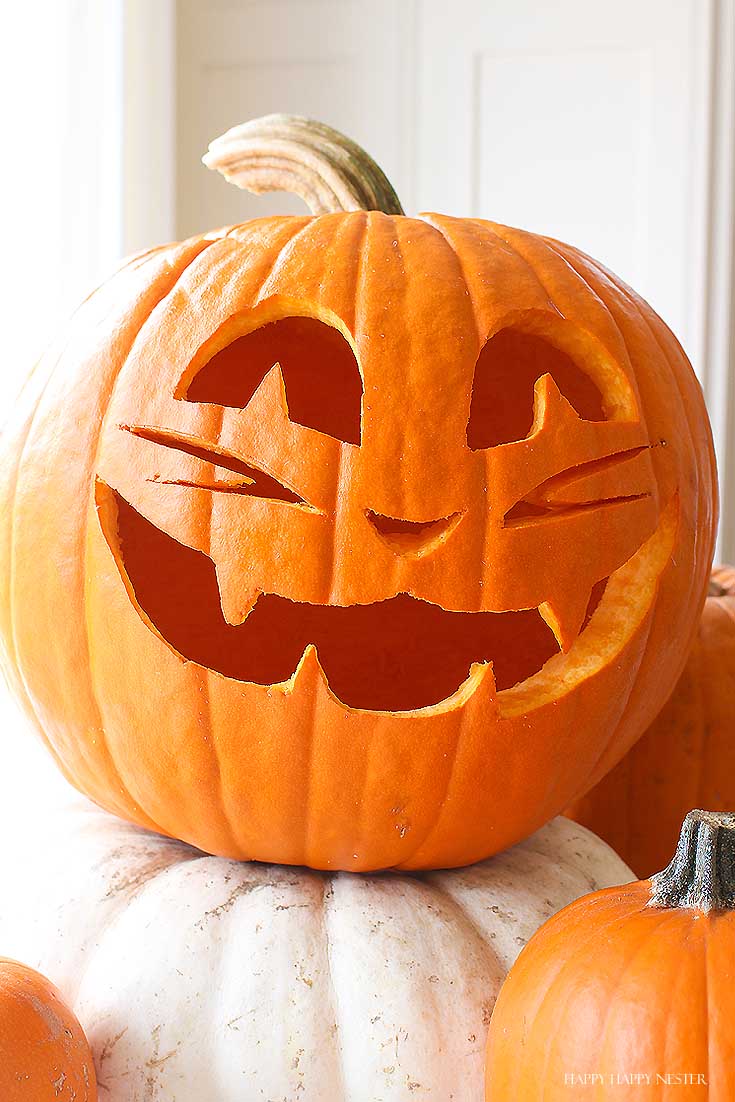
Need Pumpkin Carving Patterns?
Using a pattern is one of the easiest ways to create a detailed jack-o’-lantern, especially if you’re not comfortable drawing a design freehand. I’ve used patterns from Pumpkin Masters, and they have a variety of designs to choose from.
If you don’t have a pattern on hand, you can also find free printable pumpkin carving patterns on their website. Print your favorite design, tape it to your pumpkin, and I’ll show you below how Marci transfers the pattern before carving.
Essential Pumpkin Carving Tips and Tricks
These simple pumpkin carving tips come from years of trial and error and can make everything from cleaning out your pumpkin to carving the smallest details much easier.
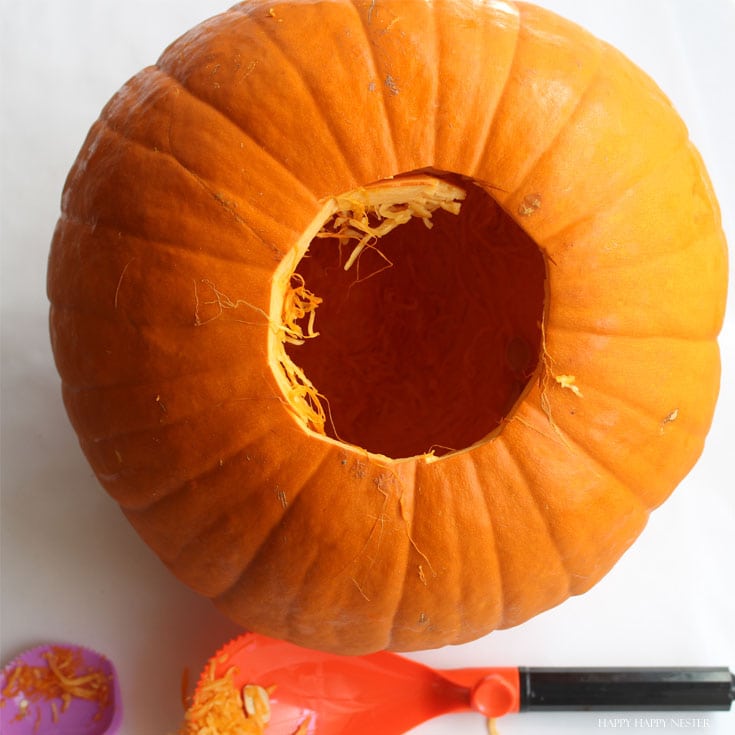
1. Cut the Bottom of the Pumpkin Instead of the Top
One of my favorite pumpkin carving tricks is to cut the opening from the bottom instead of around the stem. This keeps the top of the pumpkin intact, which is especially nice when you’ve found a pumpkin with a beautiful stem.
It also makes lighting your jack-o’-lantern easier. Place a battery-operated candle on the cut-out bottom piece, then carefully lower the carved pumpkin over it. You won’t have to reach down inside the pumpkin every time you want to turn the light on or off.
If you prefer to cut around the stem, Marci recommends making the opening slightly keyhole-shaped rather than perfectly round. This makes it easier to line up the lid and put it back in the correct position.
2. Choose the Side You Want to Carve and Thin the Wall
Before you start carving, decide which side of the pumpkin will be the front. As you scoop out the seeds and stringy pulp, spend a little extra time thinning the inside wall on the side you plan to carve.
Use a pumpkin scraper to remove some of the flesh from the inside. If you don’t have one, a sturdy ice cream scoop works surprisingly well. You don’t need to thin the entire pumpkin—just concentrate on the area behind your design.
A thinner pumpkin wall is easier to carve, especially when your pattern has small or detailed areas. It also allows more light to shine through the carved design once your jack-o’-lantern is illuminated.
3. Secure the Pattern and Transfer the Design
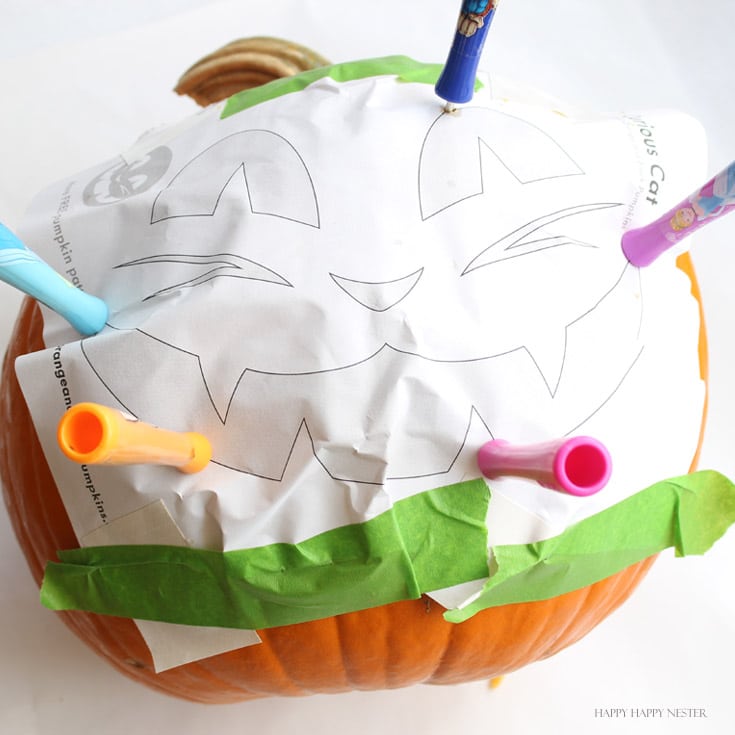
Place your pumpkin carving pattern on the side you’ve prepared and secure it with masking tape. You may need to fold or slightly overlap the paper in a few places so it fits snugly against the curved surface of the pumpkin.
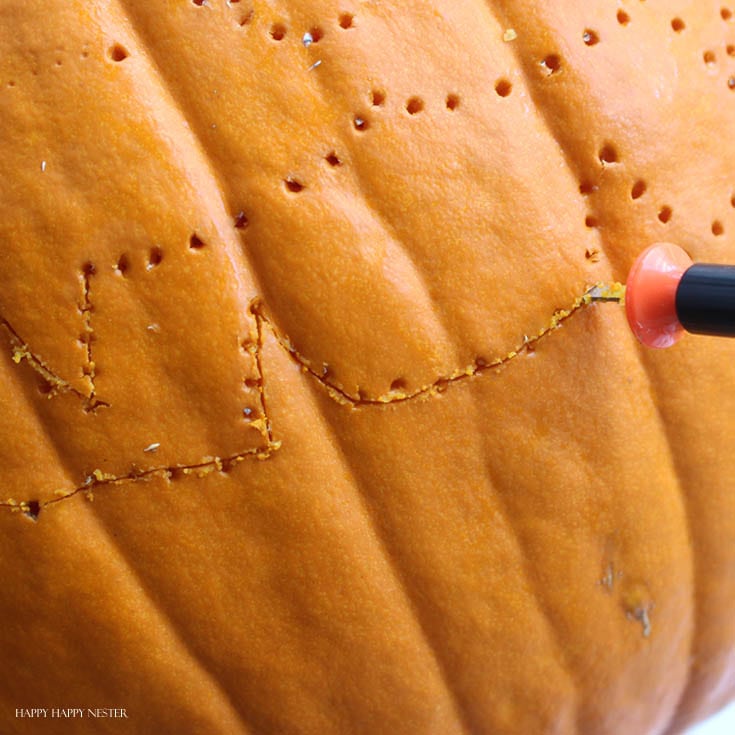
Next, transfer the design by creating a dot-to-dot outline. Use a pumpkin carving poker to punch small holes through the pattern and into the pumpkin, following every line of the design. If you don’t have a carving poker, a small nail works well too.
Space the holes close enough together that you can easily see the shape of your design once the paper pattern is removed.
Helpful Tip: If you’re using a pattern you’d like to save, make a copy before carving. Use the copy on your pumpkin and keep the original so you can use it again next Halloween.
4. Rub Flour Over the Pumpkin to Reveal the Pattern
Once you’ve finished transferring the design, carefully remove the paper pattern from your pumpkin. You should see the outline created by all those tiny holes, but sometimes they can be difficult to see against the pumpkin’s surface.
Here’s one of Marci’s favorite tricks: sprinkle a small amount of flour over the pattern and gently rub it across the surface of the pumpkin. The flour settles into the holes, making the dotted outline much easier to see.
Brush away the excess flour, and you’ll have a clear guide to follow when you begin carving.

5. Start Carving in the Center of Your Design
Now it’s time to start carving. Whether you’re using a small pumpkin carving saw or another carving tool, begin near the center of your pattern and work your way outward. This helps keep the pumpkin stable as you cut the more detailed areas of your design.
Marci recommends moving the carving saw straight up and down, almost like the needle on a sewing machine. Let the saw do the cutting rather than twisting it with your wrist.
When you need to change direction, pull the saw out of the pumpkin, reposition it, and begin the same up-and-down motion again. Trying to turn the blade while it’s still inside the pumpkin can bend or break these small carving saws.
Think sewing machine: up and down, reposition, and continue.
6. Push the Carved Pieces Out From the Inside
Once you’ve finished cutting around a section of your design, gently push the piece outward from inside the pumpkin. If you used the up-and-down carving motion and followed your pattern carefully, most pieces should pop out fairly easily.
Avoid forcing a piece that doesn’t want to move. Check the edges for any spots that haven’t been completely cut, then carefully go over those areas again with your carving saw.
7. Repair Broken Pumpkin Pieces With Toothpicks
Don’t worry if you accidentally cut through part of your design or a small piece breaks off. You may be able to save it with a toothpick.
Carefully position the broken piece where it belongs and use a toothpick to secure it to the surrounding pumpkin. Marci keeps a whole box of toothpicks in her pumpkin carving kit for exactly this reason!
8. Help Your Carved Pumpkin Last Longer
After spending all that time carving your pumpkin, you’ll want to keep it looking fresh for as long as possible. One method I use is wiping the carved pumpkin with a bleach wipe, which can help reduce the microorganisms that contribute to mold and decay.
Put on a pair of disposable gloves, then gently wipe the inside of the pumpkin and the exposed cut surfaces with a bleach wipe. Allow the pumpkin to dry completely before adding your battery-operated light and putting it on display.
You can also apply a thin layer of petroleum jelly to the exposed cut edges to help seal in moisture and slow down drying. If you use petroleum jelly, illuminate your jack-o’-lantern with a battery-operated candle rather than a real flame.
Finally, keep your carved pumpkin in a cool, dry spot and out of direct sunlight whenever possible. These simple steps can help your jack-o’-lantern stay fresh and looking its best a little longer.

9. Use Aluminum Foil to Make Your Pumpkin Glow Brighter
If you want your jack-o’-lantern to glow a little brighter, place a piece of aluminum foil on the bottom of the pumpkin with the shiny side facing up. The foil helps reflect the light upward and outward through your carved design.
Place one or more battery-operated votive candles or LED lights on top of the foil. If your design still looks a little dim, try adding another battery-operated light or repositioning the lights until the carved areas are evenly illuminated.
This simple trick is especially helpful for pumpkins with small or detailed carving patterns, where a little extra reflected light can make the design stand out.
10. Clean Up the Edges After Carving
Once you’ve removed all the carved pieces, take a minute to clean up any rough or uneven edges around your design. Use your small carving saw or detail tool to carefully trim away little pieces of pumpkin that are sticking out.
Then wipe away any loose pumpkin bits from the inside. This small finishing step can make your carved design look much cleaner, especially once the pumpkin is illuminated.
11. Choose the Right Pumpkin for Carving
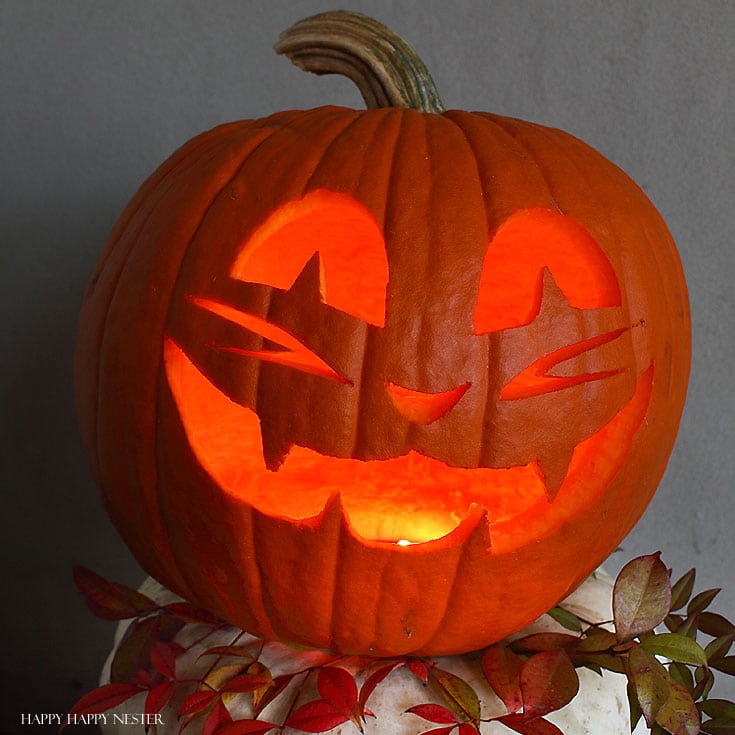
A good jack-o’-lantern starts with the right pumpkin. Look for a firm pumpkin without soft spots, deep bruises, or signs of mold. A sturdy stem is a bonus, especially if you plan to cut your opening from the bottom and leave that pretty stem intact.
Also think about your design when choosing the shape. A pumpkin with a smooth, fairly flat side will make it much easier to attach a pattern and carve detailed areas.
12. Check the Size and Placement of Your Design
Before transferring your pattern, hold it against the pumpkin and make sure the size and placement look right. You may find that your design looks better slightly higher, lower, or on a different side of the pumpkin.
This is also a good time to resize your printed pattern if necessary. It’s much easier to make adjustments now than after you’ve started poking holes or carving!
13. Carve Small Details Before Large Sections
If your pattern has a mixture of tiny details and larger openings, carve the smaller, more intricate sections first. The pumpkin will still have plenty of structure to support those delicate areas while you work.
Once the detailed sections are finished, move on to the larger pieces. Take your time—especially around narrow sections of pumpkin that are part of the finished design.
14. Keep Your Pumpkin Cool When You’re Not Displaying It
Heat can make a carved pumpkin deteriorate more quickly, so try to keep your jack-o’-lantern somewhere cool and out of direct sunlight when it isn’t on display.
If you’re having an unusually warm fall, bring your pumpkin into a cooler spot during the hottest part of the day. Then you can bring it back out when you’re ready to light up your porch for the evening.
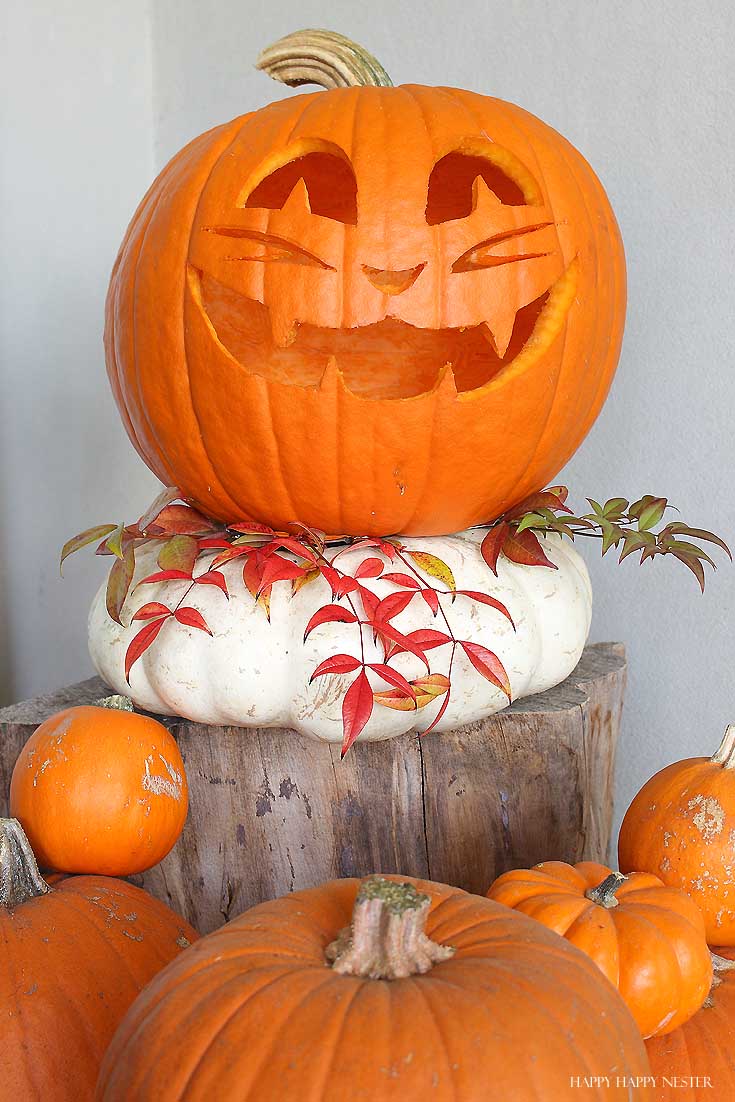
15. Display Your Jack-o’-Lantern and Enjoy!
Once your pumpkin is carved and glowing, take a photo of your finished jack-o’-lantern before putting it on display. After all that work, you’ll definitely want to remember how it turned out!
Then find the perfect spot on your porch, turn on your battery-operated lights, and enjoy all the compliments from your trick-or-treaters. Happy Halloween and happy pumpkin carving!
Pumpkin Carving FAQs
How long does a carved pumpkin last?
A carved pumpkin typically lasts about 3 to 7 days, although cooler temperatures can help it last longer. Warm weather and direct sunlight speed up the deterioration process, so keep your jack-o’-lantern somewhere cool and shaded whenever possible.
How early should you carve a pumpkin before Halloween?
For the freshest-looking jack-o’-lantern on Halloween night, try to carve your pumpkin a few days before Halloween. If you live somewhere warm, you may want to wait even closer to Halloween since carved pumpkins tend to deteriorate faster in higher temperatures.
What is the easiest way to carve a pumpkin?
Start with a firm pumpkin and choose a relatively simple pattern. Thin the pumpkin wall behind your design, transfer your pattern before cutting, and use a small pumpkin carving saw with an up-and-down motion rather than trying to slice through the pumpkin. These little steps make carving much easier.
Is it better to cut a pumpkin from the top or bottom?
Either method works, but I prefer cutting the opening from the bottom. It preserves the pumpkin’s stem and makes it easy to place the finished pumpkin over a battery-operated light. If you prefer cutting around the stem, make a keyhole-shaped opening so it’s easy to position the lid correctly.
How do you keep a carved pumpkin from rotting?
Start with a fresh pumpkin and thoroughly remove the seeds and stringy pulp. Keep your carved pumpkin cool, dry, shaded, and out of direct sunlight. You can also wipe the inside and exposed cut surfaces with a bleach wipe, allow the pumpkin to dry completely, and apply a thin layer of petroleum jelly to the cut edges to help slow moisture loss.
What can I use if I don’t have pumpkin carving tools?
You can improvise with a few things you may already have at home. A sturdy ice cream scoop works well for scraping and thinning the inside of the pumpkin, and a small nail can be used to transfer a pattern by making tiny holes along the design. For the actual carving, though, I prefer a small serrated pumpkin carving saw because it’s easier to control for detailed designs.
More Halloween and Pumpkin Ideas
Once you’ve finished carving your jack-o’-lantern, there are plenty of other fun ways to decorate pumpkins for fall and Halloween. Here are a few of my favorite pumpkin projects to try next.
Pumpkin Fairy House
If you want to take pumpkin carving a step further, try my Pumpkin Fairy House. I carved a real pumpkin and added tiny doors, windows, stairs, and fall decorations to turn it into a whimsical little fairy house.
Easy No-Carve Pumpkin Ideas
Not every pumpkin needs to be carved! My Letters on a Pumpkin project uses gold alphabet letters to decorate a white pumpkin, while these Ghost Painted Pumpkins for Kids use little fingerprint ghosts for a cute Halloween design.
You can also try my Pumpkin Decorating Ideas Without Carving, which uses temporary tattoos to create designs that almost look hand-painted.
Easy Pumpkin Crafts
For even more pumpkin inspiration, take a look at my Easy Pumpkin Crafts. You’ll find lots of creative ways to decorate with pumpkins throughout the fall season.
How Did Pumpkin Carving Start?
The tradition of carving jack-o’-lanterns has roots in Ireland and other parts of the British Isles, where people carved faces into turnips and other root vegetables. Irish folklore also tells the story of Stingy Jack, a man who tricked the devil and was doomed to wander the earth carrying a glowing coal inside a carved turnip.
When Irish immigrants brought the tradition to America, pumpkins were plentiful and much easier to carve than turnips. Over time, the carved pumpkin became the glowing jack-o’-lantern we associate with Halloween today.
Happy Pumpkin Carving!
I hope these pumpkin carving tips make your next jack-o’-lantern a little easier—and a lot more fun—to create. I’m so glad Marci shared all the clever tricks she’s learned over the years because many of them have completely changed the way I carve pumpkins, especially that flour trick!
Whether you choose a simple jack-o’-lantern or tackle a more detailed design, have fun with it and make it your own. Happy Halloween and happy carving! 🎃
Cheers,


- Halloween Food Inspiration - September 26, 2026
- Nordic Ware Pumpkin Loaf Pan Recipe - September 24, 2026
- Pottery Barn Fall Dupes - September 23, 2026

Daidri Smythe
Wow… so many great tips!! Wish I had known a few of these when my boys were little. Especially cutting the bottom instead of the top and using flour to see more clearly where to cut. Genius!!
Janine Waite
I agree with you Daidri! Marci takes this pumpkin carving to another level! :o)
Ken Hwan
My wife is away for the weekend and I want to carve pumpkins with my kids as a fun activity. I really appreciated the tips on carving from the center and working my way out. I am no expert at pumpkin carving and I want to make sure that I am not ruining my kid’s carvings by starting at the wrong spot!
happyhappynester
Glad you found my pumpkin carving post helpful! I didn’t know the cool tips until my friend, Marci taught me! Happy Carving.