Halloween decorating is always more fun when you can make something simple that has a big impact! Today, I’m sharing how to make a giant spider web using yarn for an easy outdoor Halloween decoration.
This oversized yarn spider web is surprisingly simple to make and is such a fun way to decorate a front porch, entryway, or even a large wall. I’ll walk you through how I made mine, plus give you a little tour of my spooky Halloween front porch.
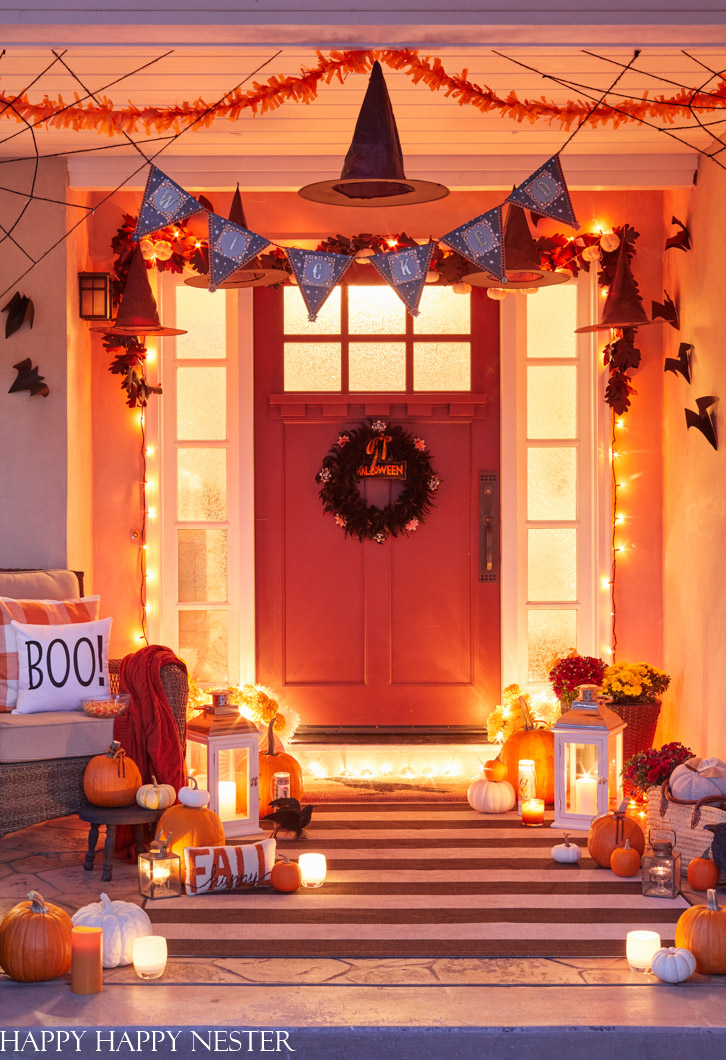
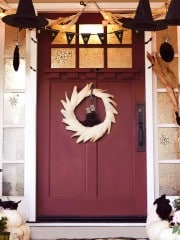
I love decorating our porch for Halloween, and every year I seem to add a few more spooky touches. Witches’ hats, crows, bats, and pumpkins have all made an appearance, and this year I added a couple of giant yarn spider webs.
They turned out to be such an easy way to make a big impact, and you only need a few simple supplies to make your own.
When I pulled out my Halloween decorations, it was fun rediscovering pieces I’ve used over the years. I brought back the paper bats from my Easy Halloween Craft and gave them a new look by arranging them up the walls of our entryway instead of hanging them from the ceiling.
The giant spider webs made with yarn became the focal point of the porch. They’re inexpensive, easy to customize for your space, and you can make them as large as you like. Below, I’ll show you exactly how I made mine.
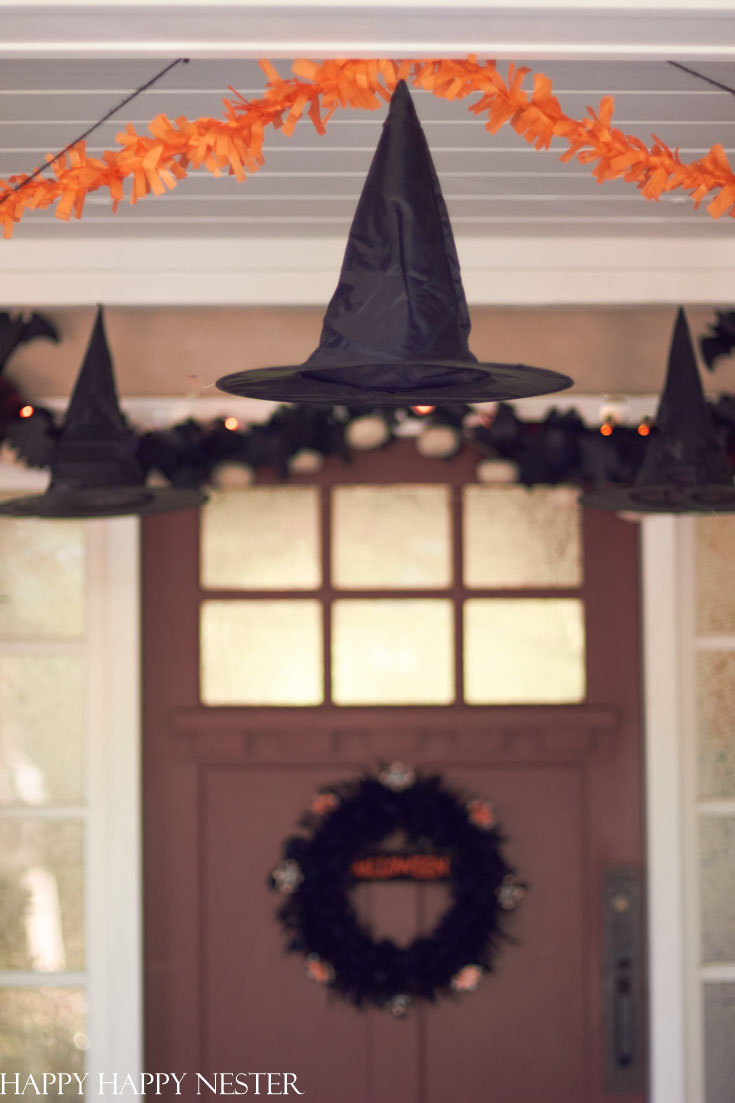
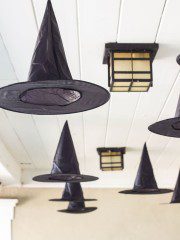
I also brought back the witch hats from my Inexpensive Halloween Porch and hung them from the ceiling again. I love how they look floating above the porch alongside the bats and giant yarn spider webs.

We couldn’t resist having a little fun with one of the hats and recreating the Sorting Hat from Harry Potter. It’s one of those little memories that still makes me smile when I look back at these photos.
I love how the hanging witch hats, bats, and oversized spider webs all came together on the porch. And surprisingly, the giant yarn spider web is one of the easiest decorations to make!
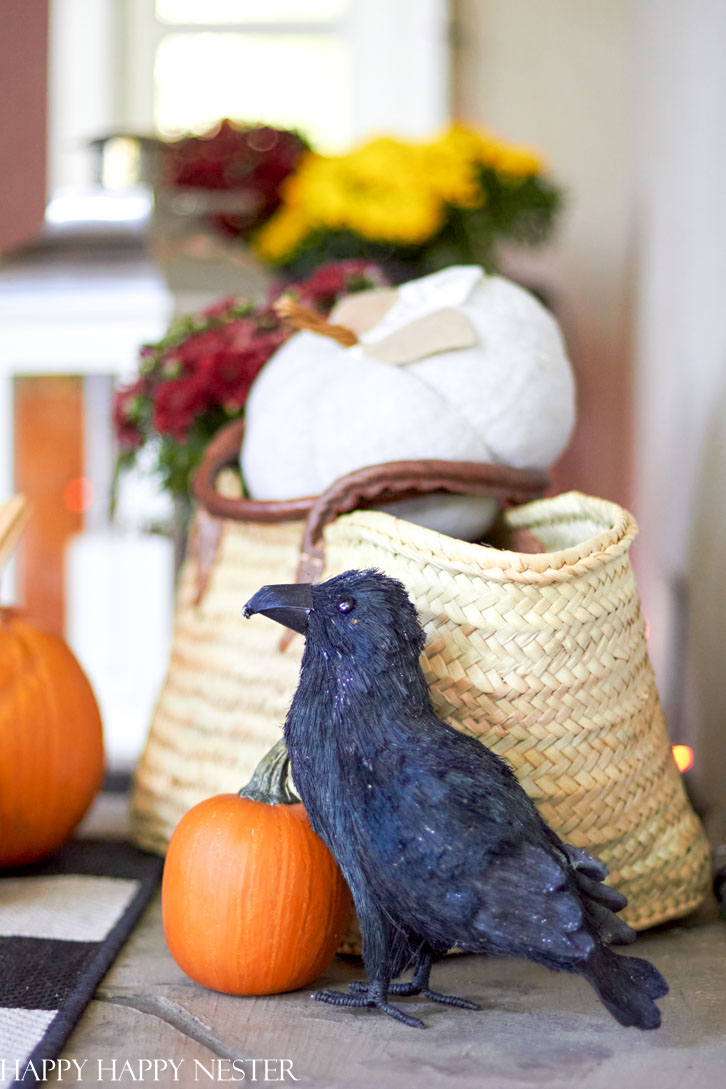
My fake crows always seem to make an appearance in the fall. I’m never quite sure what our resident crows think of them!
Looking at these photos, though, I realized my giant spider web is missing one important thing—a big spider! I’ll have to add that to my Halloween decorating list.
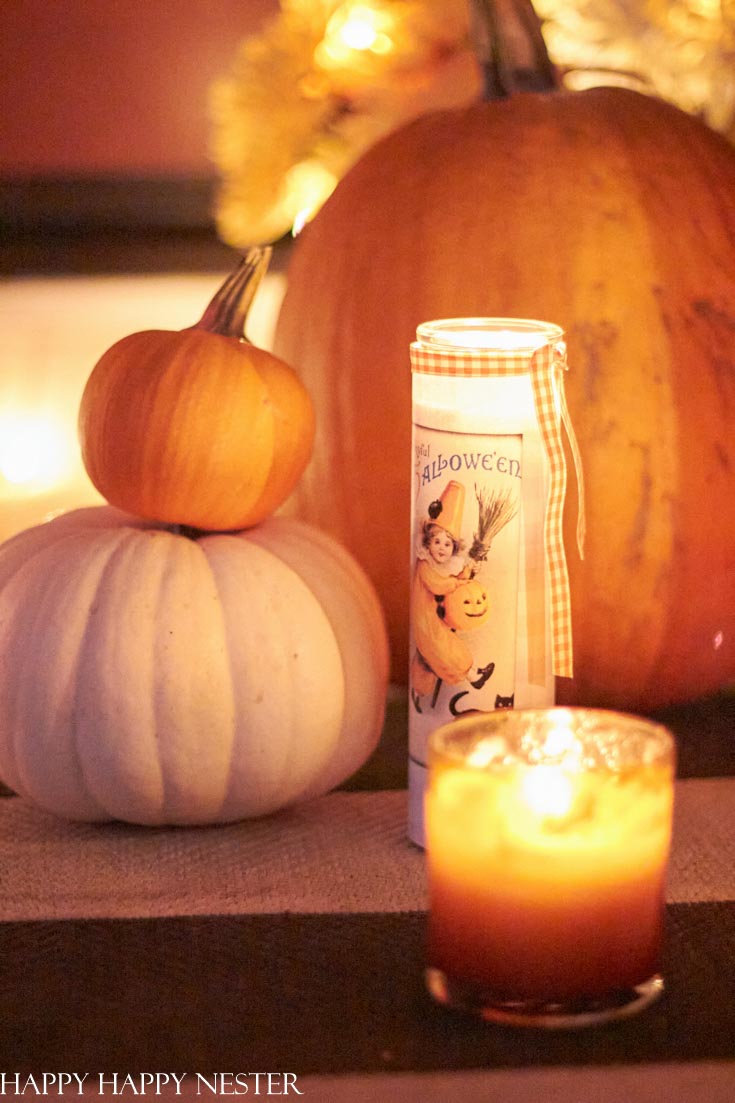
I also added a few candles to give the porch a warm, slightly spooky glow. I made the labels myself, and you can find the easy tutorial and free printable in my Printable Candle Labels post.
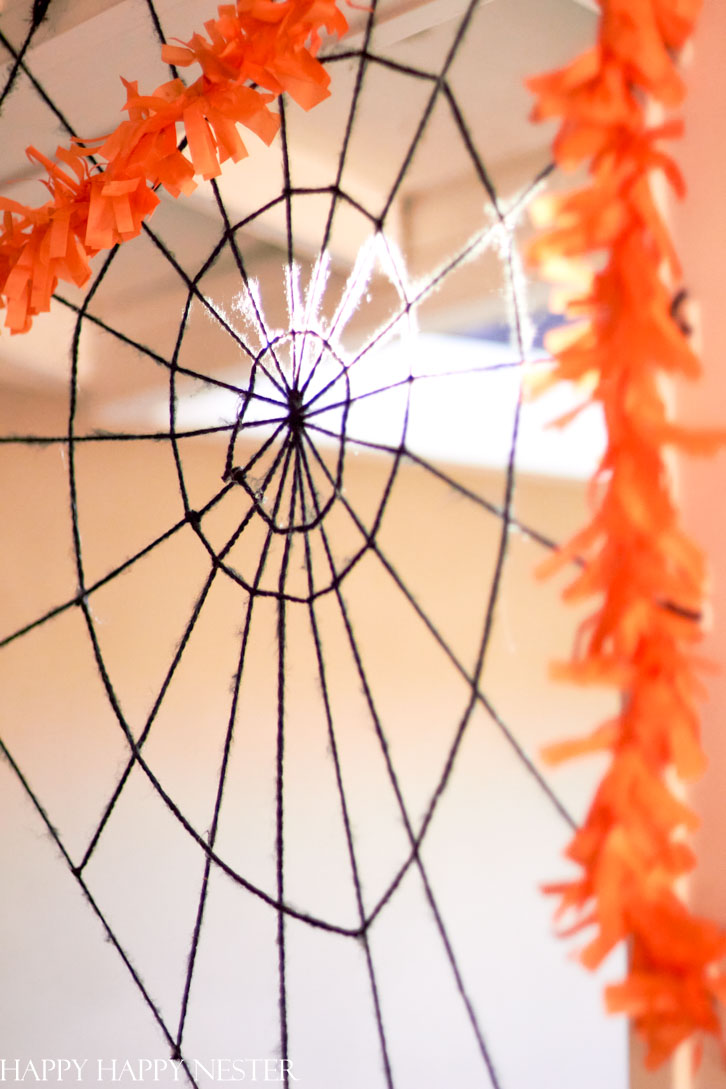
Now let’s make the giant yarn spider web! Before you get started, take a look at the photo above. It gives you a good view of the finished web and will help as you work through the steps below.
Anatomy of a Spider Web
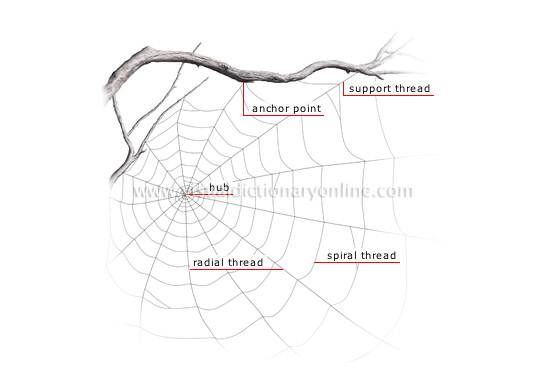
Before we start making the giant yarn spider web, it helps to know the basic parts of a web. I’ll refer to a few of these terms in the tutorial below, so you can use this diagram as a quick reference as you work.
How to Make a Giant Spider Web Using Yarn
You only need a few basic supplies to make this oversized Halloween spider web. I used black yarn so the web would stand out against the house, but you could also use white yarn for a different look.
Supplies Needed
- Scissors
- Black Yarn
- Glue Gun
- Velcro Tape
Step-by-Step Instructions
My husband was kind enough to help me with this Halloween project, and together we created this oversized yarn spider web for our front porch.
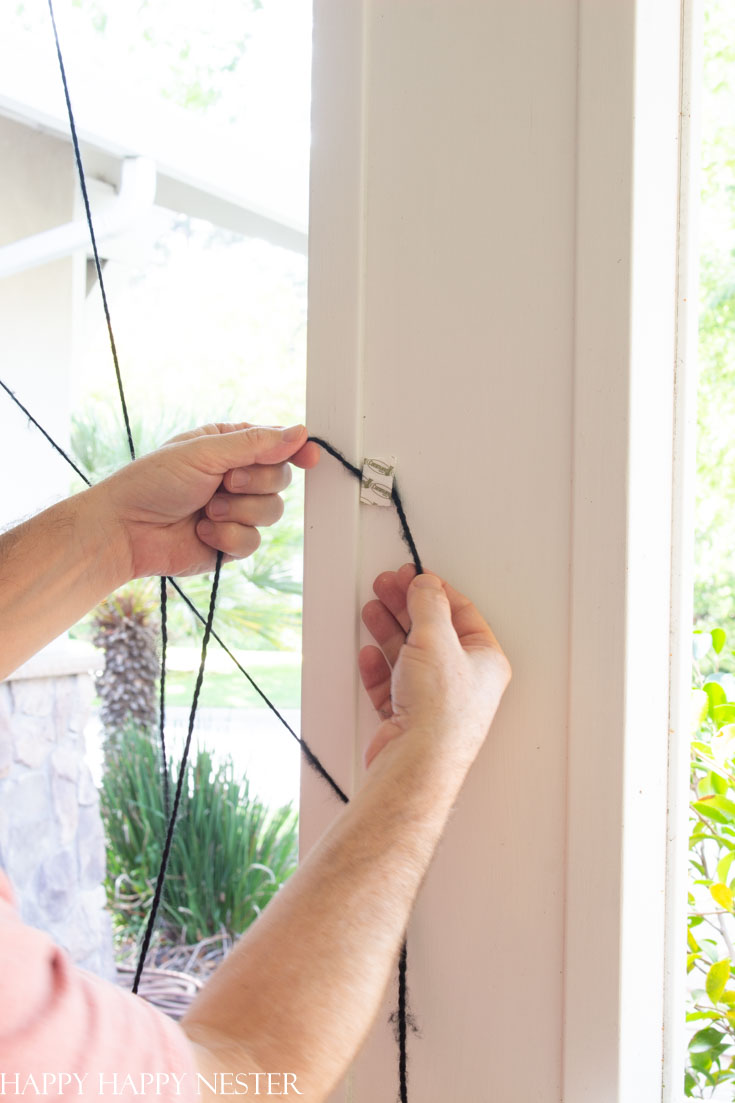
1. Attach the Yarn
Start by deciding where you want your giant spider web to go. We made ours in the corner of our front porch, which gave us several surfaces for attaching the yarn.
Cut a small piece of Velcro tape and attach one side to the surface of your porch. Place the end of the yarn over the Velcro, then secure it in place with the other side of the tape.
Bring the end of the yarn around to the working yarn and tie a knot just above the Velcro. The knot and Velcro will work together to hold the yarn securely in place.
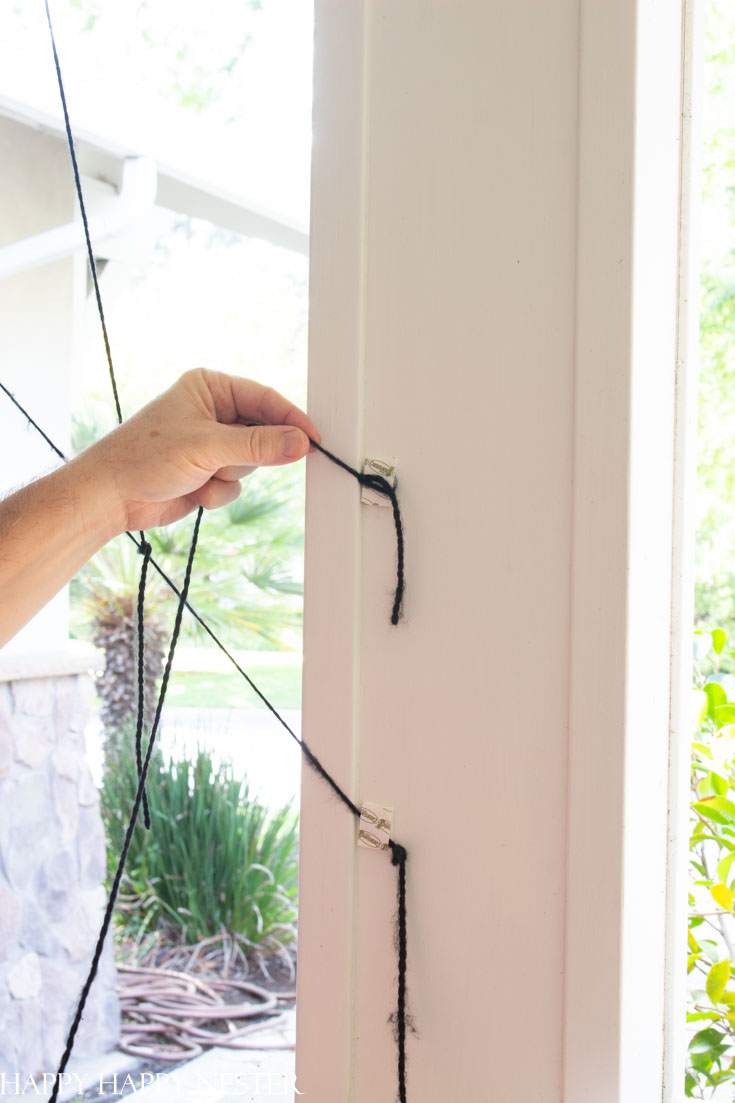
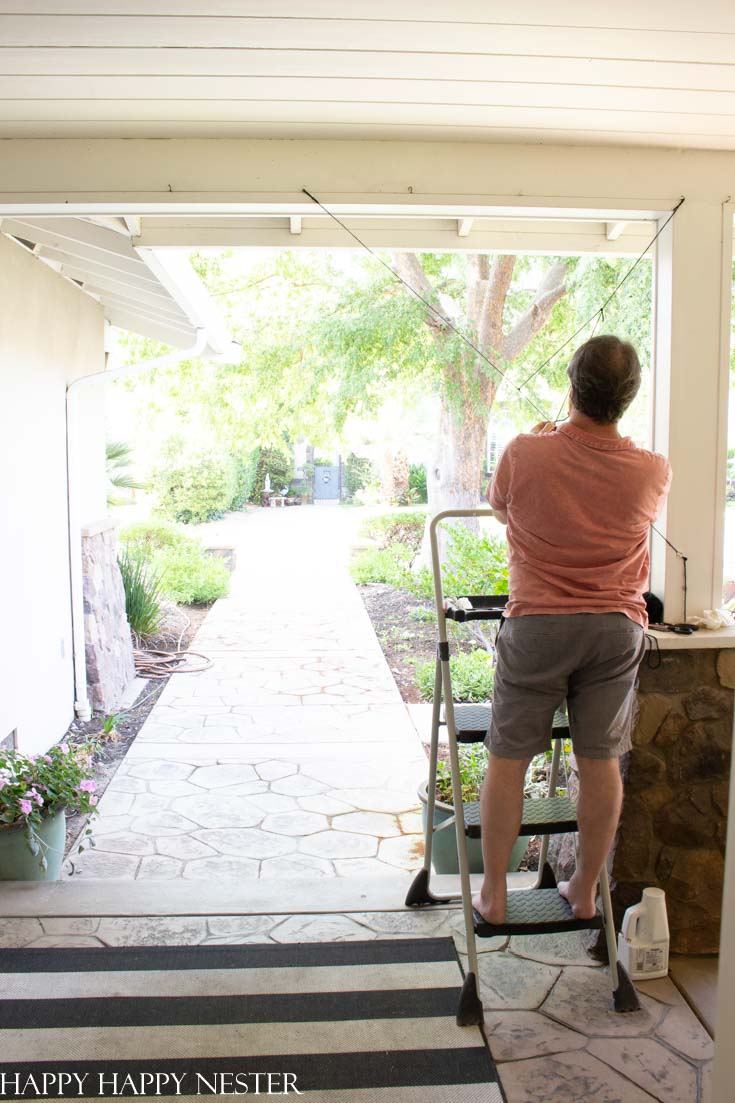
2. Create the Anchor Threads
Next, stretch a long piece of yarn across the bottom of the area where you want your spider web. Secure the other end with Velcro.
This first anchor thread helps determine the overall size and shape of your web, so step back and take a look before continuing.
Don’t worry about getting everything perfectly measured. The web will take shape as you add more yarn, and a little unevenness will make it look more natural.
3. Add the Radial Threads
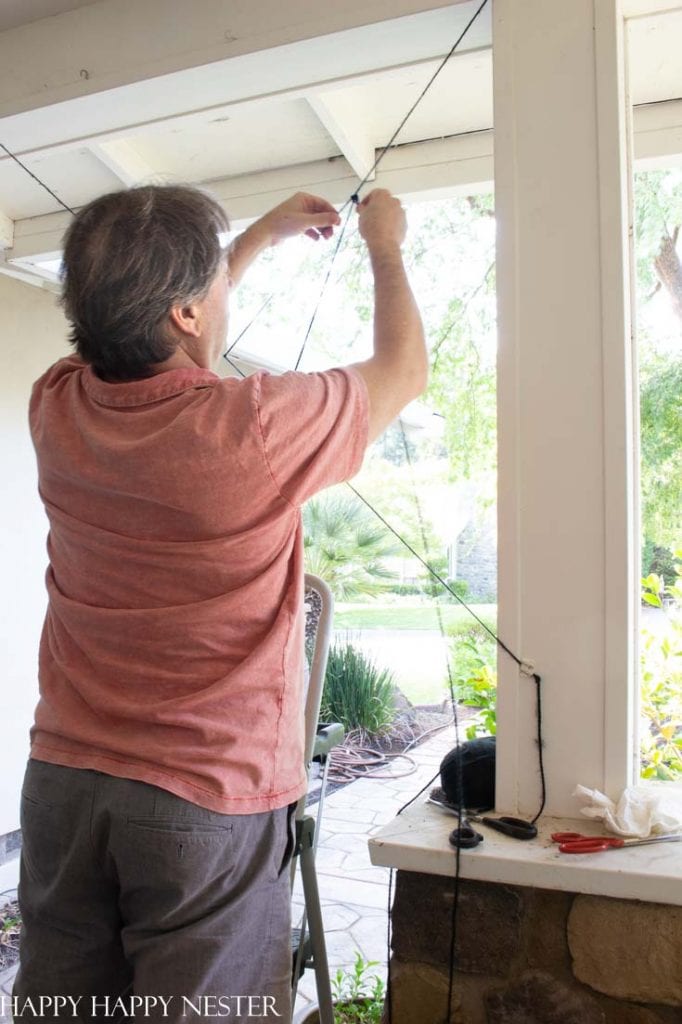
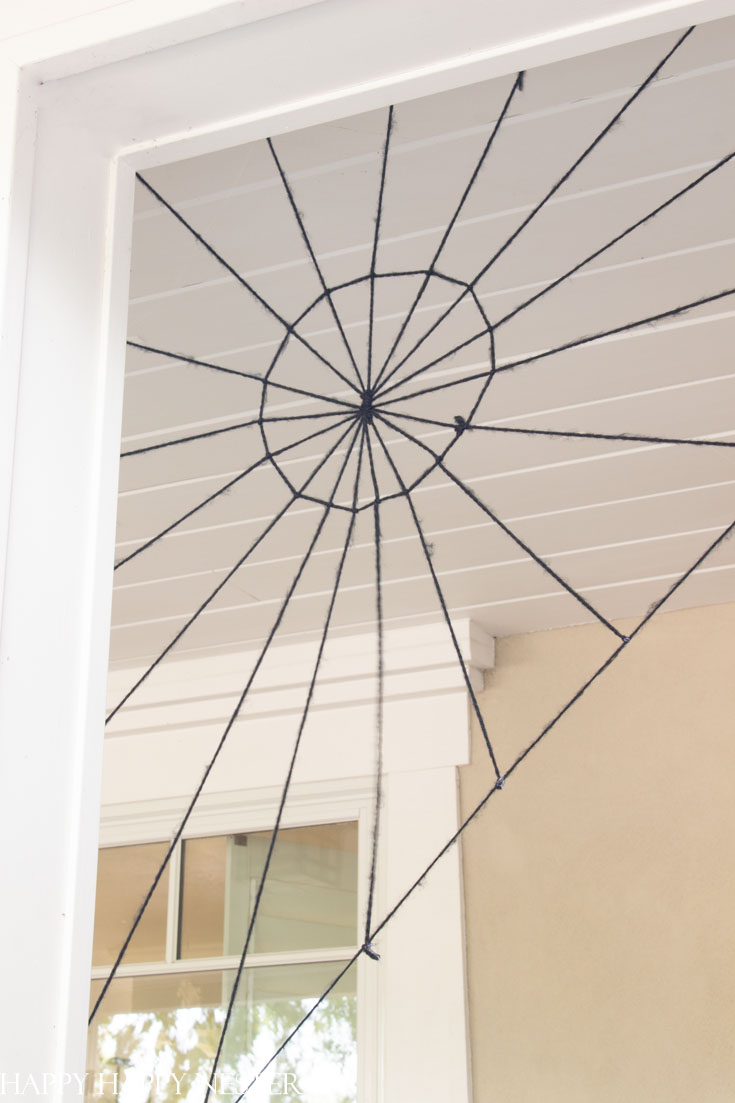
Once your anchor thread is in place, tie another piece of yarn to the center of it. Bring the yarn up to the corner of your porch and secure it with Velcro.
Continue adding pieces of yarn to create the radial threads that extend from the center toward the outside edges of the web. These threads form the basic framework of your giant spider web.
You can adjust the placement as you go. Just keep stepping back to look at the overall shape until you’re happy with how the web is filling the space.
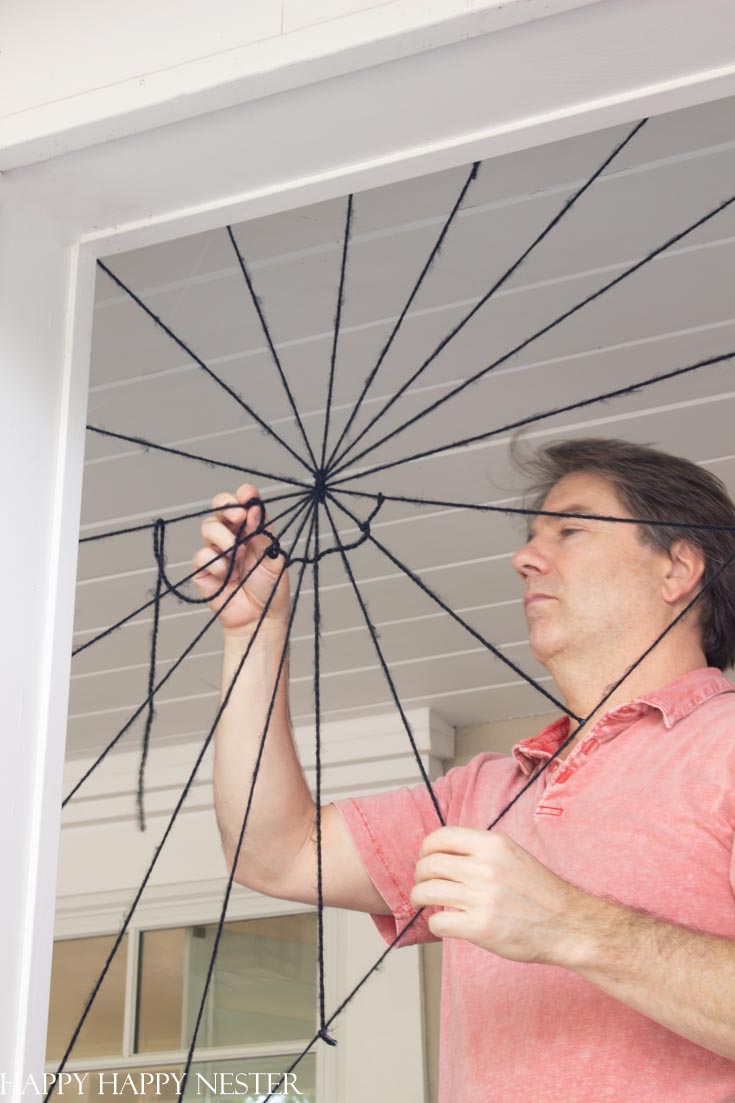
4. Add the Spiral Threads
Now it’s time to add the spiral threads that give the web its classic spider web shape. There are a few different ways to attach the yarn, so use whichever method feels easiest to you.
Use hot glue: This ended up being the easiest method for me. I added a small amount of hot glue where the spiral yarn met each radial thread and carefully pressed the yarn into place.
Weave the yarn: Weave the yarn over and under each radial thread as you work your way around the web. You can also add a small knot at each intersection for extra security.
Tie each intersection: My husband tied the spiral yarn directly to each radial thread. This worked, but I found all those little knots a bit tricky and time-consuming.
If you use hot glue, be careful since the glue can get very hot. I found it helpful to let it cool slightly before adjusting the yarn into the right position.
Continue working your way around the web, adding spiral rows until it looks full and balanced. There’s no need to measure the spacing or make every section perfectly even. Real spider webs have an organic look, so a few uneven areas just add to the charm.
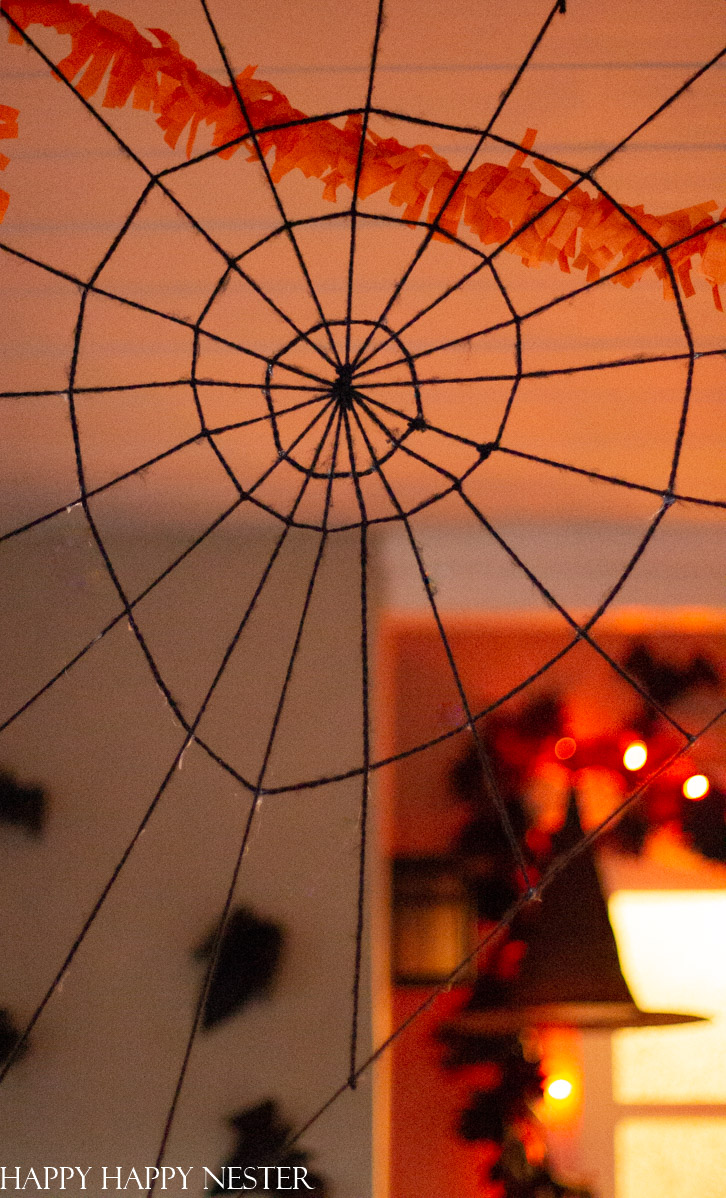
And that’s it! I love how such simple supplies can turn into such a fun Halloween decoration. This giant yarn spider web made such a big impact on our front porch, especially paired with the hanging witch hats, bats, crows, and candles.
My husband always laughs at how early I start decorating for the holidays. Thankfully, he’s a good sport about helping with all my decorating projects—and he knows that once Halloween is finished, Christmas isn’t far behind!
Cheers,

More Easy Halloween Decorating Ideas
If you’re decorating for Halloween, here are a few more easy ideas you might enjoy. Make some spooky paper bats with my Easy Halloween Craft, add a warm glow with these Printable Candle Labels, or find more inspiration in my Inexpensive Halloween Porch.
These are all simple ways to add a little Halloween charm to your home without making the decorating too complicated.

- Pumpkin Puff Pastry with Pumpkin Pie Filling - October 12, 2026
- Fall Leaf Craft Ideas - October 10, 2026
- How to Make a Giant Spider Web Using Yarn - October 8, 2026


ashley stringfellow
This is so cool! My kids are going to love making this. And love that you used the velcro tape – that’s genius! Your porch looks fabulous – I’m so proud of you! xo
happyhappynester
Thank you, Ashley! We had a blast styling and photographing the porch!
Sharon
Genius! Pure genius! You are so clever and these spider webs are fantastic! I also love the way you styled your porch. So adorable and I’ve loved the witches hats on your porch every year you’ve used them. Thanks for such a great, inspiring post!
jennifer hadfield
What a festive porch Janine! I love your DIY spiderweb. Such a great idea!
xoxo
Susan
Your porch is so cute Janine ! Love the spiderweb too, thanks for the tips!