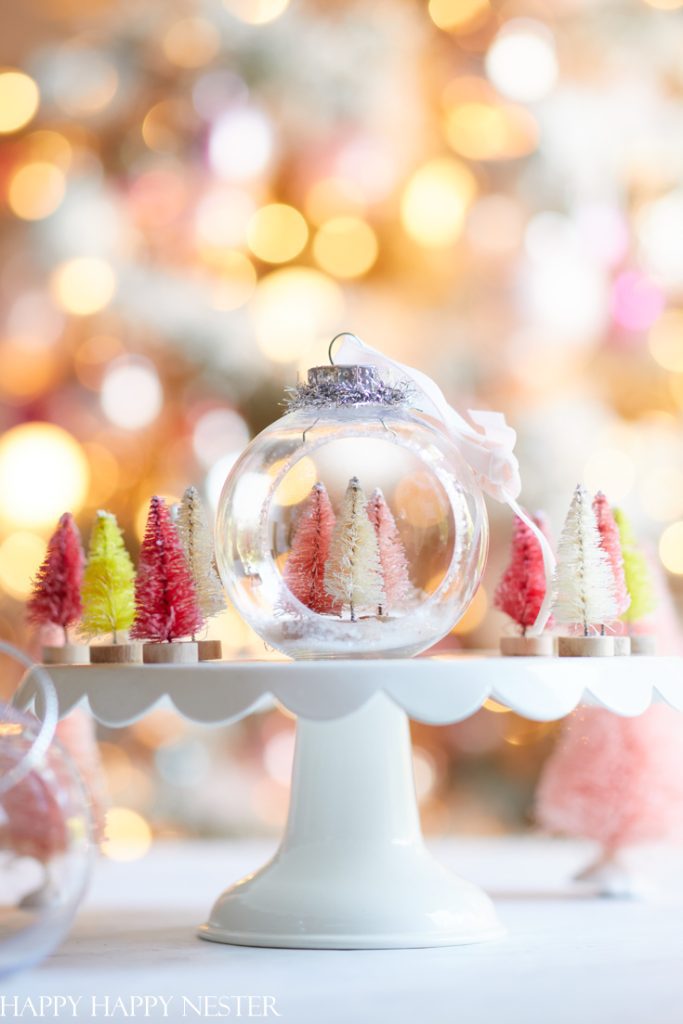
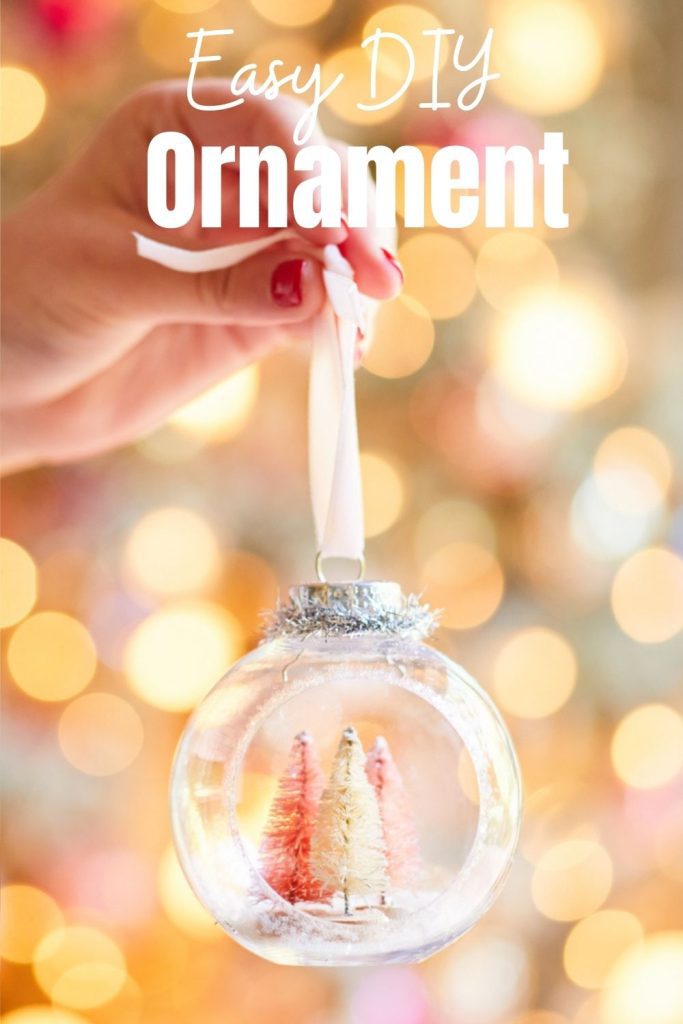
I’ve always wanted to make some DIY Christmas Diorama Ornaments. So this year, I crafted some easy bottle brush tree ornaments. I love any project or decor with mini-bottle brush trees, and they look so cute in these plastic ornaments.
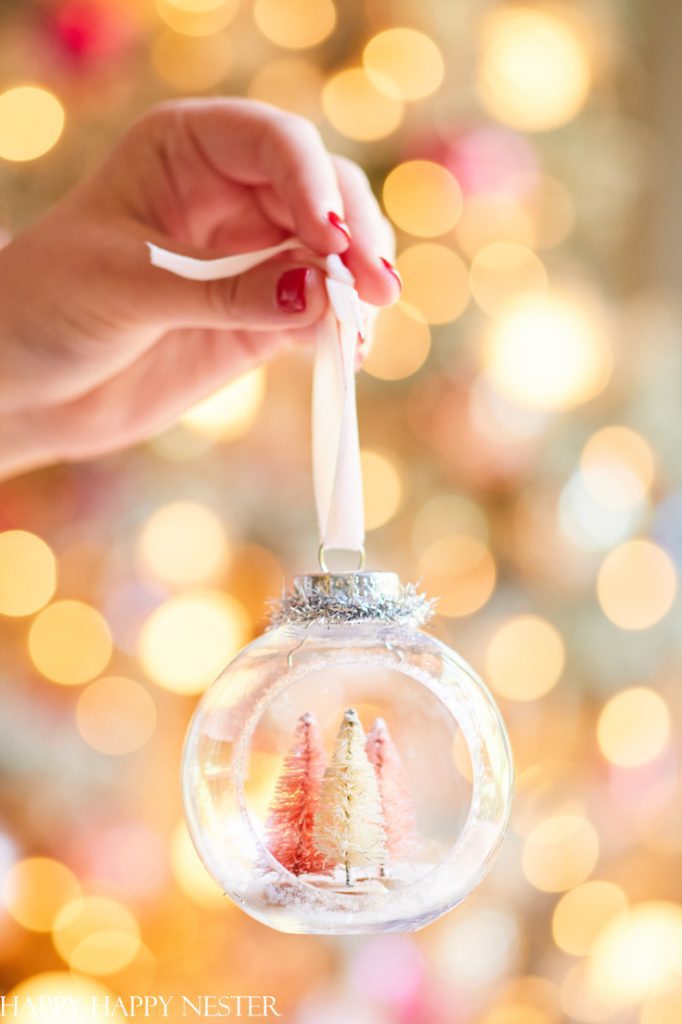
This project screams cute and straightforward. I love the vintage-style ornaments, so I found some old-fashioned styled tinsel to accent the top of the decoration. But the adorable mini-sisal trees stole the show!
This year, I’m joining a few friends for a three-day blog hop series. The theme is our Christmas trees and all the projects surrounding our trees. We all have been busy crafting our projects for this fun event. So, here is this week’s special schedule:
Monday – Ornaments DIY
Tuesday – Gift Wrapping DIY
Wednesday – Christmas Tree Reveal
I’m super excited about my projects, and I hope you can visit my blog for the next couple of days as I slowly reveal bits and pieces of my pink Christmas tree.
After many years of blogging and decorating this year, I got most of my decorating done before Thanksgiving. However, I have a significant helper around this year. My daughter is the one prompting me to get all our holiday decor up around our home.
So, my trees went up in a few rooms. But, of course, my family laughs and counts all the trees in our holiday house! But, despite displaying six trees, I love every single one of them. So, this week, I’ll be sharing my vintage tree in my bedroom.
And you’ll be happy to know that this tree is all decked out in pink ornaments that I’ve collected over the years. So, today, I’m sharing my DIY Christmas diorama ornaments since they are a flashback to vintage ornaments.
DIY Christmas Diorama Ornaments
*The following post contains affiliate links
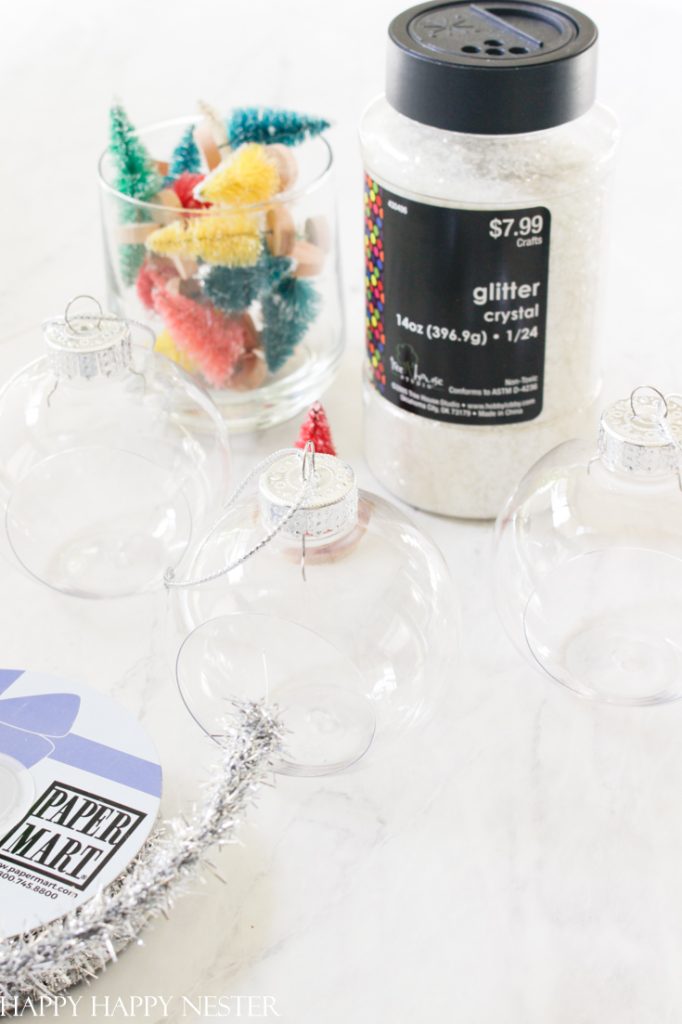
Ornament Supplies:
Plastic Ornaments with Openings
Glitter (If you make more than a couple of ornaments, you might want to buy more than one glitter container)
Velvet Ribbon (optional)
Instructions:
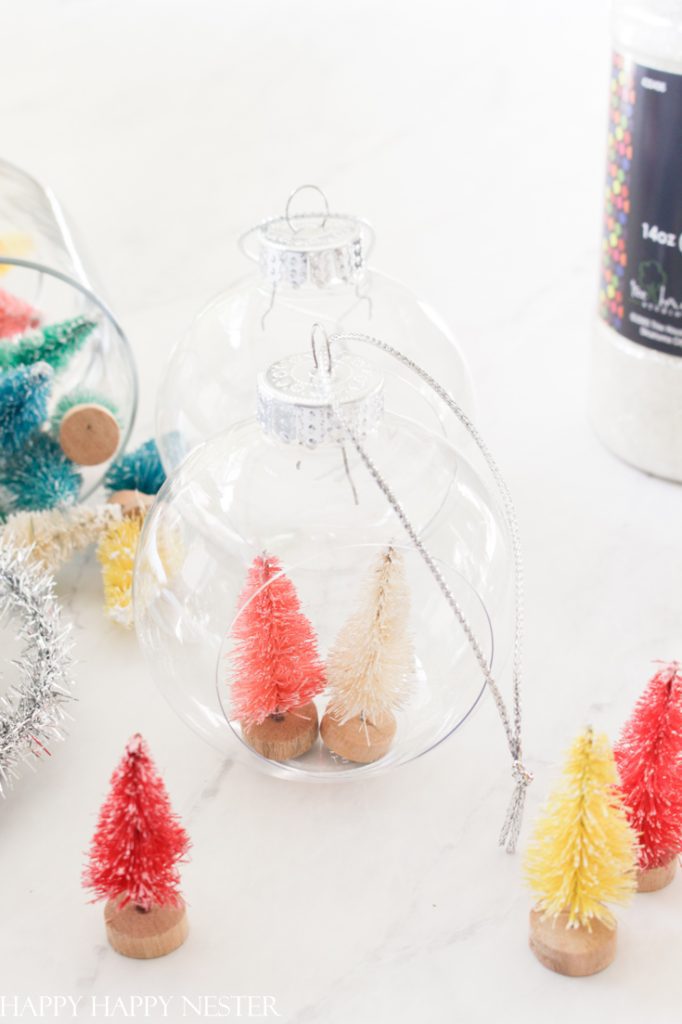
Step 1 – Glue Trees
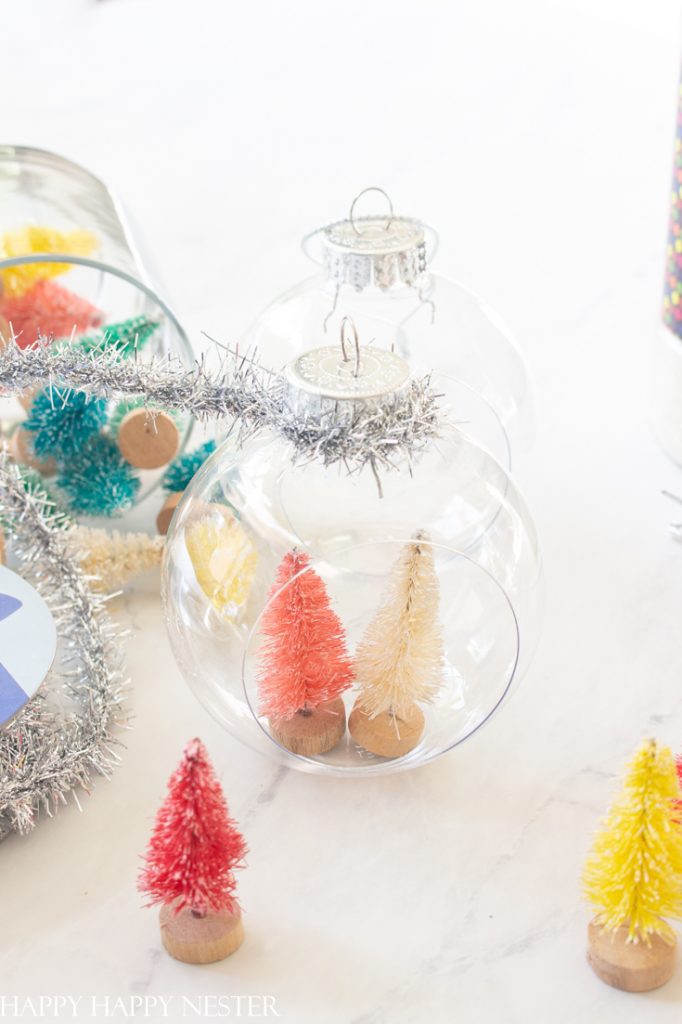
Using your hot glue gun, place glue on the bottom of your bottle brush trees. Position them inside the floor of your ornament.
Step 2 – Add Tinsel Ribbon
Next, you’ll want to hot glue your tinsel wire to the ornament hanger, as shown in the above photo. Trim off excess tinsel.
Step 3 – Add Glitter
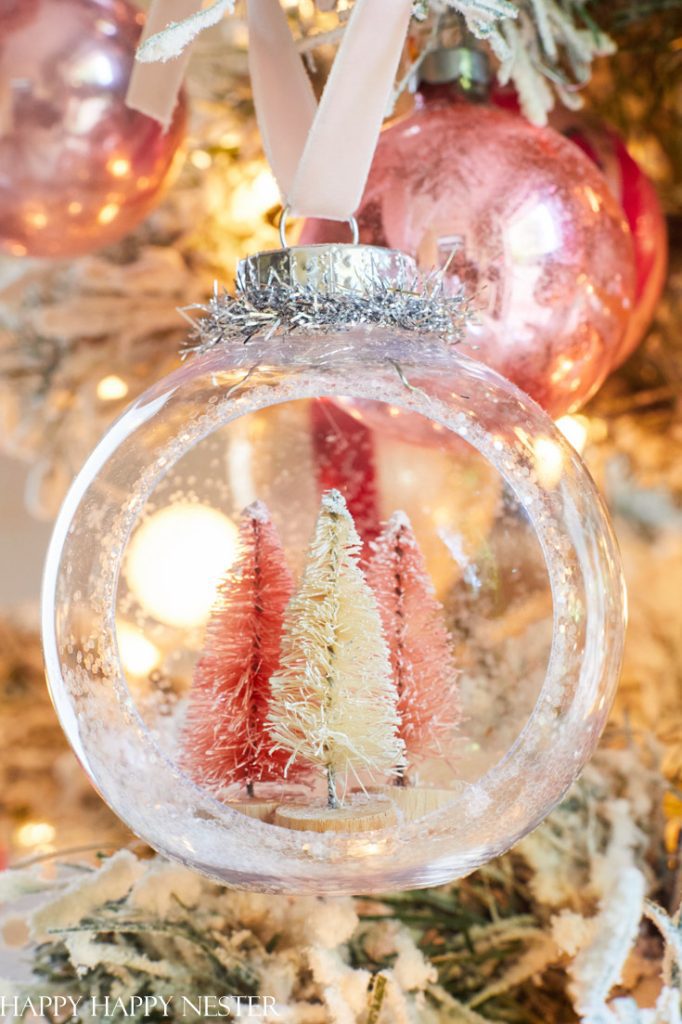
Add glitter to the inside of your ornament, so it appears like snow. If you like, you can add fake snow instead. Also, I placed a bead of glue along the edge of the ornament opening and sprinkled a little glitter on the glue. This step is totally up to you if you want this extra bit of sparkle.
*Extra Tips
Add whatever mini-decorations you like to your ornaments. For example, I love the vintage figurines but didn’t have any that fit the ball’s interior.
You can paint the inside or outside of the ornament. If you decide to paint it, use multi-surface acrylic paint or the acrylic paint that artists use. Otherwise, the craft paint won’t dry or stick to the plastic. I know from experience that it doesn’t dry.
Like I mentioned above, this is a three-day Holiday Tree series!
My dear friends Kristi and Kelli from LollyJane are joining me today!
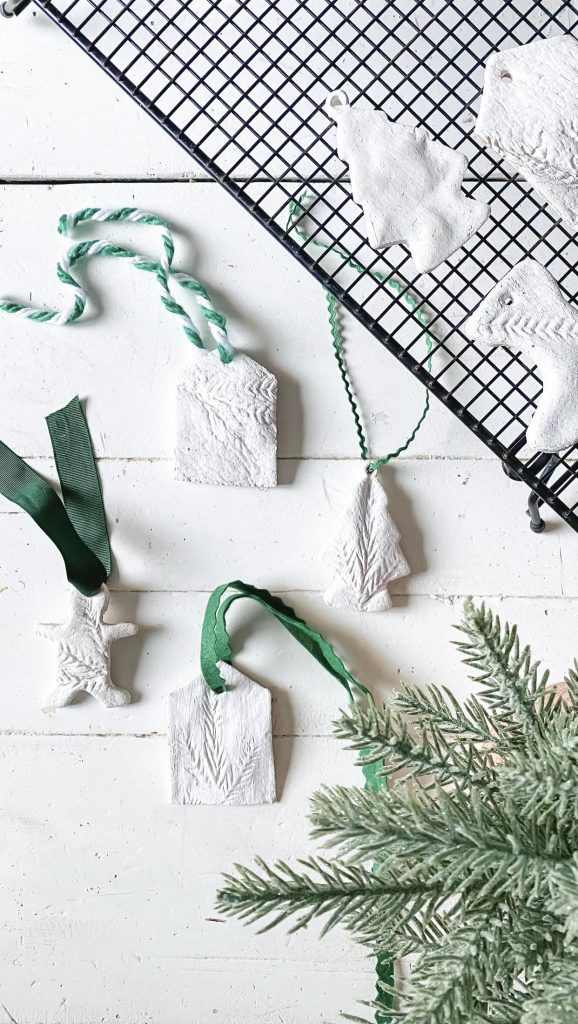
DIY Salt Dough Ornaments: Lolly Jane
I love everything Kristi and Kelli design. Their adorable homemade ornaments are so pretty with the cute variety of green ribbons! Also, what I love about their project is that you can make a lot of inexpensive decorations in one batch of dough. You gotta love that!
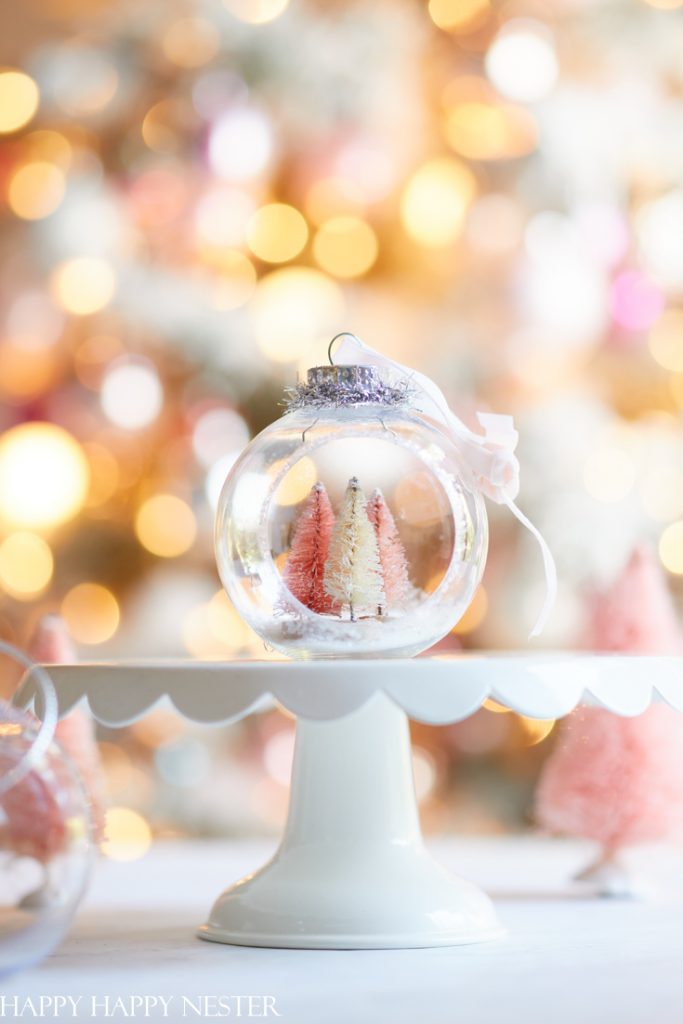
For those of your who love my pink decor, you’ll be happy to know that I’m featuring a vintage-decorated Christmas tree all decked out in pretty pink ornaments.
But if you want to see my past Christmas trees, here is a list of some of them.
Thanks so much for stopping by, and we will see you again tomorrow! We’ll be sharing some pretty homemade gift tags that you won’t want to miss!
Cheers and Happy Crafting,


- My New Favorite Products from Amazon - January 7, 2026
- Last-Minute Stocking Stuffers - December 24, 2025
- My Favorite Gift Wrap Inspiration - December 20, 2025




Kathy
Good morning Janine,
Thank you SO much for these Christmas crafts!!!
They are so adorable 🥰
Have yourself a Merry Christmas❣️
Janine Waite
Ah, thanks so much Kathy for your kind comment! Merry Christmas to you too!