Today’s Happy Craft is a Paper Garland DIY with rosettes and leaves.
So, my great friend, Tana (Your Marketing BFF) asked me to join her on a Home Décor Craft + DIY Tour. How could I miss out on this tour since I have the perfect paper flower DIY project? You see my master bedroom needed a tiny bit of rearranging for the spring and I’m super thrilled to share my charming craft with you. Also, a huge welcome if you a visiting from Lolly Jane! Kristi and Kelli have a great project and I just adore their delightful painted sign project that is perfect for spring.
Listed below are my blogging buddies who you’ll want to visit as well.
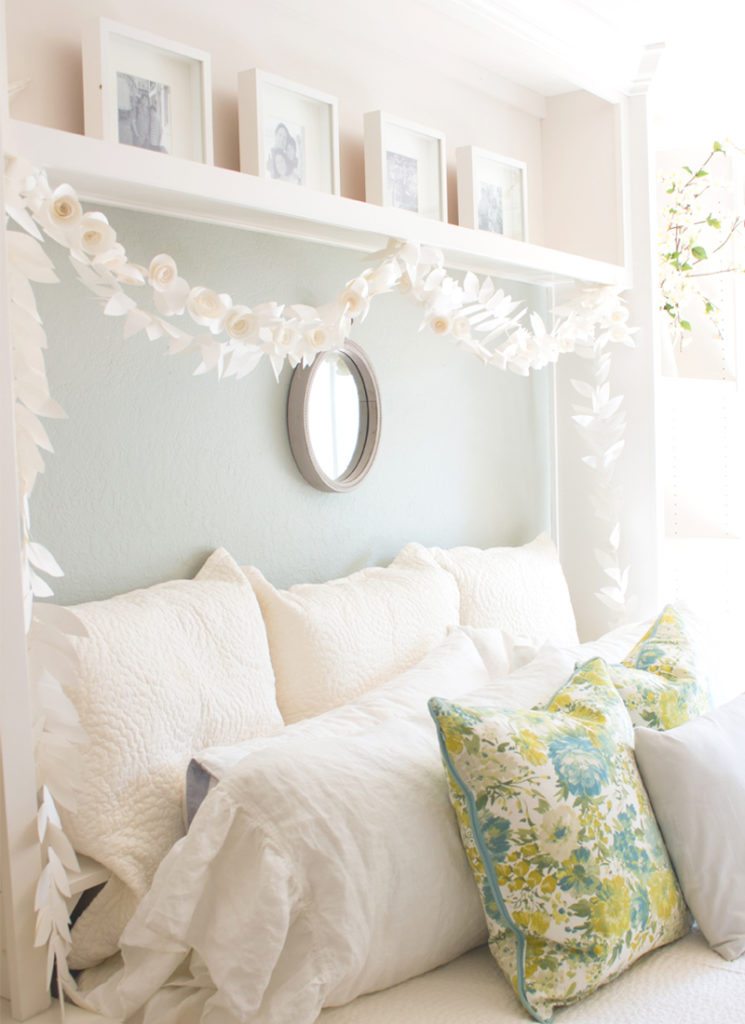
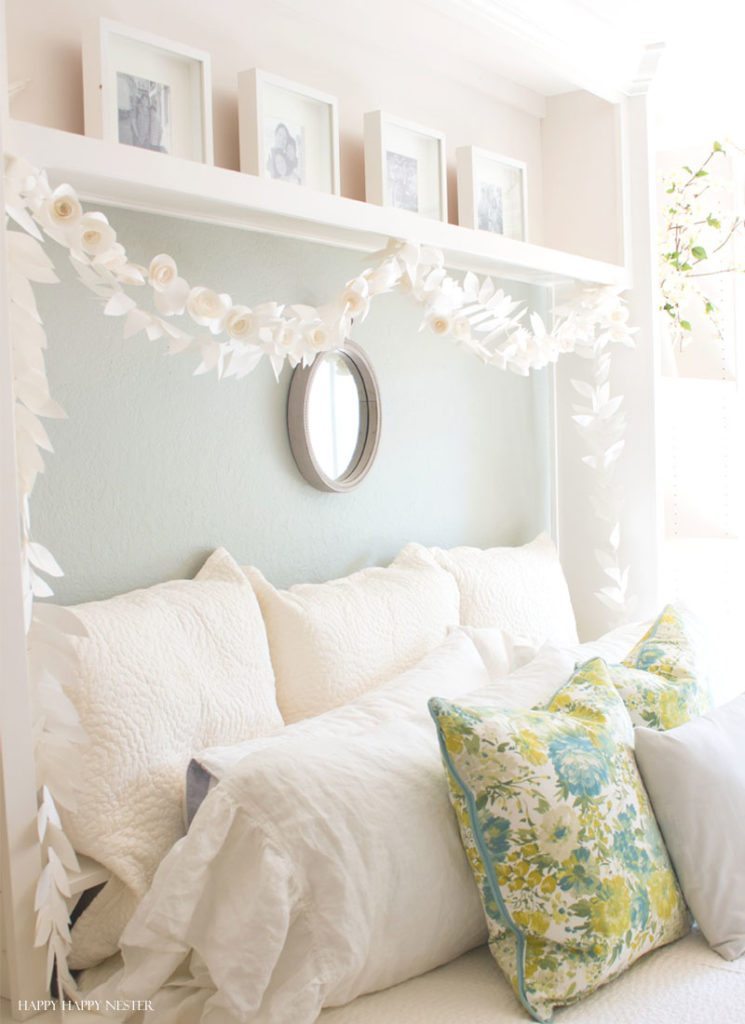
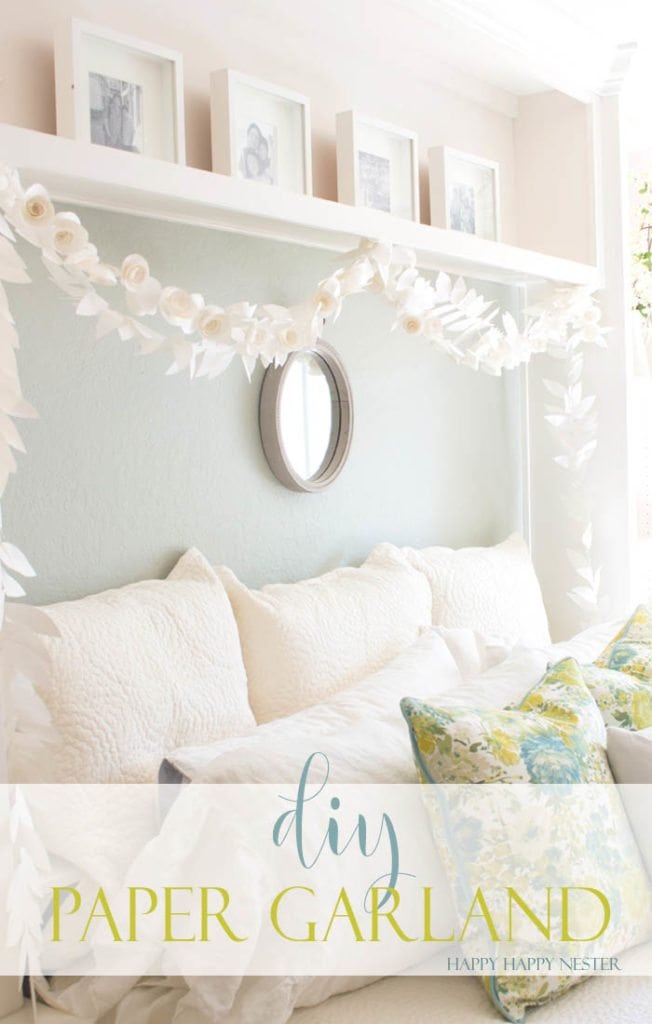
Let’s take a look at my bedroom!
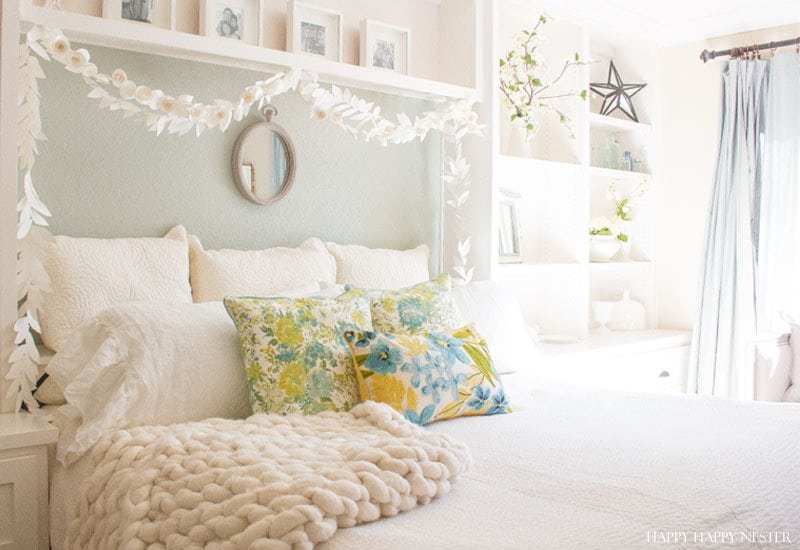
So, what do earthquakes have in common with my bedroom?
And I’m not talking about my husband’s snoring that can rattle the windows of our bedroom like nobodies business.
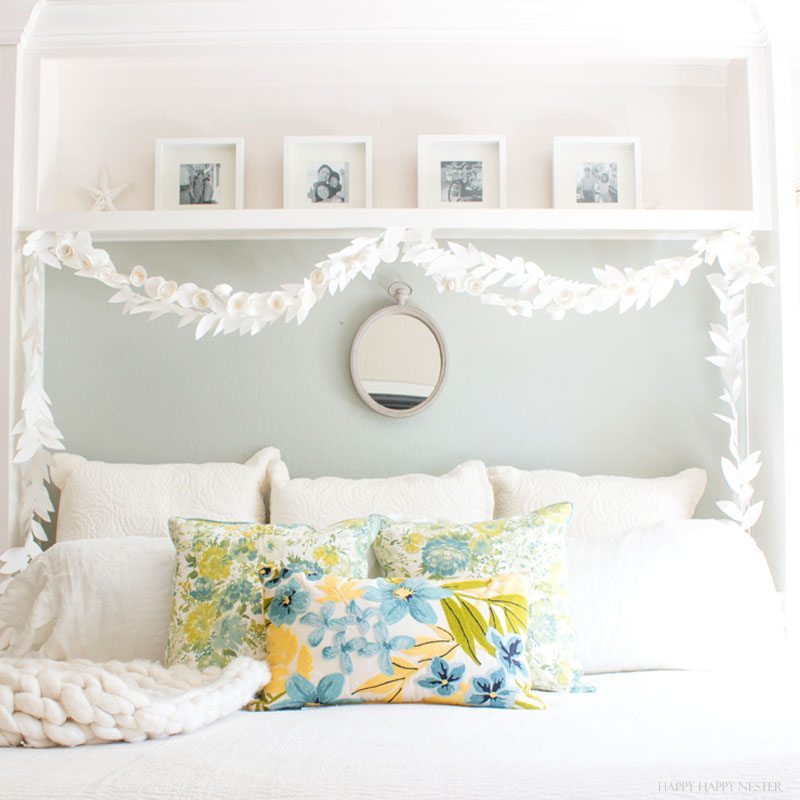
But, instead, do you see my top shelf above my bed? Well, I used to have two pretty significant stone vases position right above each of our heads.
I finally realized this was a death trap!
I eventually removed them since recently we have had a strange swarm of earthquakes and one of these beauties could come tumbling down on us. And, seriously I don’t want to die in my sleep prematurely.
So, down came the vases.
We, well to be truthful, I have been staring at this space for a couple of months.
So, the practical part of me thought I could just place my book page paper leaf garland back up over our bed. But then my hairdresser, Chaska was mentioning a fun rose garland she was designing, and she asked me for some ideas.
Well, soon, my brain was quickly firing ideas at her while I was sitting there getting my hair shampooed.
So, long story short, I was inspired to create another paper garland diy.
And some of you know that I’m a bit out of control at times, so, I’m sure you aren’t surprised that I decided to make two garlands.
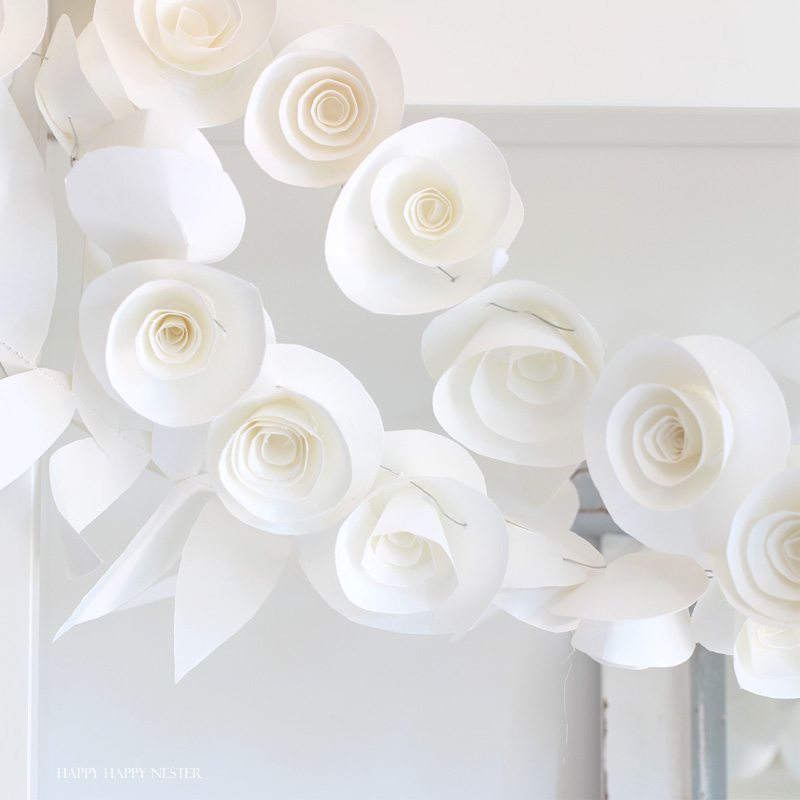
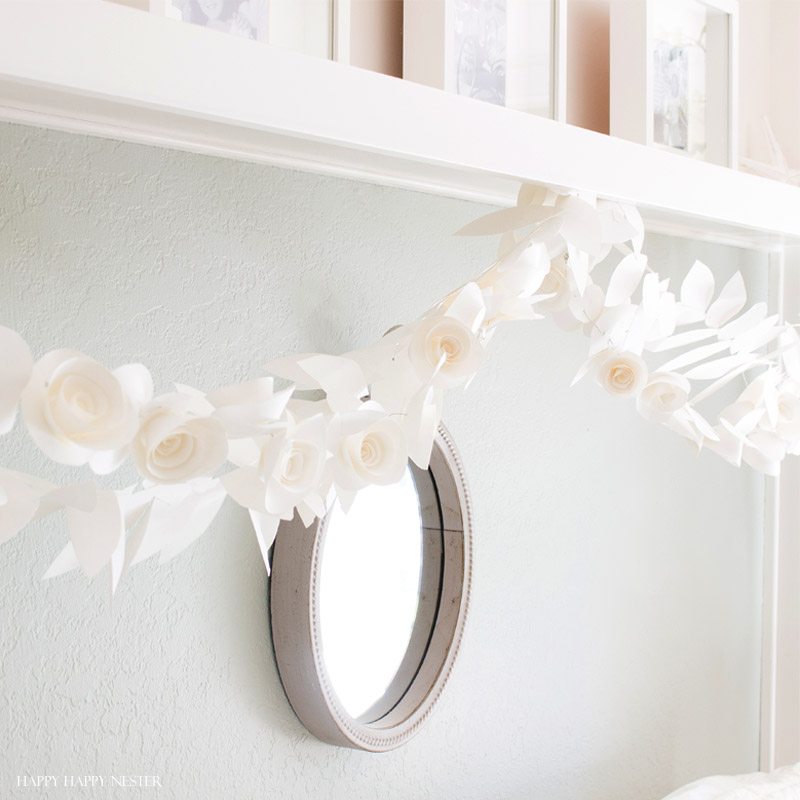
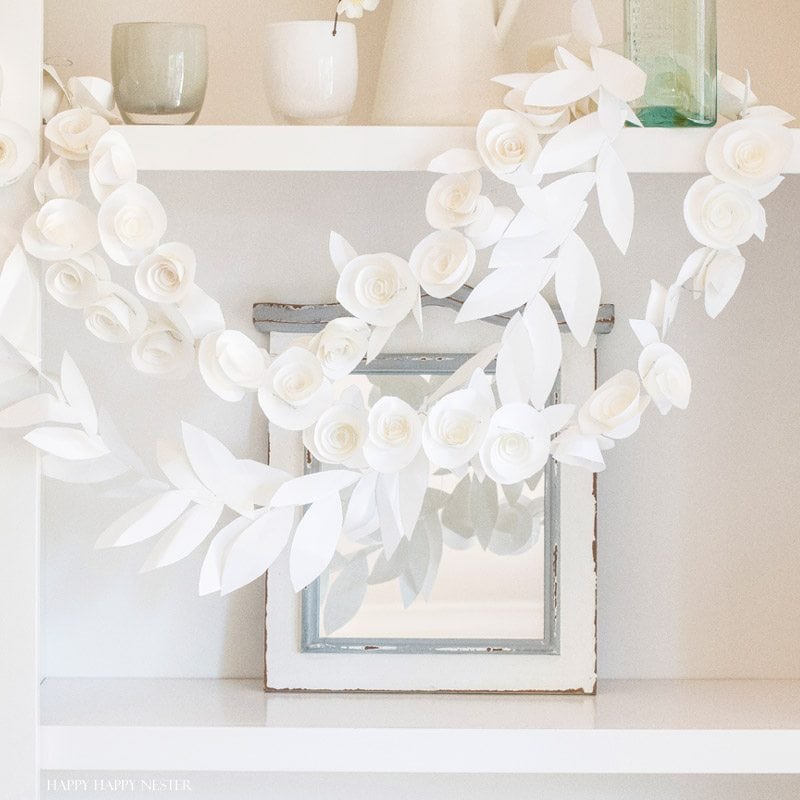
A rosette one and a leaf one.
Don’t you think the combination of the two garlands works splendidly? I love that when I fall asleep at night, and it feels like I’m lying in a…
beautiful secret garden.
Paper Garland DIY
(Leaf and Rosette)
This post contains affiliate links
Leaf Garland
Materials:
Scissors
Leaf Garland Directions:
1. Cut out as many leaves as you like based on the length you would want your garland. About 10 leaves in about 6-8 inches of garland.
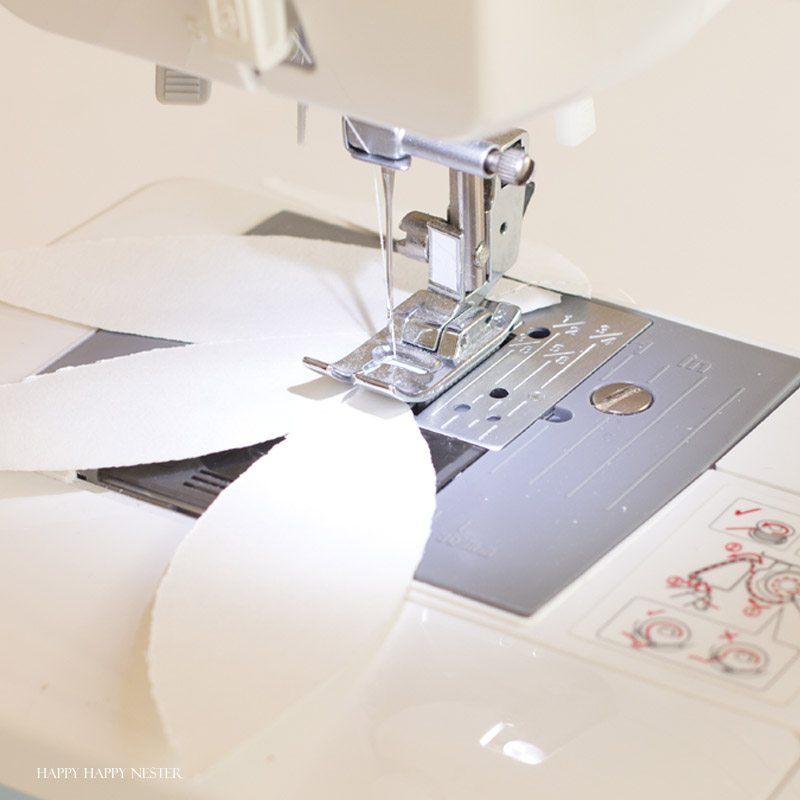
2. Place all your paper leaves next to your sewing machine and begin sewing the ends together. A little note, if you sew the leaves in somewhat random patterns, the garland comes out looking more realistic.
3. After you finish sewing your leaves, you can bend them so that they look a bit like the real ones.
How to Make Garland of Rosettes
Materials:
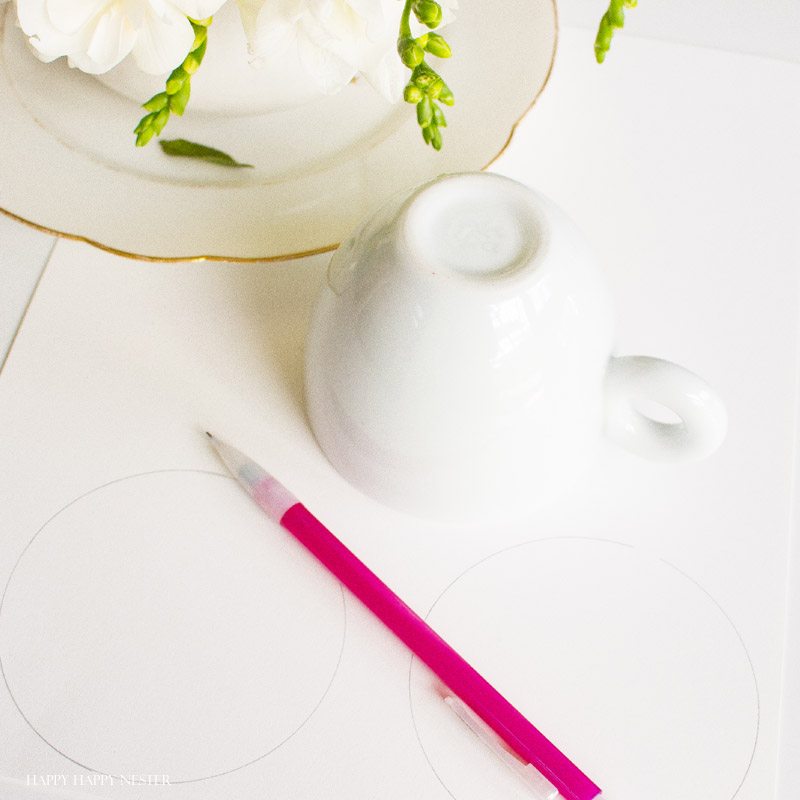
A cup or glass to use as a template (mine is 3″ in diameter)
Scissors
A pointy object like a Shish Bob skewer
1. Find a round object the size you would like your roses. My cup is about 3 inches in diameter.
2. Trace circles on your paper and make several on the sheet.
3. Place a few sheets of paper in a pile and cut out your circles.
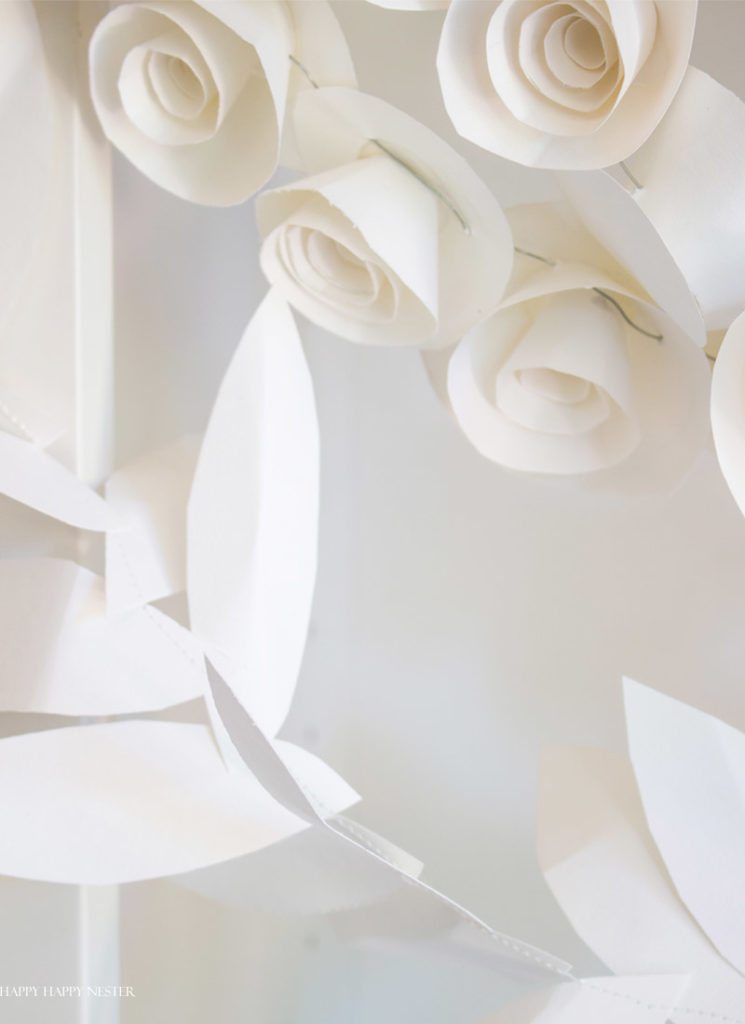
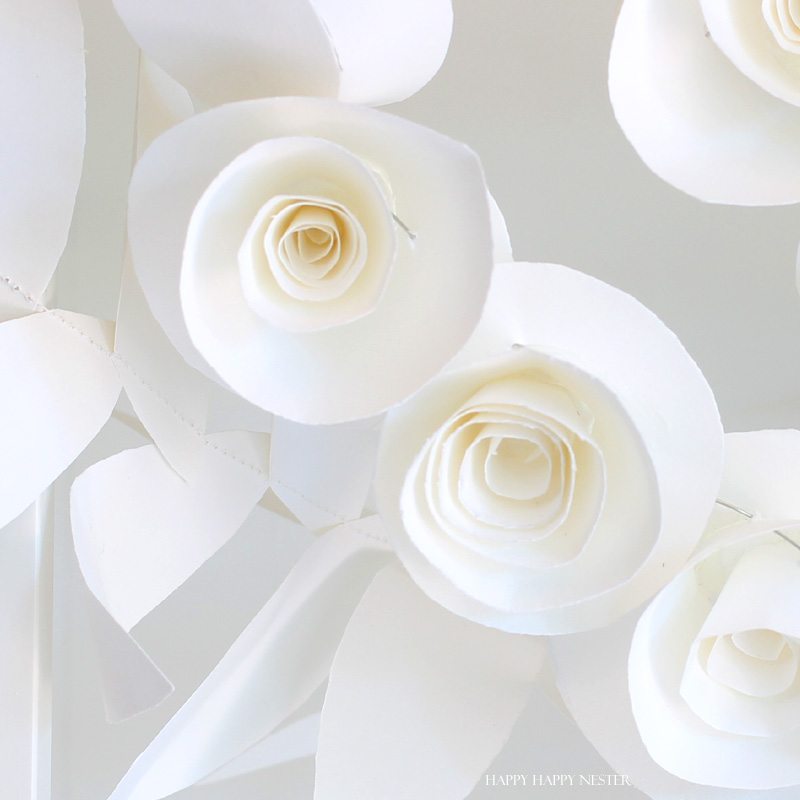
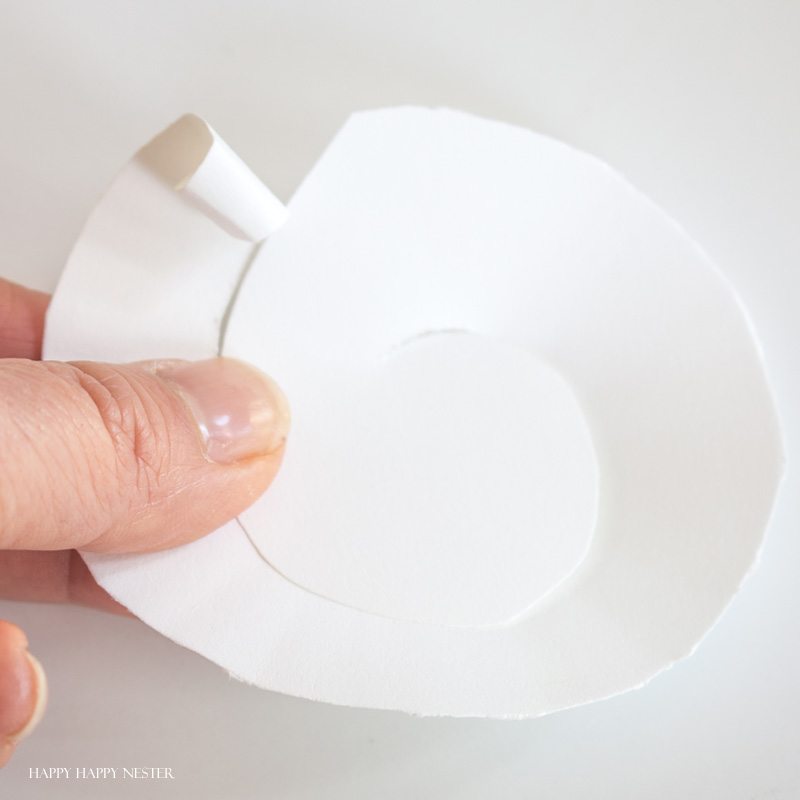
4. Next, start at the outside edge of your circle and cut a swirl working to the middle as shown in the photo. Then at the beginning of the curl start rolling up the paper till you are in the center of the rosette.
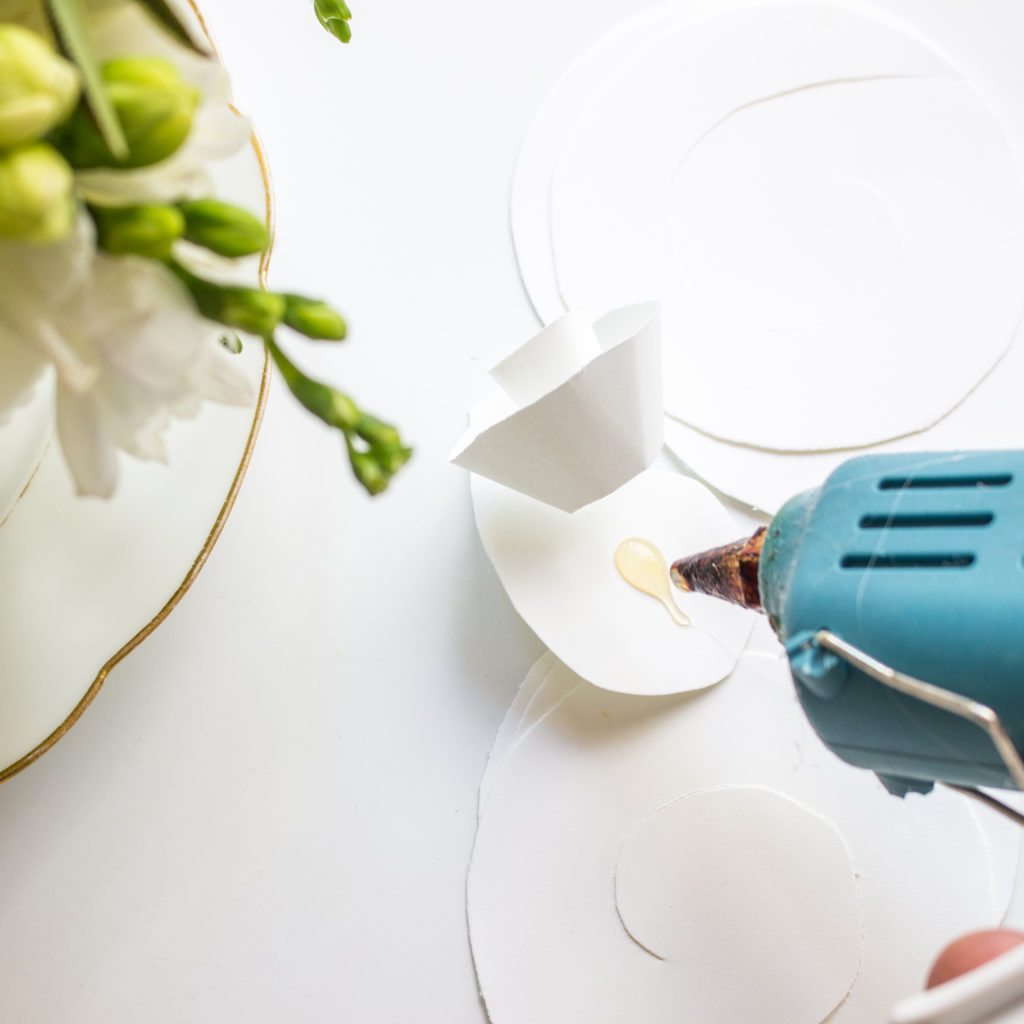
5. Place hot glue in the middle and then wrap the rose as shown. Secure the rose in place with the hot glue.
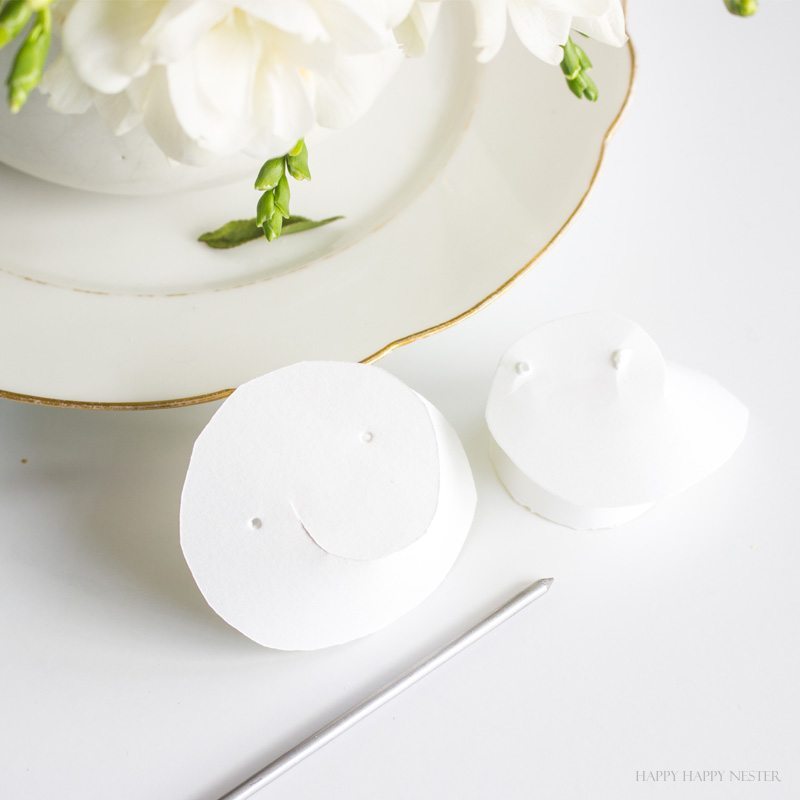
7. If your rosettes misbehave and you would like them to face outward, you can hot glue the rosette edges together.
I hope you enjoyed this paper garland DIY. If you missed my latest Paper Magnolia flower project, you’ll want a few of these beauties around your home.
As you can see, I rounded up some frames on our shelf, and now I think we are somewhat safe in regards to our earthquakes. One little thing had a domino effect on the rest of the room. I still would like to paint the blue wall and sew some drop cloth drapes.
So much to do and so little time.
I had the great fortune of actually meeting Janet from Shabbyfufu a couple of months ago. I’m sure you’ll just love her blog post for this tour. Now off to Janet’s blog to view her spring inspiration!
Cheers,
Home Décor Craft + DIY Tour


- Machine Washable Rugs - January 21, 2026
- Pink Crafts for Adults - January 17, 2026
- Dinner Ideas - January 10, 2026

Christina Goldsmith
Janine, your crafting skills never cease to amaze me!
Janet @shabbyfufu
You are an amazing paper artist and have so much patience Janine! Love this and pinning for future reference! xo
Tana - Your Marketing BFF
I love the rosette + leaf garland together – it gives it additional “refreshing” life. (And so glad you got rid of the premature death trap, haha). Beautiful paper flower diy!!!
Lolly Jane
Such a pretty garland, Janine! We love it so much!
xoxo
Rhonda Hallstrom
Janine
You are so talented! love your flowers
Kellie
wow they are so delicate looking and beautiful in your stunning bedroom!
Sam - Raggedy Bits
You sure are the queen of paper flowers!! Love your garland and it looks so lovely in your bedroom!