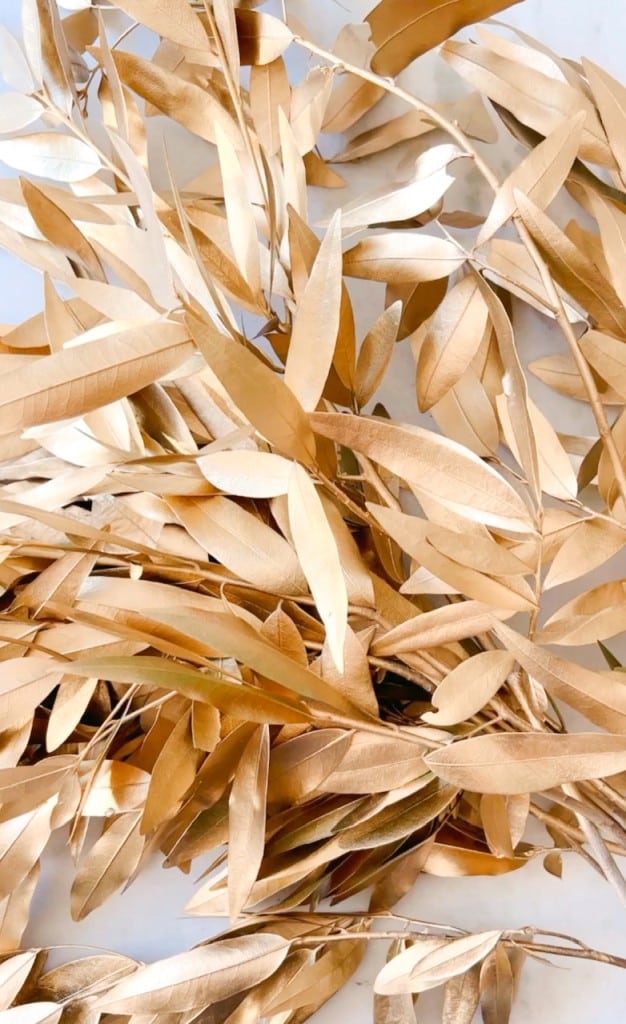
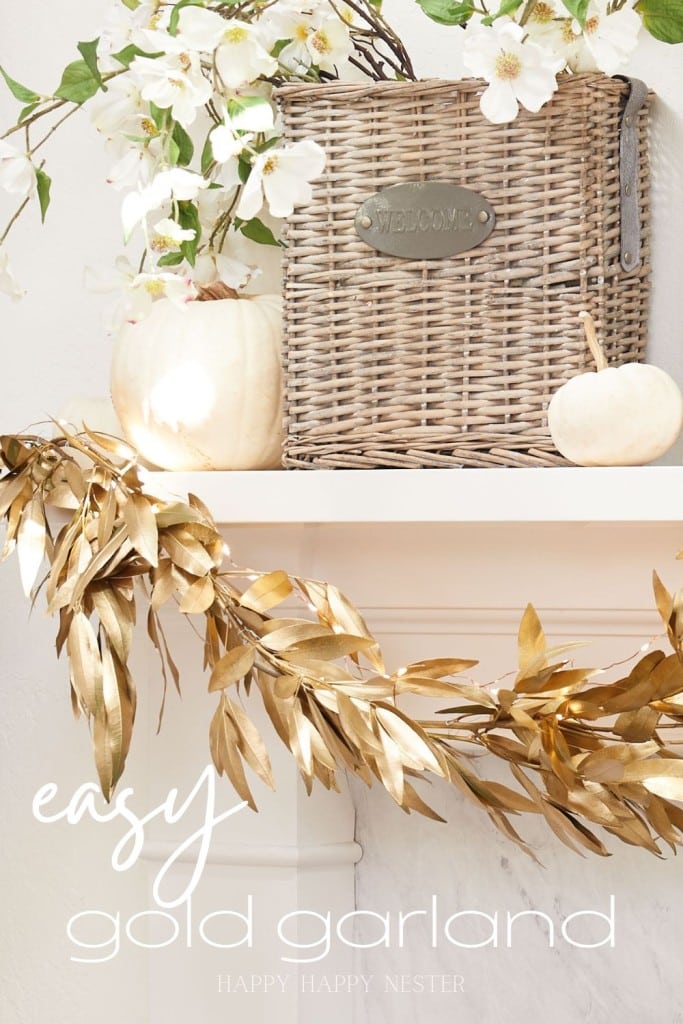
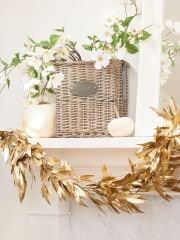
Create your own budget-friendly DIY Fall Garland with this simple project. You can quickly whip up this fall gold leaf garland at home using natural bay leaf branches jazzed up with a touch of gold spray paint.

I’m gradually embracing the fall vibes in our home.
I’ve brought out my collection of white pumpkins and crafted an elegant gold garland to add to our mantel. Check out this step-by-step tutorial to see just how easy and minimal the materials for this project are!
Before we dive into the details of this garland, I’d like to introduce you to the blog hop this post is a part of. A few of my friends are sharing their wonderful fall decor ideas, and you can explore them at the end of this post. They’ve come up with some truly fantastic decorations!
And as you all know, I’m a big fan of creating garlands; you’ll find quite a few scattered around our home. Here’s a list of a few that I made so far!
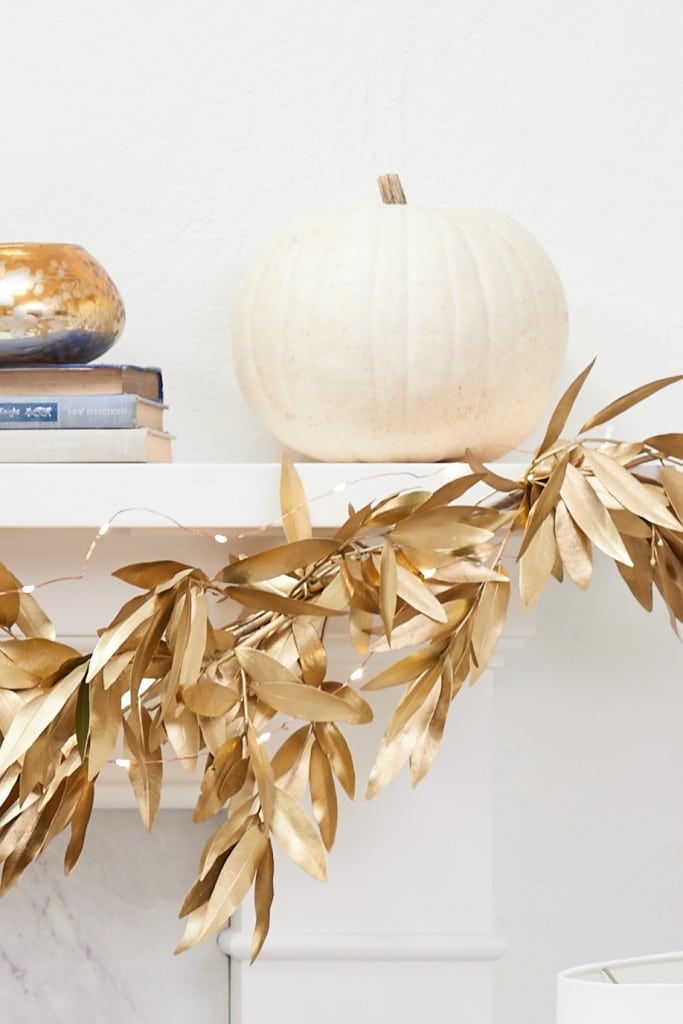
Each season, I love adding garlands to my mantel, mirrors, and chandelier, but this year, I got inspired by a stunning gold leaf garland I stumbled upon online. Being a crafter, I couldn’t just buy it; I had to create my own version.
The idea of using gold metallic spray paint on bay leaves struck me as a brilliant way to elevate their appearance, giving them a rich and gorgeous metallic finish that resembles real metal.
Once I sprayed the leaves, the rest of the project fell into place, and I’m pretty pleased with how it all turned out.
I hope you get the opportunity to create one for yourself!
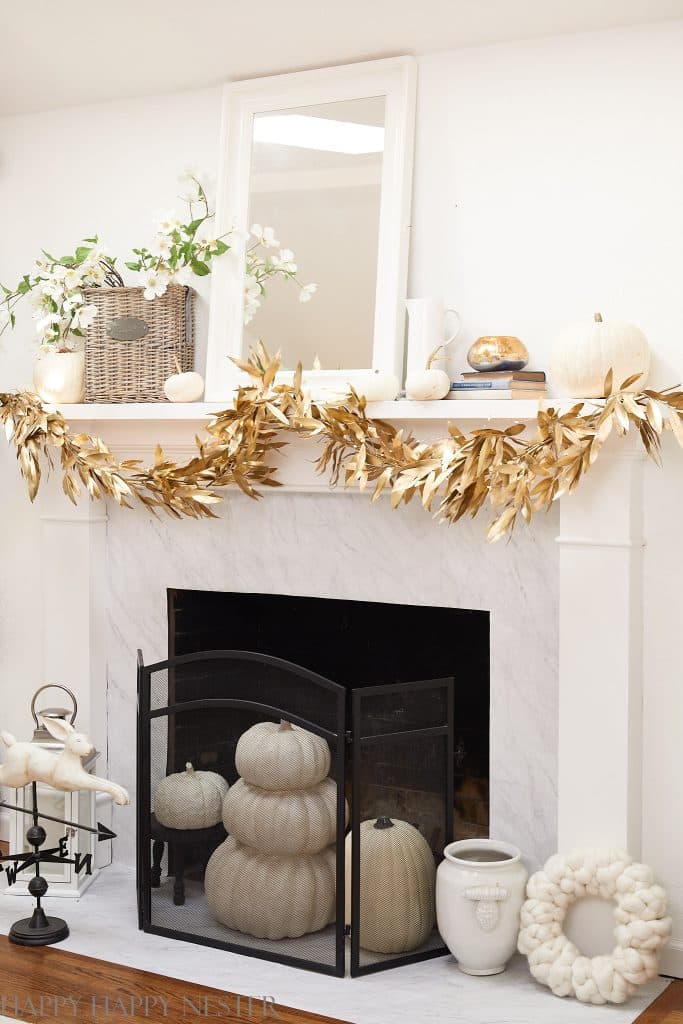
WHY YOU’LL LOVE THIS GARLAND
- Easy Craft: People will love this garland because it’s incredibly simple, making it accessible to everyone.
- Affordable: Its affordability is another reason to adore this garland, allowing you to decorate without breaking the bank.
- Versatility: The garland’s versatility for all seasons means it can brighten up your space year-round, adapting to any occasion or holiday.
- Metal Appearance: The spray paint gives it the appearance of metal, adding a trendy and metallic sheen that adds an industrial chic vibe to your decor.
- Handmade: This garland’s beauty lies in its ability to effortlessly elevate your space with a touch of handmade charm.
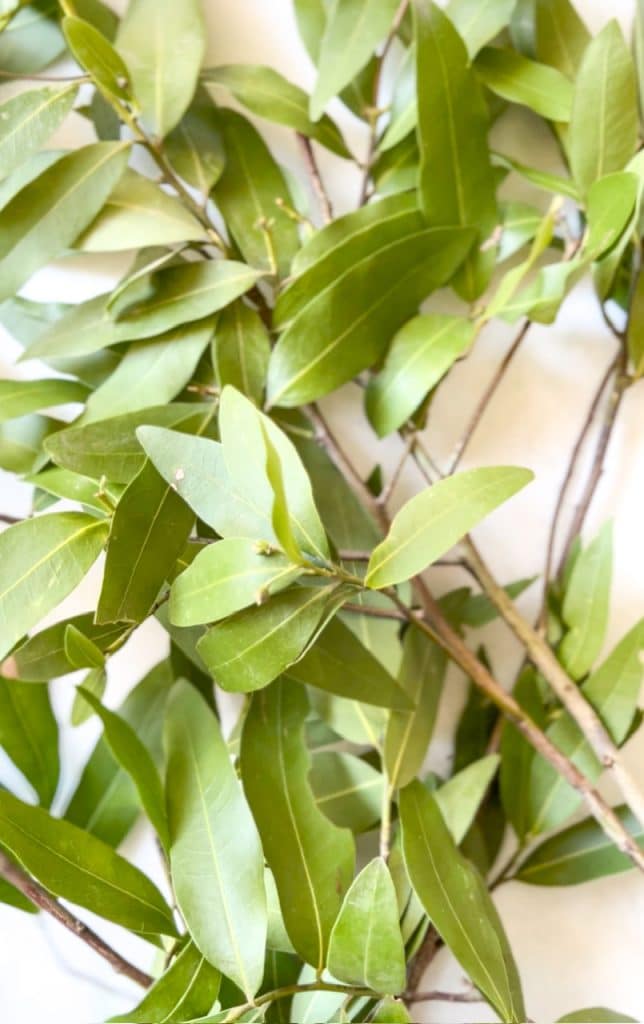
BAY LAUREL TREE
The bay laurel tree, scientifically known as Laurus nobilis, is a fragrant and evergreen tree native to the Mediterranean region. It typically reaches a height of 10 to 30 feet (3 to 9 meters) and features dark, glossy green leaves that exude a delightful aroma when crushed. Its leaves are often used in cooking to add flavor to a variety of dishes, and the tree is also known for its historical significance, being associated with the ancient Greeks and Romans, who considered it a symbol of honor and achievement.
We often come across California bay laurel trees in the San Francisco Bay Area, whether we are strolling through the city or hiking in its beautiful surroundings. These native trees not only add greenery to the landscape but also fill the air with their spicy scent to the trails and terrain.
The leaves from these trees really add a distinct aroma to our trails and woods that I absolutely love. With both eucalyptus and bay laurel leaves contributing, the scent is absolutely fantastic.
ALTERNATIVE LEAVES TO COLLECT
But, if you don’t have a Bay Laurel Tree in your area, here’s a list of other trees you can use.
Keep in mind that you want a leaf that will keep its shape after it’s dried. So, a waxy leaf that will stay on the branches works well for this project.
- Magnolia
- Eucalyptus
- Holly
- Camellia
- Ivy – This isn’t a tree, but it makes pretty garlands.
BUY ONE INSTEAD
If you don’t have the time to make this gold leaf garland, here is a link to buy a faux one.
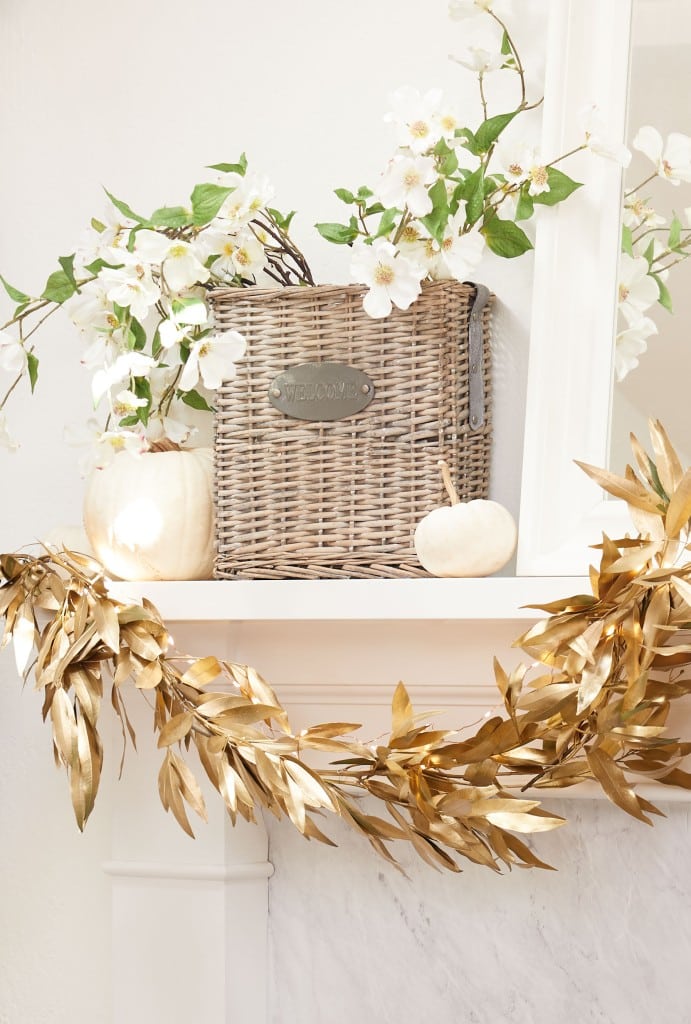
HOW TO MAKE A FALL GARLAND
You’ll love how simple it is to make this garland! The gathering of the branches is probably the hardest part of this project!
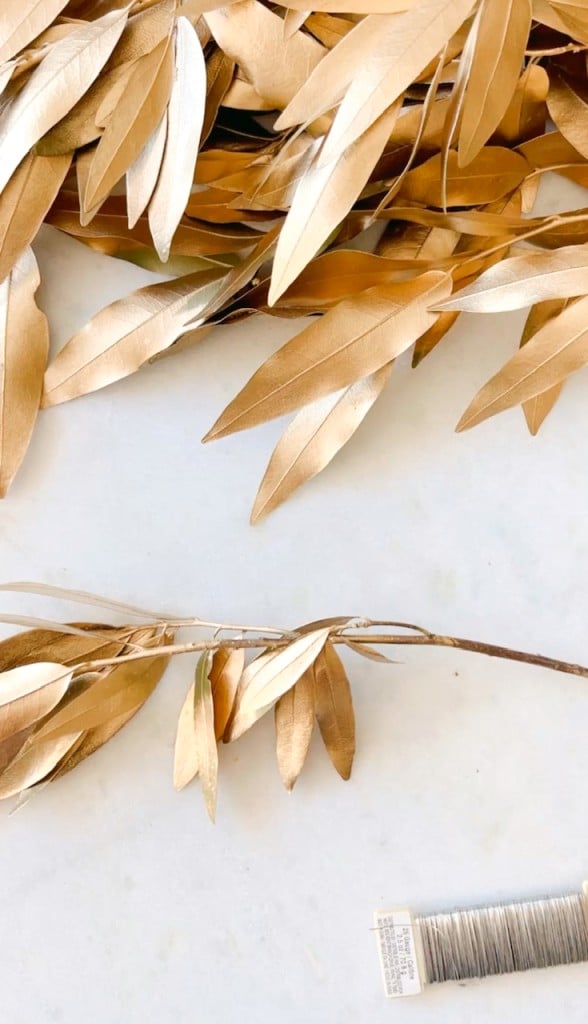
SUPPLIES YOU’LL NEED
- Bay Leaf Branches (for about 6 feet of garland, I used 10 to 12 branches)
- Gold Spray Paint ( I used two cans)
- Gold Wire
- Wire Clippers
DIRECTIONS
Step 1 – Gather Branches
Find either a domestic or wild Bay Laurel Tree. Trim off anywhere between 10″ to 20″ branches.
Wash off the leaves and allow them to dry.
Trim off any branches that appear extra and make it too bushy.
Step 2 – Coat Leaves with Paint
Make sure to paint your branches in a well-ventilated area. I sprayed my branches in my backyard. Place branches on a painting drop cloth, tarp, or newspaper. Coat the leaves thoroughly and allow to dry before applying a second and third coat.
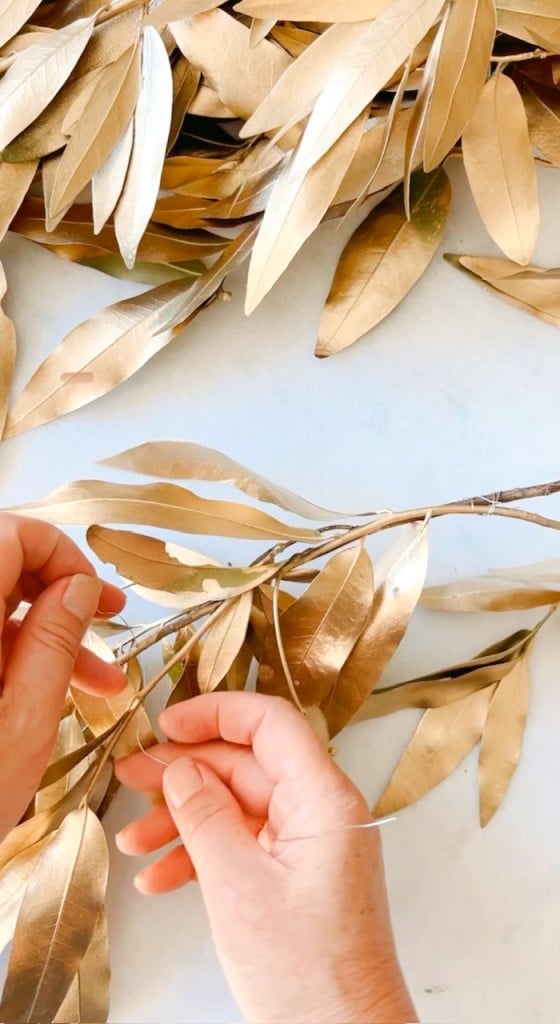
Step 3 – Build the Garland
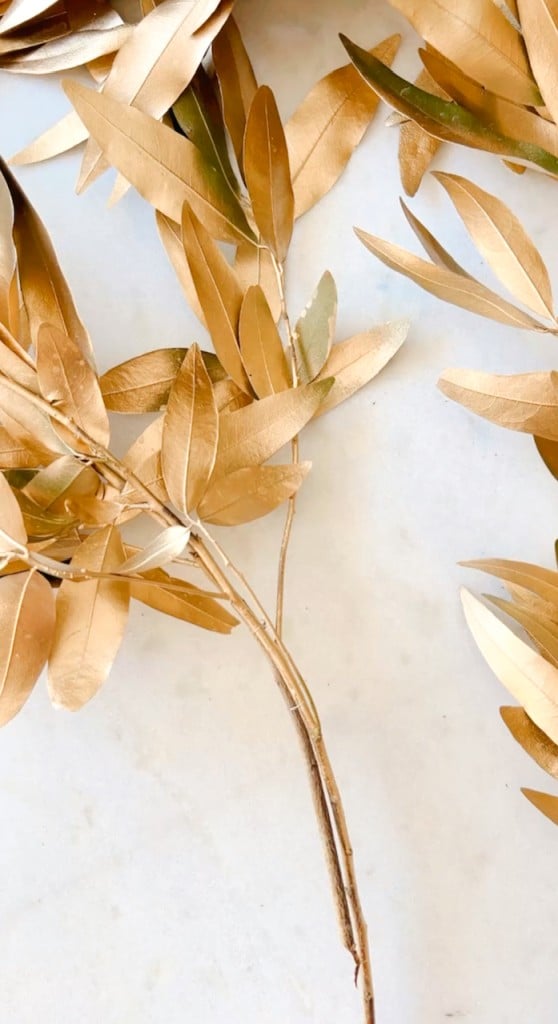
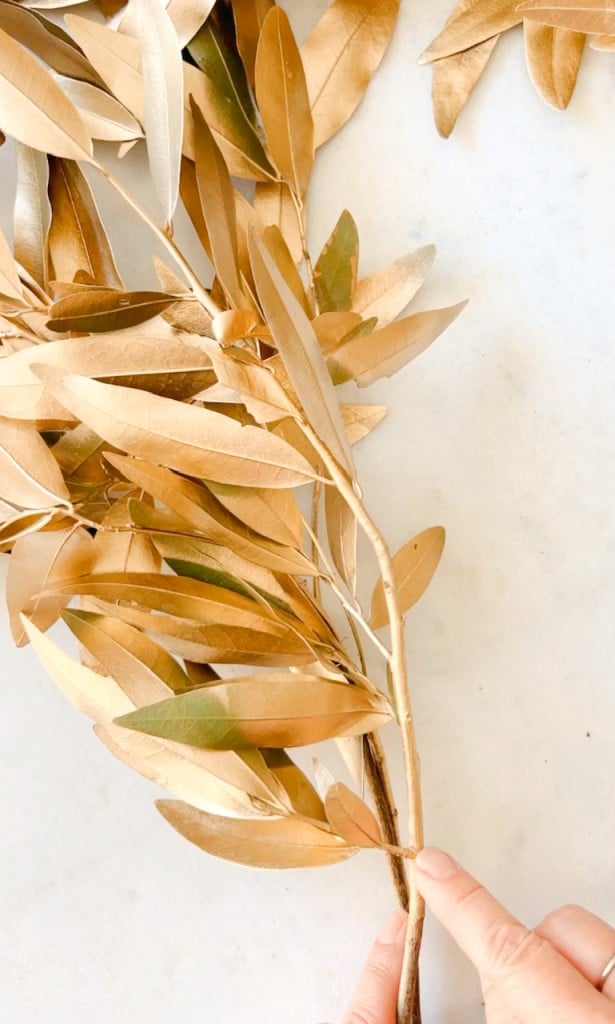
Once the gold paint is dry to the touch, start with one branch and trim off any leaves that make it too bushy. Next, place another branch on top of the first one. Make sure to place it about a third of the way down the first branch.
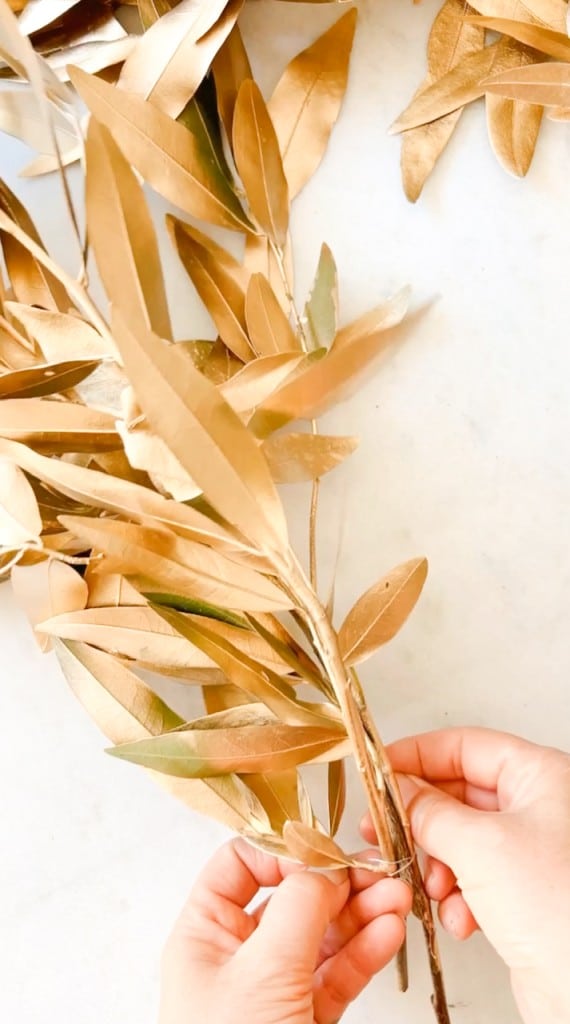
Then, find an area where the branches intersect and wire the branches together. You’ll want to tie down the branches in a few spots. If you can find a side branch to anchor the wire, then wrap around that and the bottom branch.
Once you finish securing the second branch, then repeat and do the same, building the garland with new branches.
I really enjoy crafting—it’s a fantastic way to keep myself busy when I’m not in the kitchen baking or cooking up a storm.
And since the holiday season is just around the corner, I’ve got a bunch of craft projects lined up for fall and winter.
Thanks for popping by, and don’t forget to take a peek at my friend’s awesome fall decor project below!
Happy Fall!

BLOGGER’S BEST FALL DECOR IDEAS
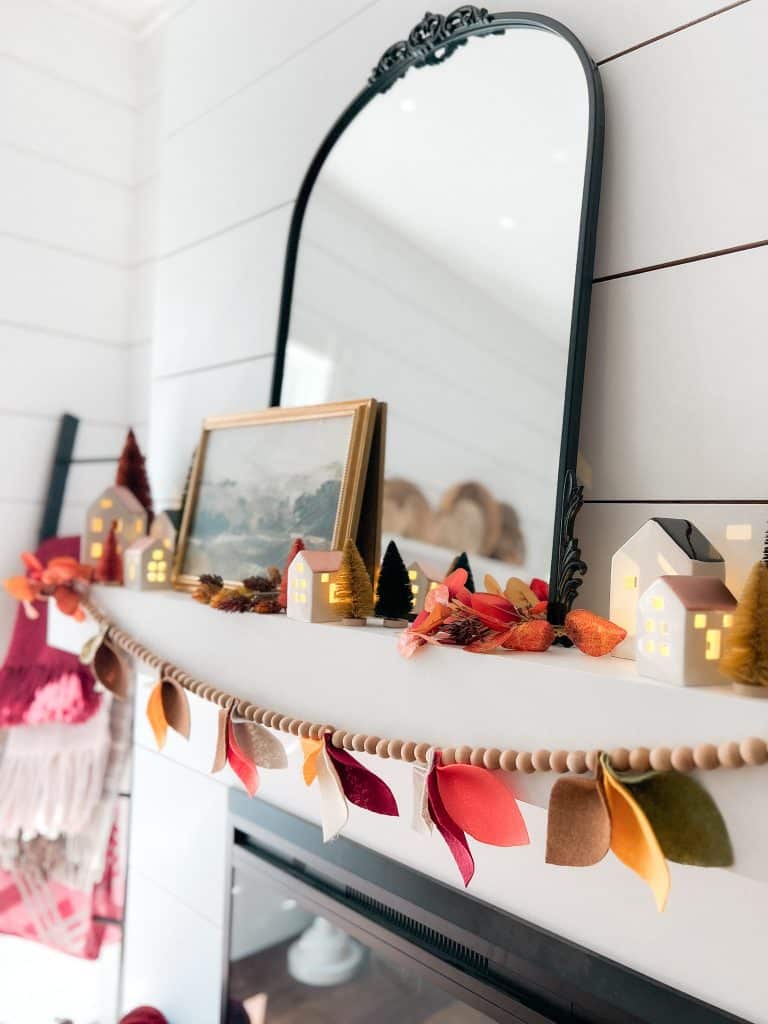
DIY Fall Felt Leaves Beaded Garland | Tatertots and Jello
Creating this easy Fall Felt Leaves Garland is a great way to add a touch of seasonal charm and warmth to your home decor. It’s an easy project that allows you to customize the colors and design, making it a delightful addition to your fall decorations. There is also a free template you can print out to make creating the leaves very easy!
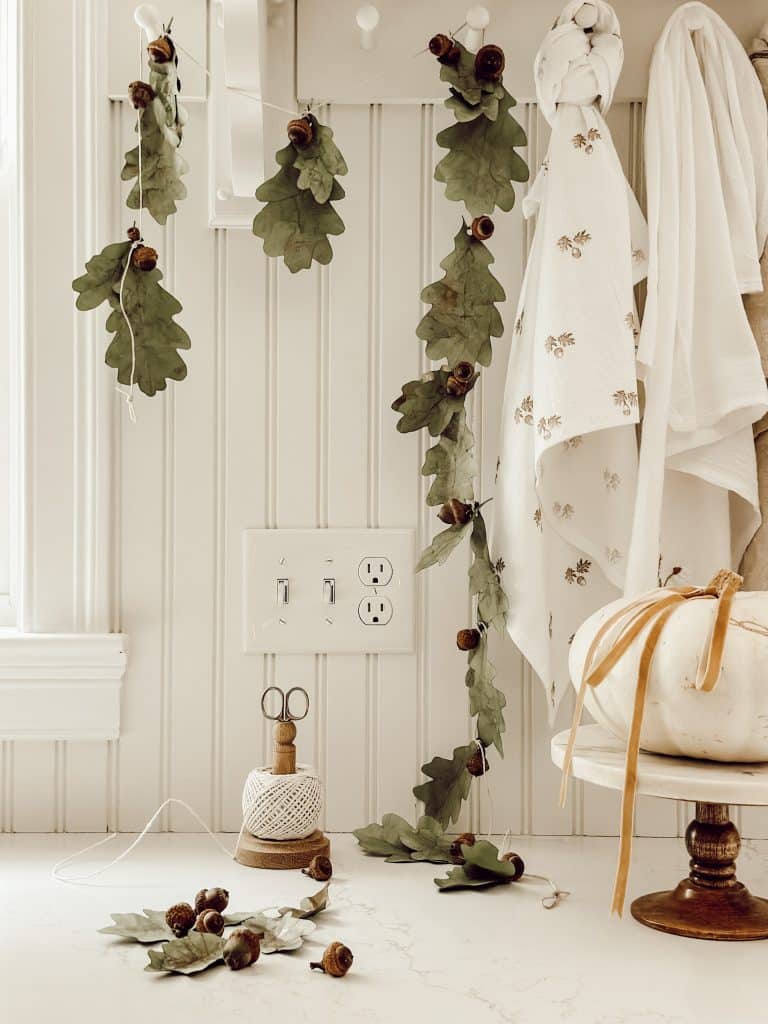
DIY Fall Garland: A Fun and Easy Craft With Acorns | Eleanor Rose Home
Create the perfect blend of rustic elegance in your autumn home decor with this step by step tutorial on how to make a DIY fall garland using collected acorns, natural twine, and green cardstock. It’s easy to make and the perfect way to embrace the beauty of the season!
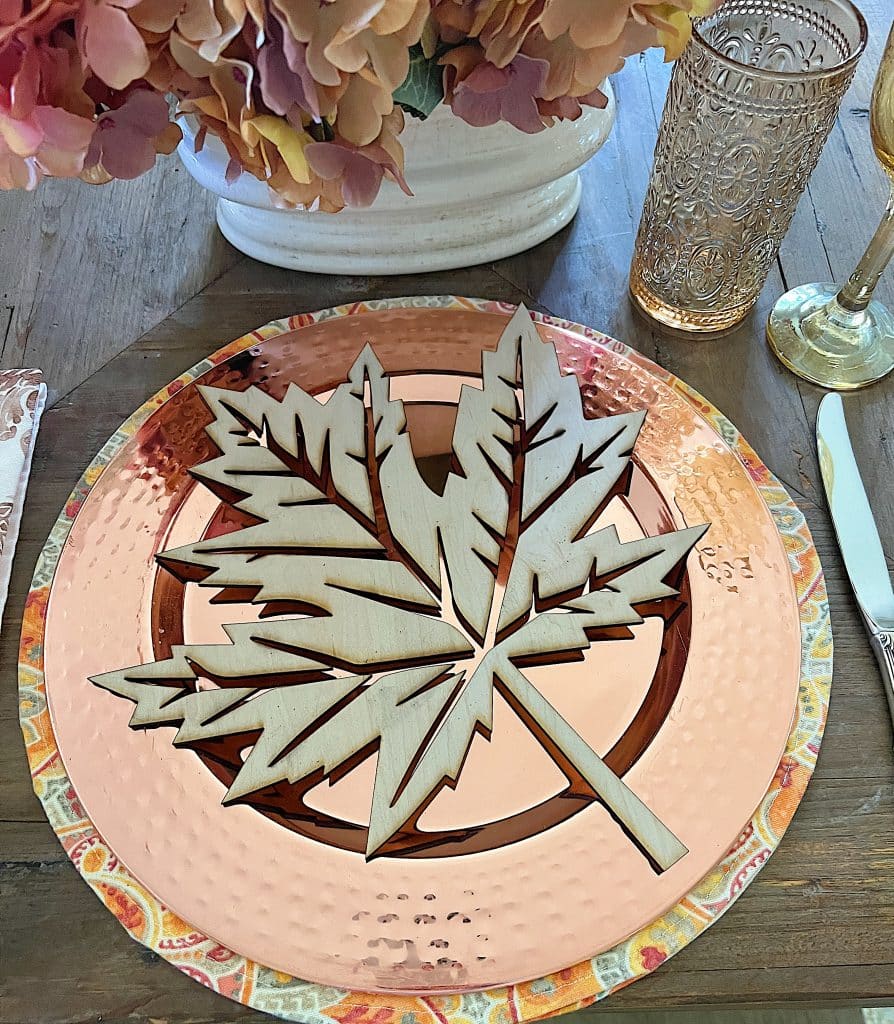
DIY Fall Leaf Plate Chargers | My 100 Year Old Home
Fall is a beautiful time of year, and I made some wood leaf plate chargers for my fall table with my new xTool M1 laser cutting machine.These chargers are easy to cut from wood and they’re a great way to add a touch of fall to your tablescape.

DIY Fall Garland (Gold Bay Leaf) | Happy Happy Nester
Create your own budget-friendly DIY Fall Garland with this simple project. You can easily whip up this fall gold leaf garland right at home using real bay leaf branches jazzed up with a touch of gold spray paint.
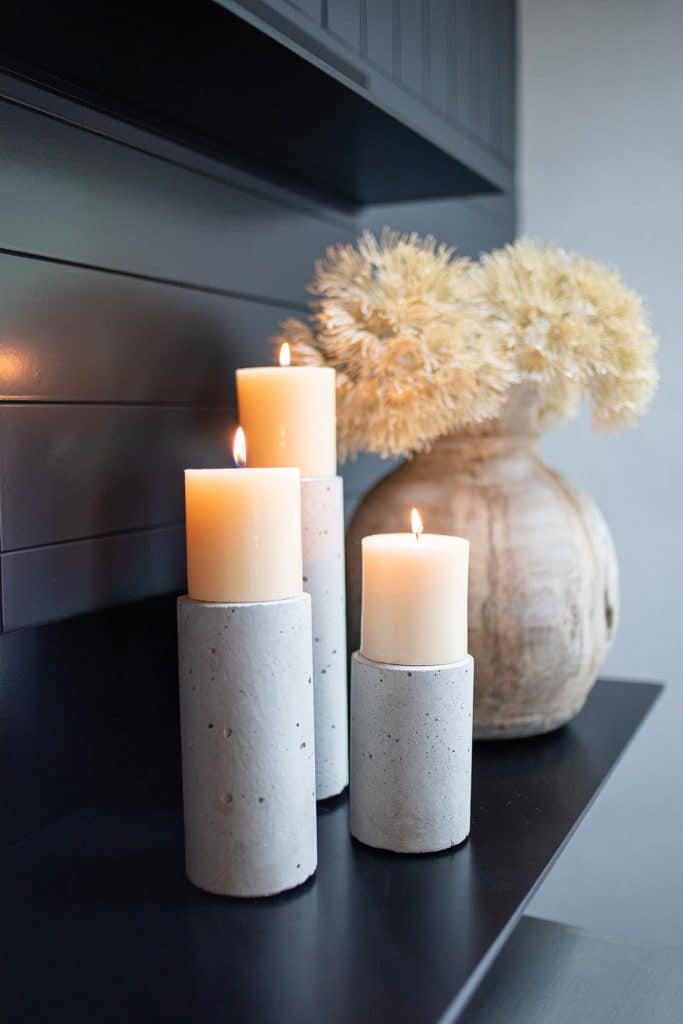
DIY Easy Concrete Candle Holders | My Sweet Savannah
You’d never believe what I used to make these DIY concrete candle holders. No messy concrete mix, and the form is that just might suprise you! One of the easiest DIY projects I have ever made.

Simple Fall Decor Ideas for the Kitchen and Dining Room | Twelve on Main
Find simple ways to add fall touches to your kitchen and dining spaces without overwhelm. It is easy to add simple fall decor to these spaces and create a coszy fall look.

- Spring Doormats from Walmart - February 18, 2026
- Heart Shaped Brownies Recipe - February 13, 2026
- Framed Artwork from Amazon - February 12, 2026
Heidi
I adore this garland Janine! I am so jealous that you have bay laurel trees readily available near you, that is something we don’t have in the northeast. This DIY garland is definitely one I want to try making this fall!
Melaine Thompson
I LOVE this project! You are lucky to have a bay tree! The gold looks so good!
Jennifer S. Hadfield
SO beautiful, Janine! I love the gold!! Pinned 🙂
xoxo
Renae Frey
This garland is absolutely stunning. I’m definitely going to make this. Thanks for the inspiration.