Let’s optimize your closet space in this DIY Storage Closet Ideas post. Whether you have a big or small closet or a linen closet, these tips and tricks will help you double your storage. I’m super happy that I didn’t invest and spend a lot of money on a professional organizing system, but rather, I came up with my own DIY closet organizer. I used a mixture of shelves from Home Depot and extra storage drawers from Target and Joann Fabrics.
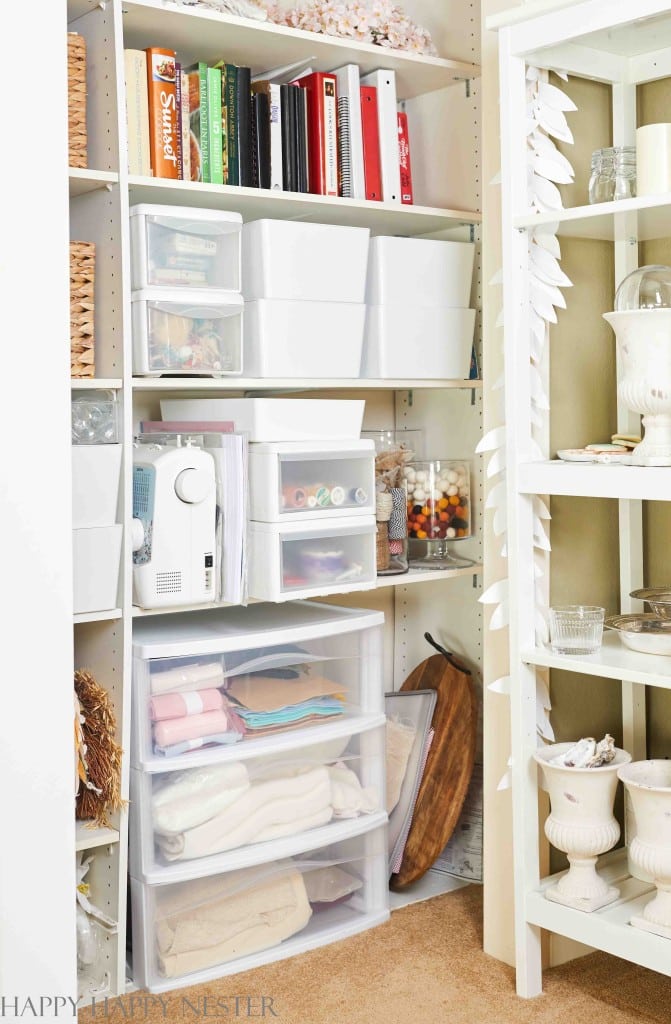
Over the years, I figured out a system for organizing our home. And in this post, I want to share all my DIY storage closet ideas, from the plan to the implementation.
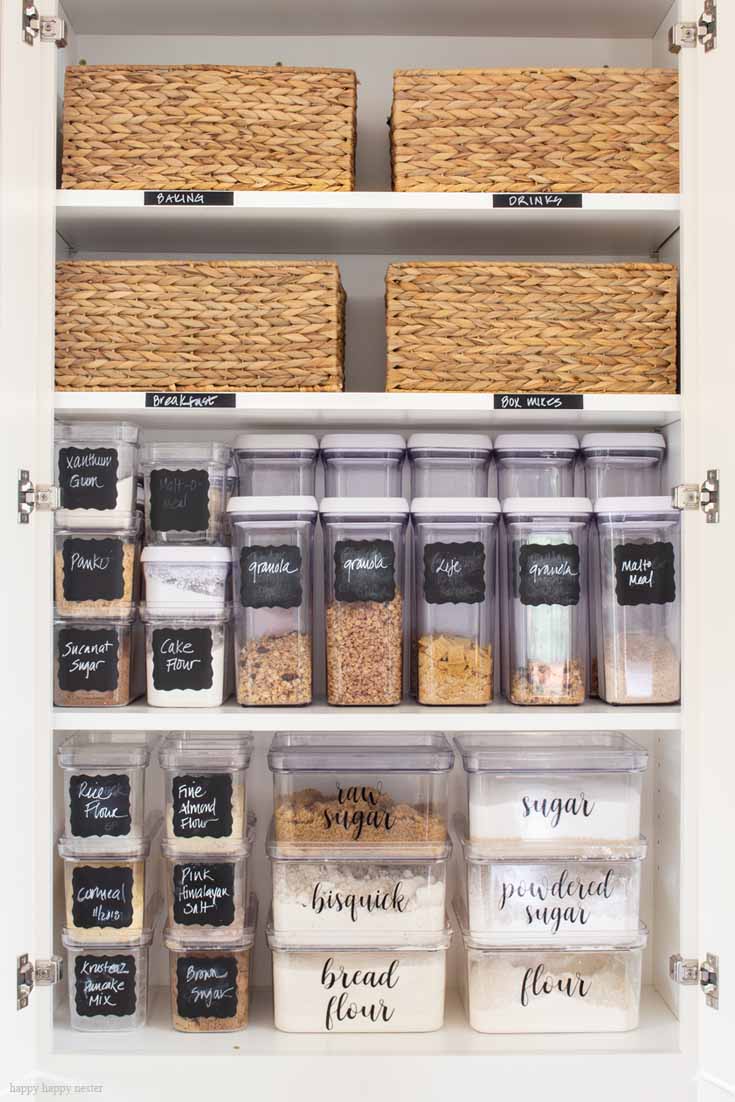
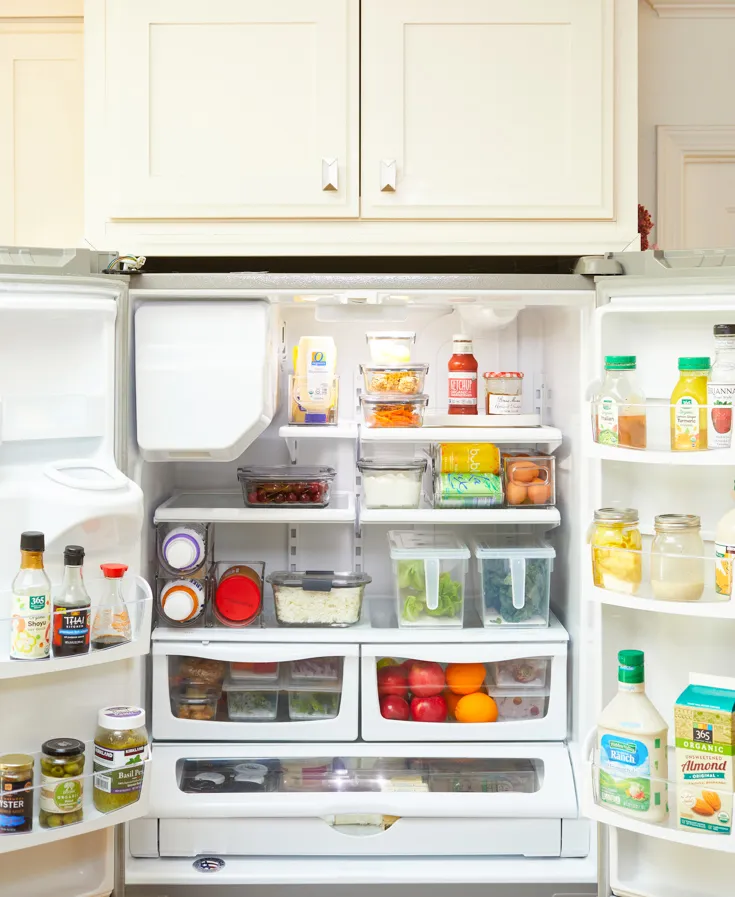
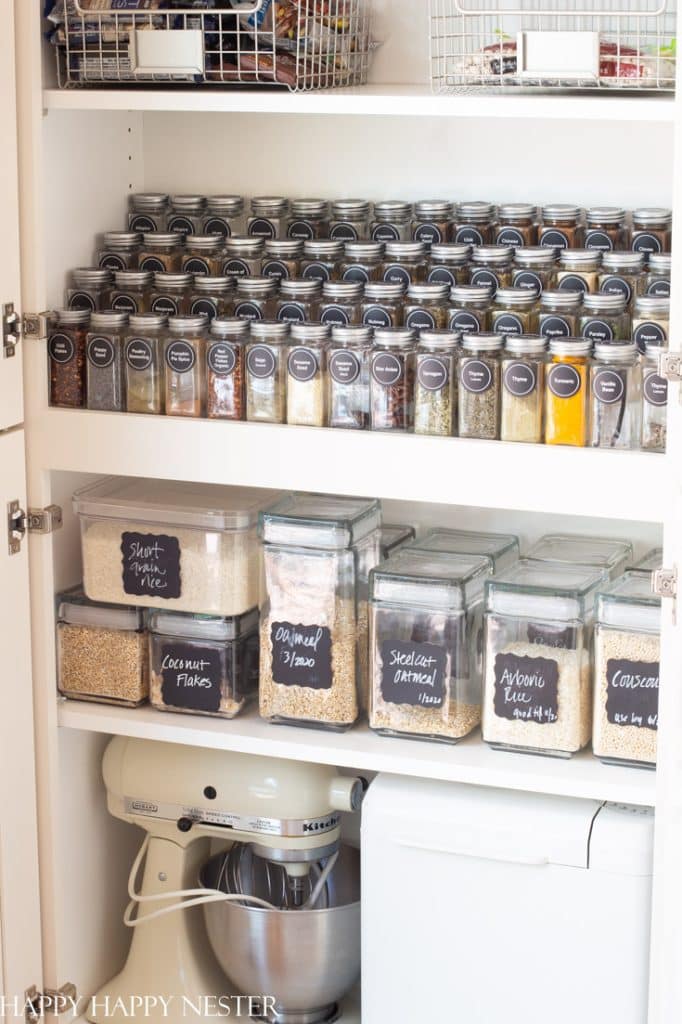
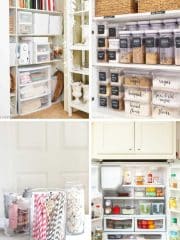
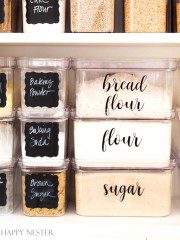
I like to organize, and one of the areas where I’m almost wholly optimized for space is our kitchen. You can view some of these posts here:
- Spice Rack Organizing Ideas
- Organizing with The Container Store Products
- The Best Tea Organizers
- How to Organize a French Door Refrigerator
Also, I want to mention that this post is part of an organizing DIY blog hop. If it weren’t for these beautiful blog-sharing projects, I wouldn’t tackle projects like this. My friends encourage me to tackle worthwhile projects throughout the year. So make sure to check out their fabulous projects located down below this post.

So since our kitchen is pretty organized, I’m branching out to other areas of our home. Today’s project takes us to my newly adopted office.
A year ago, my husband and I switched offices. He piled all my craft supplies in boxes and brought them to my new space. And since this all happened during the holidays, I didn’t have time to organize anything, so I placed it all randomly in my closet.
And last week, I tackled my small workspace with a vengeance. I was a girl on a mission. Also, it didn’t hurt that I had to complete this DIY storage closet ideas post. 🙂
I finished with time to spare, and I’m happy to share how I transformed my entire closet!
If you haven’t figured it out, my project is a bedroom closet that I transformed into a craft supply closet.
Let’s jump into the tutorial!
Closet Organization Ideas
1. The Plan (Research the System You Want)
If you plan your closet storage well, you’ll have enough space for all your items. The planning stage can take a long time.
Remember, there is no easy way to reorganize a closet, and you must put in the time and effort to see the best results. My closet already had a pre-existing wood closet system, but I wanted to add more things to optimize the space.
DIY Storage Closet Ideas Questions to Consider:
- What are your closet needs?
- What area has open space, and what needs to be in those areas?
- What do I have the most of, and how should they be stored?
- What do I want easy access to, and what do I want to be hidden and out of sight?
- Do I need adjustable shelves or fixed ones?
- Do I need to hang anything via the wall-mounted coat rack?
- Can some items be stored up high and not used frequently?
2. What Do You Need To Store in Your Closet
My closet needs to store all my craft supplies. Since I didn’t have to store clothes, shoes, or linen items, I needed to remove the clothes rod and add some more wooden shelves. I could’ve started from scratch, but the closet system with the house was doable. It just needed a bit of revamping.
And I knew that placing everything on the existing shelves wasn’t going to work. I’ve found that containers are the best solution to use a space efficiently.
3. Themes
The key to my DIY closet system is organizing with themes. This means trying to make areas of your closet conform to themes. I found that this makes it easy to stay organized and find things quickly. If you think about a grocery store, all the aisles are organized in themes, so why not do that with your closet? It’s a great way to manage and maintain organization.
4. Storage Ideas (Containers)
If you use storage containers, they allow maximizing your space efficiently. You can pile them so that they fill the space. Why not use every inch of your closet?
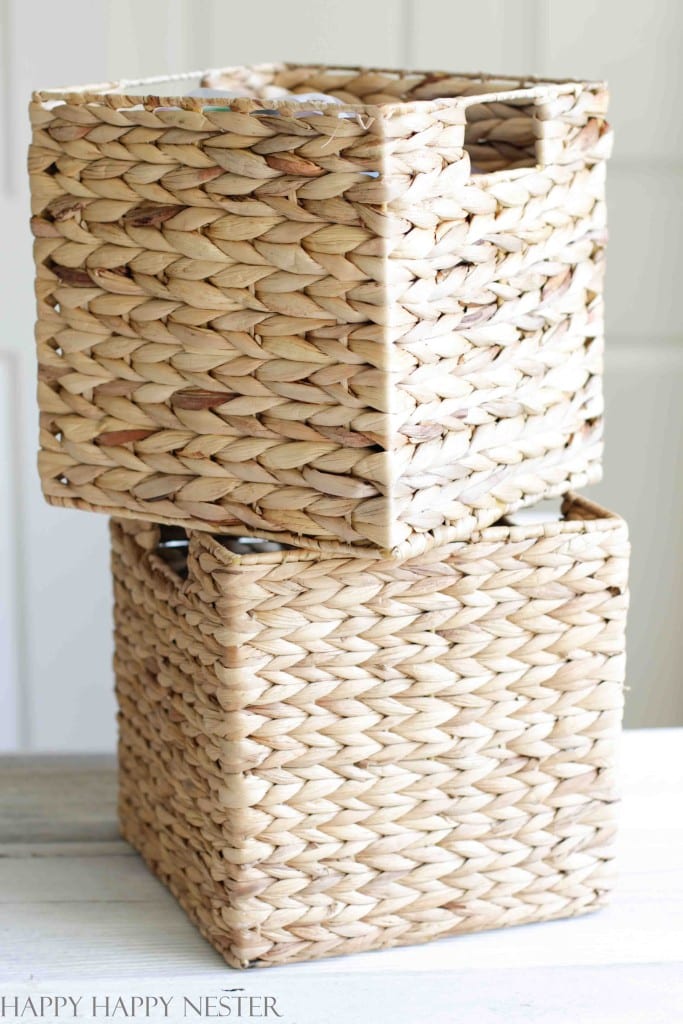
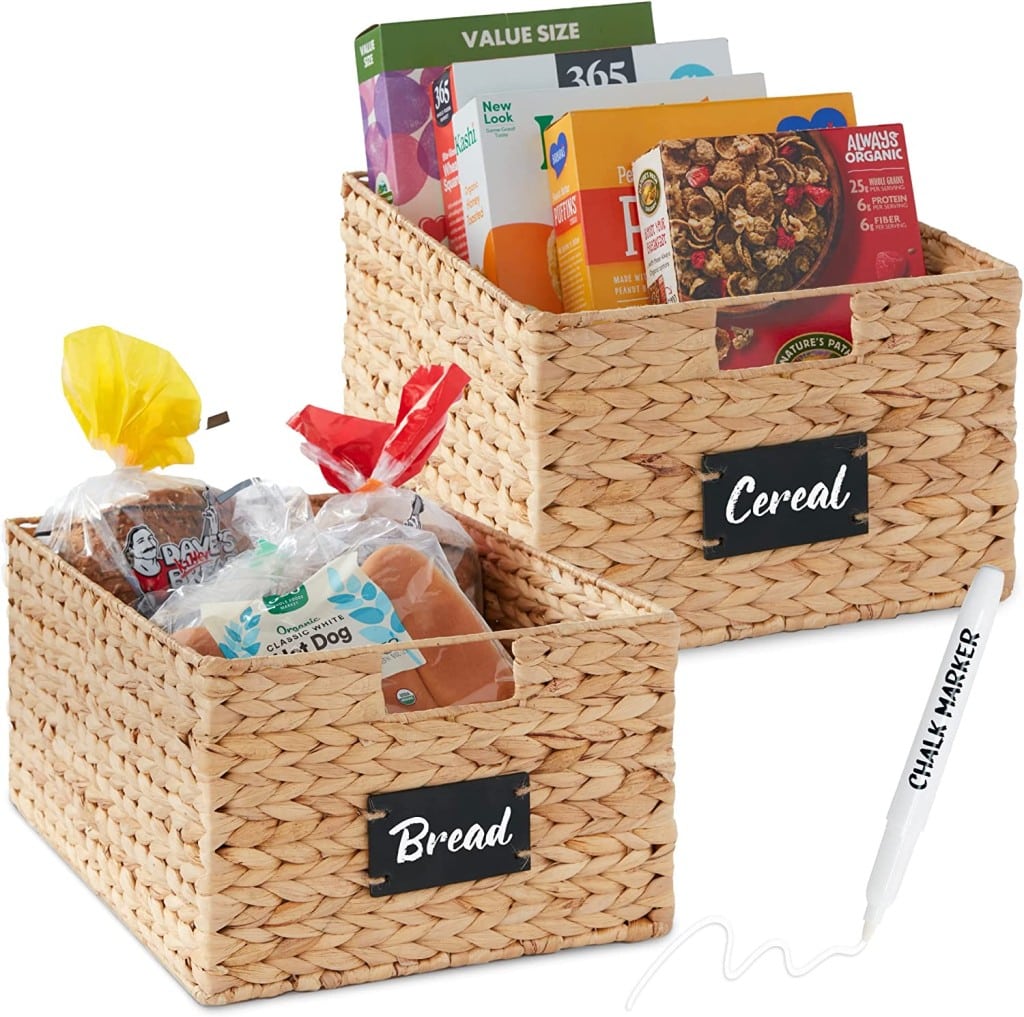
Storage Baskets
I love storage baskets. One of the great things about them is they can hide supplies you don’t want out in the open. Plus, they are pretty and look great in a closet. Also, you can place many bulky things in them.
To avoid disorganization, make sure to fill them with specific things. Again themes are essential. I have one basket that has candy melts for baking. So when I want those chocolates, I know precisely which basket to bring down from a top shelf.
If you like, you can place a little chalk paint tape on the shelf and write the contents of each basket on the tape. I did this in my kitchen. Otherwise, you can place a little tag on the basket if you like.
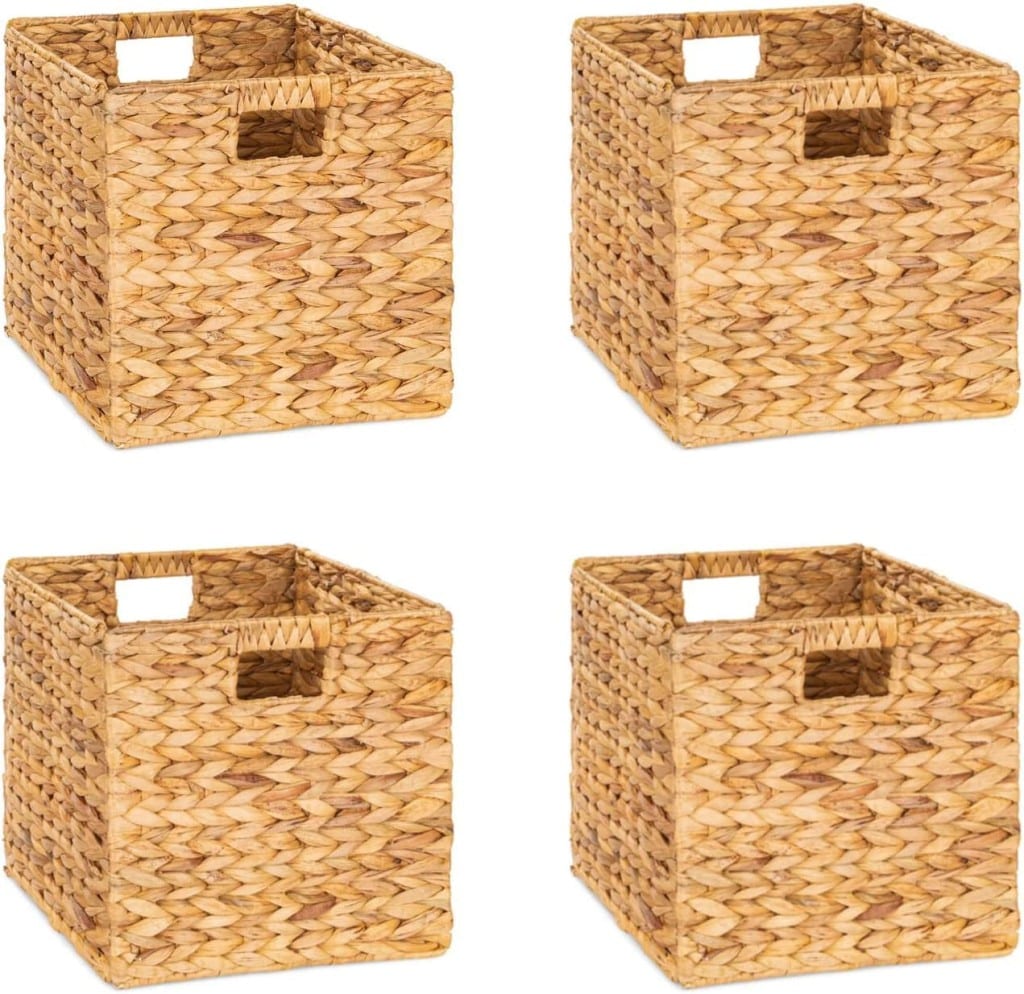
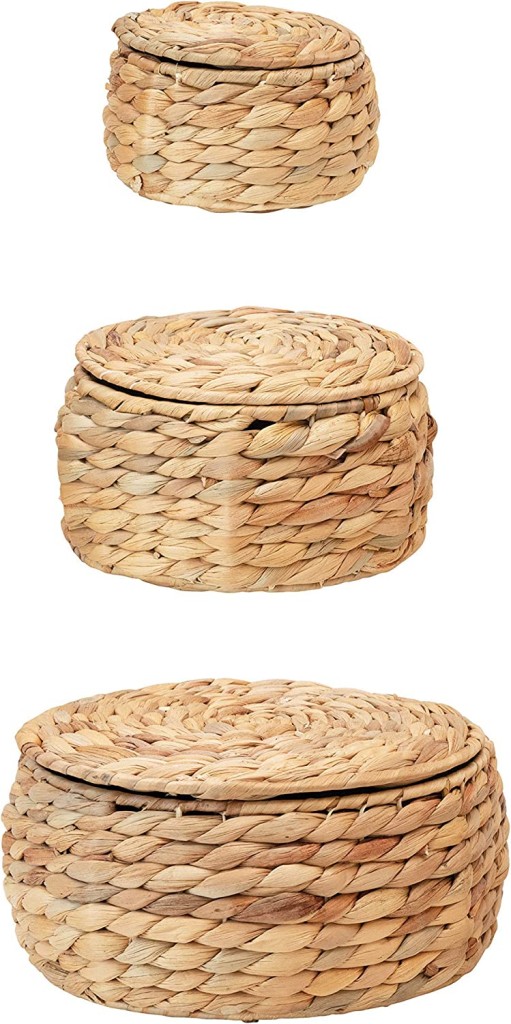
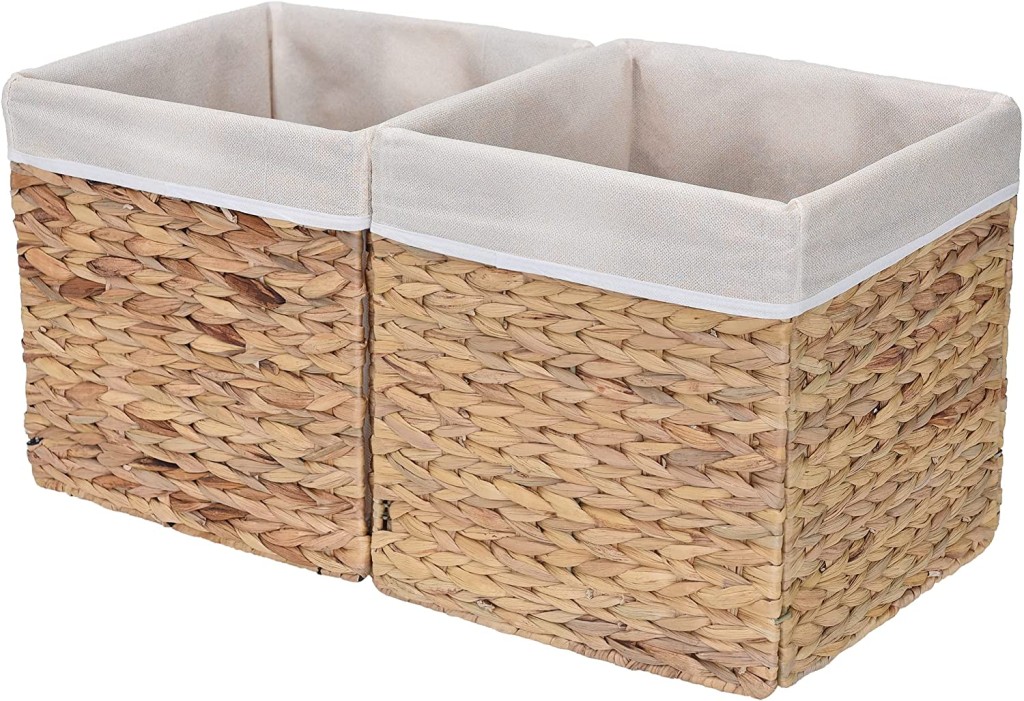
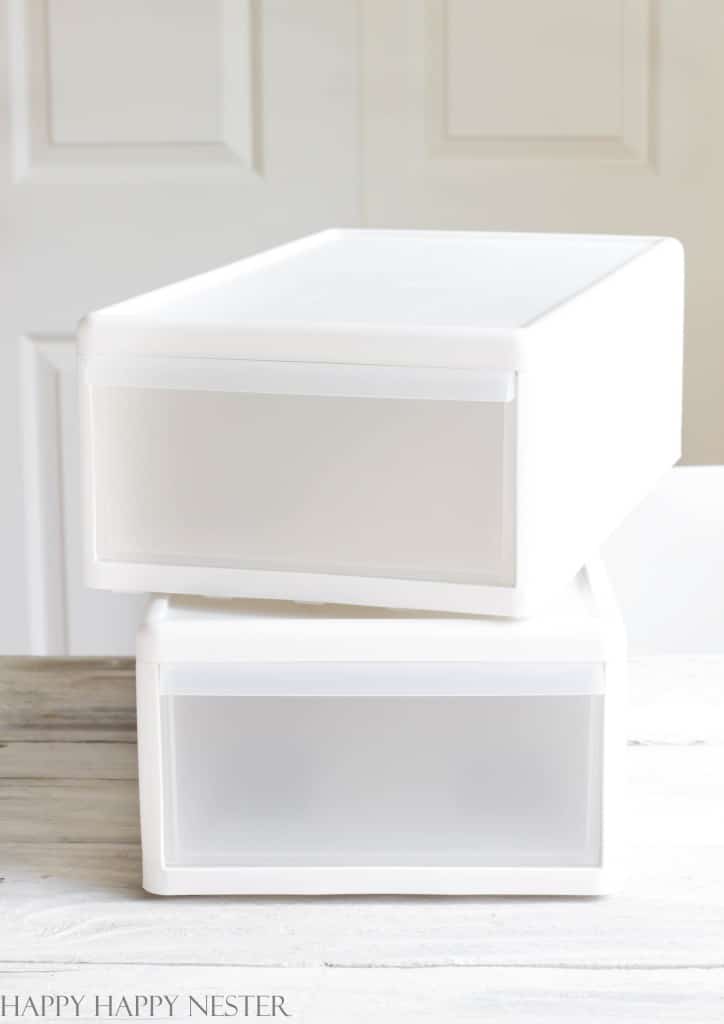
Drawers
I have two sizes of drawers.
I opted for drawers instead of having a small bottom shelf. I like to have drawers on the bottom so that all I need to do is pull out the drawers and view all the contents. This keeps me from having to kneel and peer into the back of the shelf.
Drawers are great for smaller items. So, when you place things in a drawer, plan it out. Don’t randomly place miscellaneous stuff in it, or it will become a junk drawer quickly, and you’ll struggle every time you use that drawer.
Think about drawers as themes. For instance, I regulated one drawer for my camera equipment. So when I need a camera lens or my SD cards, I have one spot to look for them. I’m not wasting time and energy hunting all over my closet. It’s all placed in that drawer. When you do this, it is not only easy to find things but also easy to put them away. It’s not complicated.
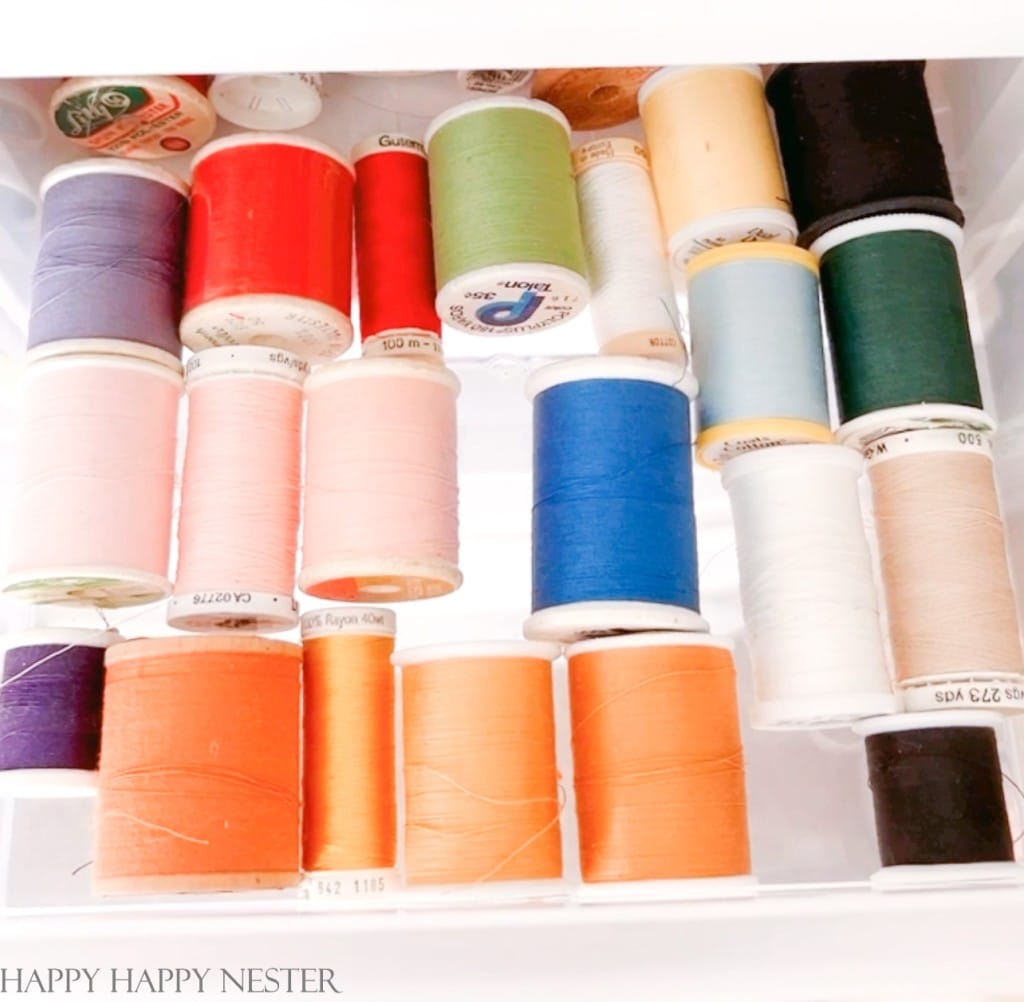
I have another small drawer that houses all my sewing thread. Before, my thread was wrapped around everything when I had a messy closet. Now it’s nicely tucked away in a small drawer, making me super happy.
Here are links to some drawers:
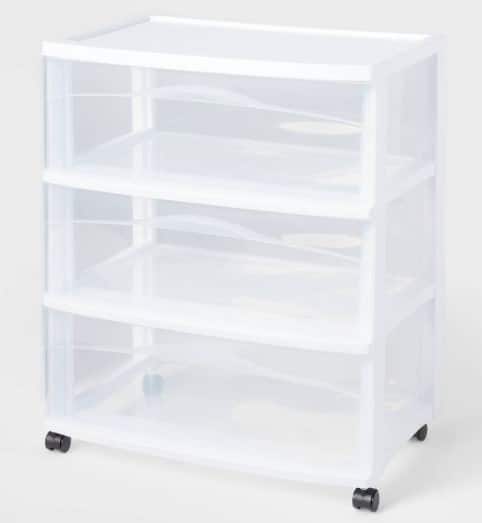
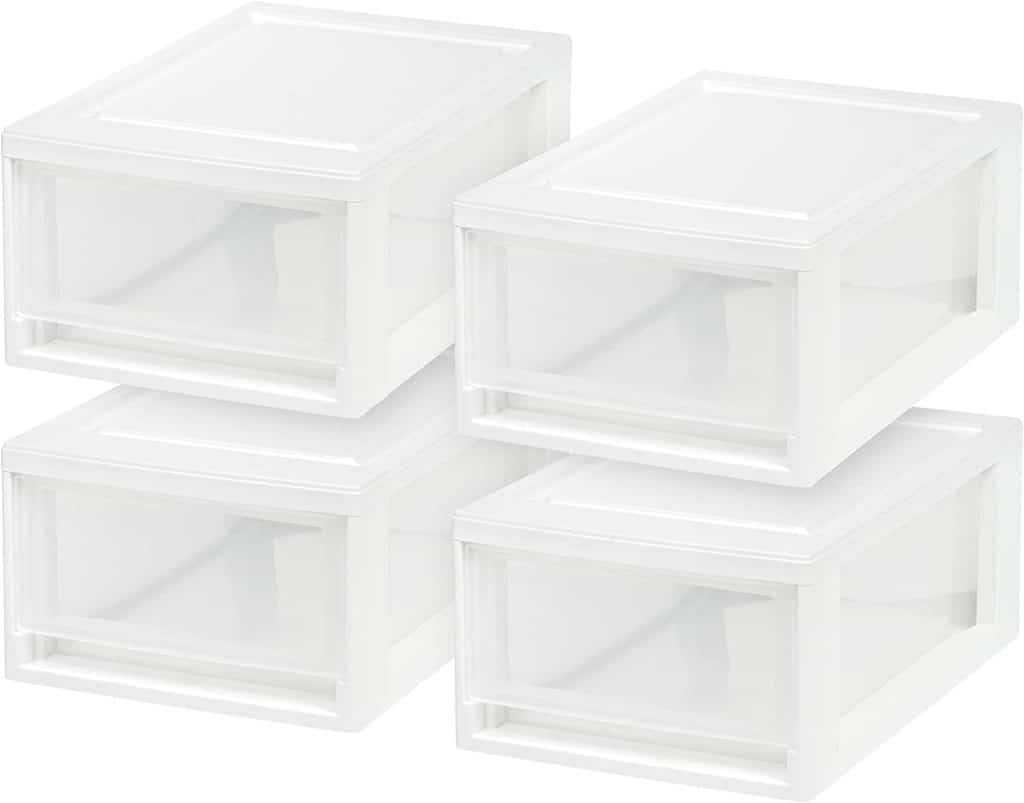
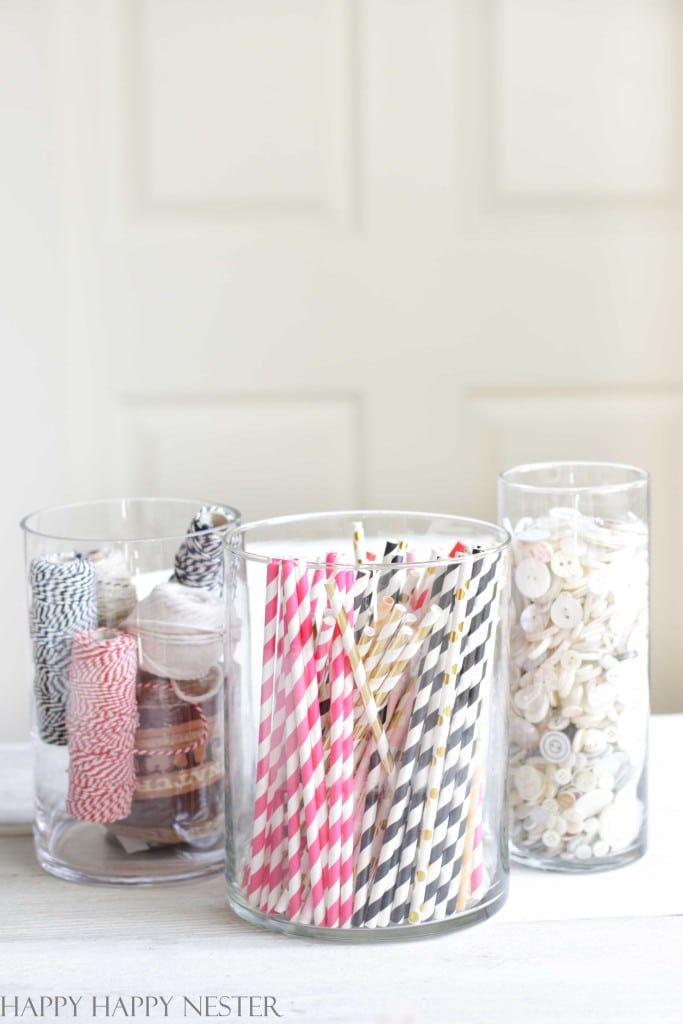
Glass Containers
These are the perfect solution for housing collections of things. You can visually view them, and you have easy access to them. I also love how they look!
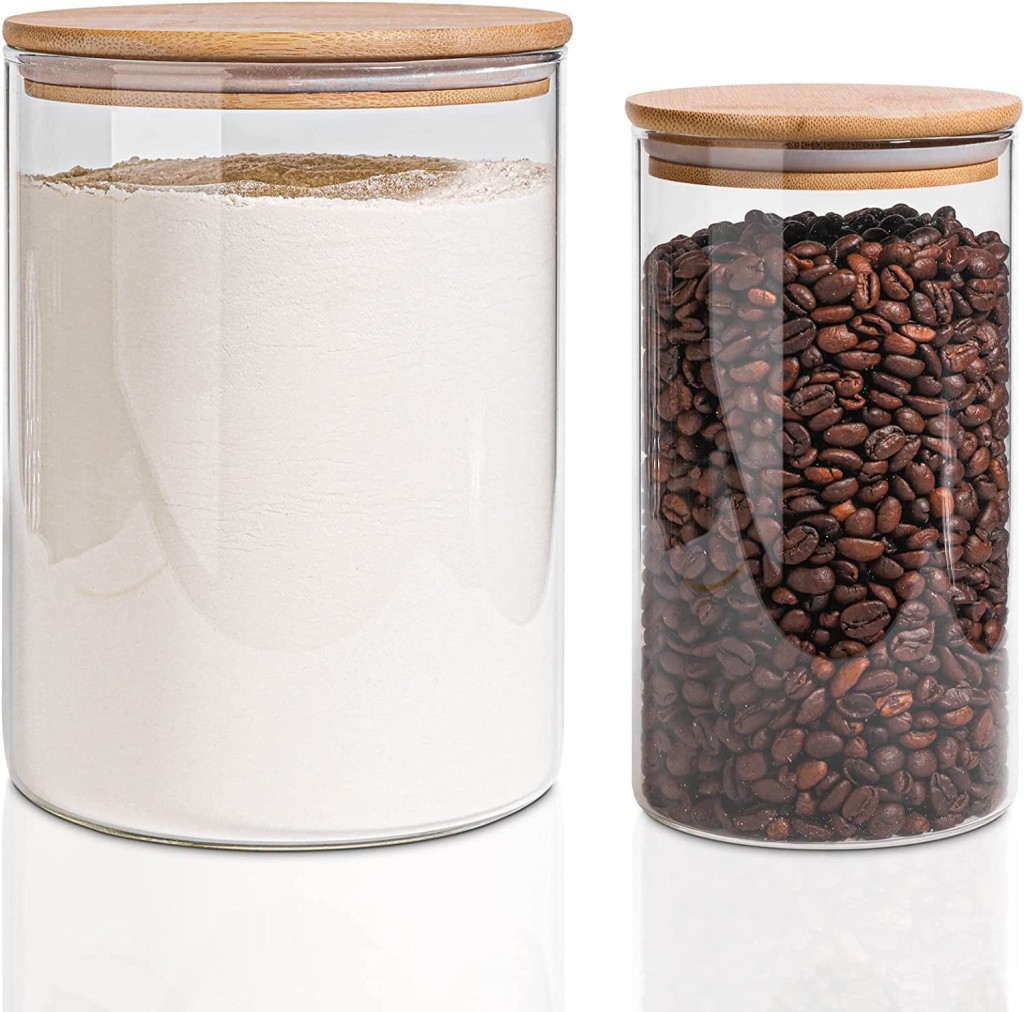
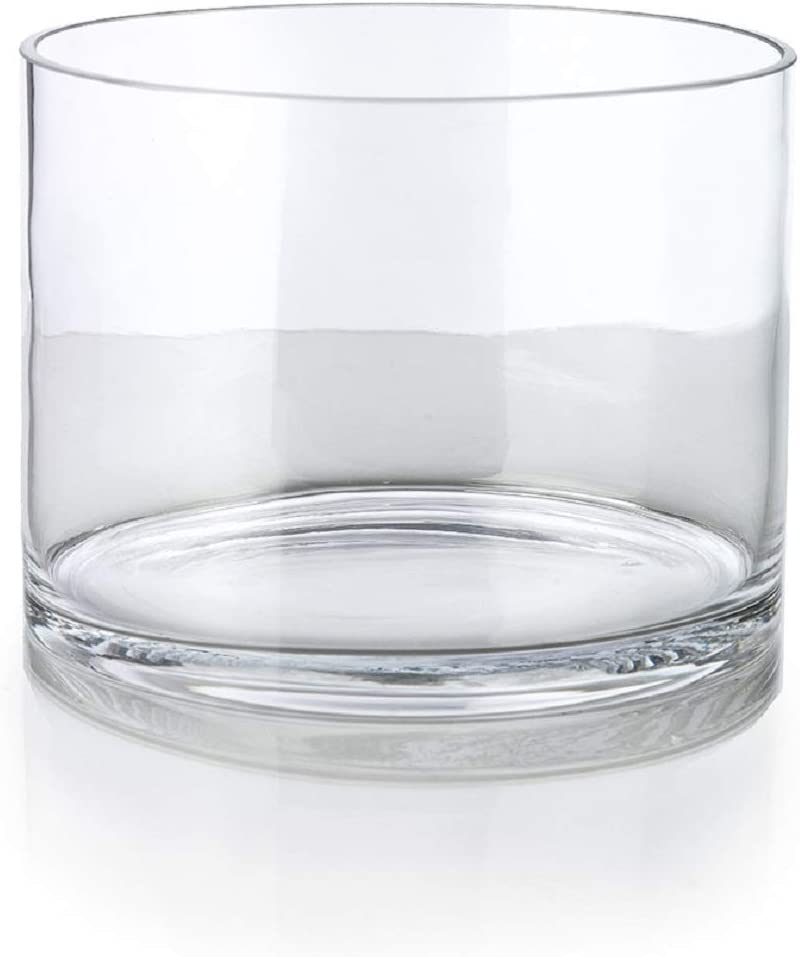

5. Identify Hard to Reach Areas
I have a few areas that are difficult to reach. You see, I have a closet system in which the doors slide back and forth. So, sometimes I have one spot that is always behind a closet door. So, I placed things in this area with a low frequency of use. I also place a few of my storage baskets in this area, so I can easily pull them out and get to the items once it’s out of the closet.
Also, I have a high shelf where I place some old files. These documents are rarely used, and this out-of-sight area is an excellent spot for these documents. Also, the bottom side of the closet is hard to reach, so I placed my tall and bulky dried flowers in this spot.
I love making use of every inch of space!
6. Timeframe
So this project isn’t something you can get done quickly.
It’s physically and mentally draining.
If you’re ready to tackle your closet, the first thing to do is create, plan, and then block out the days you want to tackle the project. You’ll want to devote at least 2-3 days to organizing.
Here’s My Closet Organizing Schedule:
- I surveyed what was in the closet and decided to add shelves. We took a trip to the hardware store for shelf supplies.
- I installed four shelves.
- I took a shopping trip to Target, The Container Store, and Joann’s.
- Cleared out the whole closet and cleaned the shelves
- I separated everything and purged a few items. Placed all the craft supplies in their new locations.
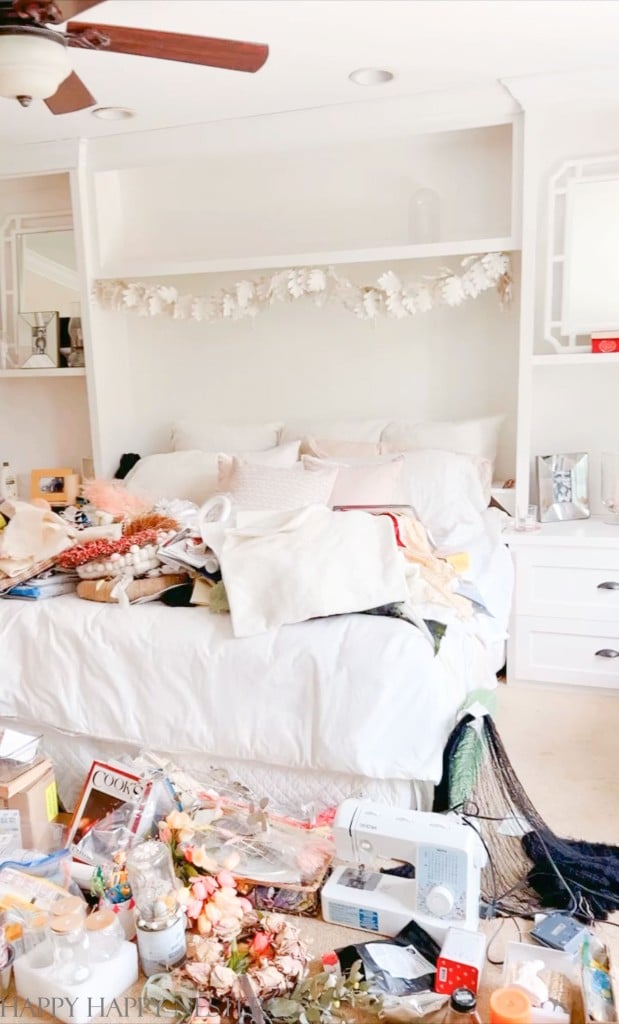
A little side note is that when we cleared the closet, we placed all the crafts supplies on my bed. Unbeknownst to me, this would set a quick timeframe for putting things back since we had to sleep in our bed that evening. So you could see it as a positive or stressful thing.
So, my tip on planning where you place everything while you’re organizing is essential since this project can drag out. Choose wisely the area!
DIY Shelves
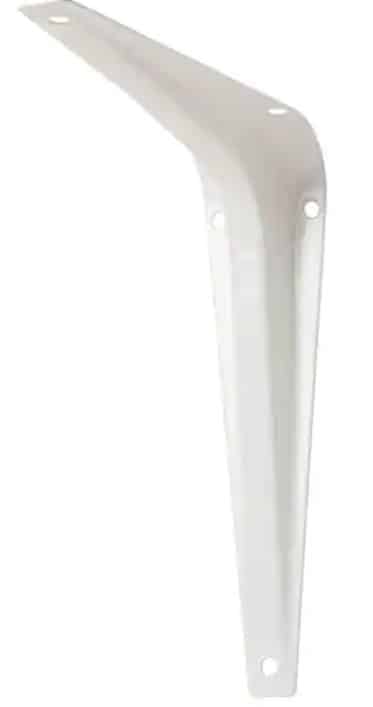
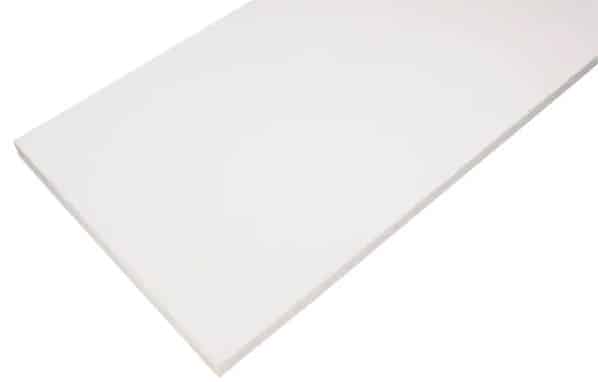
I installed four shelves and bought the wood at Home Depot. They have a section devoted to shelving, shelf supports, and more.
I’m not the handiest regarding big home projects and power tools, so we bought the prefab shelves from Home Depot.
I did use a stud finder in our back wall, and I screwed the shelf brackets into the studs and then screwed the wood shelf to the bracket.
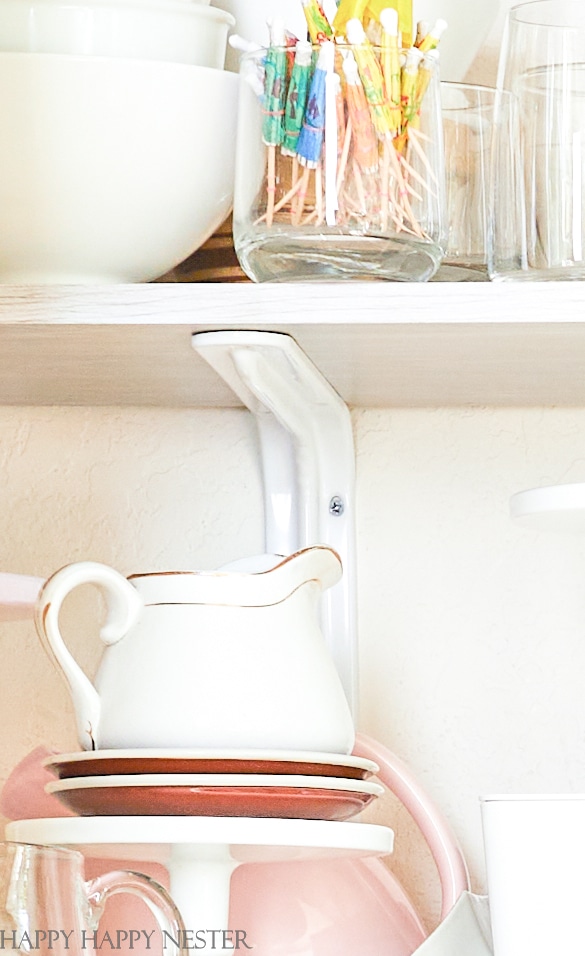
When choosing a bracket, the more metal it has between the bottom and outer bracket, the more space it will take under the shelf. As shown in the above photo, we opted for a bracket that took up the least area.
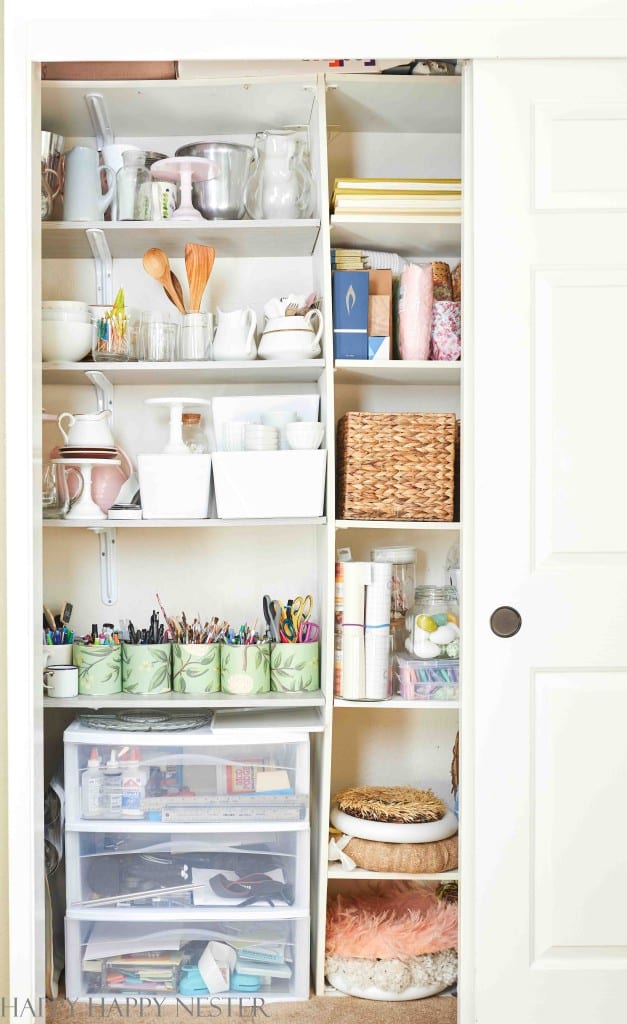

Here’s How My Closet Makeover Turned Out
I’m More Efficient
I had this project in mind for a while, and this organizing blog hop, fast-tracked the project into my calendar. The best part of this project is now I have a fabulous storage closet, and I know exactly where everything is located when I work on craft projects. Also, I can keep track of my supplies and not duplicate things. Before, I had no idea where things were, let alone how many I had of different things. Overall my office/studio is a great place to work now that it’s all organized and spacious! Yup, I freed up some space when I found new homes for my supplies.
I Realistically Organized My Closet
Now I have an organized closet that I’m sure will stay organized.
I have found over the years with my projects that if it isn’t the perfect closet storage solution, then it won’t stay organized. It has to be a good closet design that can be adjusted as you organize. I know my flaws in maintaining a clean space, so I arranged this area accordingly.
I’m super happy with how my coat closet transformed into an efficient and pretty craft closet. I hope this DIY inspires you to create your dream closet.
Well, it’s great to wrap up my DIY storage closet ideas post. I can now work in my studio and not struggle to find things. Yes, it took me a year to finally get to the project, but it was worth the time and energy.
So here’s to kicking off the new year with more organization!
Cheers,

- How to Organize a Dining Room in 3 Easy Steps // Robyn’s French Nest
- How to Organize a Small Bedroom for Guests // My 100 Year Old Home
- DIY Storage Closet Ideas to Double Your Storage // Happy Happy Nester
- How To Create A Clutter-Free Kitchen // Modern Glam
- Basement Organization // My Sweet Savannah
- Easy DIY Hall Makeover // Inspiration For Moms
- Organizing Your Whole Home // The Happy Housie

- Spring Doormats from Walmart - February 18, 2026
- Heart Shaped Brownies Recipe - February 13, 2026
- Framed Artwork from Amazon - February 12, 2026
Robyn Huff
Pinned and saved these ideas! I have some closets that are getting some makeovers; thanks for these great ideas!
Melaine Thompson
YOU ARE SO ORGANIZED GIRL! PINNED AND INSPIRED TO ORGANIZE MORE!
Laura
Your closet looks so good! I love all of your organizing containers too – especially the baskets! Pinned!
ASHLEY STRINGFELLOW
I definitely need to tackle this project! Thanks for the motivation!