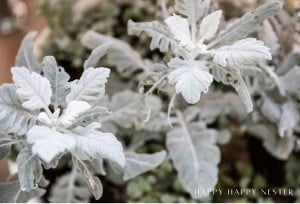
Dusty Miller Plant Propagation is remarkably easy and rewarding. If you love these soft, silvery perennials as much as I do, you’ll want to grow pockets of them throughout your flowerbeds and container gardens.
Dusty Millers can be propagated from seeds, cuttings, or root-divisions. For now, let’s focus on the latter two. With just a few snips and some quick trowel-work, you can greatly expand your family of Dusty Millers in a single springtime.

I have two varieties of Dusty Miller – a short, sprawling plant called “Silver Dust” and a taller, meatier variety known as “Cirrus.” I bought starter plants from the local nursery and was delighted to see them thrive in my backyard, despite the clay soil and merciless California sun.
The following spring, I decided to see if they might be open to propagation, so I took cuttings from both varieties and planted them in a wide range of locations, treating it as an experiment. They thrived everywhere I planted them except in heavy shade and low-water/high-sun conditions.
I now have dozens of Dusty Millers scattered throughout my landscaping, all siblings of just a couple starter plants.
Let me share a few things I learned along the way.
Ideal Growing Conditions for Dusty Miller Propagation
Dusty Millers are warm climate perennials, best suited for zones 7-10. They like partial to full sun and well-draining soil with neutral to slightly acidic pH.
They can tolerate drought fairly well once their roots are well established, which takes one to two seasons in optimum conditions.
They do well in flowerbeds, terraced landscaping, and container gardens. In my zone 9 gardens, I’ve had the best success growing them in full-sun areas with mounded soil, receiving several minutes of daily spray irrigation during summer (less once roots are well established).
Optimal Timing for Dusty Miller Propagation
The best time to take cuttings and root-splits from a mature Dusty Miller is early spring, as soon as there’s little risk of frost. The cooler temperatures along with damper air and soil will allow them to focus on starting their root system. I have successfully propagated cuttings in the middle of summer, but it required an obsessive amount of watering to keep the soil moist enough for the roots to take, and even then, I lost several fledgling plants to the NorCal heat and sun. Make it easy on yourself: propagate in the spring when the plants are still somewhat dormant, and the weather is accommodating.
Effective Propagation Techniques for Dusty Millers
Propagating Dusty Millers can be done through stem cuttings, seeds, or plant division — each has its own advantages and challenges.
Stem cuttings offer a quick and efficient way to produce identical plants, but conditions need to be right for new roots to sprout and take hold; so expect a few fatalities. Some gardeners prefer to start their cuttings in water — I’ve had much higher success planting straight into the soil.
Seeds are a low-cost option for large-scale planting; but this approach requires lots of time, attention, along with proper growing conditions and space.
Division is best for mature plants that have become leggy or outgrown their space. I generally propagate with cuttings since I’m cheap and lazy.
Dusty Millers are so hardy and determined to thrive, that their survival rate is extraordinary – and God knows, I’ve certainly put them to the test.
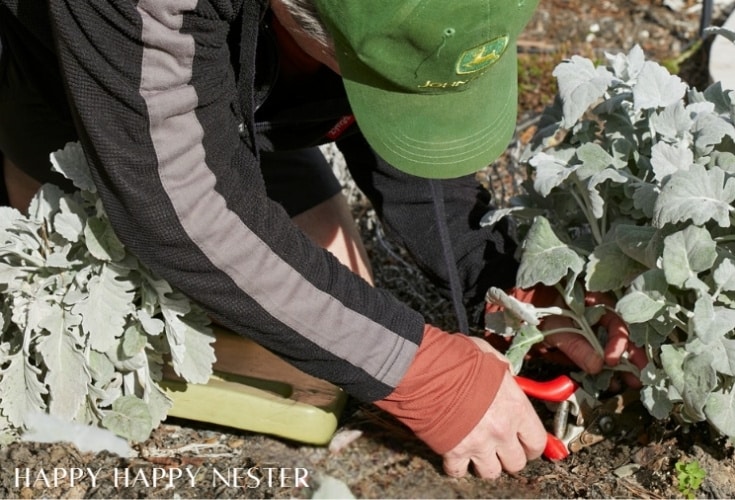
Step-by-Guide for Planting Dusty Miller Cuttings
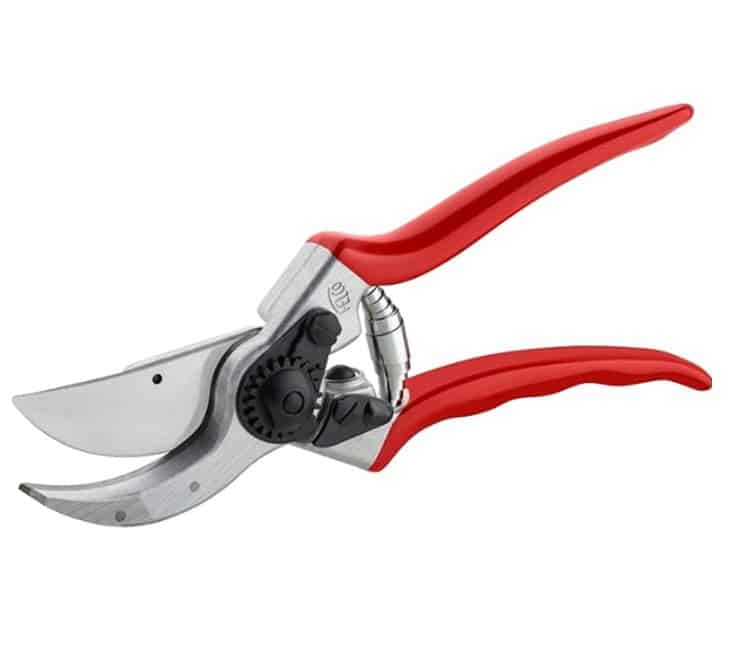
Dusty Miller’s delicate, fern-like fronds radiate from a central root base, making it easy to select a healthy frond for propagation. Follow one of these fronds down to where it meets the root base, then use a sharp pair of gardening shears to make a precise cut. For the best results, cut as close to the root as possible, and if you can, include a small slice of the root base along with a few of its characteristic hairy tendrils.
To plant your cutting, start by building a shallow mound of well-draining soil enriched with manure-based fertilizer. This mound not only promotes proper drainage but also helps prevent root rot.
Use your finger to create two or three small holes in the top of the mound, then dip the cutting’s end in rooting hormone before placing it in each hole, ensuring that three or four inches of the stem are submerged.
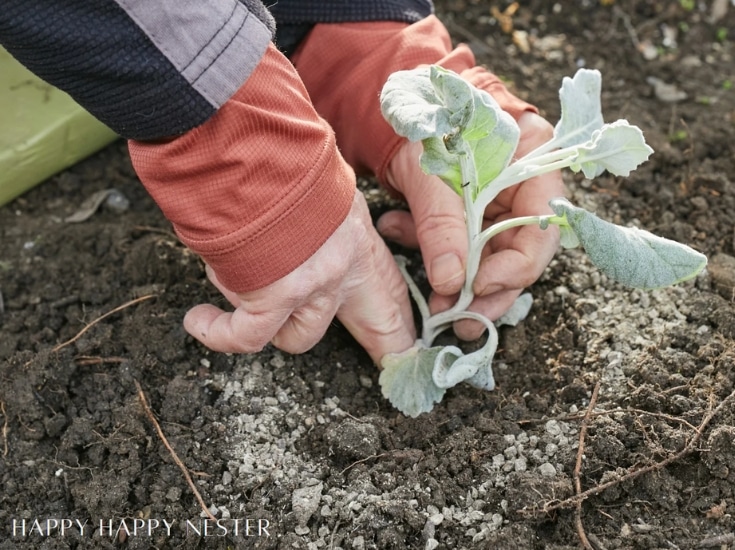
If you’re working with a root division instead, form a single hole with a trowel, apply the rooting hormone to the exposed root, and cover it with lightly packed soil so that it sits about an inch beneath the surface


Caring for New Dusty Miller Propagations
To give your Dusty Miller propagations the best chance at a healthy start, sprinkle a light layer of root-starter fertilizer around your freshly planted cuttings and divisions. Keep the soil consistently moist but never soggy, and provide gentle, indirect light until roots have firmly established, usually within a few weeks.
Achieving the right balance between moisture and aeration is crucial, as overwatering can cause root rot while excessively dry conditions may inhibit growth and even be fatal to young plants.
Growth Timeline for Propagated Dusty Millers
In the first season, Dusty Miller cuttings will expend most of their energy on growing roots. They won’t spread out very much, and Cirrus plants won’t grow to full height. But in their second season, look out!
Once a Dusty Miller is rooted in a hospitable environment, it will spread in all directions, adding brilliant silver-white hues and dense, lacy texture to your landscaping. And of course, each new plant will provide fronds and root extensions that can be used in future propagations.
Ideal Landscaping Spots for Dusty Miller Plants
Dusty Miller plants make stunning additions to garden borders, flower beds, and container arrangements, thanks to their silvery foliage that contrasts beautifully with vibrant flowers.
They pair well with bright-colored blooms like petunias, marigolds, or salvias and can be used as edging plants to define pathways or garden beds. For a striking effect, plant them in mass groupings to create a soft, textured backdrop or alongside darker foliage plants to enhance their unique color.
Maintaining Healthy and Vibrant Dusty Millers
To maintain a lush and healthy Dusty Miller, provide well-draining soil, adequate sunlight, and occasional watering to prevent over-saturation.
Regular deadheading of flowers and trimming of overly long or woody stems encourages fresh, compact growth.
A light application of balanced fertilizer every few months helps sustain vibrant foliage, while keeping an eye out for pests like aphids ensures the plant remains pest-free and thriving.
Tips to Prevent Leggy Growth in Dusty Millers
Dusty Millers can become leggy and sparse if they don’t enough sunlight or pruning. To encourage a bushier shape, plant them in areas that get at least six hours of good sunlight.
Every now and then, pinch back the growing tips and trim leggy stems to promote fuller, more compact growth.
Frost Protection and Winter Care for Dusty Millers
Dusty Millers are somewhat frost-tolerant but may suffer damage in prolonged freezing temperatures, especially in colder zones. Before cold weather sets in, apply a layer of mulch around the base of the plant to insulate its roots. And when frost or snow is expected, cover with burlap or frost cloth.
Dusty Millers are Pest Resistant
One of the standout features of Dusty Millers is their natural resistance to pests, making them an excellent choice for both novice and experienced gardeners. Their textured foliage tends to repel common garden pests like deer, rodents, and most insects.
You may find an occasional slug lunching on a leaf… though they’d much rather gobble up your hostas and impatiens.
Recommended Plants to Grow Near Your Dusty Millers
For a striking landscape, pair your Dusty Millers with plants that offer contrasting colors and textures. Many gardens like the bold, warm colors of petunias, marigolds, and salvias framed against the silvery hues of Dusty Millers.
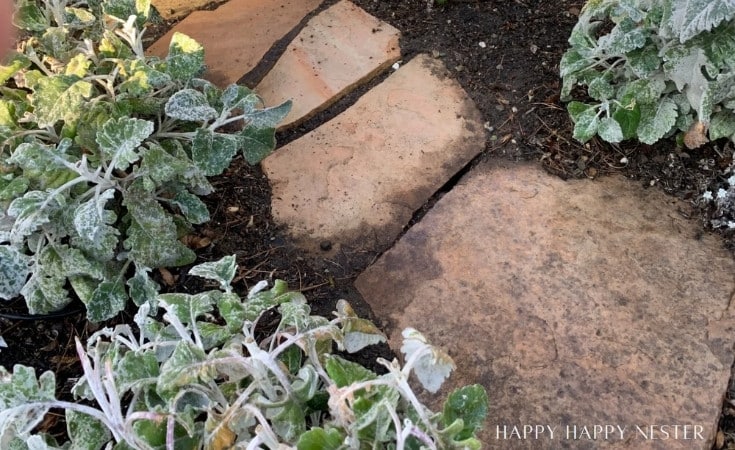
My own preference is to use Dusty Millers to line our rustic stone paths and landscaping walls, in between patches of foxgloves and agapanthus, or creating a lower layer in front of my rock roses and hydrangeas.
Dusty Millers are a Great Choice for Container Gardens, Hanging Baskets, and More
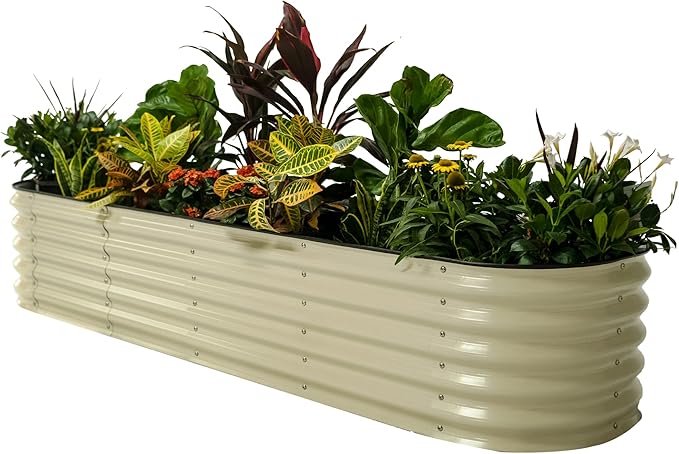
Due to their compact growth and hardy nature, Dusty Millers are an ideal option for container gardens, hanging baskets, and window boxes.
Their ability to thrive in well-draining soils and withstand periods of drought makes them particularly suited for xeriscaping, where water conservation is key.
How to Propagate Dusty Miller Cuttings in Flower Pots and Trays
If you don’t suffer from impatience and laziness as I do, you can often increase the survival rate of your Dusty Miller cuttings by starting their propagation in flower pots and trays. Harvest your cuttings the same way noted earlier: select healthy, vibrant stems and cut just below a leaf node with sharp gardening shears.
Dip the cut end in rooting hormone, then plant it in a small pot or tray filled with well-draining, nutrient-rich soil. Keep the soil consistently moist (some gardeners cover in transparent plastic) and place the container in a location with indirect sunlight to encourage good root development.
Keep them potted until their first leaves grow before transferring them to your garden.
Warning: Dusty Miller is Toxic to Dogs and Other Animals
While Dusty Millers make a beautiful and resilient addition to your landscaping, it is important to note that they are toxic to dogs and other animals (including cats and humans) if ingested.
My own dog, a devilish little Shih Tzu that chews on absolutely everything, has shown zero interest in gnawing on my Dusty Millers. She dug up a couple freshly-planted cuttings once, but she was only interested in watching the dirt fly.
But you may want to think twice about planting Dusty Millers in your pooch’s playground, as they really are very toxic if ingested in quantity. They can cause vomiting, diarrhea, lethargy, and in the worst cases, seizures and tremors requiring immediate medical attention.
Dusty Millers aren’t alone in this regard. If you’ve got a pup that’s free to frolic among your landscaping, you might want to familiarize yourself with the AKC’s list of plants that are poisonous to dogs.
More gardening stories you might like…
How to Plant a Rose Bush in the Garden: This guide walks you through the steps to successfully plant and care for a rose bush, ensuring vibrant blooms all season.
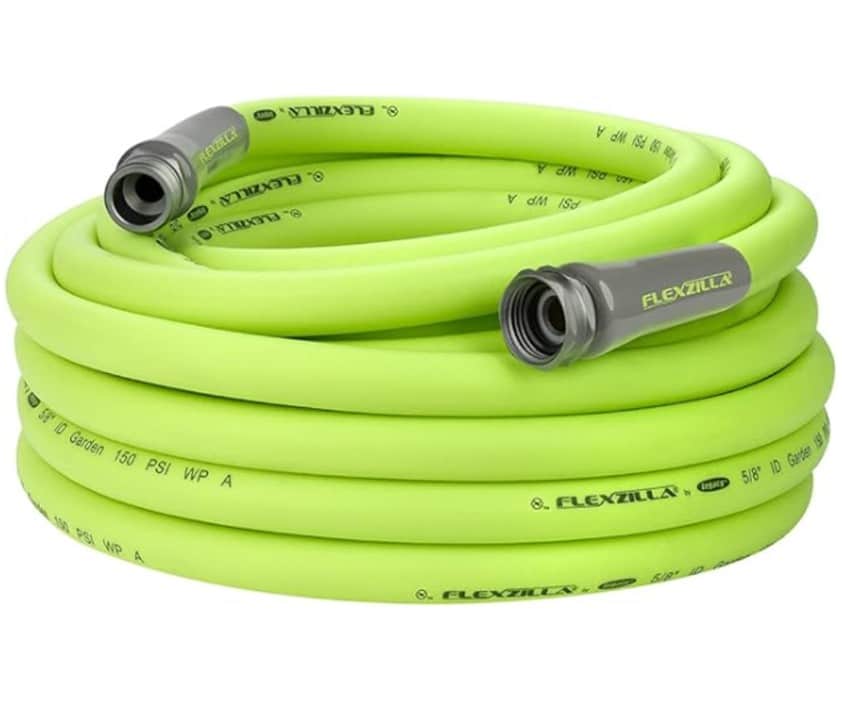
Drip Irrigation for Plants in Pots: Learn how to set up an efficient drip irrigation system to keep your potted plants consistently hydrated.
How to Start a Hydrangea Plant: Discover the best methods for propagating and planting hydrangeas to enjoy their stunning flowers in your garden.
Thanks for stopping by! I hope this Dusty Miller propagation guide helps your plants and garden thrive!
Cheers,

Photo Credits: MyPhotography.com

- Cherry Blossom Cookie Recipe - April 3, 2026
- Amazon Simple Porch Decor - April 1, 2026
- Recipes For Springtime - March 28, 2026


")
Leave a Reply