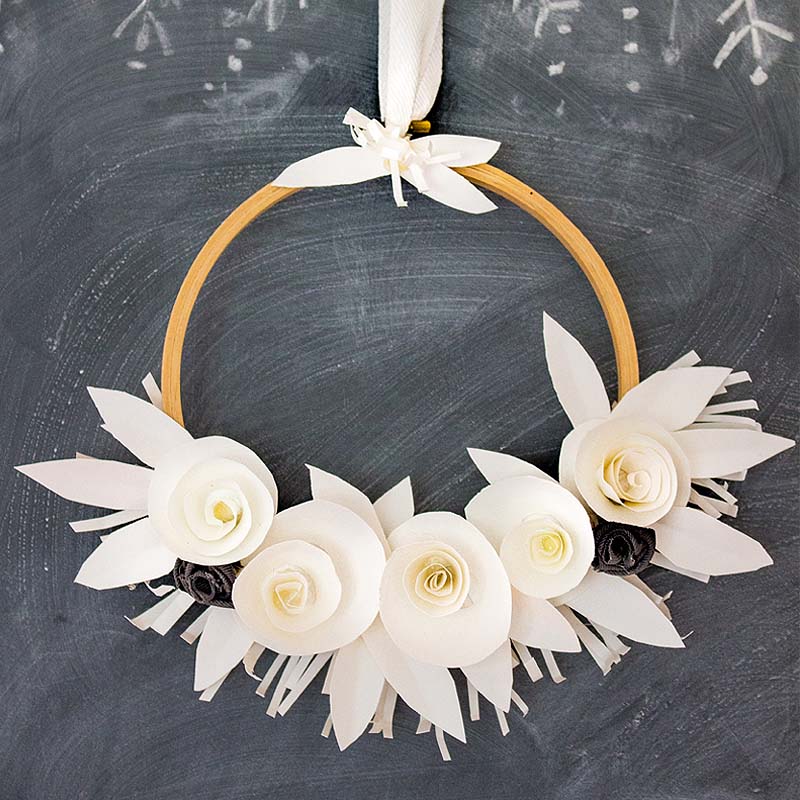
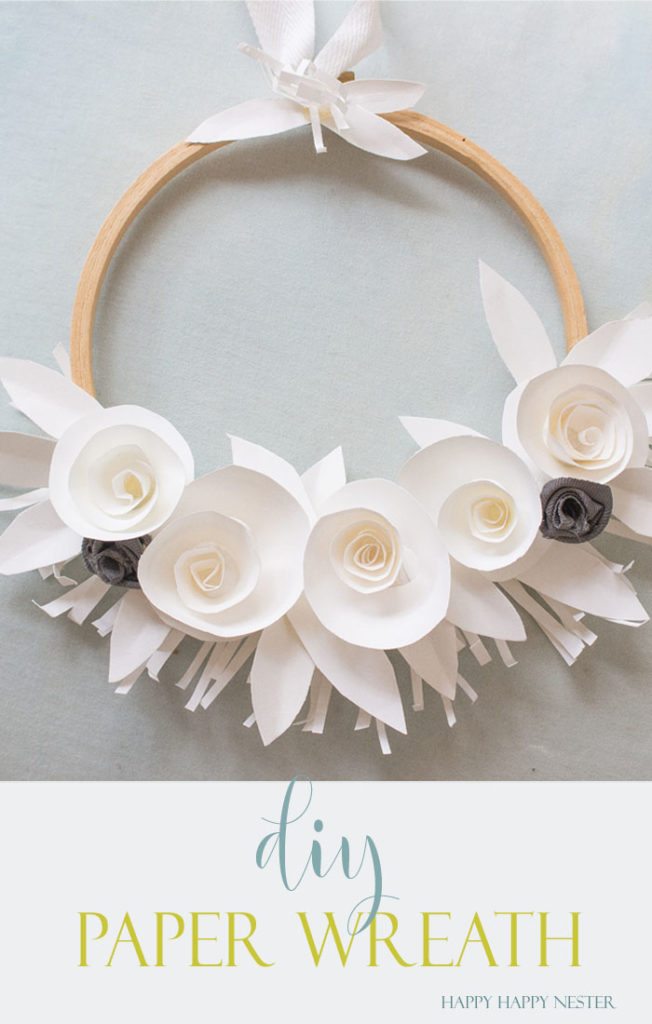
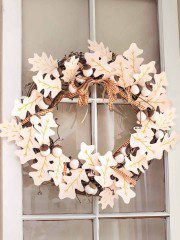
Today’s Happy Craft is my White Paper Wreath
Welcome to our Creative Blog Hop, the list of bloggers is at the end of this post.
Take our tour and be inspired to create.
Do you love paper as much as I do?
I love how accessible and inexpensive it is.
With just a few snips and folds you have a beautiful piece that you can decorate your home with.
So, you might like to try making my most popular paper cherry blossoms.
Well, today, I grabbed my big ream of cardstock paper and sprawled it on my crafting table and I began my brainstorming.
Sometimes, I have a tiny inkling of what I want to create and other times I haven’t a clue.
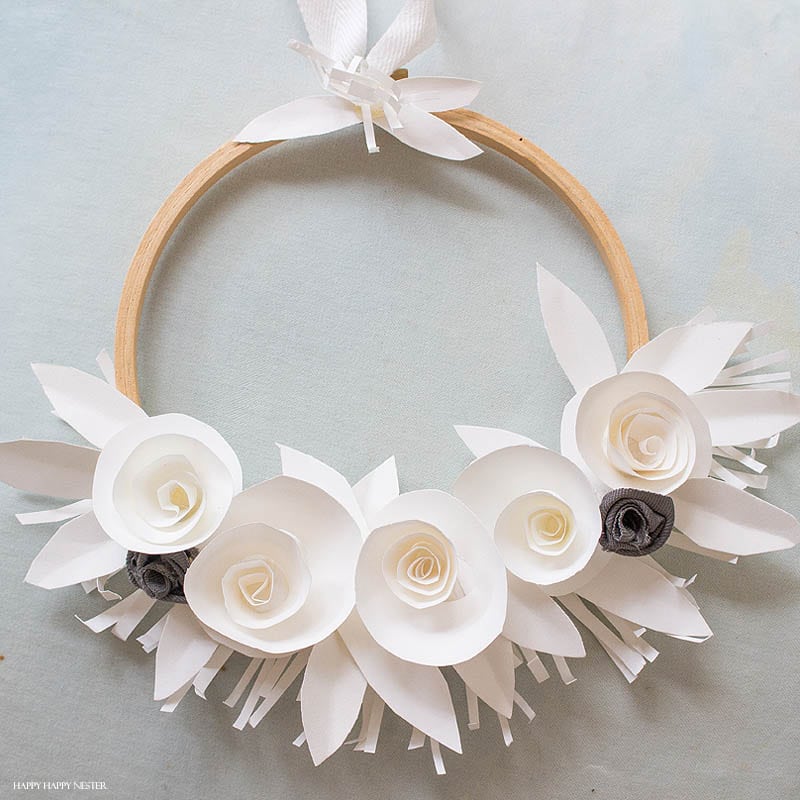
This time, I knew I wanted to make a rosette wreath.
So, for this project, you just need a few items. If you have an hour, you’ll have this wreath done and hung up in your home.
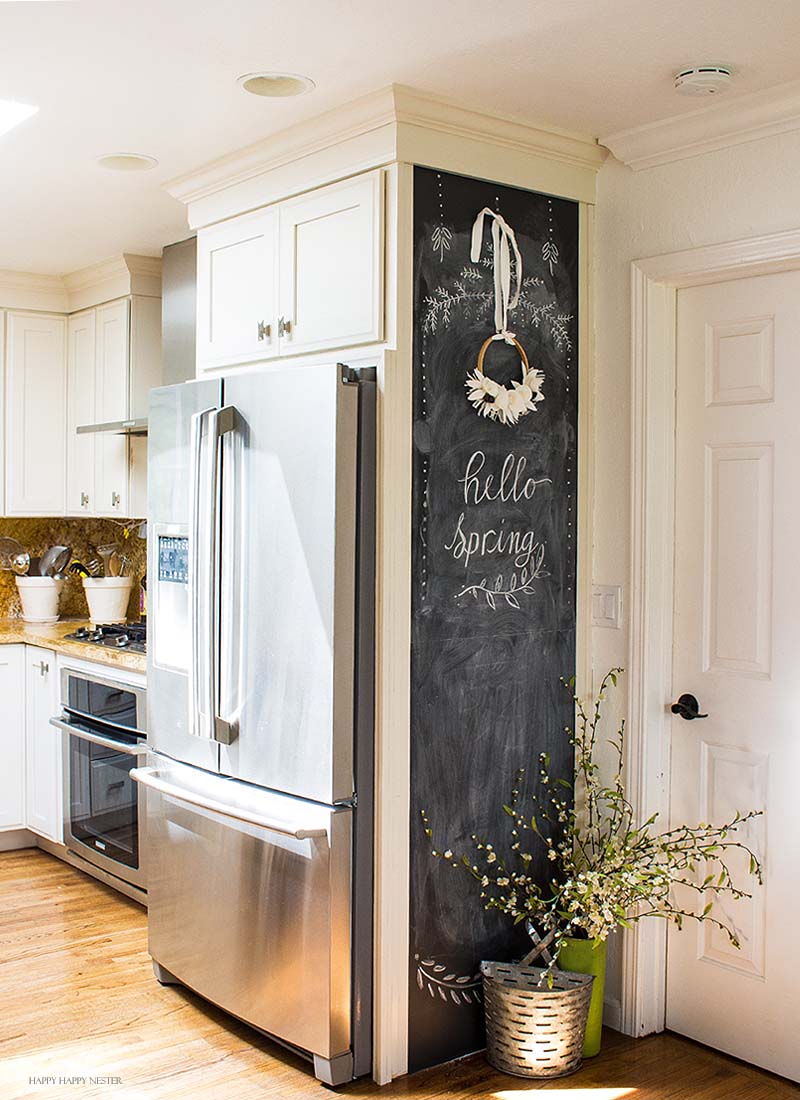
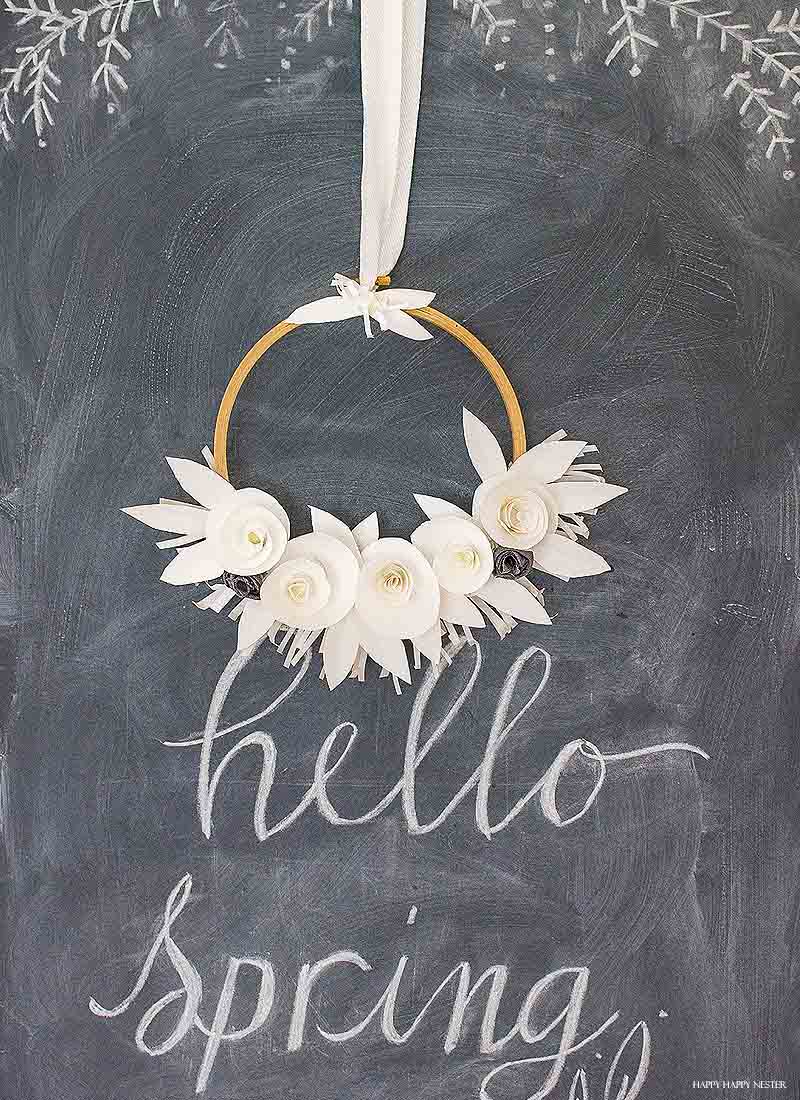
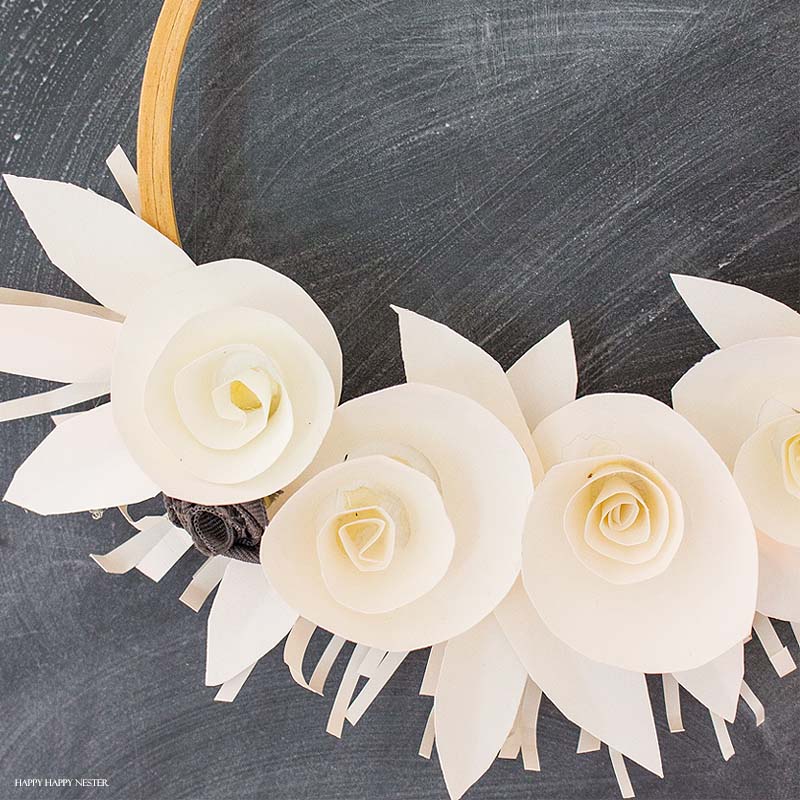
I love to change out this chalkboard wall with the seasons, although I’m not great at calligraphy. So, I end up keeping the “hello” up throughout the year.
This is a temporary wallpaper that I am totally fond of, you can view that post on my chalkboard wall.
Summer is right at our doorsteps and this white paper wreath will take up residency here for the next couple of months.
Here is one of my paper projects that I decorated this spot with.
As you can tell from my blog and home that, paper is my passion.
So, recently I made a few garlands. One was made of paper rosettes and the other one was all paper leaves.
Don’t you just love how whimsical these paper eyelashes are?
They make me smile.
White Paper Wreath
Materials:
Scissors
1 – 7″ Wooden Embroidery Hoop
Glue Gun
Ribbon
Directions:
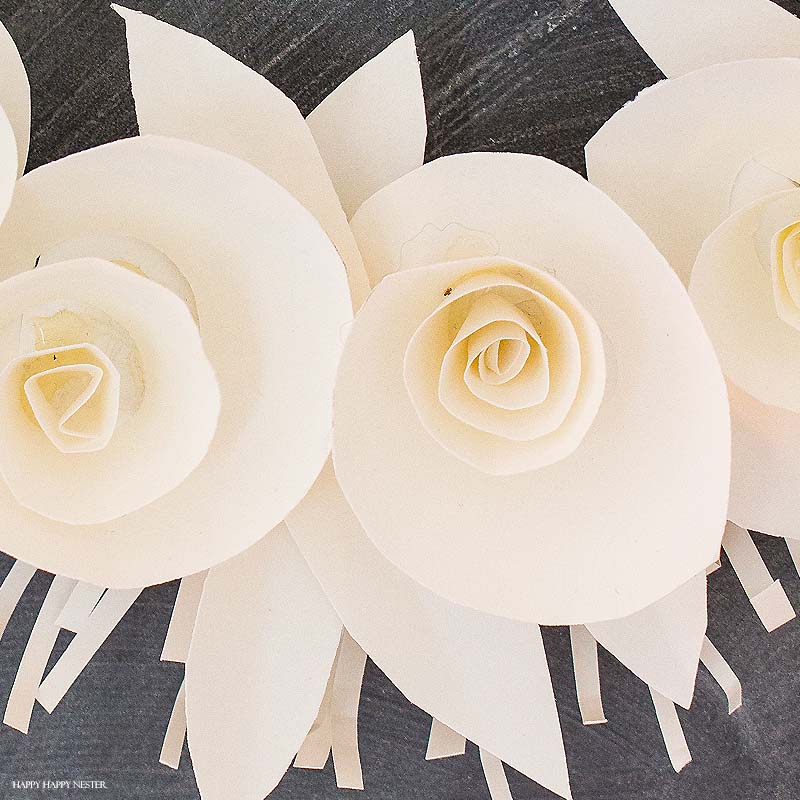
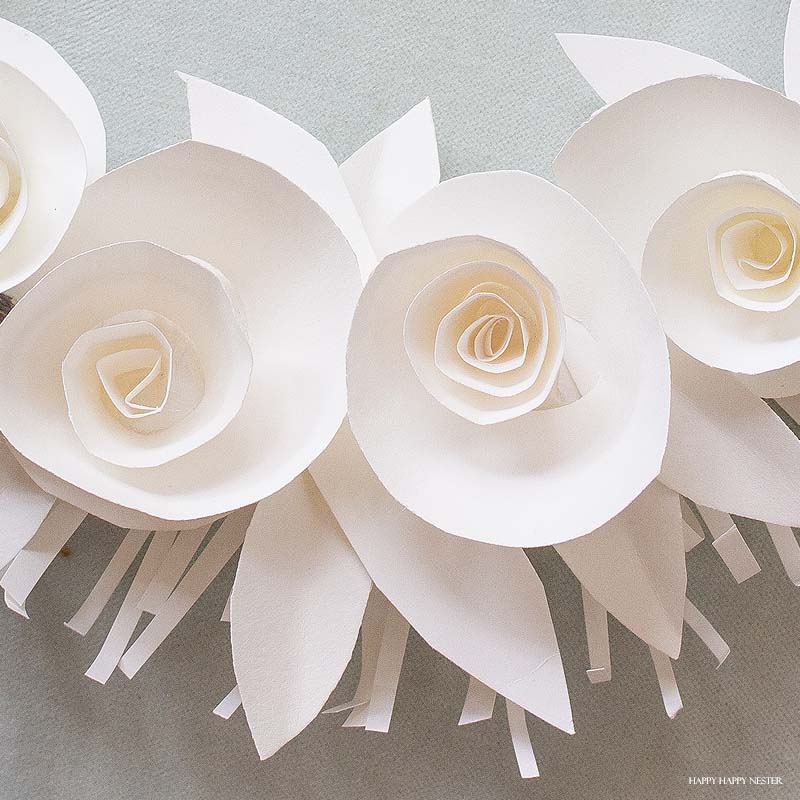
1. Make five rosette flowers. Make sure to check the directions here.
2. Next, cut about 15 leaves. Then use this leaf template and cut the size in half.
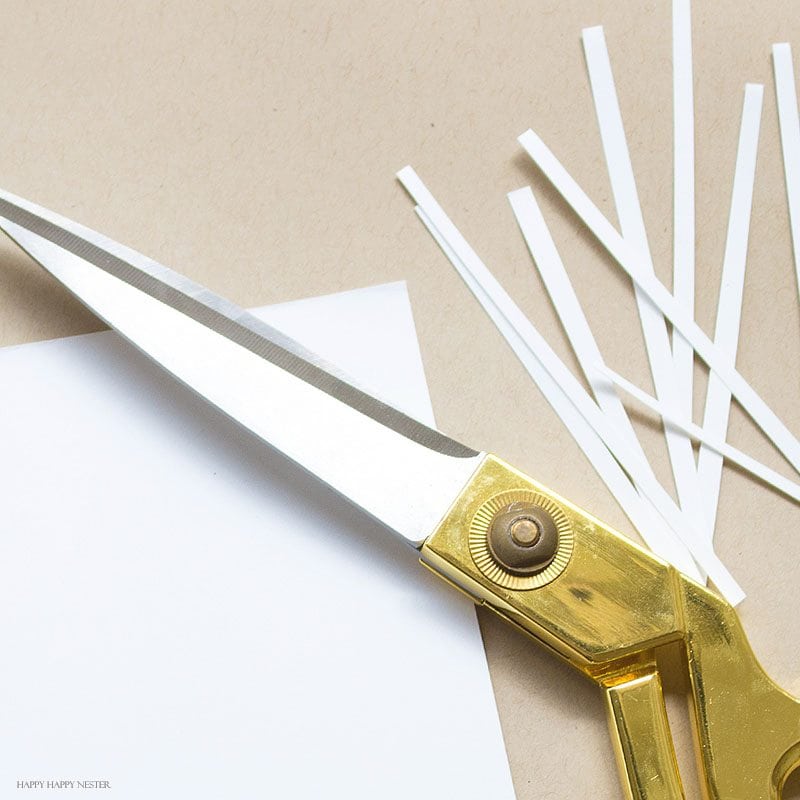
3. Then cut out little strands (7″ long and about 1/8″ in width) of paper for the eyelashes.
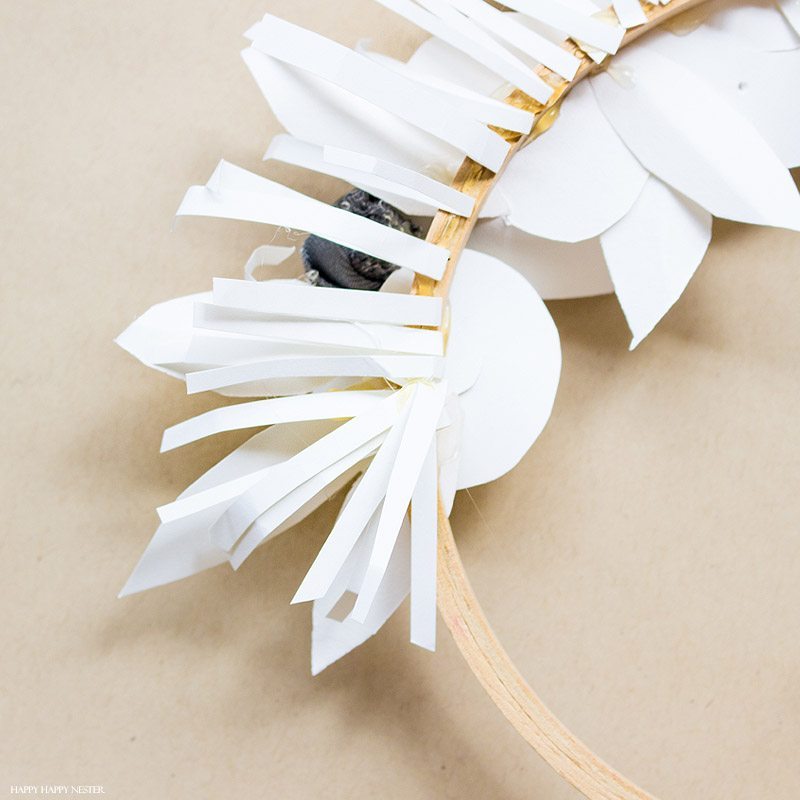
4. To assemble, place the eyelashes on the hoop with hot glue. So, the eyelashes should be pointing to the outside of the hoop.
5. Turn over the hoop and lightly curl the eyelashes in an upward direction.
6. Then, glue the rosettes over the eyelashes.
7. Then tuck leaves under the flowers and glue.
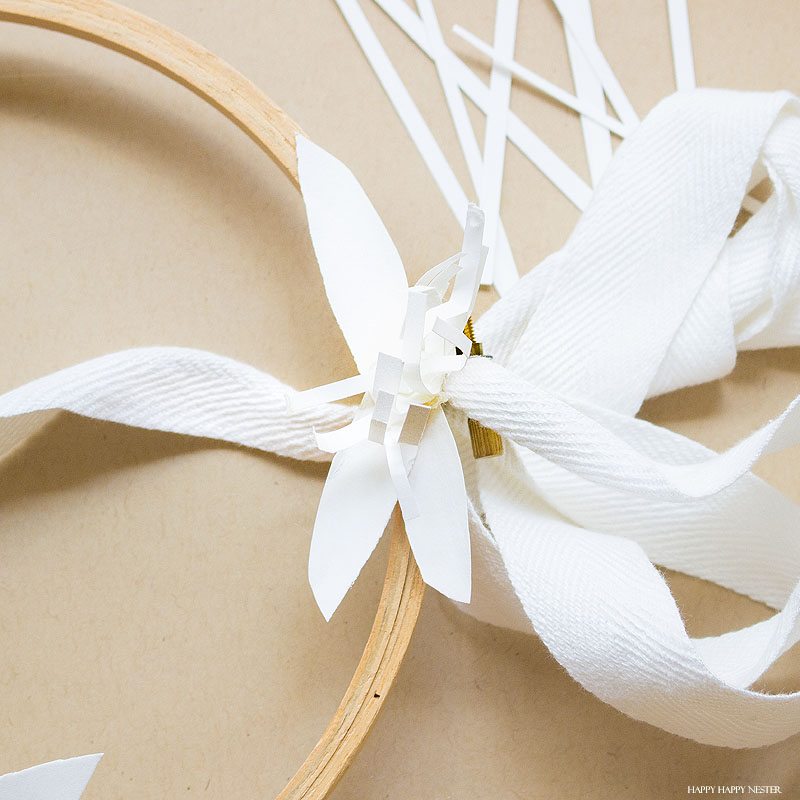
8. Glue more eyelashes at the top of the hoop as well as a few leaves. I did gather the eyelashes into a flower by gluing them all together in the center. Then I curled the lashes to resemble petals.
9. So, you can find my DIY on how to make a flower ribbon rose. I just made two grey ones.
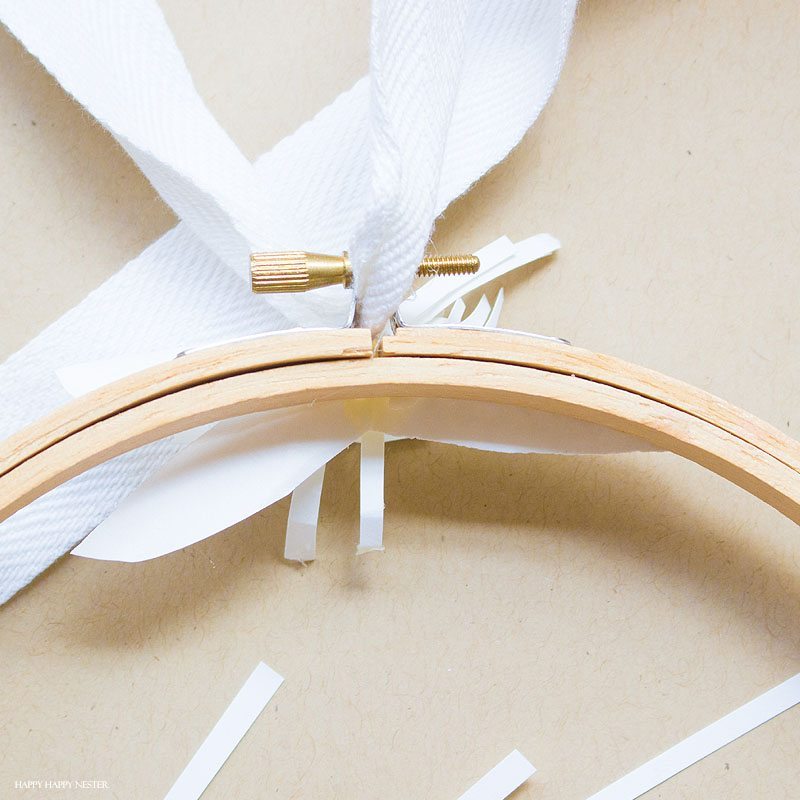
10. Then string a ribbon, through the tightener at the top and hang from a hook.
So, if you are like me, you’ll be hooked on creating paper decor. It is a simple and an inexpensive hobby.
Enjoy the rest of your week and happy crafting! Please take a tour of my blogging friend’s paper crafts.
Drop a comment below and let me know if you make this fun white paper wreath.
Happy Spring.
Cheers,

Welcome to Our Monthly Creative Blog Hop
Katrin | Kreativ K
Sarah | Creative Ramblings
Maria | Simple Nature Decor Blog
Michelle | Our Crafty Mom
Janine | Happy Happy Nester
Sam | Raggedy Bits
- Spring Doormats from Walmart - February 18, 2026
- Heart Shaped Brownies Recipe - February 13, 2026
- Framed Artwork from Amazon - February 12, 2026



Katrin
Janine, your wreath is so beautiful! I love the soft look of the white rosettes and the fact that this can stay up until the end of summer!
happyhappynester
Yes, Katrin, I’m thinking it is timeless and I can even use it through the holidays! Thanks for your sweet comment and visit!
Maria
I love your wreath. Your kitchen is so pretty! Thats Chalkboard is perfect for hanging crafts on it.
Maria
happyhappynester
Our chalkboard wall is such a fun place to decorate for the seasons. It is a temporary wallpaper, but I think it is going to stay permanent! Thanks so much for your visit and comment!
Sam - Raggedy Bits
Ahh Janine!!! You are the paper queen!! I love all of your stunning paper projects and this sweet wreath just added to your amazing list of paper projects! Your wreath looks so beautiful hanging from your blackboard too!!!
happyhappynester
Ah, Sam thanks so very much! This blog hop is always such a fun to create a project for. Thanks so much for co-hosting it with me!
Coco
This is so cute! I’ve gotta try my hand at making one!
happyhappynester
Let’s trade! You bake me some of your delicious desserts and I’ll make my wreaths?!!!!
igi 3
I will invite all my friends to your blog, you really got a great blog.*:–`
happyhappynester
Hello,
Thank you! I’m glad you like my blog.