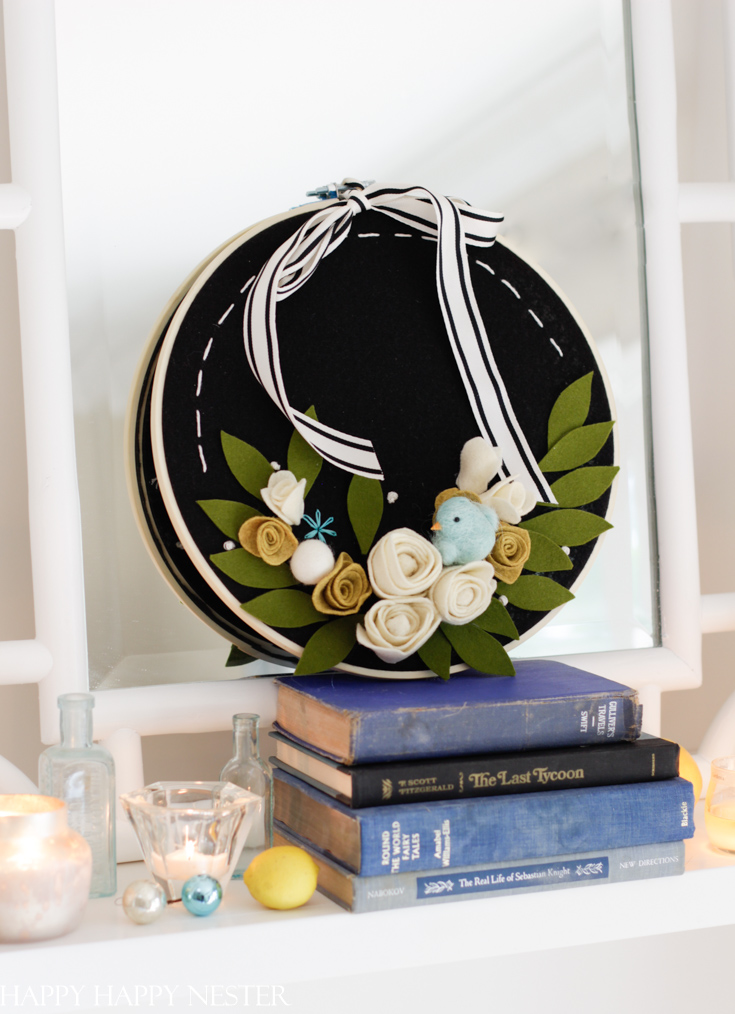
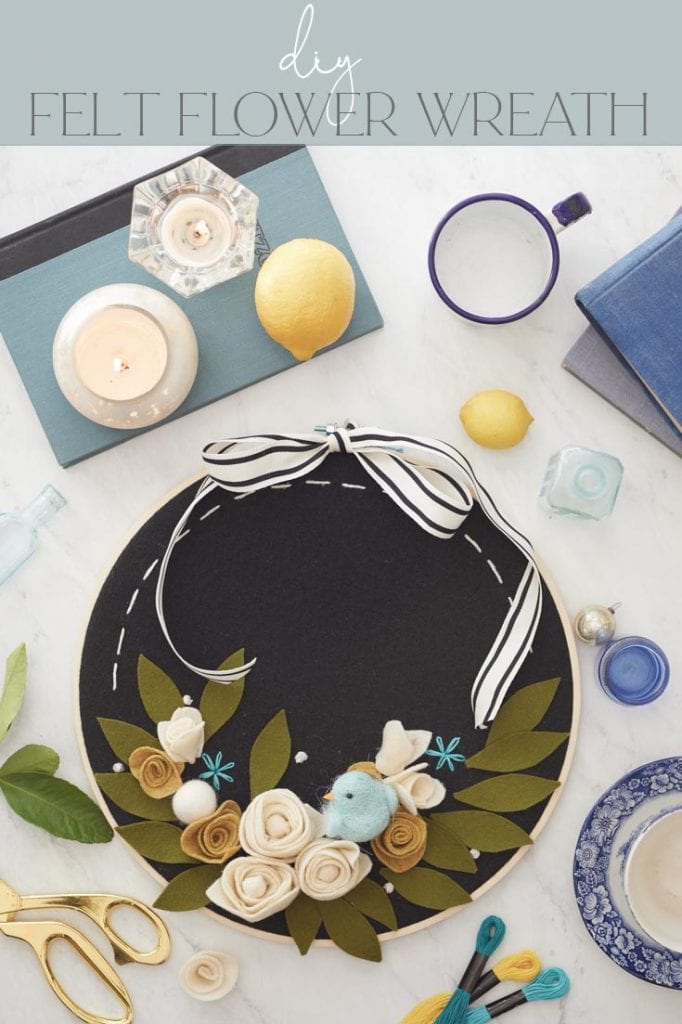
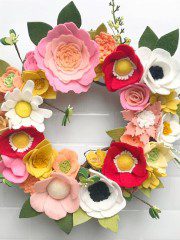
Here is a Felt Flower Wreath DIY that I placed on an embroidery hoop. I love the combination of the wooden hoop, flowers, and stitches.
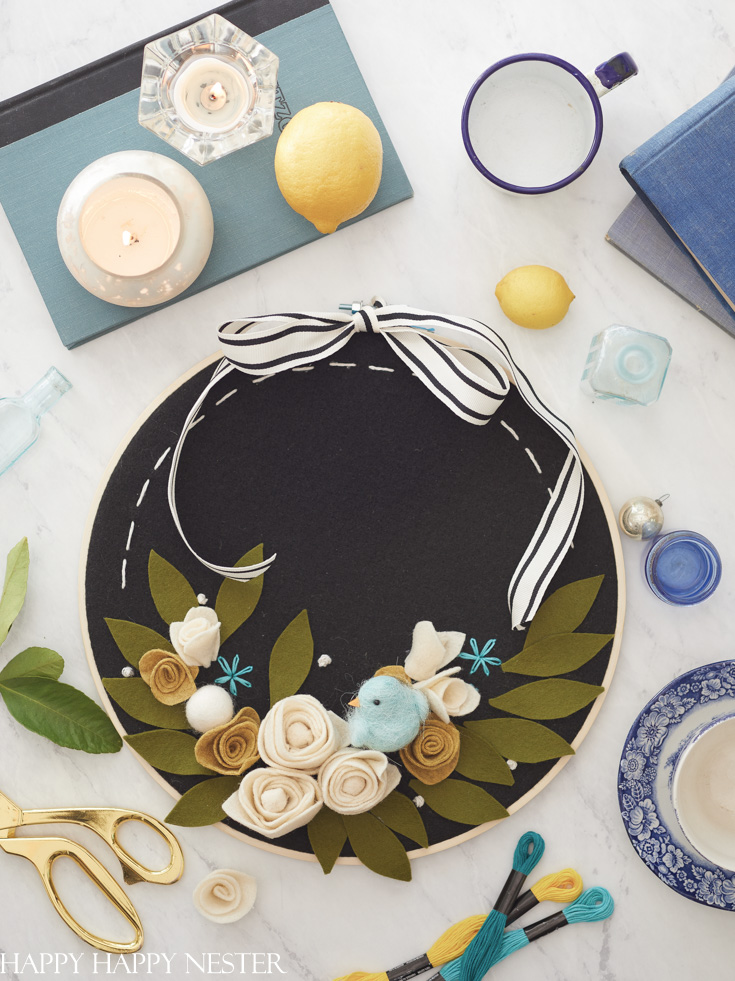
So this tutorial is a part of a three-day Spring/Easter series. And I decided to bring out my felt to create this beautiful and whimsical wreath!
Leslie from My 100 Year Old Home and Ashley from Modern Glam are joining me today! I love their wonderful projects, and I hope you have a chance to check them out.
I love felt! And I hope to convert you!
If you haven’t noticed, I have quite a few felt project over here.
Ok, this post was suppose to be an embroidery project and mine became more of a felt flower project! I did include a Lazy Daisy and knot to the hoop and I will add how to make them in the next couple of days.
I loved embroidering as a kid, and when I made this wreath, the few stitches brought back fond memories. I’m sure there will be more embroidery projects in the future!
So, without further adieu let’s get started on this fun embroider hoop!
Felt Flower Wreath DIY
*The following posts contains affiliate links
Supplies you’ll need:
12 inch Wooden Embroidery Hoop
Felt – Black, Beige, Green, Mustard
Blue Bird
Embroidery Needle
Scissors
Glue Gun
Instructions:
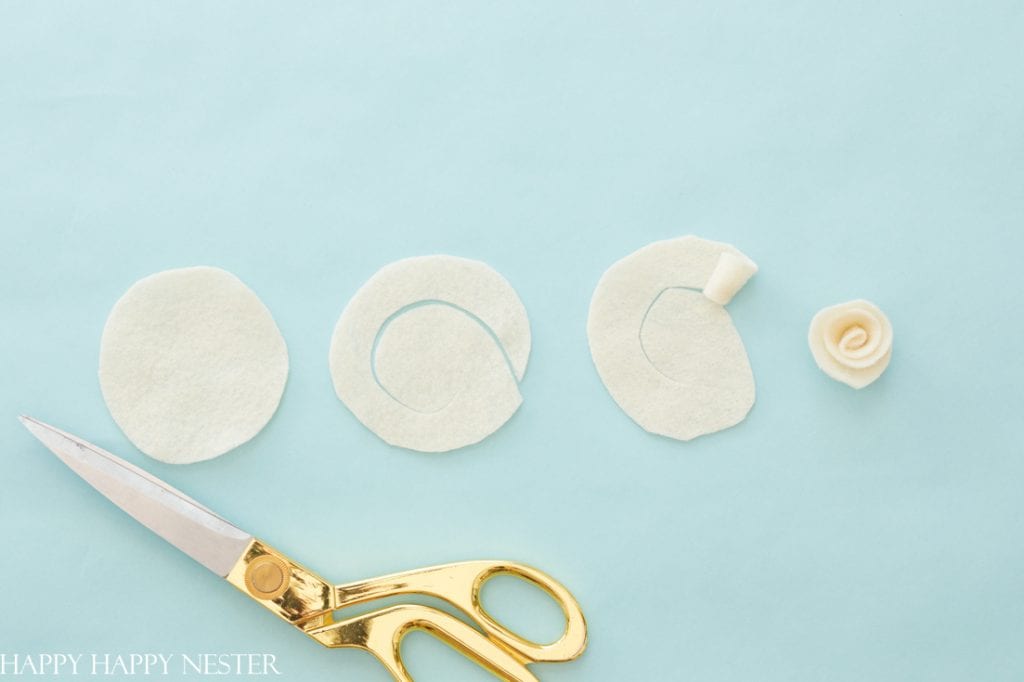
Step 1 – Make Felt Rosettes (3)
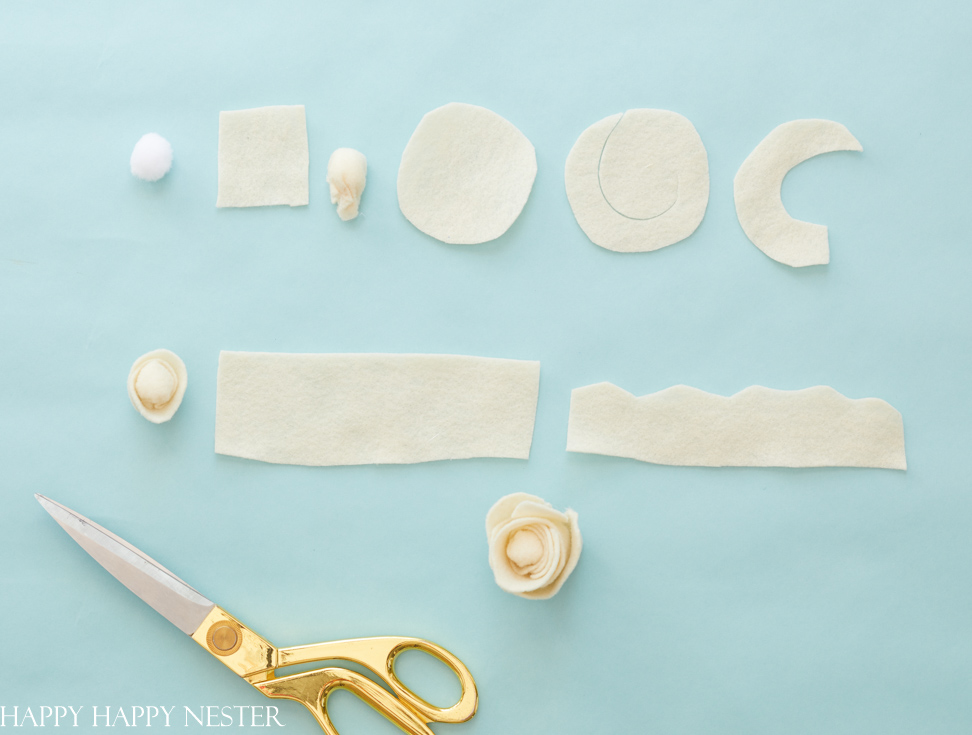
Follow the steps in the above photo. Cut a circle and then cut around the edge like a swirl. Begin rolling and glue from the tail of the circle. When you get to the middle, place the rosette right on the circle. The circle acts as the bottom of the flower. Glue the rolled flower on top of the middle circle.
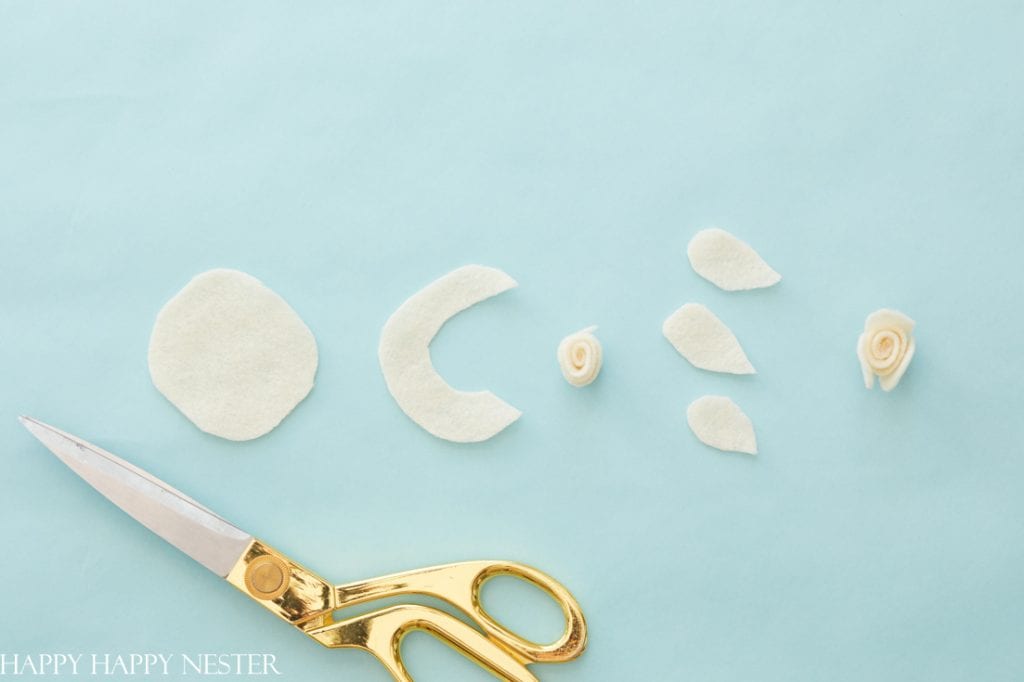
Step 2 – Make Rose Bud (3)
Make a circle ( around 1 1/2 inches wide) and then cut “C” out of the circle. Roll and glue the felt. Then make three petals and attach them to the rosebud.
Step 3 – Make the Rose (3)
Use a small pom-pom and cut a piece of felt a bit bigger than the ball. You can use the pom-pom or a wooden bead. Once you cover and glue the ball, twist under the ball to make a little bit of stem. Then trim off the excess fabric. Next, cut a circle and make a “C” out of it. Wrap and glue this felt piece around the felt ball. Then finally, cut a strip of felt that is about 6 inches in length. Cut one side with a wave design. These will be the tops of the rose petals. Then take this piece and wrap it around the rose’s middle section. Glue as you wrap.
Step 4 – Cover the Embroidery Hoop
Open the hoop by loosening the screw tension at the top. Cover the hoop with black felt. Make sure to line up the hoop and tighten the screw and hoops together. Trim the excess fabric on the back of the hoop.
Step 5 – Make Leaves (15)
Making the leaves are pretty straightforward. When cutting, make a paper template and use that as a pattern. I place the template on the fabric and cut a few at a time.
Step 6 – Embroider Daisies and Knots
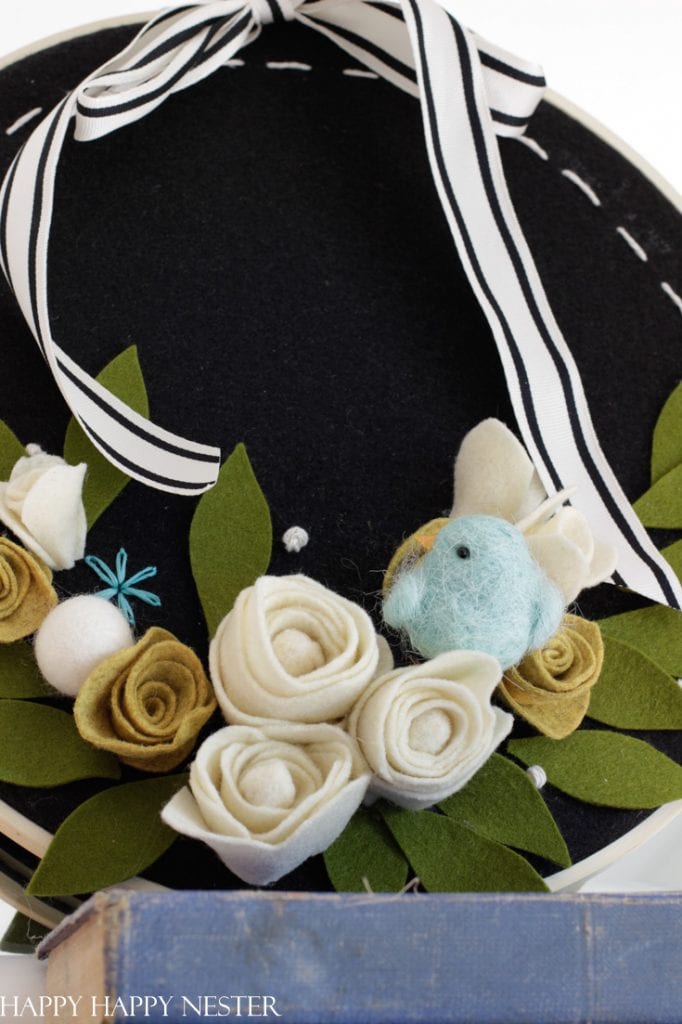
I know this is a sad reason, but I ran of time to take photos. In the meantime, check out google on how to make them. I promise, I’ll add them later!
Step 7 – Assemble Your Wreath
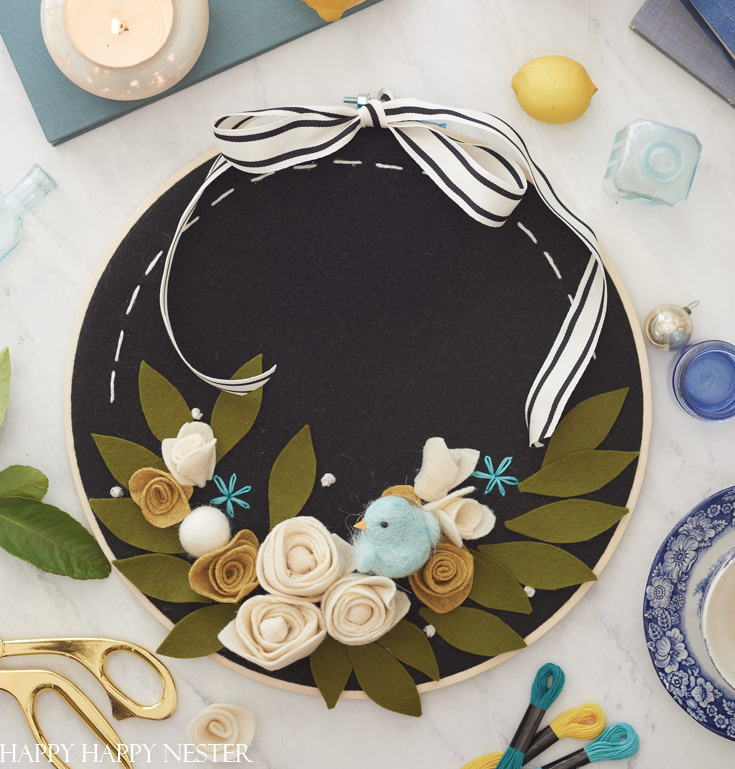
Glue all your flowers, leaves to your black embroidery hoop. Add a simple stitch at the top. And add a ribbon through the top.
Here are Leslie’s and Ashley’s Spring/Easter Embroidery Projects!
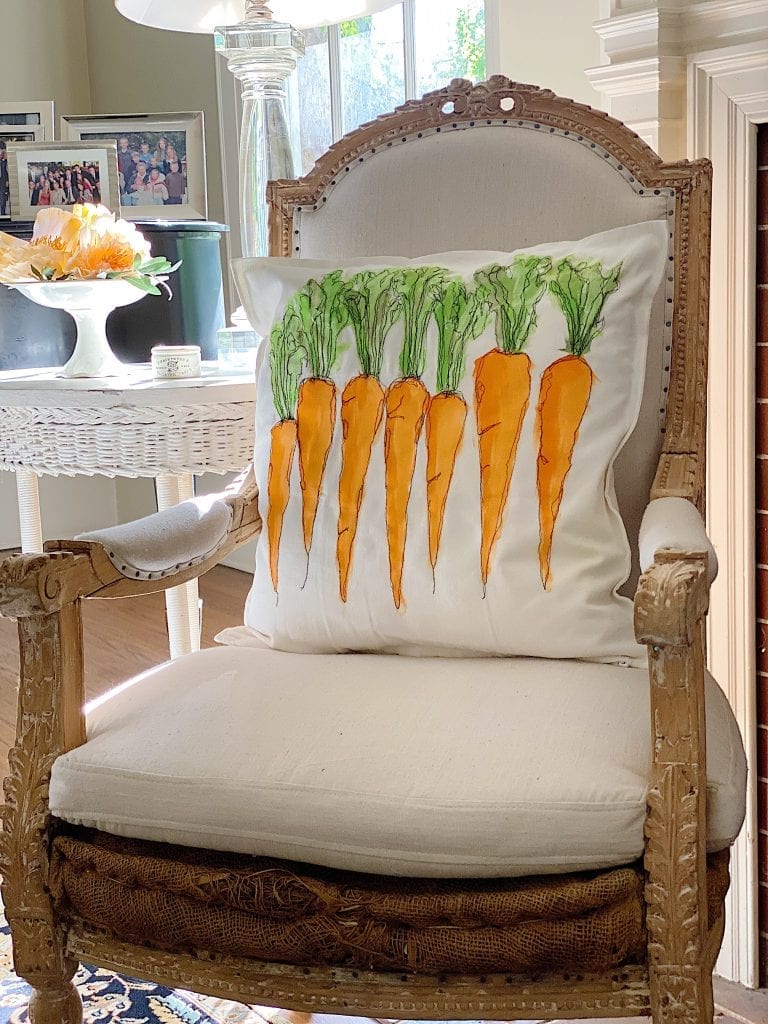
My 100 Year Old Home | DIY Easter Craft Pillow
Today I am sharing a DIY Easter craft pillow. Learn how to make a Free Stich Embroidered pillow with carrots.
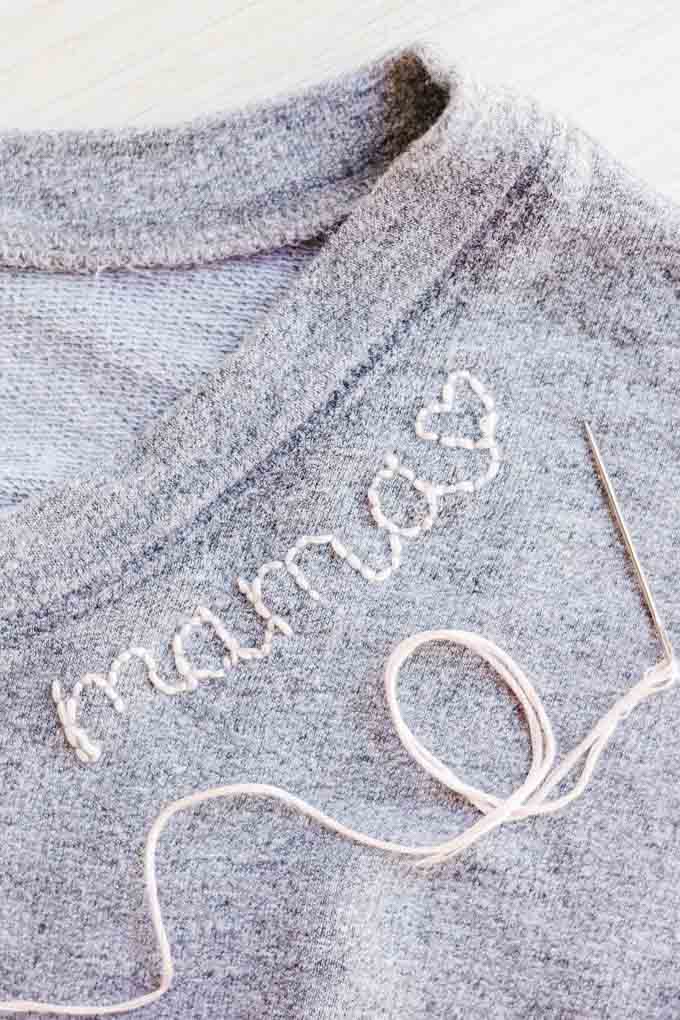
Modern Glam | How To Embroider A Custom Sweatshirt
Learn how to embroider a sweatshirt with custom lettering and transform your ordinary clothing into a piece that is unique to you!
If you missed yesterday’s post well, here’s link it in the list below:
- How to Decorate Plastic Easter Eggs
- Tomorrow’s Post is a Spring Easter Table
Thanks for joining me on my Spring Felt Flower Wreath!
Happy Crafting


- Spring Doormats from Walmart - February 18, 2026
- Heart Shaped Brownies Recipe - February 13, 2026
- Framed Artwork from Amazon - February 12, 2026
Leave a Reply