• Skip to main content
  • Skip to header right navigation
  • Skip to site footer
  • About
  • Contact
  • Boutique of the Week
  • Facebook
  • Instagram
  • Pinterest
  • Twitter

Happy Happy Nester

Weekly Inspiration for Your Nest

  • Recipes
    • Appetizers
    • Breakfast/Brunch
    • Desserts
    • Dinners
    • Drinks
  • Crafts
  • Decor
  • Shop
    • Fall Decor
    • Kitchen
    • Pillows
    • Holiday Decor
  • Saturday Chitchat
  • Recipes
    • Appetizers
    • Breakfast/Brunch
    • Desserts
    • Dinners
    • Drinks
    • Snacks
  • Crafts
  • Decor
  • Shop
    • Fall Decor
    • Kitchen Favorites
    • Pillows
    • Holiday Decor
  • Saturday Chitchat
  • Boutique of the Week
  • About
  • Contact
  • Facebook
  • Instagram
  • Pinterest
  • Twitter

See What’s Trending…

Cakes

Cookies

Dinners

Wreaths

Drinks

Home › Uncategorized › Magnetic Hanging Jewelry Organizer DIY

Magnetic Hanging Jewelry Organizer DIY

Uncategorized
By Janine Waite · Published on Feb 2, 2019
Affiliate Disclosure: This Post May Contain Affiliate Links.

Is your jewelry all strewn in a drawer? Well, my niece asked if I could design magnetic Hanging Jewelry Organizer DIY so she could display her jewelry on her bedroom wall. So, I got busy and created a cute organizer that has the prettiest holders with a little sparkle.

This Magnetic Hanging Jewelry Organizer DIY is the perfect way to display your jewelry and organize it as well. It is a magnetic board that you can place either fabric or paper on it and then make moveable magnetics that holds your jewelry in place. Crafts | Jewelry Holder | Organizing | Jewelry | Magnetic Board

Well, my niece and I did this magnetic hanging jewelry organizer DIY a while back when I helped her decorate her cute studio apartment. We had a blast organizing and fluffing her tiny home. Well, I’m just getting around to making one of these jewelry organizers for myself. I’ve made these magnetic boards before, but this one is a bit different since the sole purpose is to hold jewelry.

Cute homemade magnetics diy. This Magnetic Hanging Jewelry Organizer DIY is the perfect way to display your jewelry and organize it as well. It is a magnetic board that you can place either fabric or paper on it and then make moveable magnetics that holds your jewelry in place. Crafts | Jewelry Holder | Organizing | Jewelry | Magnetic Board

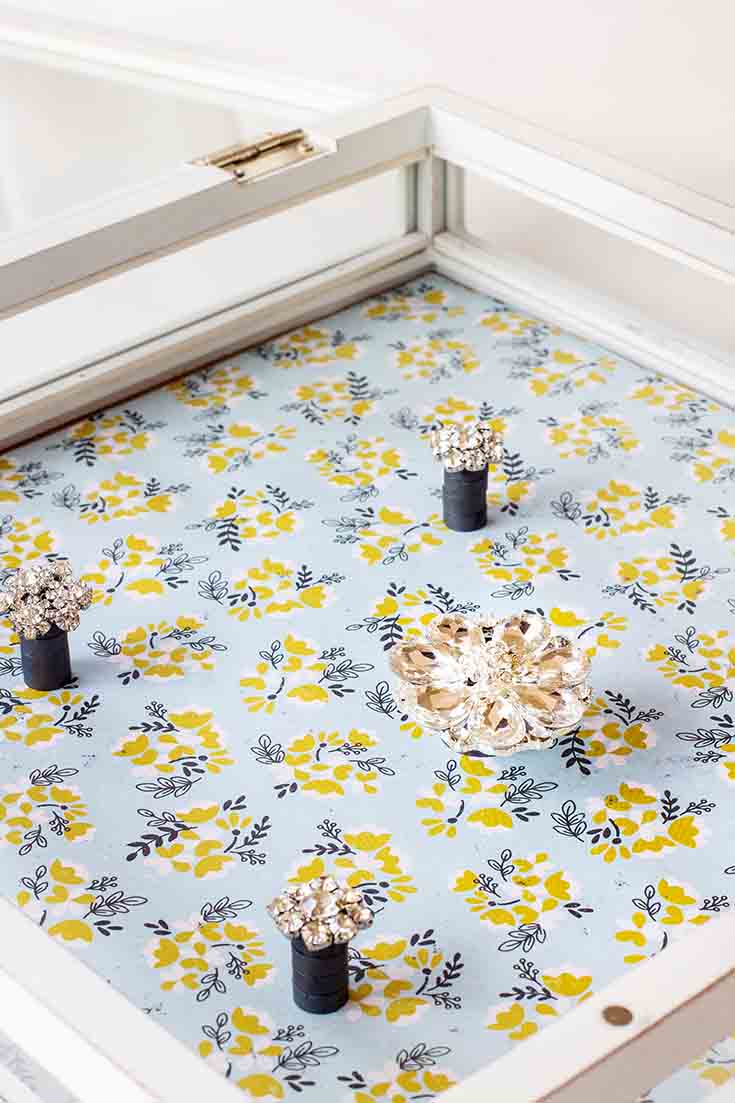
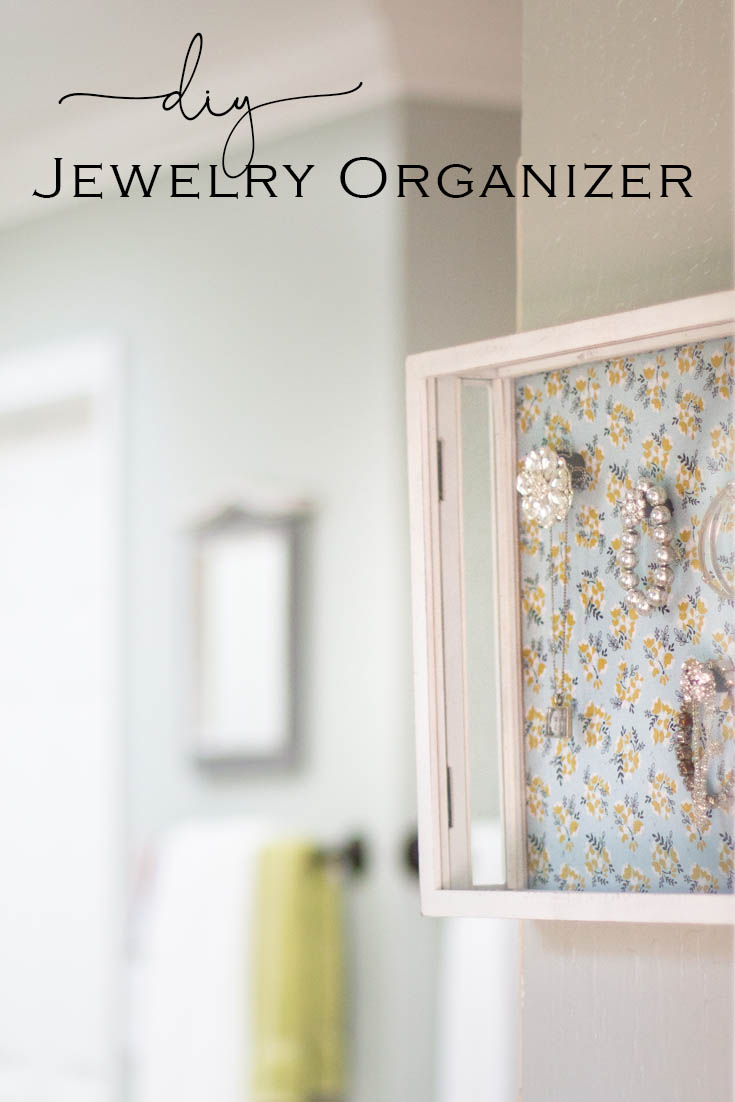
So, we had to come up with a magnet that could hold necklaces and bracelets from. And I decided that a stack of magnets would do the job. We attached a cute rhinestone button to the top magnet, and that adds just the right amount of bling and sparkle.

This Magnetic Hanging Jewelry Organizer DIY is the perfect way to display your jewelry and organize it as well. It is a magnetic board that you can place either fabric or paper on it and then make moveable magnetics that holds your jewelry in place. Crafts | Jewelry Holder | Organizing | Jewelry | Magnetic Board

Here are a few questions you may have

How do you hang a necklace without tangling?

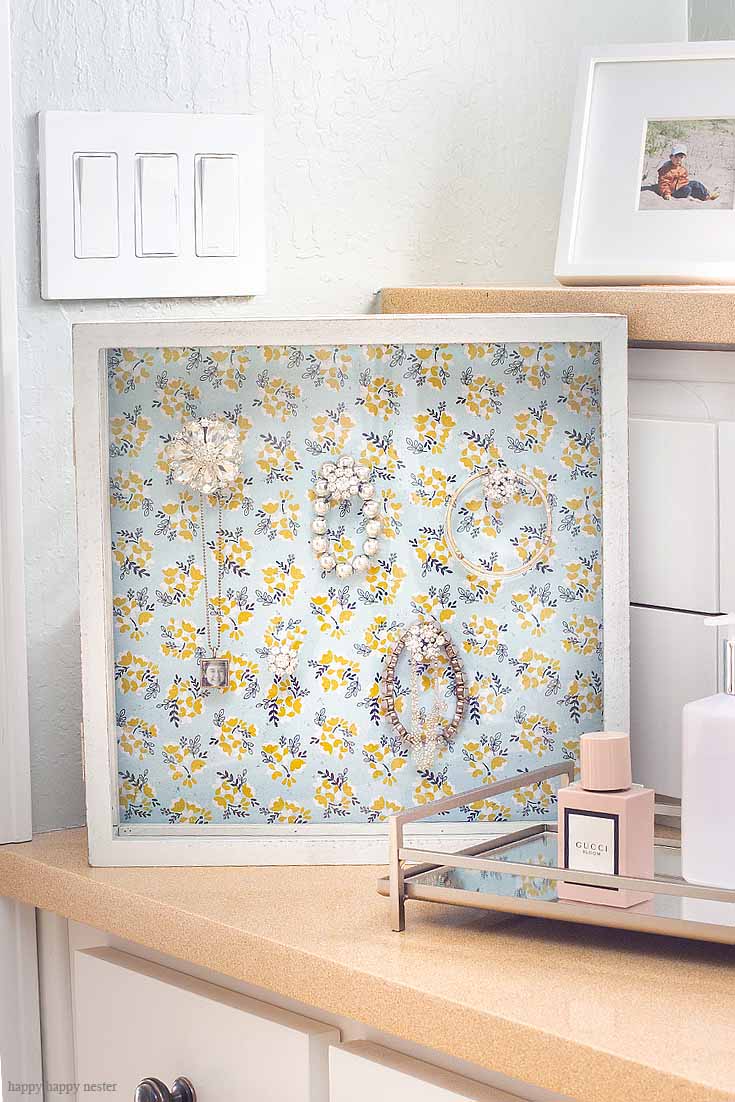
This is a big question and issue that so many women encounter. And this great jewelry organizer allows you to hang them without tangling as well as display them in a pretty way.

How do you hang a necklace?

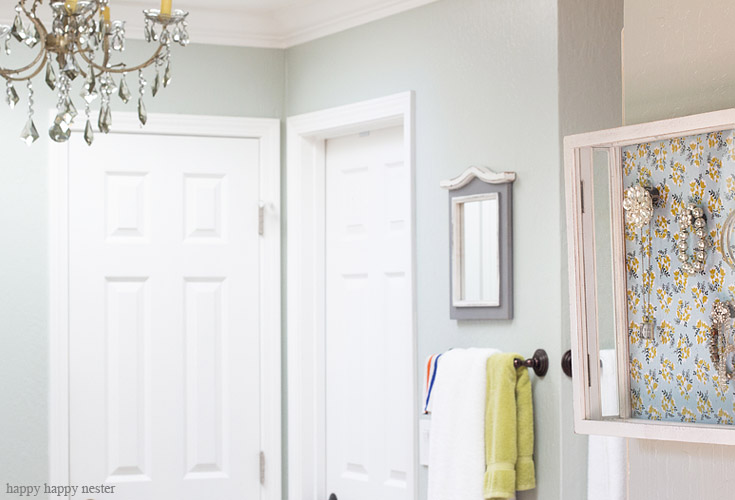
You can buy whatever size frame you like to hold all your necklaces on your board. Then they are all organized and ready to wear in your closet or bathroom walls.

How do you store your jewelry?

I hang my necklaces and bracelets on this organizer, and my earrings are on this jewelry holder that I made a few years ago. I love it when I create something that works, and I still use years later. I actually should update that post with some new photos.

Do you need to organize your jewelry? This Magnetic Hanging Jewelry Organizer DIY is the perfect way to display your jewelry and organize it as well. It is a magnetic board that you can place either fabric or paper on it and then make moveable magnetics that holds your jewelry in place. Crafts | Jewelry Holder | Organizing | Jewelry | Magnetic Board


Hanging Jewelry Organizer DIY

*The following contains affiliate links

Let’s get started on our tutorial!
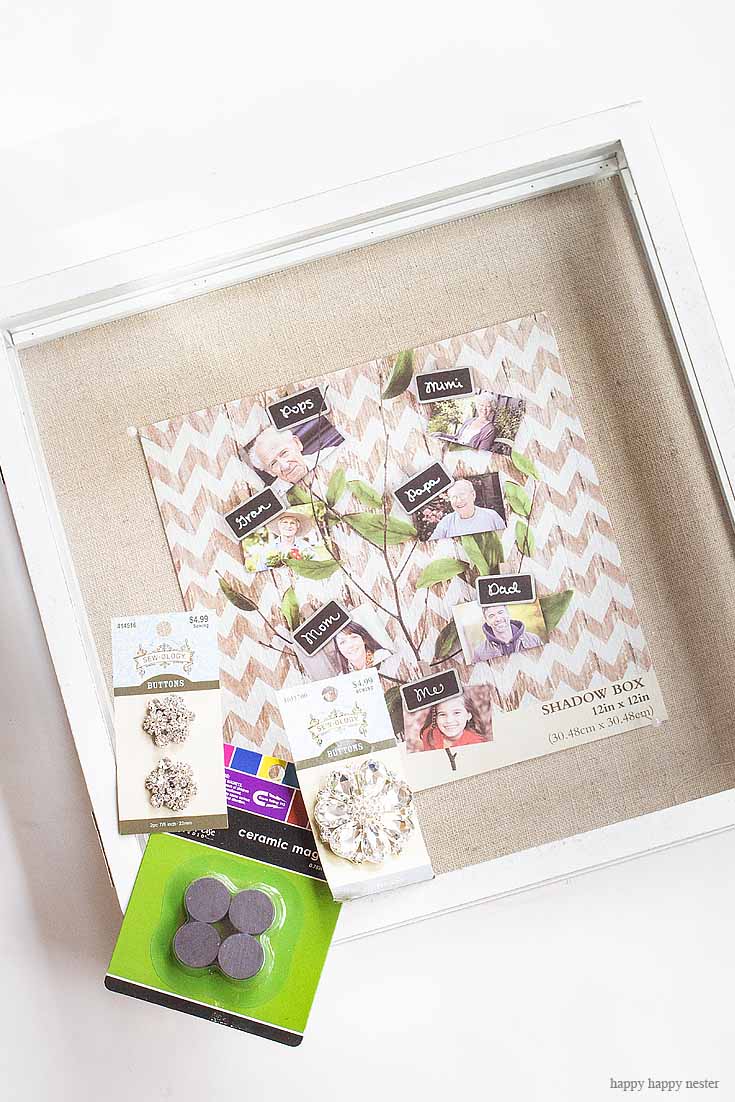
Supplies

1 shadow box

1 sheet of magnetic aluminum sheeting

heavy duty sheet metal scissors

scrapbook paper or wrapping paper

glue gun

steel edge ruler

box cutter

rhinestone buttons

I bought my buttons at Hobby Lobby, and I tried to choose ones that had a solid pattern of rhinestones. If you have openings, the black magnet may peek through.

magnets

These should match the size of your button that you choose. Also, it looks like they have gold and silver colored magnets which make look a lot nicer than the black.

Crafter’s Pick Ultimate Glue

sandpaper ( I just used a random size grit of sandpaper)

Directions

Build a Magnetic Board

1. Trace your magnetic board

Use the back of your frame as your template and place it on top of your magnetic sheet. Trace with a marker.

2. Cut the metal sheet with your heavy duty metal scissors.

This is an easy DIY. This Magnetic Hanging Jewelry Organizer DIY is the perfect way to display your jewelry and organize it as well. It is a magnetic board that you can place either fabric or paper on it and then make moveable magnetics that holds your jewelry in place. Crafts | Jewelry Holder | Organizing | Jewelry | Magnetic Board

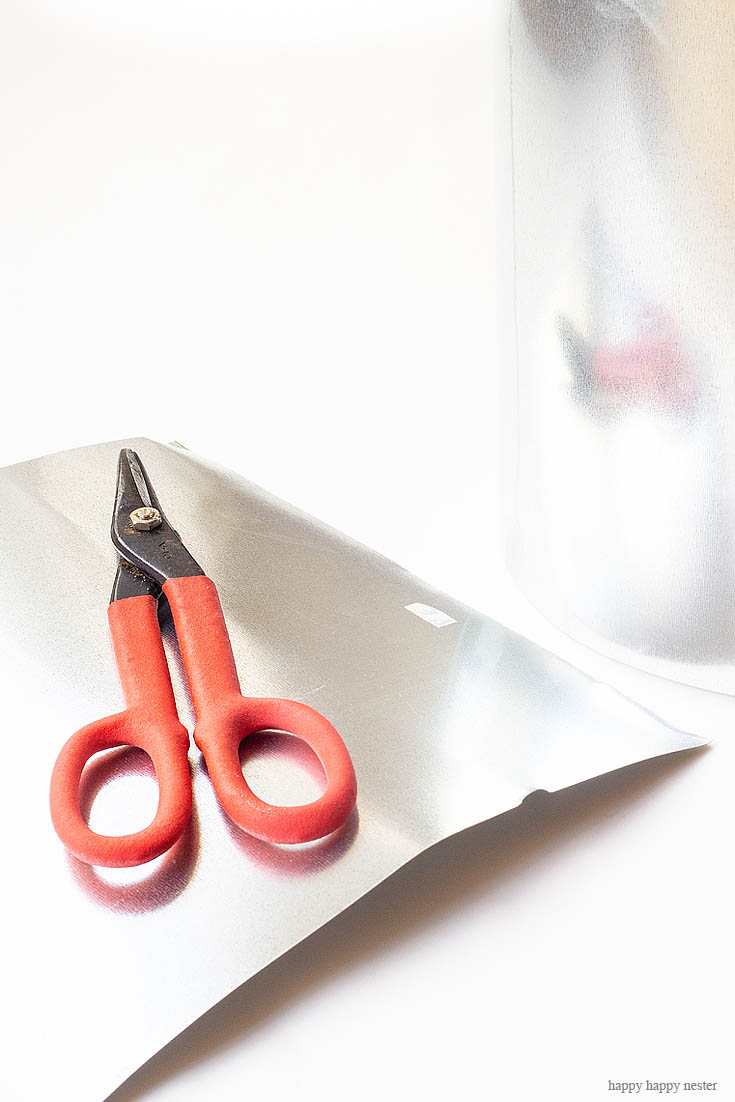
Be careful of the sharp metal edges, and you might want to wear gloves when cutting.

3. Use the back of the frame as your template again to trace and cut out your scrapbook paper.

4. Now glue the metal sheet to the back of the frame. Make sure to glue it to the front of it.

Create a fun magnetic board. This Magnetic Hanging Jewelry Organizer DIY is the perfect way to display your jewelry and organize it as well. It is a magnetic board that you can place either fabric or paper on it and then make moveable magnetics that holds your jewelry in place. Crafts | Jewelry Holder | Organizing | Jewelry | Magnetic Board


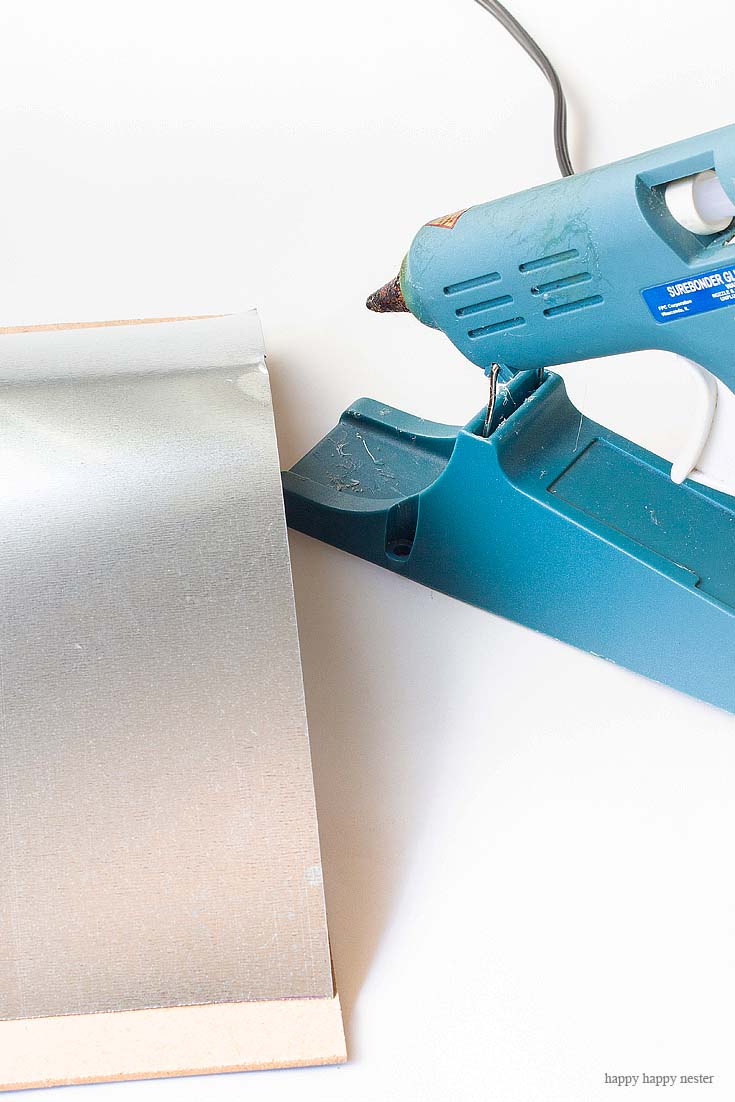
5. Place your cut scrapbook paper on top of the metal and lightly glue or use double-sided tape. At this point, you should have these layers from top to bottom, scrapbook paper, metal sheet and finally underneath that your back of your frame.

6. Place all the above back into your shadowbox with the paper facing out.


How to Make Rhinestone Magnets

1. Cut the back of the button off with your heavy duty metal scissors. When cutting, you’ll want to make sure to get as close to the button as you can.

Use rhinestone buttons for magnets. This Magnetic Hanging Jewelry Organizer DIY is the perfect way to display your jewelry and organize it as well. It is a magnetic board that you can place either fabric or paper on it and then make moveable magnetics that holds your jewelry in place. Crafts | Jewelry Holder | Organizing | Jewelry | Magnetic Board

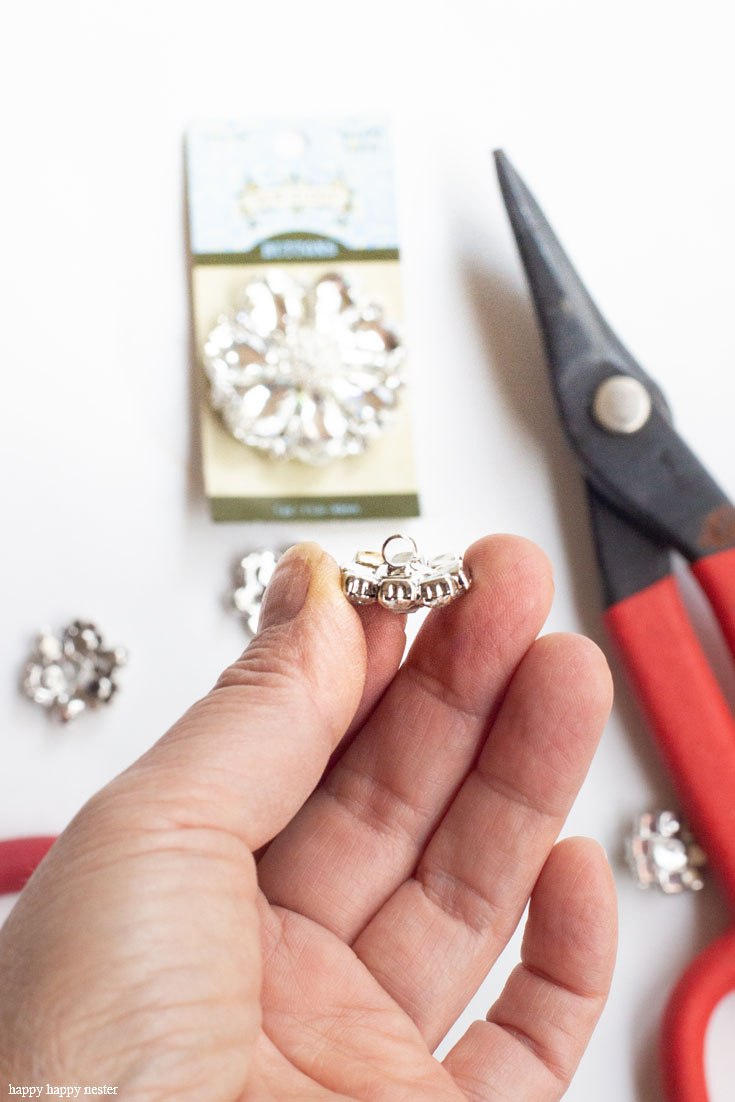
2. Sand any bumps that you couldn’t get off with the scissors. You’ll want this surface smooth so that the button will sit flush with the magnet.

3. Glue the backside of the button to a magnet. Place it in an upright position so that it dries correctly and not lopsided.

4. Once the glue has dried, place as many magnets as you want on each button and place on the magnetic board.

5. Organize and hang jewelry from the magnets.


This Magnetic Hanging Jewelry Organizer DIY is the perfect way to display your jewelry and organize it as well. It is a magnetic board that you can place either fabric or paper on it and then make moveable magnetics that holds your jewelry in place. Crafts | Jewelry Holder | Organizing | Jewelry | Magnetic Board

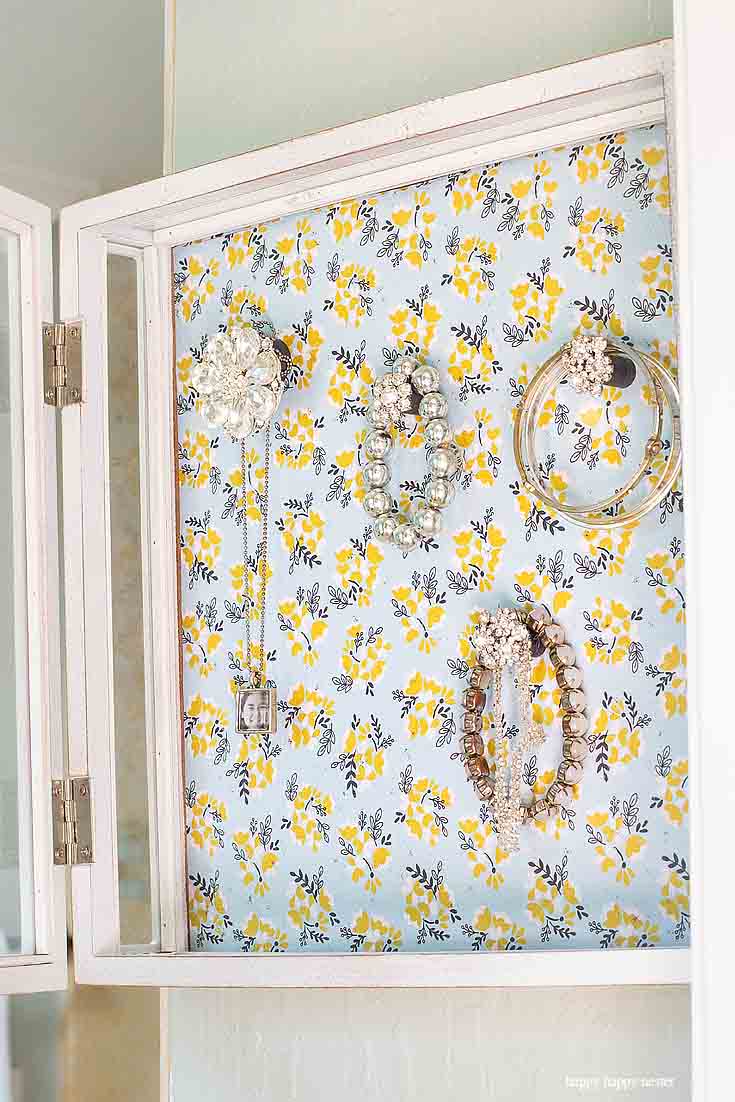
Seriously the sky is the limit on this magnetic hanging jewelry organizer DIY. You can choose whatever size frame, paper, and magnets and so it becomes a personalized jewelry holder that goes beautifully with your home decor.

Happy Crafting!

Cheers,

signature


This Magnetic Hanging Jewelry Organizer DIY is the perfect way to display your jewelry and organize it as well. It is a magnetic board that you can place either fabric or paper on it and then make moveable magnetics that holds your jewelry in place. Crafts | Jewelry Holder | Organizing | Jewelry | Magnetic Board


  • Author
  • Recent Posts
Janine Waite
Follow me
Janine Waite
I named my blog Happy Happy Nester because I love everything related to the home. I’ve always enjoyed decorating my surroundings. Get cozy and stay for a bit, thanks for visiting!
Janine Waite
Follow me
Latest posts by Janine Waite (see all)
  • Large Chocolate Easter Bunnies - March 22, 2023
  • March Crafts - March 18, 2023
  • How to Make Mussels in White Wine Sauce - March 17, 2023

You May Also Like

  • Online Jewelry Boutique Shop
    Online Jewelry Boutique Shop
  • Sea Glass Beach Decor and More
    Sea Glass Beach Decor and More
  • The Best Pots and Pans Organizer
    The Best Pots and Pans Organizer
  • Perfume Organizers and More
    Perfume Organizers and More

Sharing This!

  • Facebook
  • Twitter
  • Email

Reader Interactions

Comments

  1. Evelyn

    February 03, 2019 at 2:47 pm

    This is soo elegant, Janine! Love it💗

    Reply
    • happyhappynester

      April 15, 2022 at 2:56 pm

      Hey Evelyn,
      Thanks so much for your sweet words. It means a lot, have a great day!

Leave a Reply Cancel reply

Your email address will not be published. Required fields are marked *

Recipe Rating


Sidebar

Janine the Nester

Hello from the Nester

We love everything related to home, so get cozy and stay for a bit. Thanks for visiting our blog. Learn More...

Reader Favorites

This Italian Cream Cake has a pumpkin cream cheese frosting that makes this a winning combination. This dessert is perfect for the holidays.

Italian Cream Cake with a Twist of Pumpkin

The Best Crunchy Crispy Chocolate Chip Cookie

French Apple Custard Tart with Puff Pastry

DIY Paper Flowers Tutorial (Tissue Paper)

Upcycling Tin Cans with Scrapbooking Paper

How to Make a Paper Flower Wreath DIY

Popular Categories

  • Cakes
  • Cookies
  • Dinners
  • Wreaths
  • Organizing

Join Our Newsletter

Join our mailing list to receive the latest news and updates from our team.

You have Successfully Subscribed!

AFFILIATE DISCLOSURE:
I am grateful to be of service and bring you content free of charge. In order to do this, please note that when you click links and purchase items, in most (not all) cases, I will receive a referral commission. Your support in purchasing through these links enables me to keep my design and customization prices ridiculously low and empower more people worldwide to blog with less worry and less hassle.
Happy Happy Nester is a participant in the Amazon Services LLC Associates Program, an affiliate advertising program designed to provide a means for sites to earn advertising fees by advertising and linking to amazon.com.
Thank you! :)
-Happy Happy Nester

Our Guide

Join Our Newsletter

Join our mailing list to receive the latest news and updates from our team.

You have Successfully Subscribed!

  • Facebook
  • Instagram
  • Pinterest
  • Twitter

Recipes

Appetizers
Breakfast/Brunch
Desserts
Dinners
Drinks

Crafts & Decor

DIY
Gardening
Holiday
Wreaths

About

About The Nester
Contact
Privacy Policy

Copyright © 2023 · Happy Happy Nester by Janine Waite · Privacy Policy

↑ BACK TO TOP