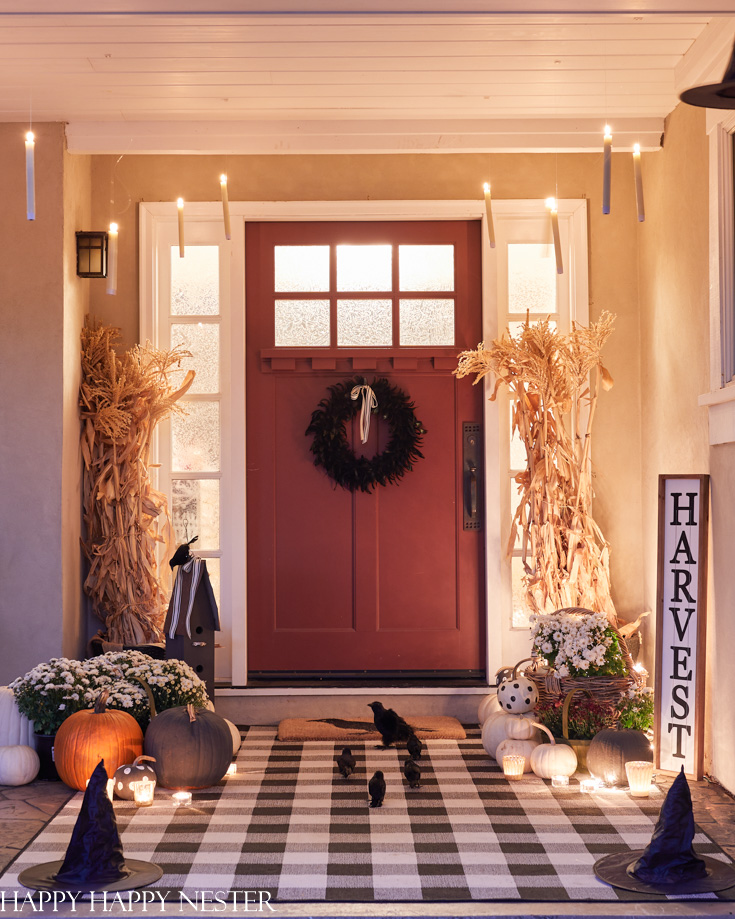
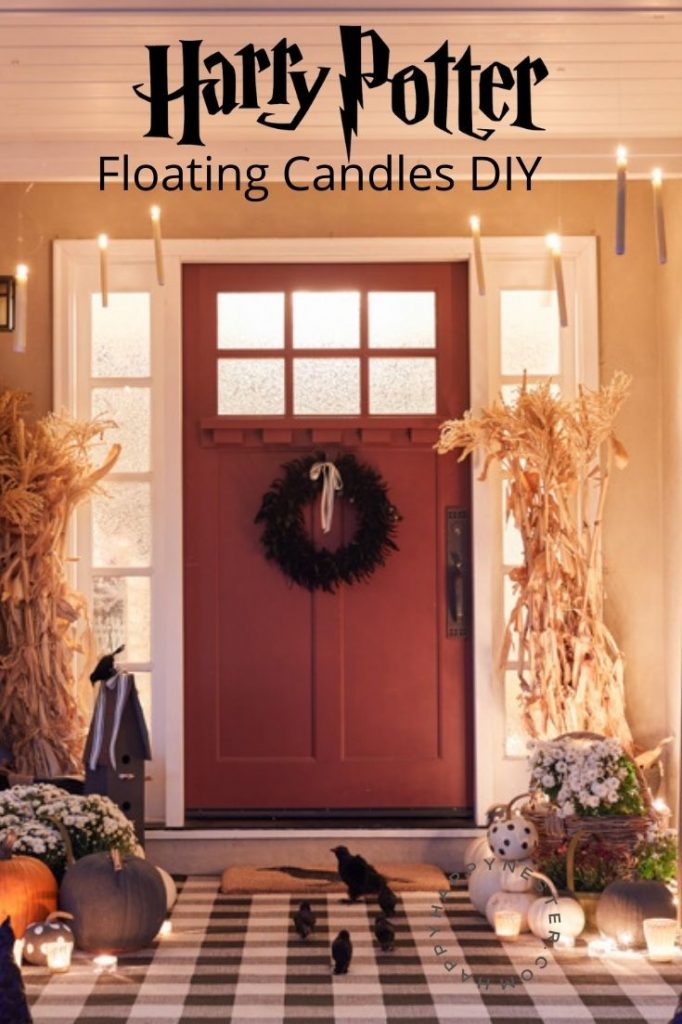
If you love the movie with Harry Potter Floating Candles, then you’ll want to try this easy DIY project. I promise that I found the easiest way to get these spooky candles floating on your front porch or Halloween home.
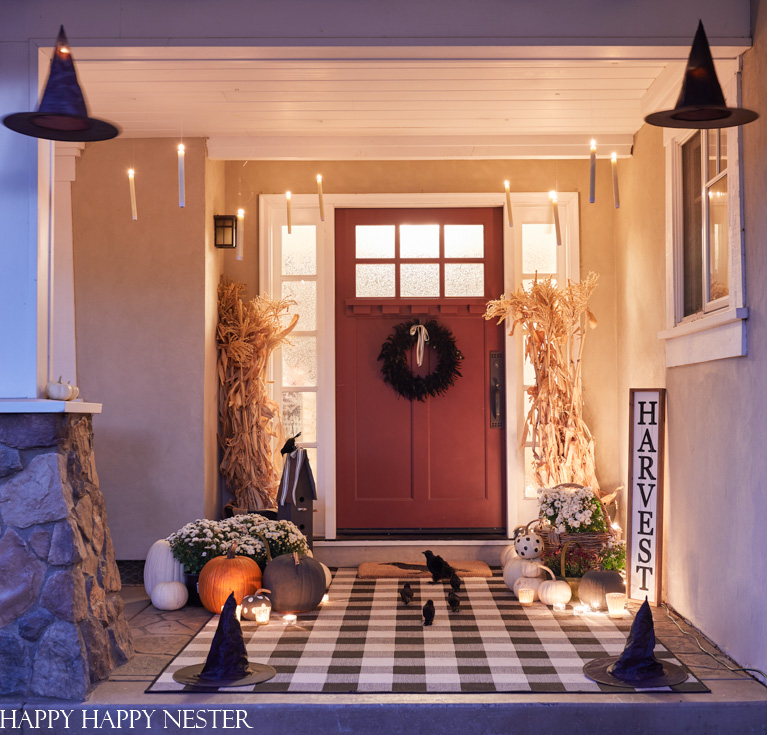
You’ll need a few supplies, and you can transform your home pretty quickly. This Halloween decor is perfect for kids and a spooky Halloween party.
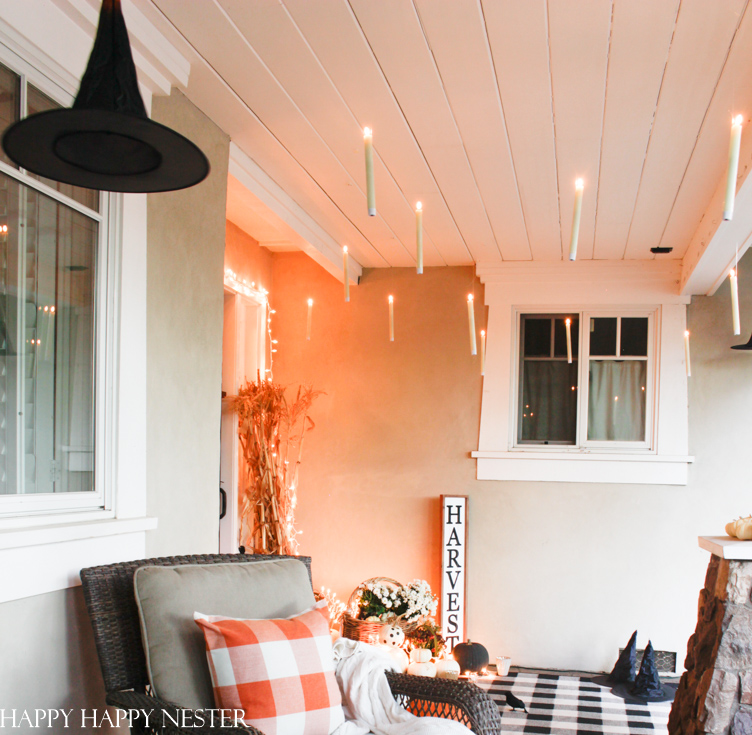
Every year, I love to decorate our front porch for Halloween. You can view a few of these posts:
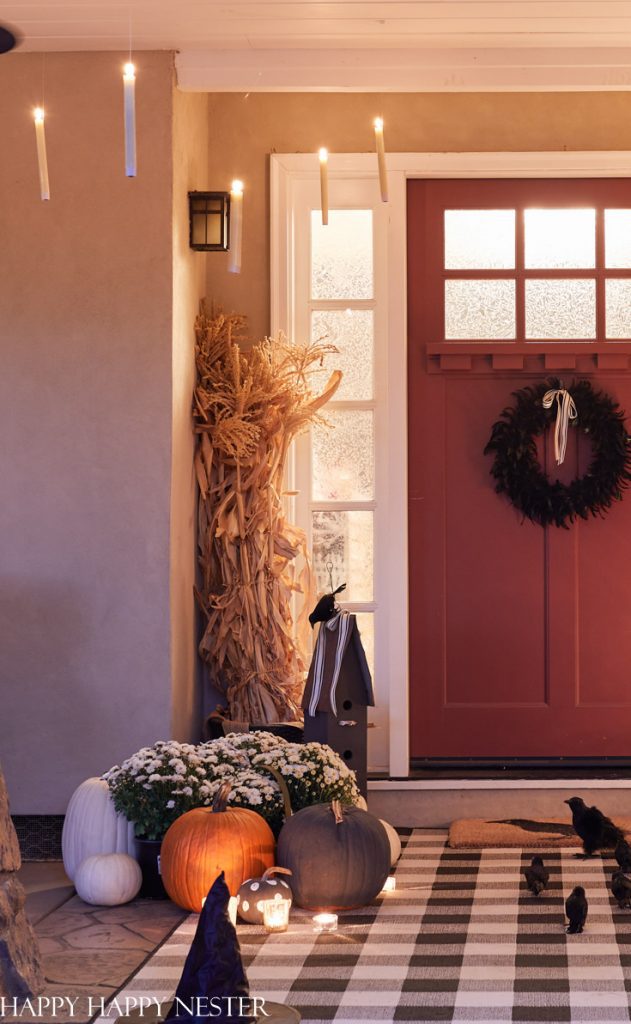
I searched Pinterest and Google for ideas on how to float candles on my porch, and I almost went down the path of making faux candles out of old toilet paper rolls. But the whole idea of crafting the votives with a paper roll was a bit much for me.
I know some die-hard crafters might want to make candles, and here is a great tutorial.
But, I’m going to show you a quick and easy solution.
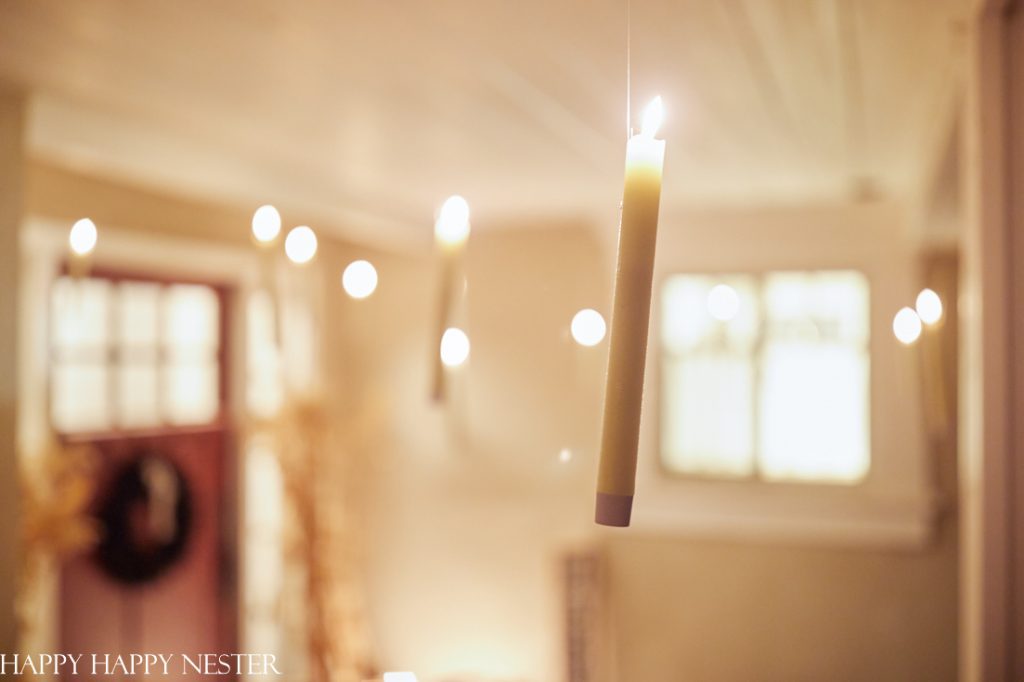
Harry Potter Floating Candles DIY
*The following post contains affiliate links
This time, I decided that purchasing candles was the best route for me this fall. And what makes it even better is that these faux candles have natural wax on the outside, controlled via a remote! Also, think of these candles as an investment, and use them for the holidays!
Here are the Supplies You’ll Need
Ladder
Command Strips for Picture Hanging (Velcro)
Scissors
Instructions:
Step 1 – Prep Candles
Add two AAA batteries to your candlesticks.
Step 2 – Figure Out Placement of Candles
I mapped out the placement of my candles before starting. I made a pathway to the door.
Step 3 – Cut Velcro
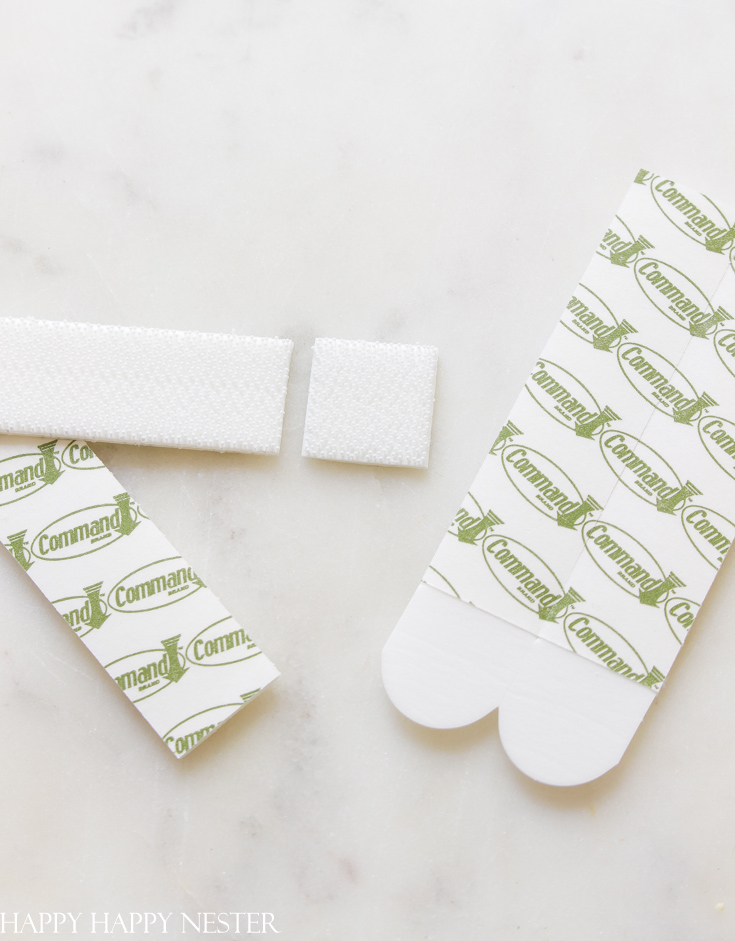
I cut the velcro strips into three sections. You don’t need much to hang the candles.
Step 4 – Attach Velcro
Clean off the surface where you want to attach the velcro. Next, remove the backing to the velcro and attach the sticky side to the ceiling. Press for a couple of seconds to make sure it adheres well to the surface. Let it sit for 30 minutes before attaching the candles to it.
Step 5 – Attach Fishing Line to Candles
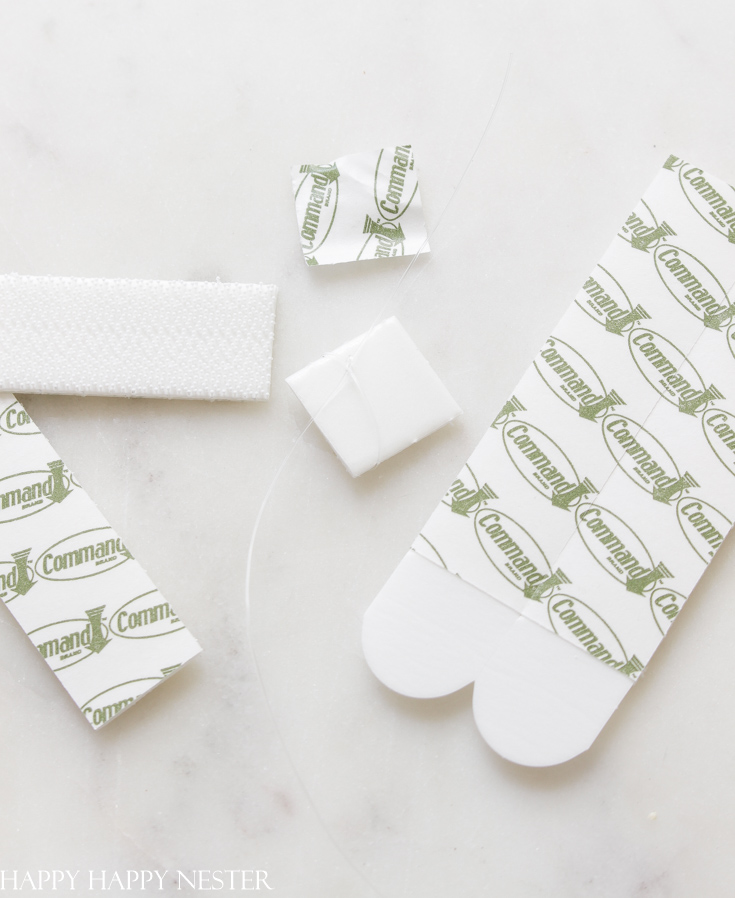
My husband is a fly fisherman, so I ask him whenever I need an excellent knot. He taught me this perfect knot that tightens when pulled, otherwise known as a Cinch Knot.
Step 6 – Attach Candles to the Ceiling
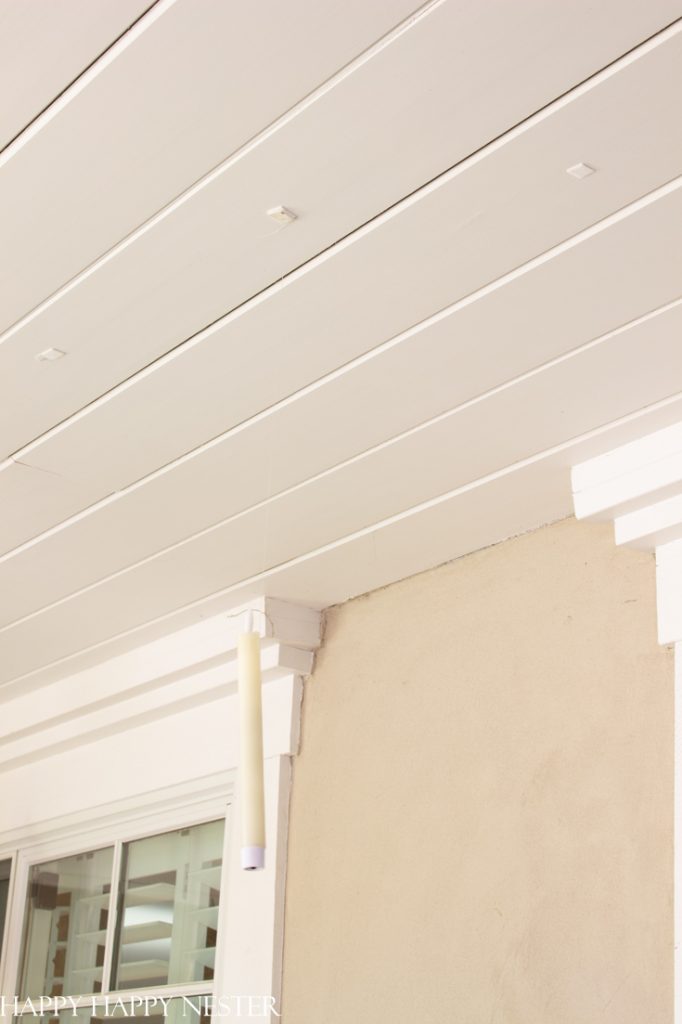
First, determine the length that your candle will hang. Trim your line and allow enough for adjusting the height and for attaching it to the ceiling.
Cut another small piece of velcro and remove the backing. Then grab the other end of the fishing line and wrap the end around the second piece of velcro. Place two knots to secure the line to the velcro.
Now, attach the candle velcro to the other ceiling velcro and press them together.
And repeat this process for each candle that you hang.
I bought two boxes of candles, and so I hung sixteen candles. Each package includes eight candles. The candles aren’t cheap, but I figure that I’ll use them for the holidays and throughout the year.
A Few Tips About Hanging Candles
Placement
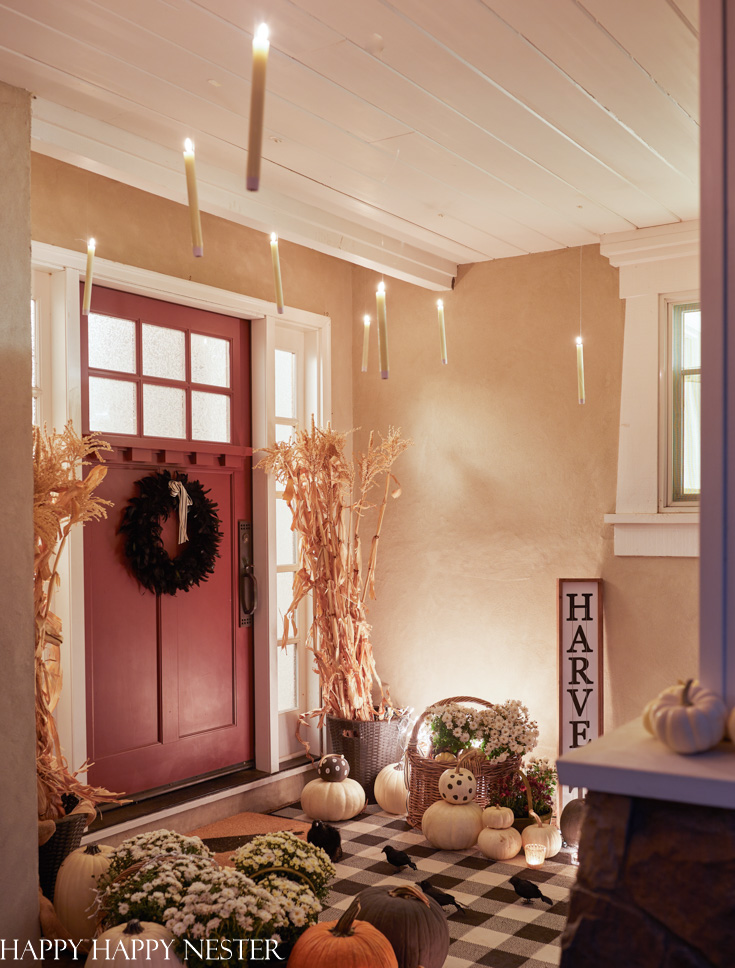
I hung them in a staggered pattern, meaning that they are all at different heights. Compositionally it looks better and more natural, and I think that’s how they displayed the floating candles in the Harry Potter movie.
Cinch Knot
There is no need to drill a hole through the candle to attach it to the ceiling since I have an easier way. But, you do need the cinch knot since you can tighten the knot close to the candle. If the line is too loose, the candle will fall, and the cinch knot allows you to get as tight as you can.
Here is a great tutorial. Also, I only wrapped the line about three times.
You’ll be happy to know that I placed my candles on our front porch then we had two days of windy days. And none of my candles fell!
Remote
To use the remote, you need to push the button located on the bottom of each of your candles. Next, you have to turn them off via the remote. Before using the remote, make sure to remove the plastic inserted in the remote, allowing the remote to work.
Scheduling the Remote
It does allow you to schedule your candles to stay on for two, four, six, and eight hours. And all you have to do is hit the 2H, 4H, 6H, or 8H button at the time you want them to turn on. And then they will automatically turn on each day at that time and stay on for the time you set it. I didn’t use the scheduling option yet but plan to try out the two-hour timer.
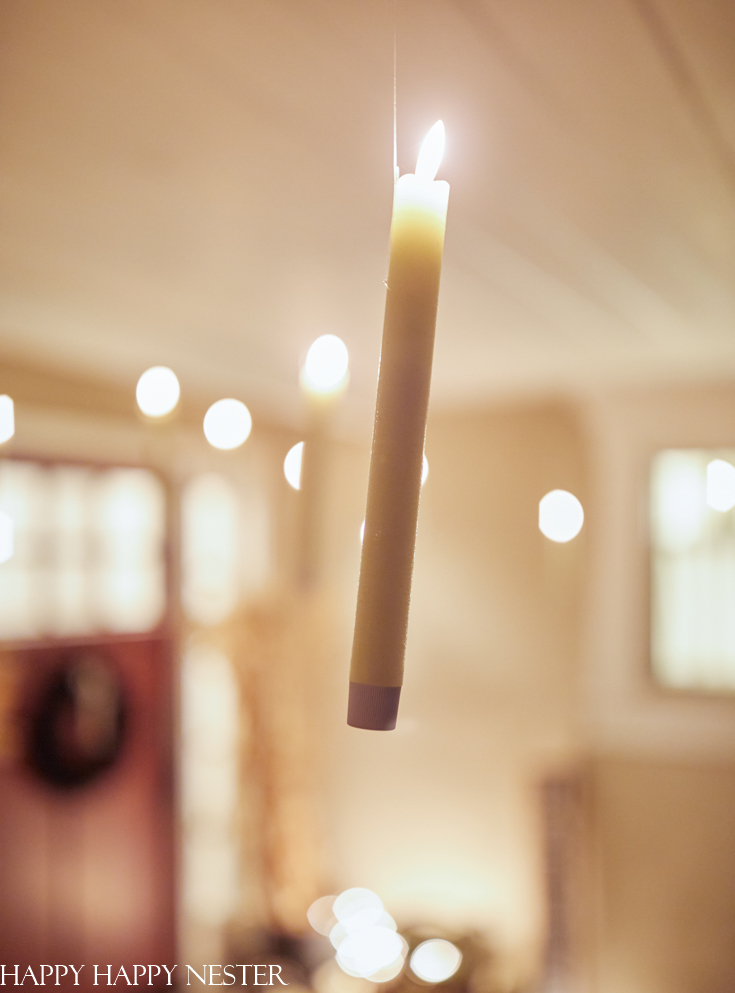
Thanks so much for joining me on this fun Harry Potter floating candles DIY. I’m super excited about my new porch decor.
Happy Halloween!


- Heart Shaped Brownies Recipe - February 13, 2026
- Framed Artwork from Amazon - February 12, 2026
- Chocolate Covered Quinoa Recipe - February 5, 2026


Teddee Grace
I see something called a Clinch Knot at the link site, not a Cinch Knot. Is it the Clinch Knot I should be attempting to create? Sorry, but just like any needlework instructions I’ve ever tried to follow, the directions for the knot tying leave me in a confused limbo. I do like your floating candles, however, and may try something plain and simple and hope, since I’ll be hanging them inside, they’ll stay stuck…if I can figure out what to do with the Velcro!