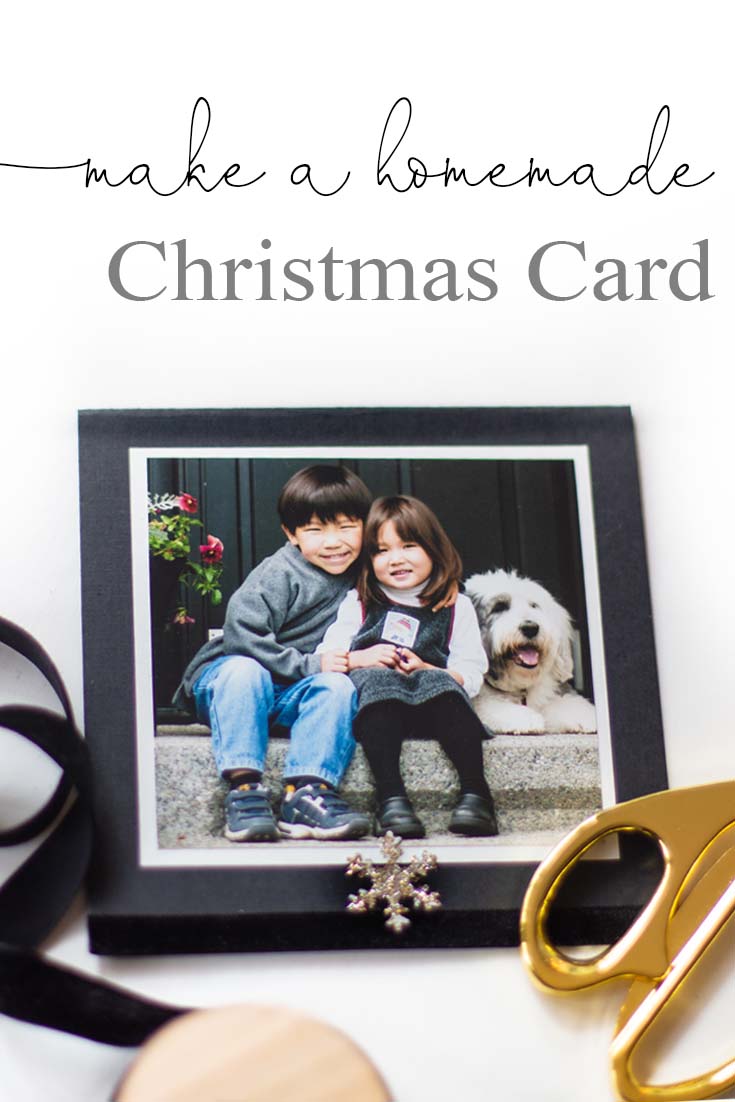
This time of year, I’m always ordering our holiday cards. But, I fondly remember that I used to always made our own Homemade Christmas Card. Now, don’t you feel that we all send out similar cards? So, if you want a card that is a bit more unique and special then maybe you might like to make your own.
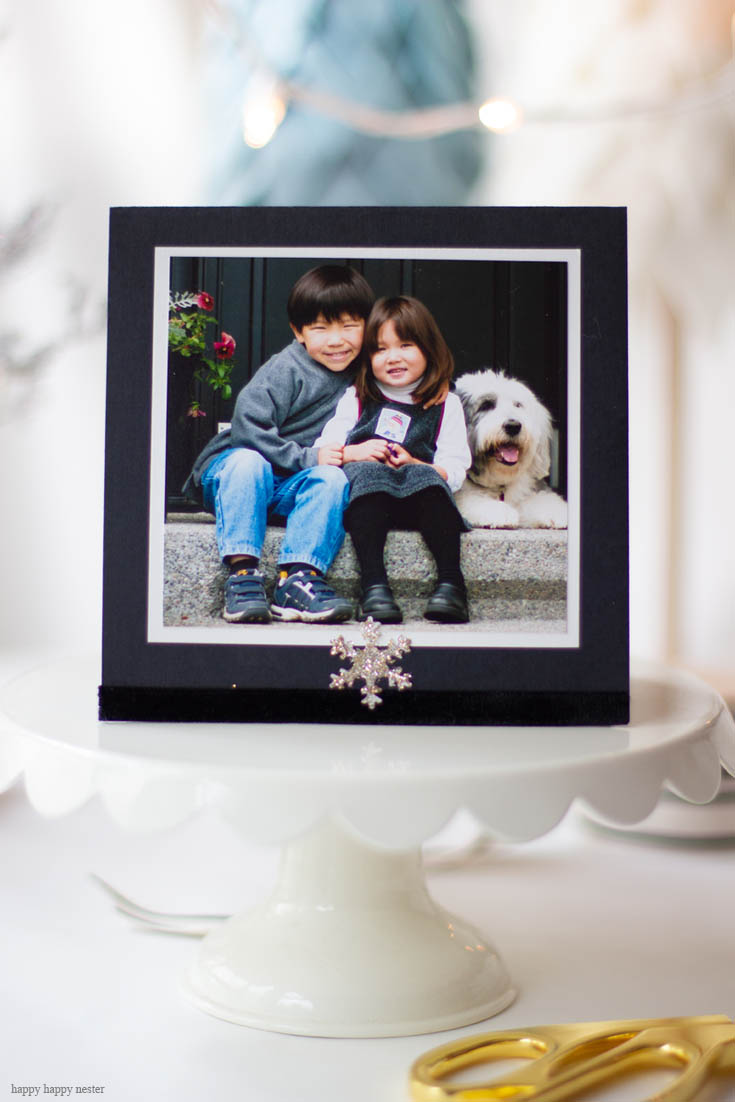
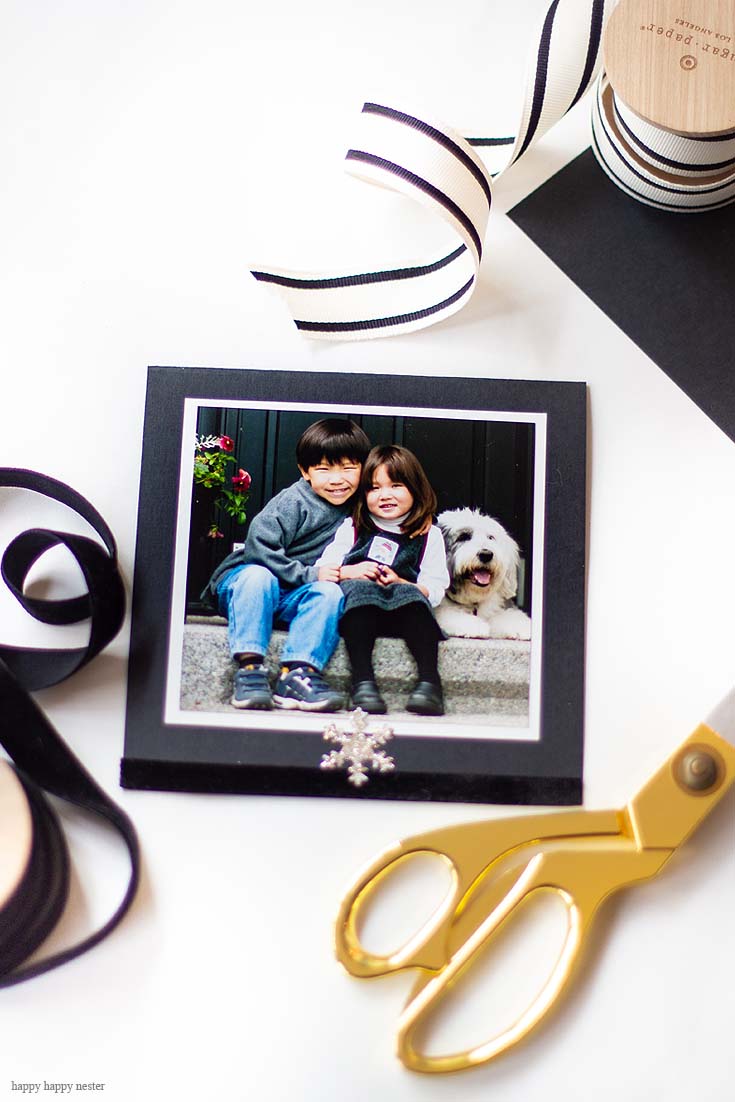
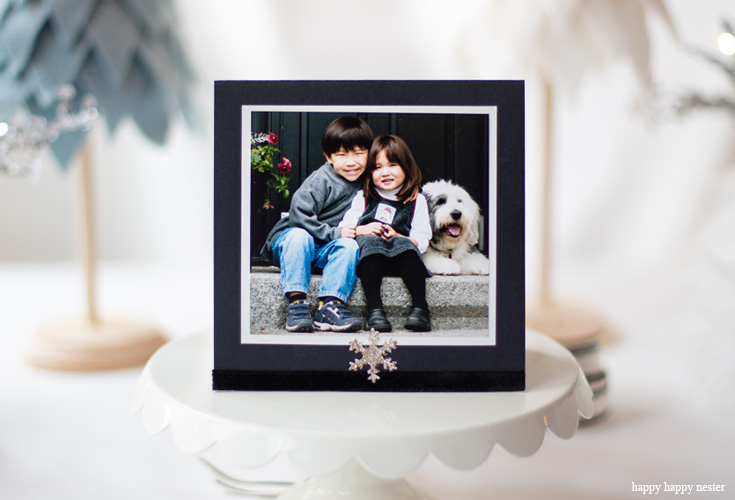
This post was originally going to showcase and review the different card companies out on the market. But, I soon realized that all them are pretty similar, and I found that there was not much to report on besides the cost difference. So, I happened to reach into my drawer of cards and found this one homemade Christmas card stored away as a treasure.
I remember making it before scrapbooking was popular, hard to imagine when you had to make everything. Now, there are so many fun little accents to choose from, that making your homemade card is so easy.
How to Make Your Own Homemade Christmas Card
*The following post contains affiliate links
Supplies
1 family photo
Printable of inside greeting
white glitter snowflake (I did make mine which I used a snowflake paper punch and glittered it)
Directions
1. Trim Your Photo to Size
My photo is 4″x4″ My photographer took the photo bigger, and I trimmed it to size. If you want to create a card that fits your size card.
2. Cut Your Black Cardstock to Size
My homemade Christmas card is 5 1/2′ x 5 1/2″ So, the whole size that I cut is 11″ x 5 1/2″ with a fold.
3. Cut a White Border Our of the White Cardstock
I just have a border of about 1/4″ around the photo. You can skip this step if you want to make this project a bit easier.
4. Cut a Piece of Black Velvet Ribbon
The velvet ribbon adds such a nice touch and sets out a homemade Christmas card above those standard photo cards that everyone gets made.
5. Print Out the Holiday Greetings and Trim
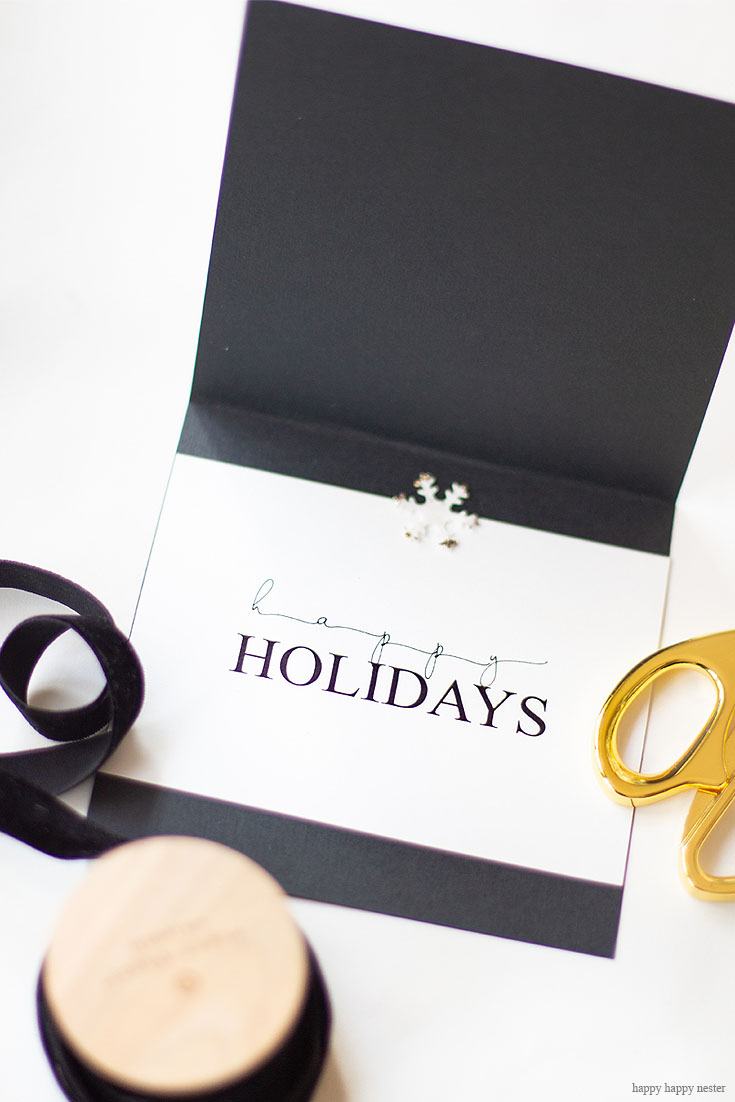
I’ve created a printable for you, and I hope you like it. Just trim to the size of your card.
6. Assemble The Card
Fold your card in half so that the size is 5 1/2″ x 5 1/2″.
Next, glue down the white border in the middle of the front of the card.
Glue the photo to the white border.
Cut the velvet ribbon to size and glue down to the bottom of the card.
Place your glitter snowflake in the middle of the ribbon.
Glue your greetings inside your card, and now you are done.
If You Want Some Tips About Taking a Family Photo
This Video is Super Helpful
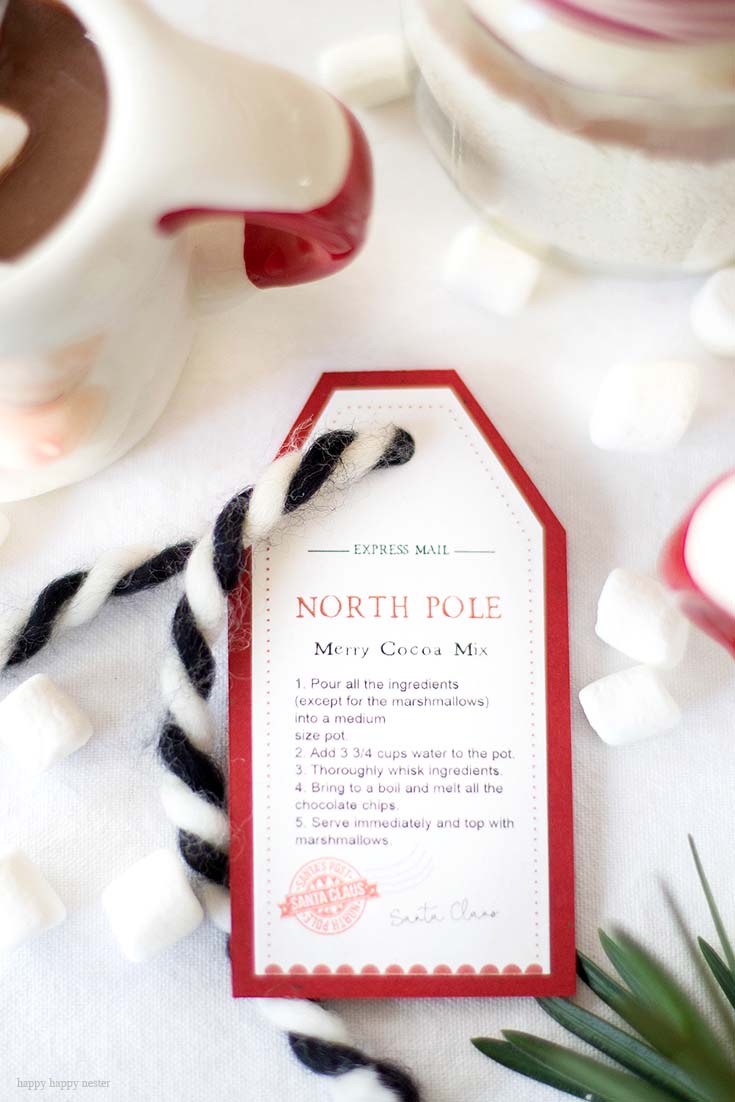
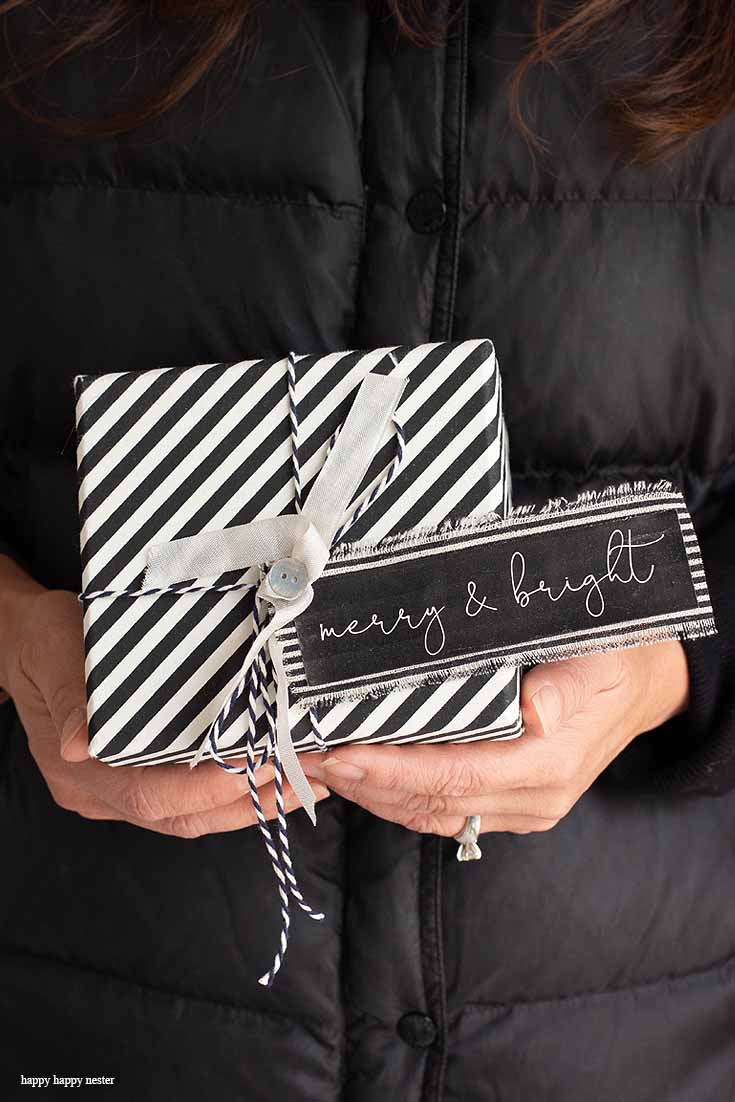
Here Are A Few Other Projects You Might Like
[one-half-first]
[/one-half-first]
[one-half]
[/one-half]
So, this year I did order our holiday cards from one of those major companies, and I seriously think that next year I’ll try and make my own homemade Christmas card. This card I made when the kids were young and I so love how personal it turned out. Hope this inspired you today.
So, get crafty and enjoy your holidays!
Cheers,
- My Favorite Cakes - July 5, 2025
- Outdoor Tables and Chairs - July 2, 2025
- My Favorite Floral Desserts - June 28, 2025


Leave a Reply