These Pinecone Brownies are the cutest holiday treat going viral on social media—and it’s super easy to make! While they might look fancy, they’re actually simple to make. You can even use a boxed brownie mix if you’re short on time, though I used my favorite homemade recipe. These cute pinecone-shaped brownies are perfect for sharing at holiday get-togethers and make a fun project to do with friends or kids.
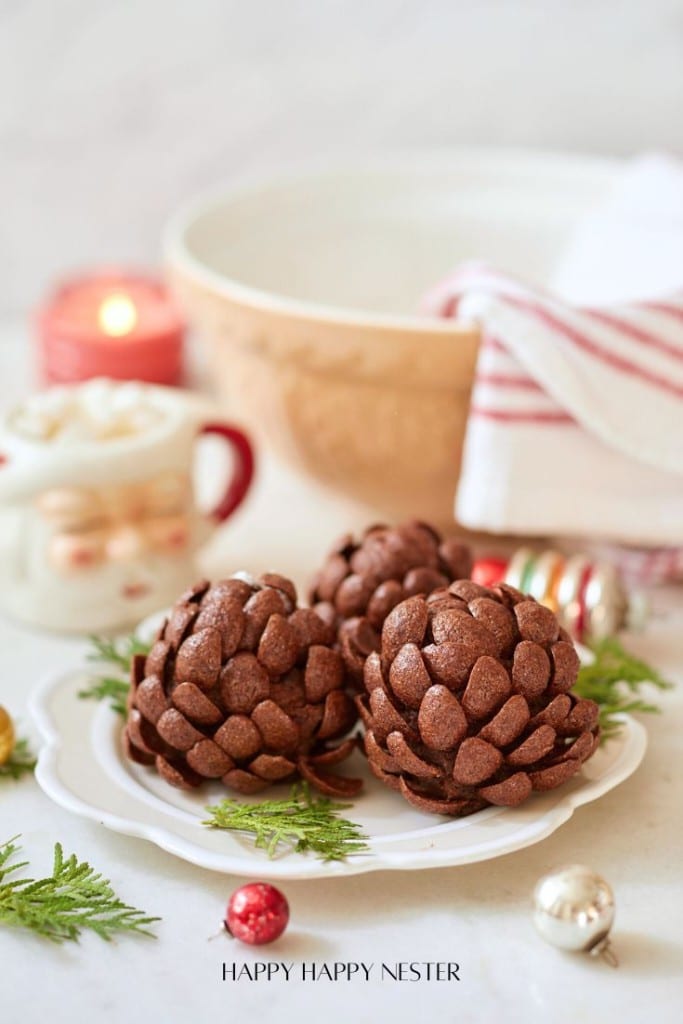
I put my twist on the viral pinecones by using chocolate cereal instead of almond slices. Since the cereal already looks a lot like a pinecone, I skipped dipping them in chocolate, making the whole dessert easier and less fussy.
This is an adorable and easy fall dessert! To make sure your pinecone brownies turn out perfectly, there are a few key tips to keep in mind. Be sure to check them out below before getting started!
Why These Brownies Are a Must-Make for the Holidays
These pinecone brownies are truly unique. Their intricate, pinecone-like appearance offers a fun twist on traditional brownies. Using ingredients like sliced almonds or cereal to mimic the pinecone texture sets them apart from standard desserts.
Not only are these winter-themed treats gorgeous for holiday displays, but they also make for a great hands-on activity. Getting kids involved in shaping the cones and decorating with chocolate or powdered sugar adds to the holiday fun, making the process just as enjoyable as the final result.
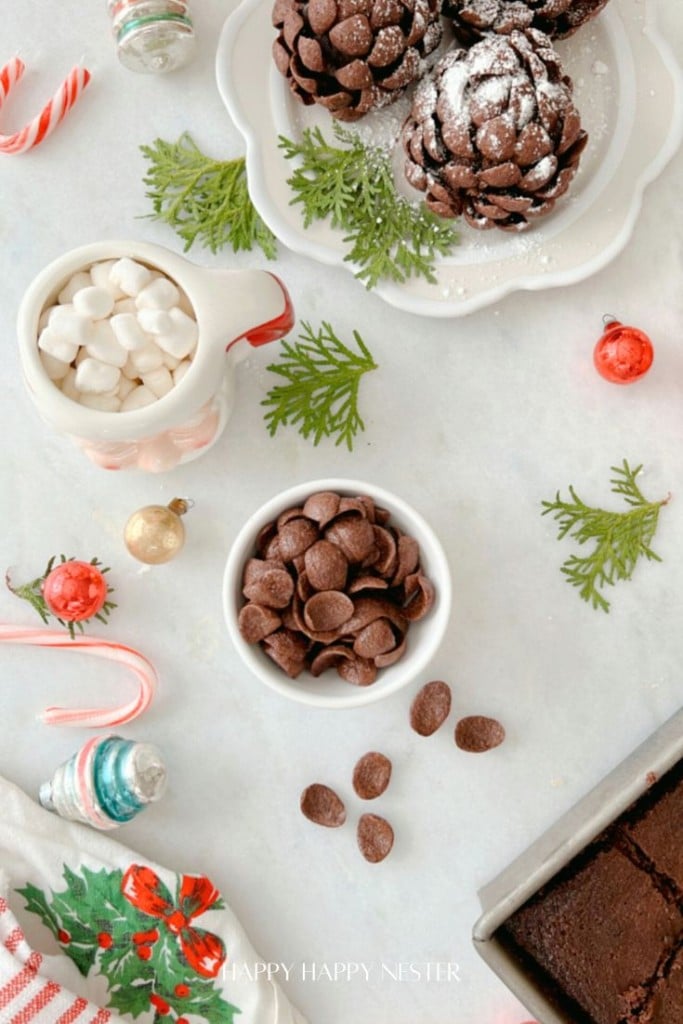
Must-Have Ingredients for This Adorable Holiday Dessert
I’m using my mother-in-law’s Brownie Recipe for these cute pinecone brownies!
- Butter
Butter lifts baked goods, so in addition to the baking powder, the butter is helping these brownies to rise. It also adds richness and tenderness to these brownies.
- Sugar
Besides the sweetness, sugar brings softness and moistness to the brownies. The walnuts get carmelized in these brownies, which is gooey goodness.
- Eggs
Eggs provide structure, stability, and moisture to a recipe. These brownies have four eggs, which accounts for a lot of the richness and moisture in them!
- Salt
Salt in a recipe is a preservative and adds texture, and enhances flavor and color.
- Baking Powder
Baking powder reacts with the liquids in this recipe and acts as a rising agent in these brownies.
- Flour
Flour provides the structure of the brownie. This recipe uses the smallest amount so that the brownie is super moist.
- Vanilla
Vanilla extract enhances other flavors in a recipe!
- Chocolate Syrup
Instead of cocoa, this recipe uses rich chocolate syrup.
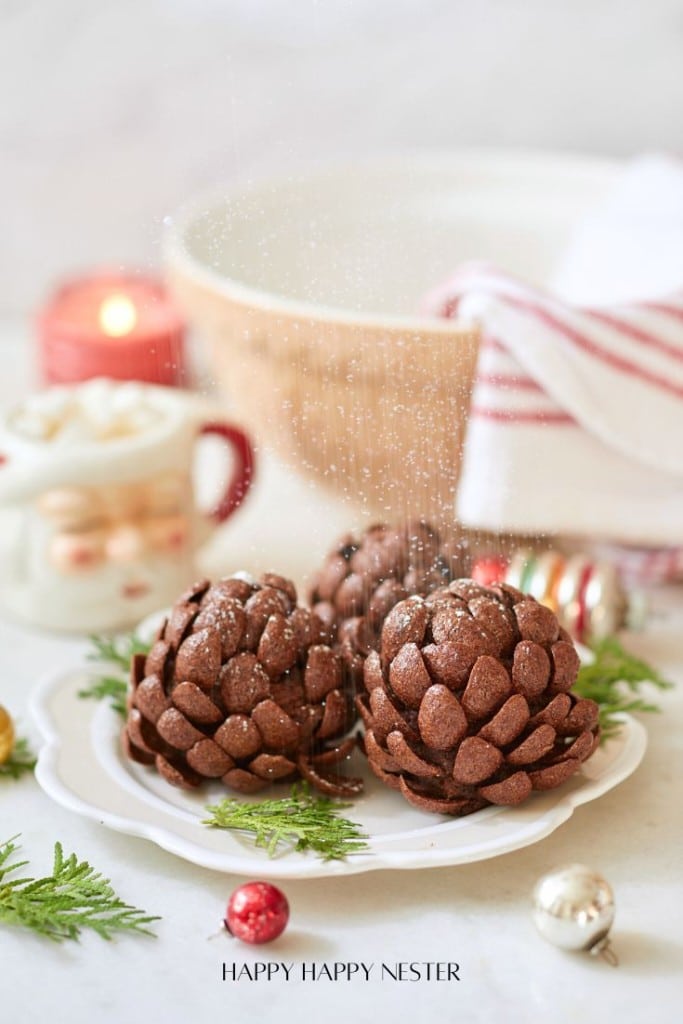
This cereal imitates the scales of a pinecone quite realistically!
- Powdered Sugar
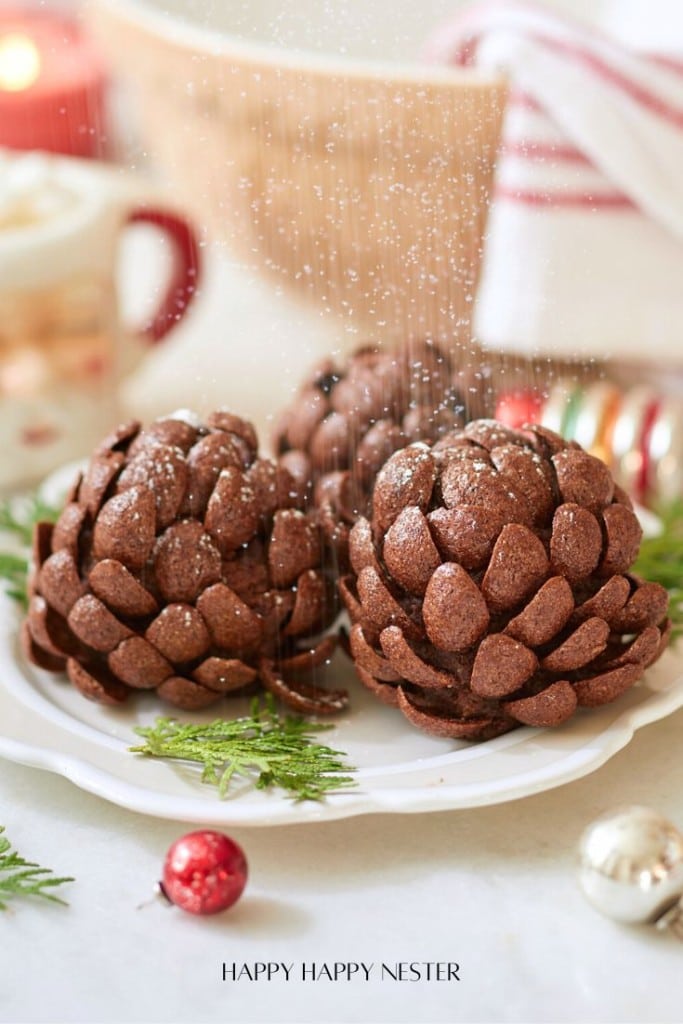
Sprinkling a small amount of powdered sugar creates the look of snow on the pinecones.
Step-by-Step Guide to Crafting Viral Pinecone-Shaped Brownies
Make Brownies
Step 1 – Prep Pan
Coat your square 8″x 8″ pan with shortening.
Step 2 – Preheat Oven
Preheat oven to 350.
Step 3 – Cream Butter and Sugar
Cream butter and sugar; add eggs and blend well.
Step 4 – Add Dry Ingredients
Add dry ingredients until well mixed.
Step 5 – Add Vanilla and Chocolate Syrup
Add vanilla and chocolate syrup and mix until well blended.
Step 6 Pour Brownie Batter in Pan
Pour brownie batter into a greased pan.
Step 7 – Bake Brownies
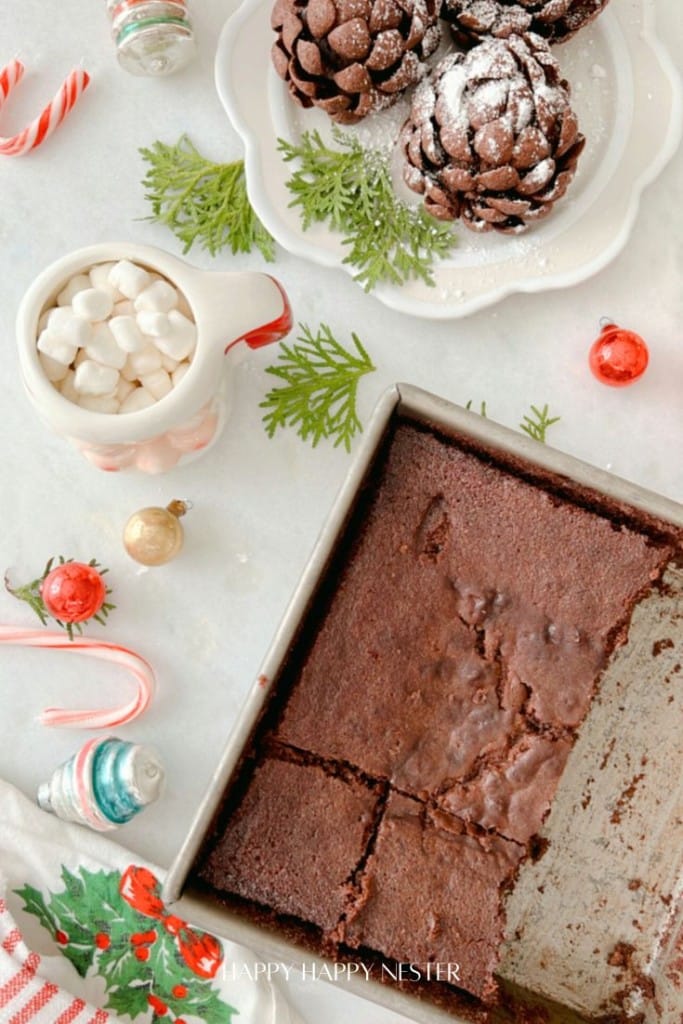
Bake brownies for 45-50 minutes. Observe brownies, so you don’t overbake them. Remove from oven and cool brownies before shaping into pinecones.
Shaping Pinecones
Step 1 – Cut Brownies Into Squares
Once your brownies have cooled, cut them into even squares, about 2 inches each, to prepare for shaping. I was able to cut it into nine squares.
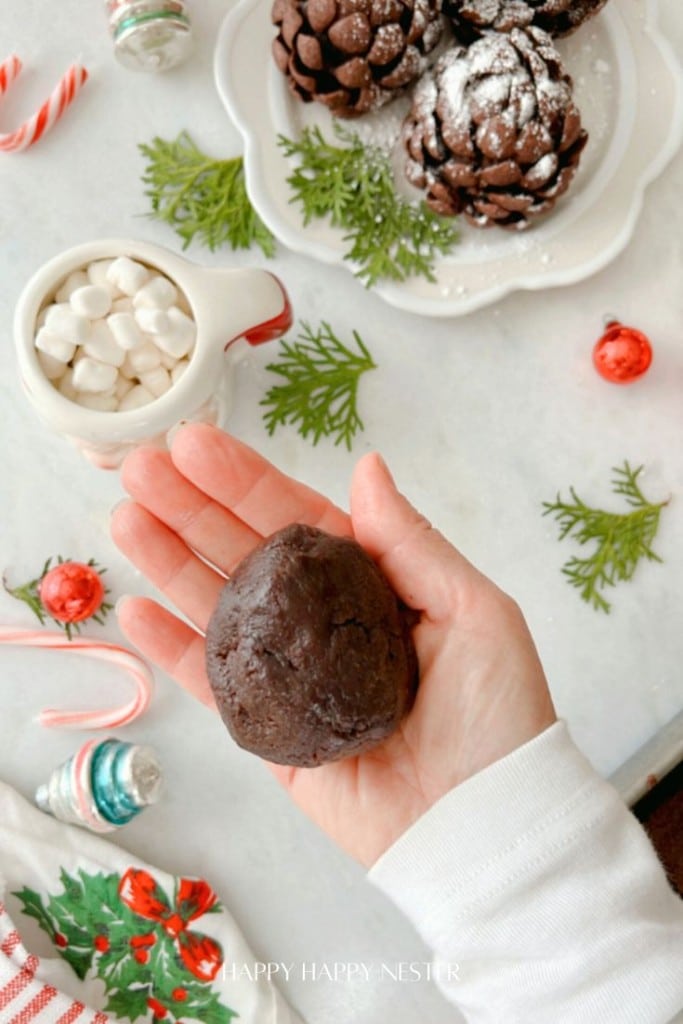
Step 2 – Shape Into Cones
Take each brownie square and gently roll one end to form a cone shape, keeping the bottom flat so it can stand upright.
Step 3 – Start Inserting Chocolate Cereal
Begin at the top of the cone and carefully insert pieces of chocolate cereal (or your chosen substitute) in a circular pattern. Work your way down, pressing them gently to create the look of pinecone scales.
Step 4 – Continue Layering
Continue inserting cereal down the cone, making sure each piece overlaps slightly to mimic the natural look of a pinecone.
Step 5 – Chill and Set
Once finished, place the shaped cones in the refrigerator for 10-15 minutes to help them firm up before serving.
Pinecone Brownies
Ingredients
Brownies
- 1 cup unsalted butter room temperature
- 1 cup granulated sugar
- 4 eggs
- ½ tsp salt
- ½ tsp baking powder
- 1 cup flour
- 1 tsp vanilla extract
- 16 ounces chocolate syrup
- chocolate cereal flakes
Instructions
Brownies
- Preheat oven to 350°
- Grease a 9"x 9" pan.
Brownies
- Cream butter and sugar; add eggs and blend well.
- Add dry ingredients until well mixed.
- Add vanilla and chocolate syrup and mix until well blended.
- Pour brownie batter into greased pan.
- Bake brownies for 45-50 minutes. Observe brownies, so you don't overbake them.
Shaping Pinecones
- Once your brownies have cooled, cut them into even squares, about 2 inches each, to prepare for shaping. I was able to cut it into nine squares.
- Take each brownie square and gently roll one end to form a cone shape, keeping the bottom flat so it can stand upright.
- Begin at the top of the cone and carefully insert pieces of chocolate cereal (or your chosen substitute) in a circular pattern. Work your way down, pressing them gently to create the look of pinecone scales.
- Continue inserting cereal all the way down the cone, making sure each piece overlaps slightly to mimic the natural look of a pinecone.
- Once finished, place the shaped cones in the refrigerator for about 10-15 minutes to help them firm up before serving.
Nutrition
A Few Important Baking Notes
How to Avoid Dry Brownies
I must admit that I tried making the brownies, and mine came out a bit dry. I used a Ghirardelli sauce and tried to squeeze out all the syrup, and I probably was a bit short on the 16 ounces needed.
I suggest you buy a big syrup container since I don’t think you can squeeze all you need in a 16-ounce bottle.
Also, my butter wasn’t quite at room temperature. And because it was a bit chilled and clumpy, I mixed the batter longer, which may have contributed to its dryness.
Next, I overbaked a batch, so make sure to watch the brownies while they are baking. Towards the end of the baking, I checked them every five minutes!
Use Room Temperature Butter
Uh, I was in a hurry, and my butter was almost at room temperature. But, as I said, I over-mixed the batter to mix the clumpy butter. Unfortunately, Overmixing the batter made them too dry!
Pan Size is Important
The size of your baking pan is key to getting the perfect brownies, as it affects their texture and how evenly they bake. Use an 8″x8″ square pan for perfectly moist and tender brownies. If you opt for a larger pan, the batter spreads too thin, resulting in a tougher, crispier texture that lacks the desired fudginess.
Frequently Asked Questions About Making Festive Pinecone Brownies
Yes, you can prepare the brownies and store them in an airtight container at room temperature for a few days. For longer storage, freezing them works well.
Undercooking the brownies slightly can help make them soft enough to shape into cones. Just ensure they aren’t too gooey unless you follow an egg-free recipe for safety.
Pinecone brownies freeze beautifully when wrapped tightly for freshness. You can store them in the freezer for up to three months. Before serving, thaw the brownies in the fridge overnight and give them a quick refresh with a dusting of powdered sugar to restore their festive look.
The original viral pinecone brownie recipe uses sliced almonds coated in chocolate for the pinecone texture. If you prefer that method, it works perfectly and adds a lovely crunch to the dessert.
I found it on Amazon, and here’s the link. I love using it because I like the look, and it eliminates the whole dipping in the chocolate step.
Thanks so much for stopping by to check out my pinecone brownies recipe! I’m so excited to share this adorable, festive treat with you. It’s not just delicious but also a fun, creative dessert perfect for the holidays.
Whether you’re baking for a family gathering, a holiday party, or just a cozy night in, these brownies will impress! They look fancy, but don’t worry—they’re super easy to make. You can even get the kids to shape and decorate the cones, adding extra fun to the process.
Let’s make something cute and tasty together for the holidays!
Cheers, and Happy Baking!

Photo Credits: MyPhotography.com
PS: If you love chocolate recipes, then make sure to make this Double Chocolate Banana Bread Recipe

- Chocolate Covered Quinoa Recipe - February 5, 2026
- Valentine’s Day Gifts from Amazon - February 4, 2026
- My Favorite Cleaning Items from Amazon - January 28, 2026



Leave a Reply