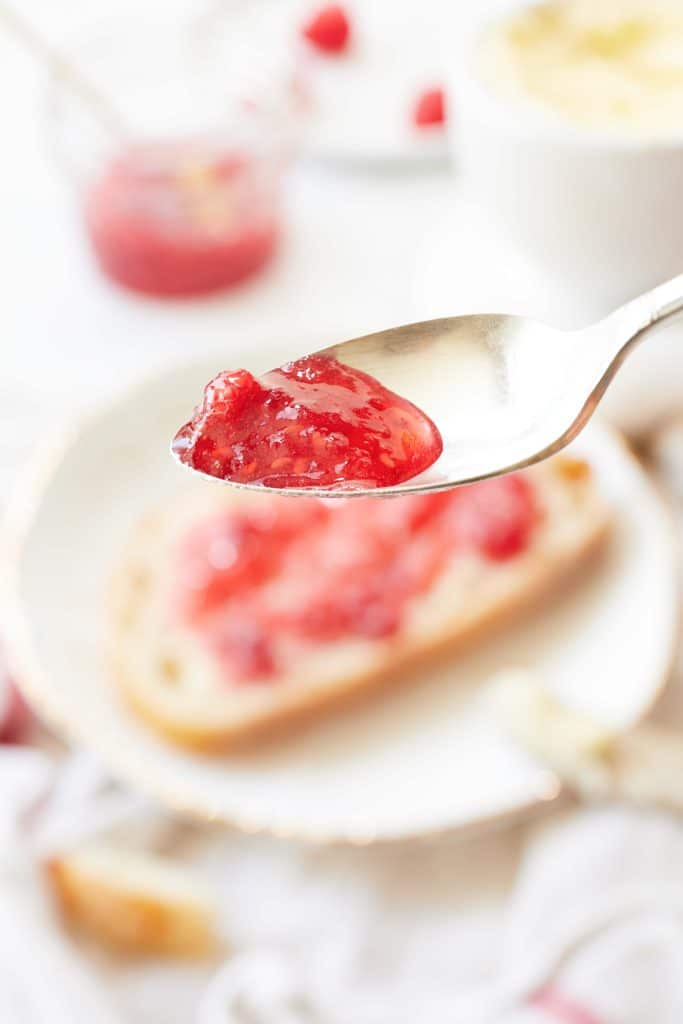
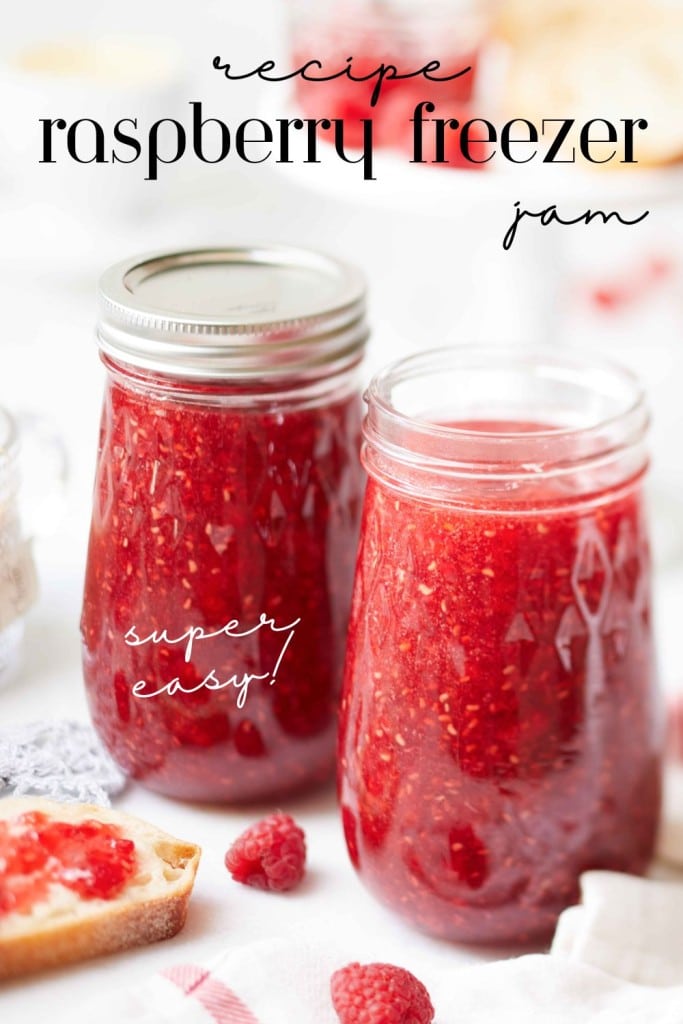
Raspberry freezer jam is a delightful and easy-to-make treat that captures the fresh, sweet taste of raspberries in a jar. This Recipe for Raspberry Freezer Jam is a fantastic way to preserve the summer flavors throughout the year. Plus, there is nothing as yummy as homemade jam.
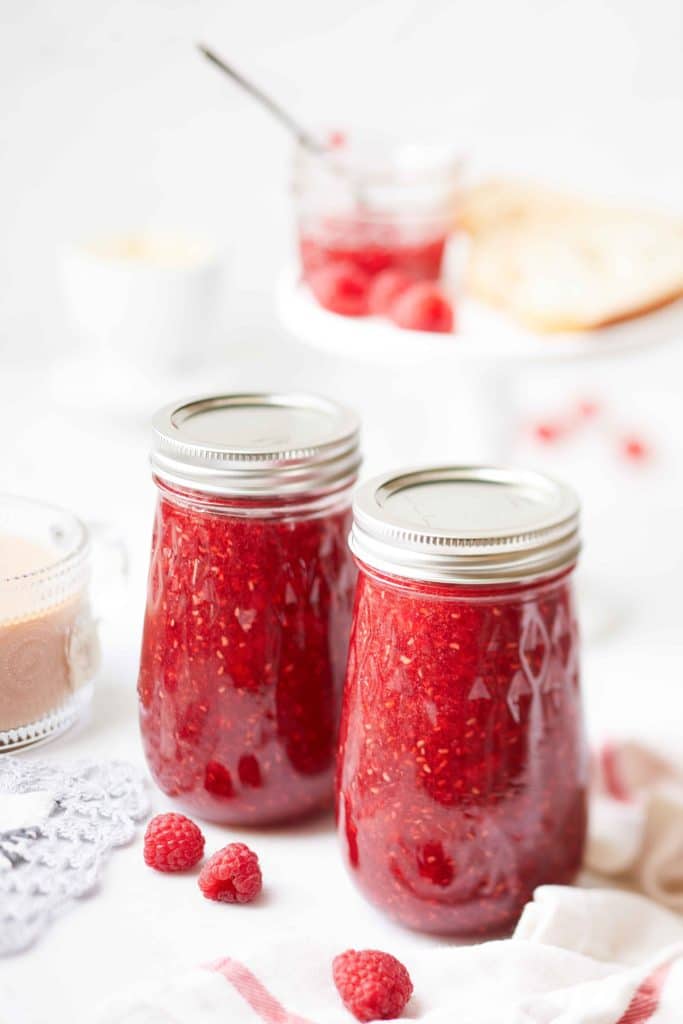
If you have an abundance of fresh summer fruit, don’t miss the opportunity to whip up some delightful freezer raspberry jam. This recipe calls for Sure-Jell pectin, making the process simple.
Growing up surrounded by my mom’s obsession with making homemade jam from every available fruit, we spent summers together in the kitchen crafting tons of strawberry, blueberry, blackberry, and orange marmalade jam.
Freezer jam offers a convenient alternative that doesn’t require the whole day working over a hot stove.
I hope you’ll find a moment to give freezer jam a try. I’m sure you’ll love this fresh-tasting style of homemade jam.
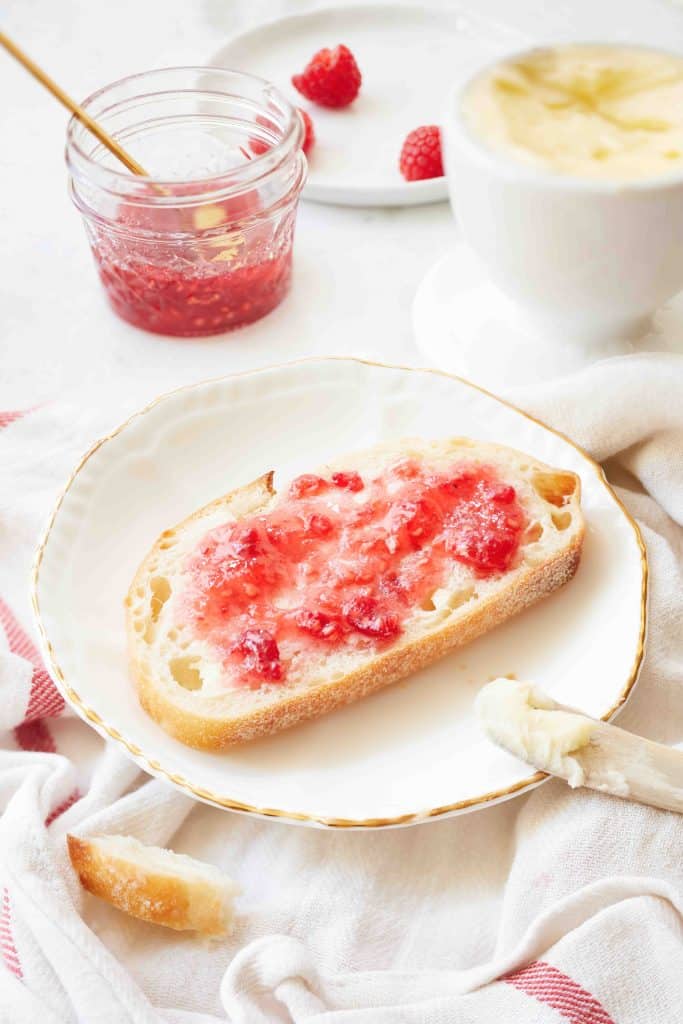
Why You’re Going to Love Homemade Jam
- Not cooking the raspberries in freezer jam preserves their natural fresh flavors, resulting in a delicious taste.
- The convenience of raspberry freezer jam requires very little cooking.
- Raspberry freezer jam’s ability to retain the nutritional benefits of fresh berries.
- Raspberry freezer jam only takes a few minutes to make.
- With storage in the freezer, there’s no need to seal the jam.
- It’s a great way to use up your excess fruit.
How to Make Raspberry Freezer Jam
You’ll be amazed by the simplicity of this raspberry freezer jam recipe, as it involves minimal cooking and mainly revolves around mixing and filling jars with fresh homemade jam.
Ingredients You’ll Need:
- Raspberries: Fresh raspberries give the jam vibrant color and a juicy, naturally sweet flavor.
- Sugar: Sugar is the perfect sweetener, enhancing the raspberry’s natural taste and preserving the jam.
- Water: Water is added to help create the right consistency, ensuring the jam spreads smoothly and effortlessly.
- Fruit Pectin: Sure Jell fruit pectin is the thickening agent, enabling the jam to set properly without requiring lengthy cooking.
You can find all the jamming supplies over at my store. Here’s the Link.
Freezer Jam Instructions
Step 1 – Clean Jars and Lids
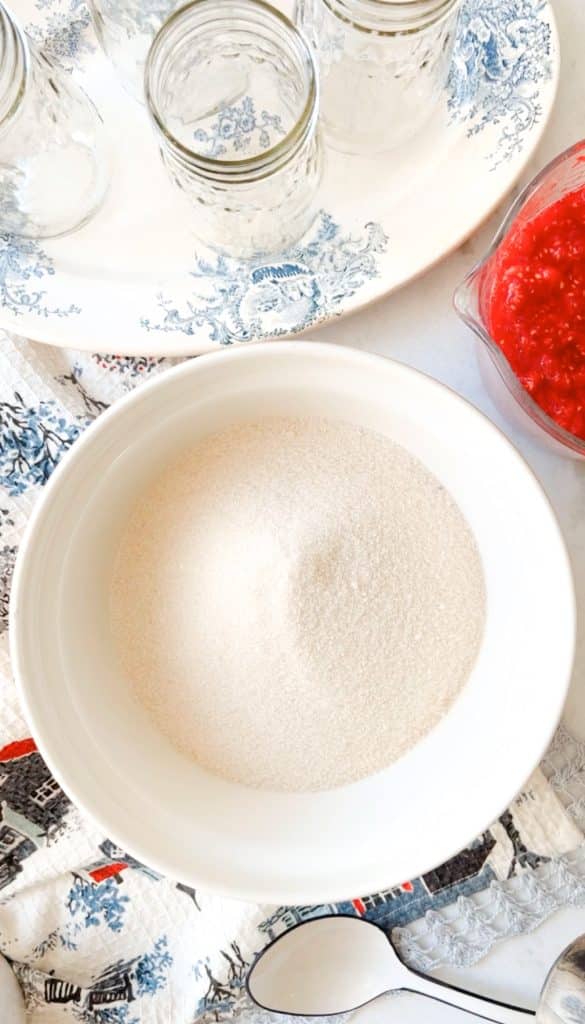
Clean jars and lids in warm soapy water. Rinse and then pour boiling water over the jars and lids. Dry thoroughly and set aside for later use.
Step 2 – Prepare the Raspberries
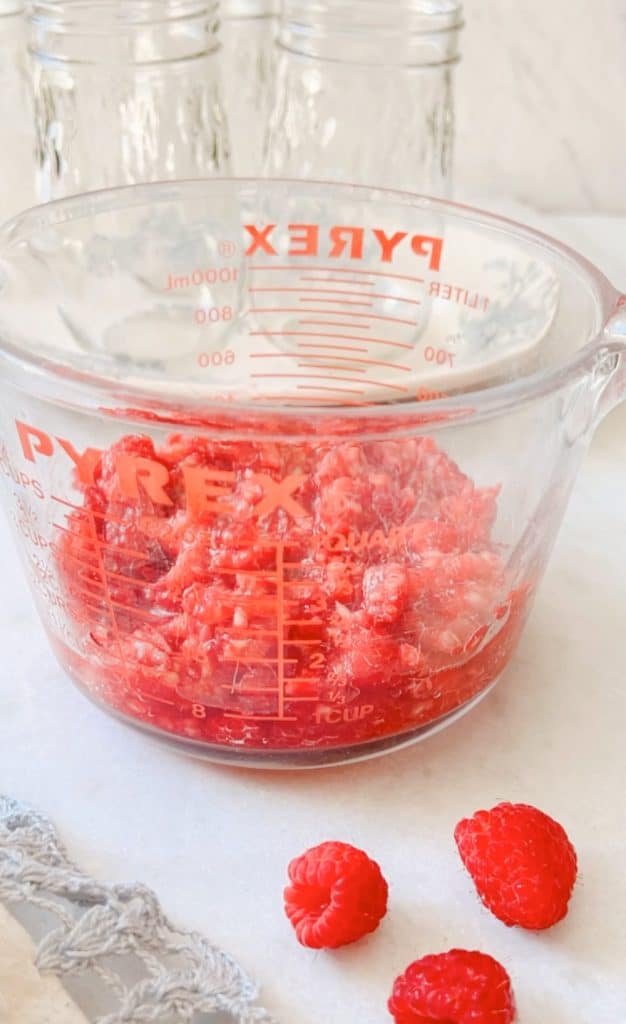
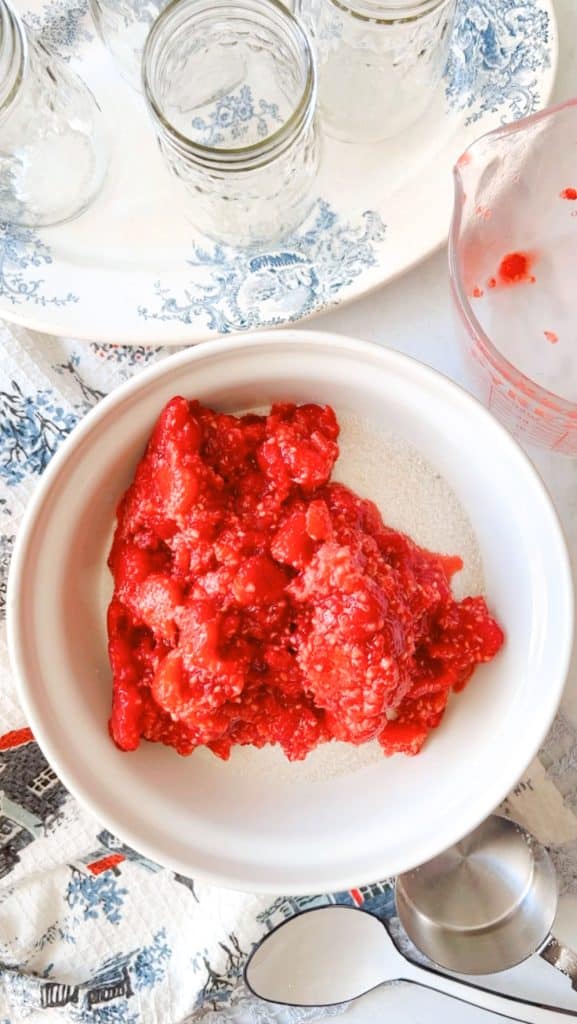
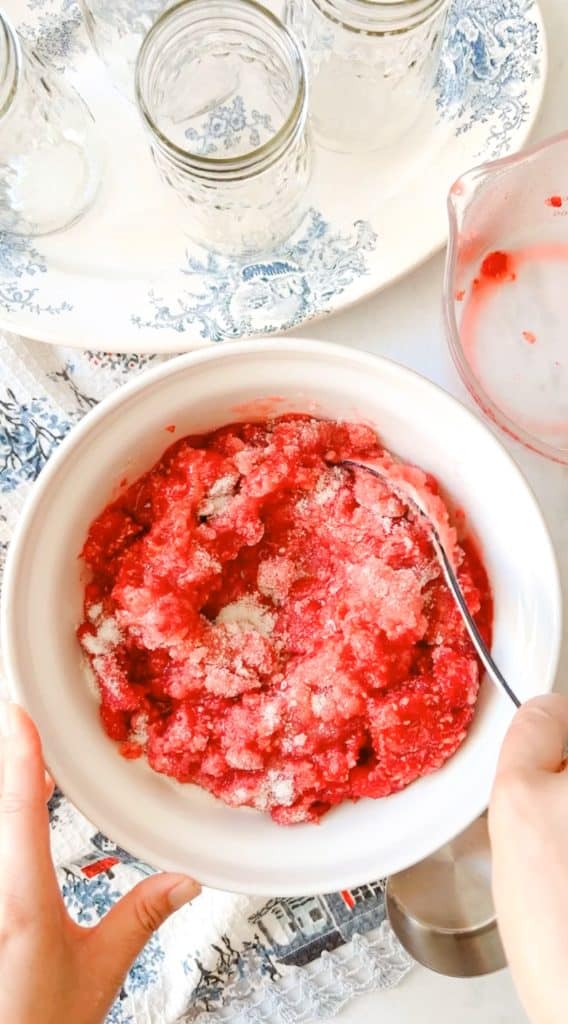
Wash, and rinse berries and dry berries. Crush the raspberries thoroughly and measure out 3 cups. Stir in sugar to the berries and let stand for 10 minutes, stirring occasionally.
Step 3 – Prepare Pectin
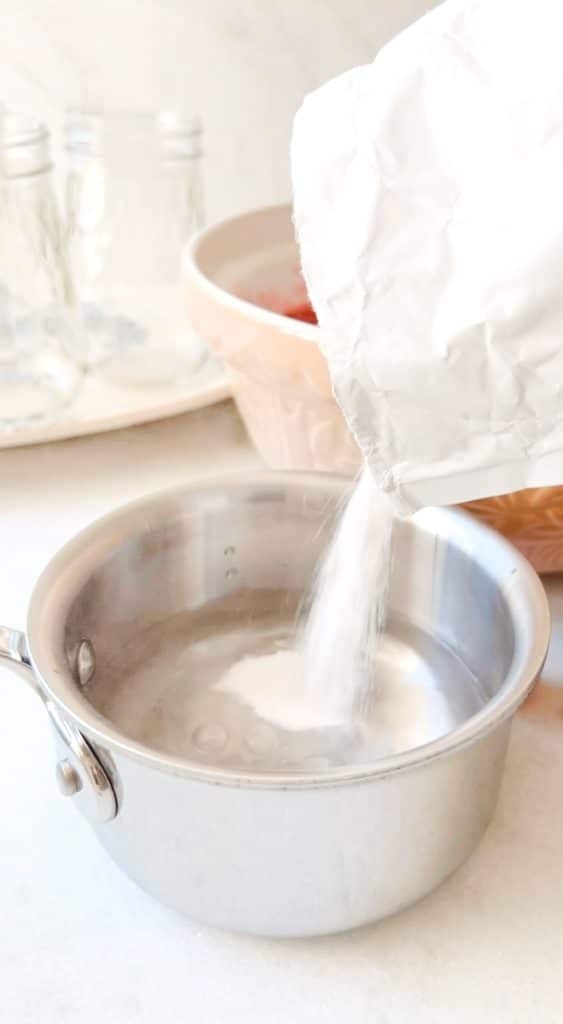
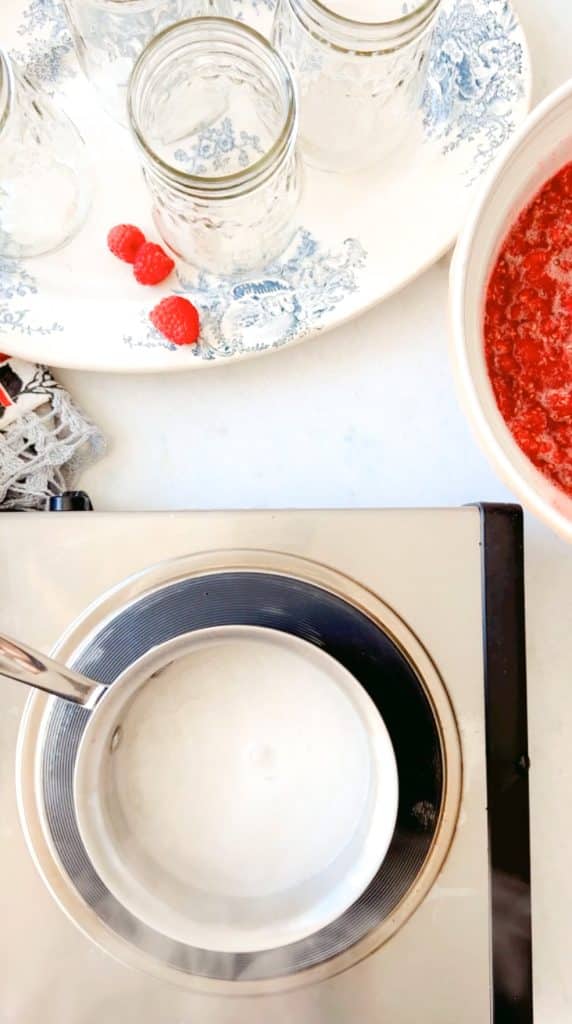
Mix water and pectin in a small saucepan. Bring to a boil on high heat, stirring constantly. Continue stirring for one minute.
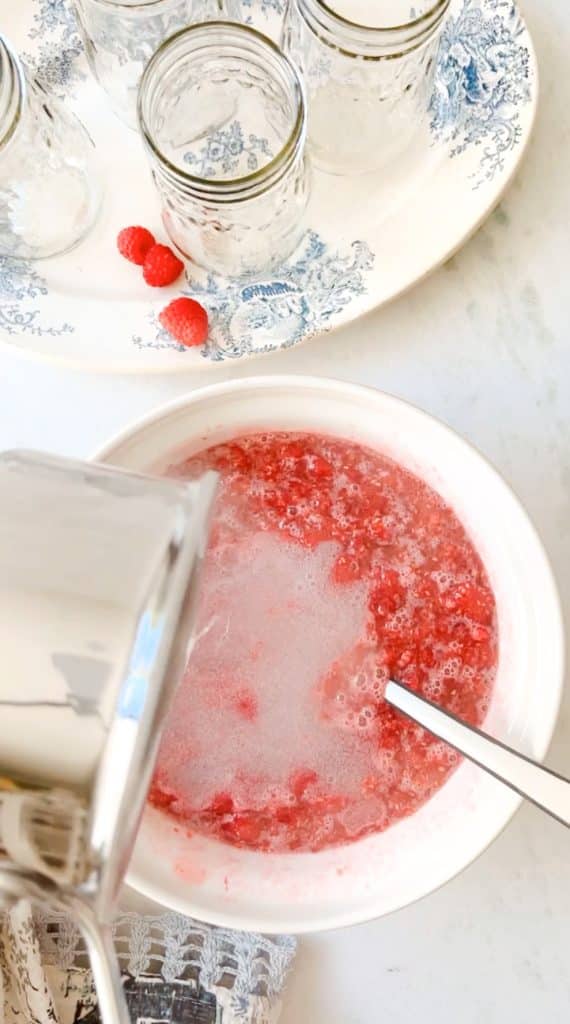
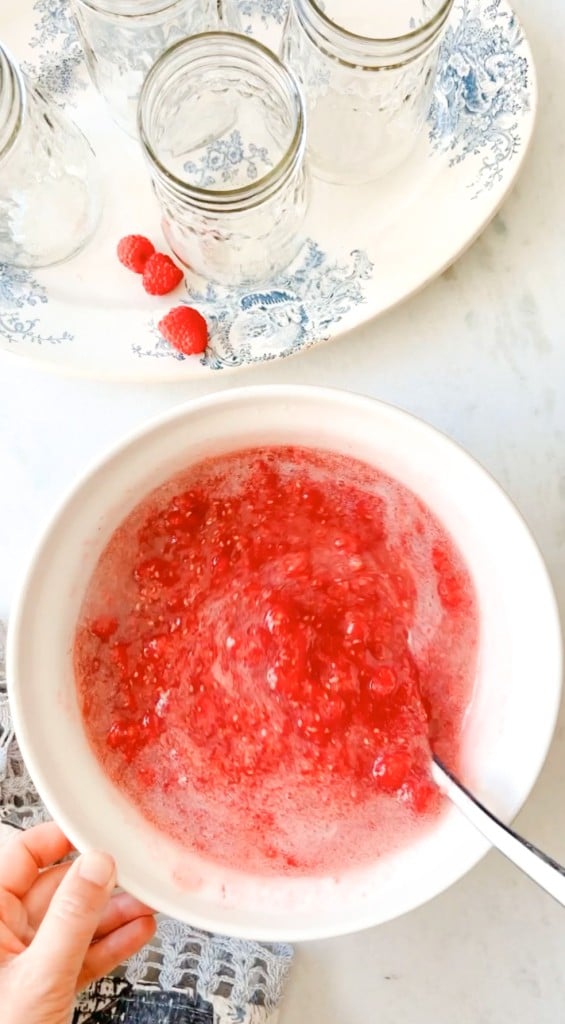
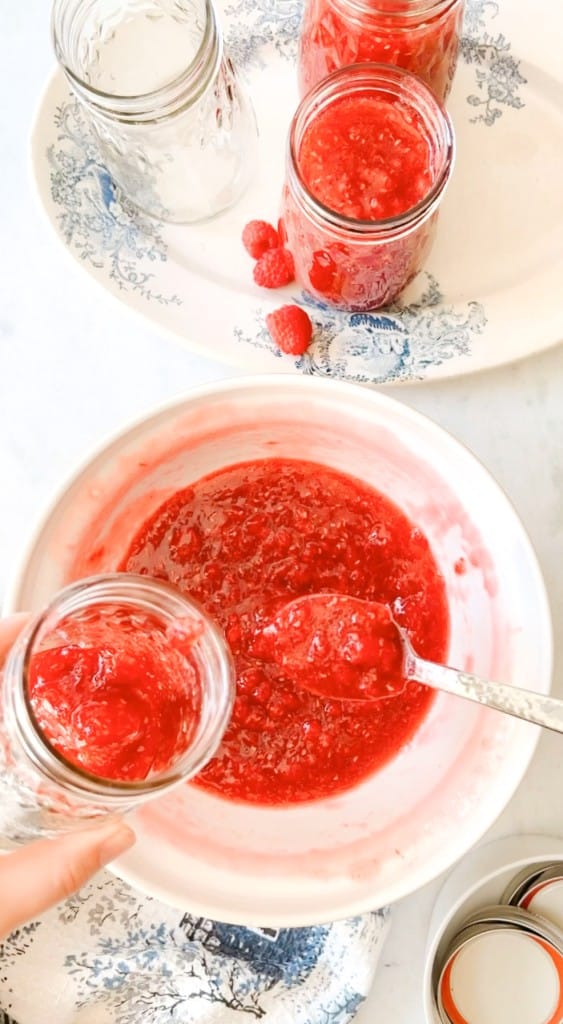
Step 4 – Make Jam
Stir the pectin into the fruit and sugar mixture. And stir for about 3 minutes. Fill clean, prepared jars with jam. Fill containers to within 1/2 inch of tops. Wipe off the top edges of the containers and cover them with your clean lids.
Step 5 – Let Jam Stand
Let jam stand at room temperature for 24 hours. After a day, store it in the fridge or freezer.
Recipe for Raspberry Freezer Jam
Ingredients
- 3 cups fresh raspberries about 6 cups of fresh raspberries mashed
- 5¼ cups granulated sugar
- ¾ cup water
- 1 box Sure-Gel Fruit Pectin
Instructions
Step 1 – Clean Jars and Lids
- Clean jars and lids in warm soapy water. Rinse and then pour boiling water over the jars and lids. Dry thoroughly and set aside for later use.
Step 2 – Prepare the Raspberries
- Wash, and rinse berries and dry berries. Crush the raspberries thoroughly and measure out 3 cups. Stir in sugar to the berries and let stand for 10 minutes, stirring occasionally.
Prepare Pectin
- Mix water and pectin in a small saucepan. Bring to a boil on high heat, stirring constantly. Continue stirring for one minute.
Make Jam
- Stir the pectin into the fruit and sugar mixture. And stir for about 3 minutes. Fill clean, prepared jars with jam. Fill containers to within 1/2 inch of tops. Wipe off the top edges of the containers and cover them with your clean lids.
Store Jam
- Let jam stand at room temperature for 24 hours. After a day, store it in the fridge or freezer.
Nutrition
Frequently Asked Questions
Yes, pectin is necessary when making freezer jam as it helps achieve the desired consistency without cooking. Pectin acts as a natural thickener, allowing the jam to set properly and maintain its smooth texture when stored in the freezer. The jam may not achieve the ideal thickness without pectin and become too runny.
Your freezer jam may not have been set due to insufficient amounts of pectin or not following the proper measurements in the recipe. Additionally, if the jam was not mixed thoroughly or if the raspberries used had low pectin content, it could result in a runny consistency.
Frozen berries can be used for freezer jam, and they are a convenient alternative to fresh berries. Ensure to thaw the frozen berries before preparing the jam, following the same recipe and measurements for a delicious result.
To thicken homemade freezer jam, use a natural pectin source like Sure-Jell fruit pectin, which helps the jam set without cooking. Follow the instructions on this post and use the recommended amount of sugar to achieve the desired thickness.
No, you do not need to sterilize the jars for freezer jam since the jam will be stored in the freezer rather than undergoing a canning process. Clean, dry jars are sufficient for freezing the jam and preserving its freshness.
If you like this recipe, check out my other fruit recipes:
Thanks so much for your visit to my recipe for raspberry freezer jam. I hope you have a chance to make it with all the bountiful summer fruit available right now.
Experience the simplicity of this jam recipe, with minimal cooking and prep required, yet capturing the essence of fresh fruit in a jar of homemade goodness.
Cheers!

Photo Credits: MyPhotography.com
If you’re wondering where to find my cool Ball Jamming jars, here is the link!

- My Favorite Cakes - July 5, 2025
- Outdoor Tables and Chairs - July 2, 2025
- My Favorite Floral Desserts - June 28, 2025


Leave a Reply