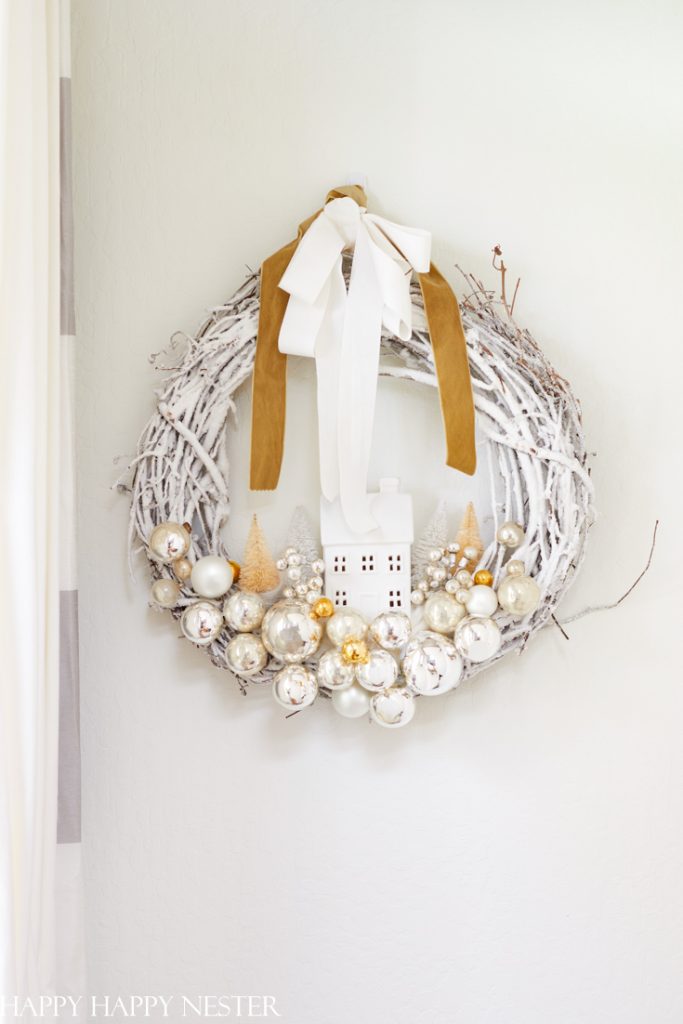
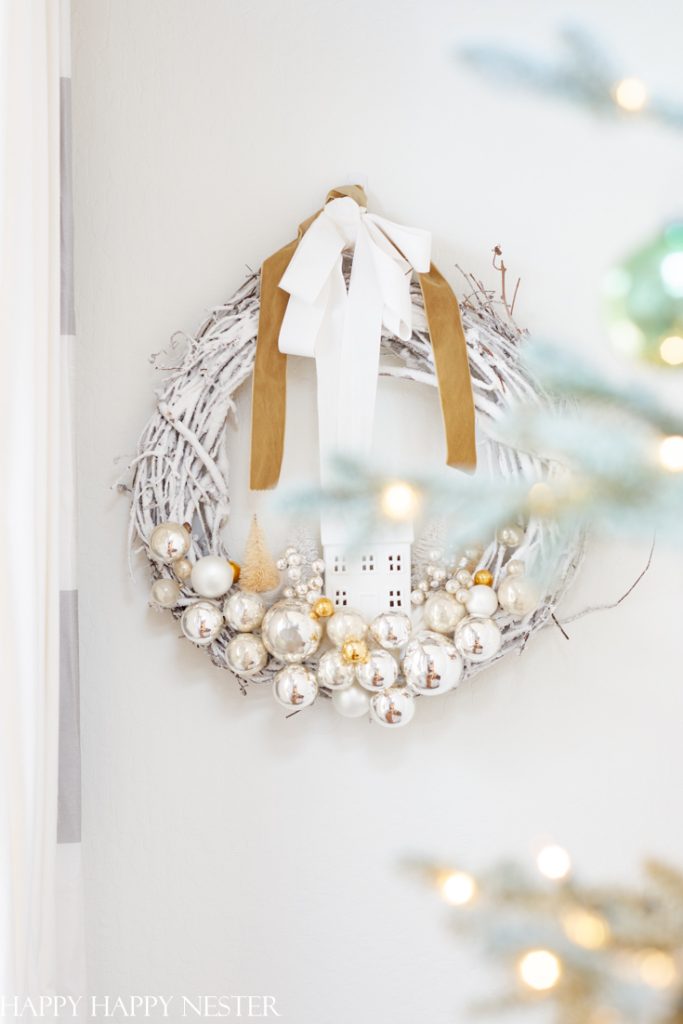
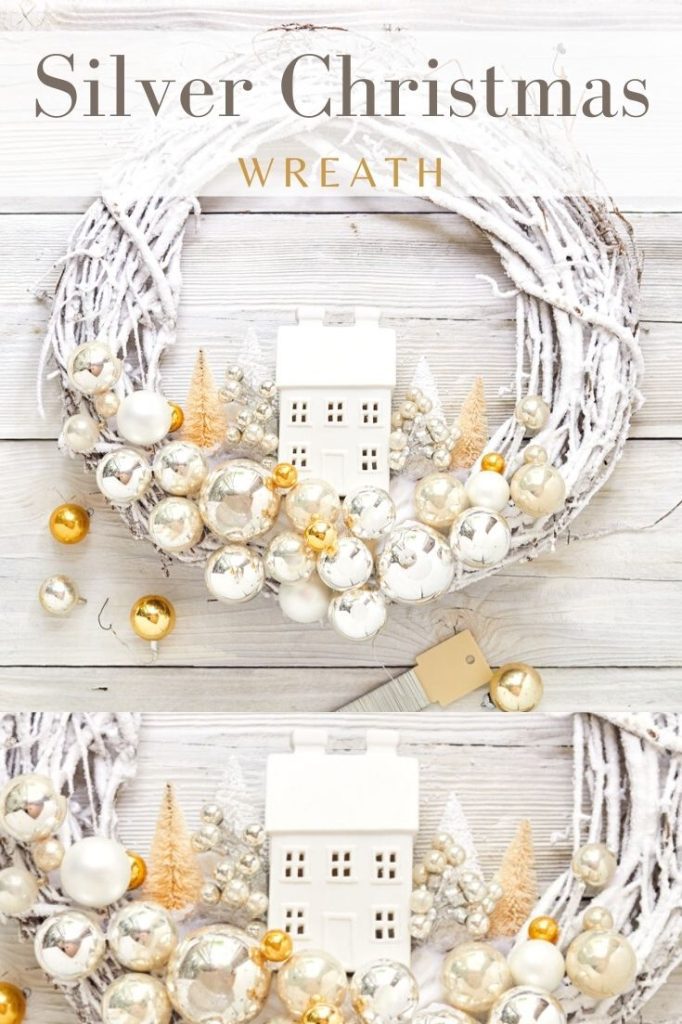
Learn How to Make a Silver Christmas Wreath in this DIY post. You can use vintage ornaments or new ones, whichever you prefer. This silver and gold wreath is the perfect holiday accent for any decorated room. Add some cute bottle brush trees to the house to bring out the retro style.
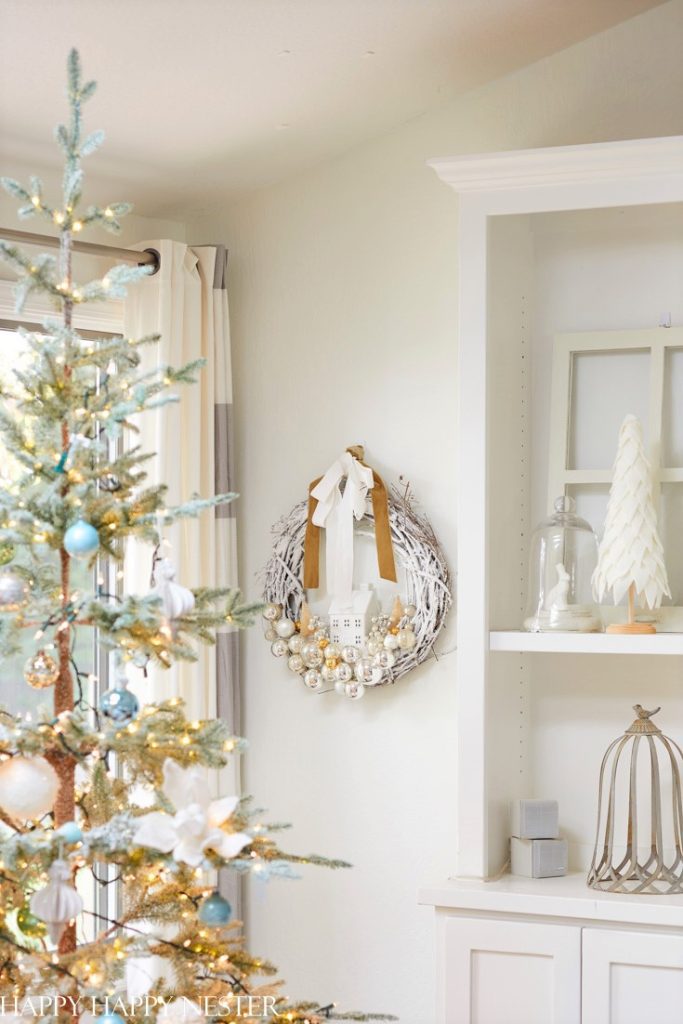
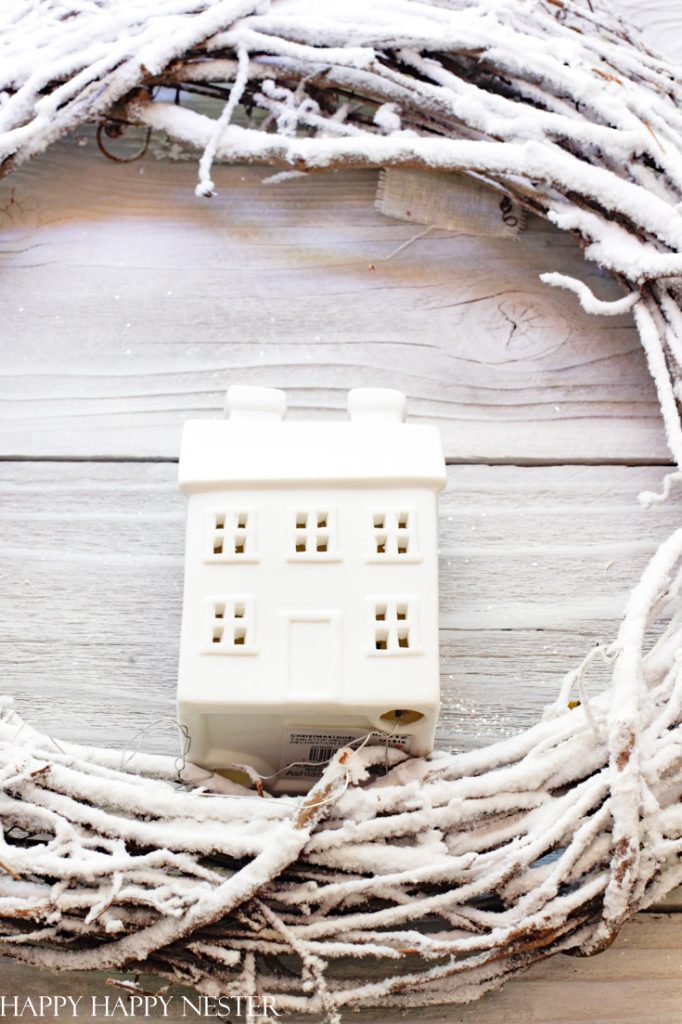
This grapevine wreath is flocked with faux snow which adds to the cute winter scene. Find out all the details on how to make this wreath in this post.
Today’s wreath is part of a Christmas wreath blog hop. My friends are joining me with their fabulous homemade wreaths. You can find their projects down below. So make sure to check them out after reading my tutorial.
Wreaths are an easy way to dress up your home. I always enjoy gathering all my winter wreaths together then deciding which ones go on which walls. And my walls and home are suddenly cozy and festive.
Here are a few of my other winter wreaths:
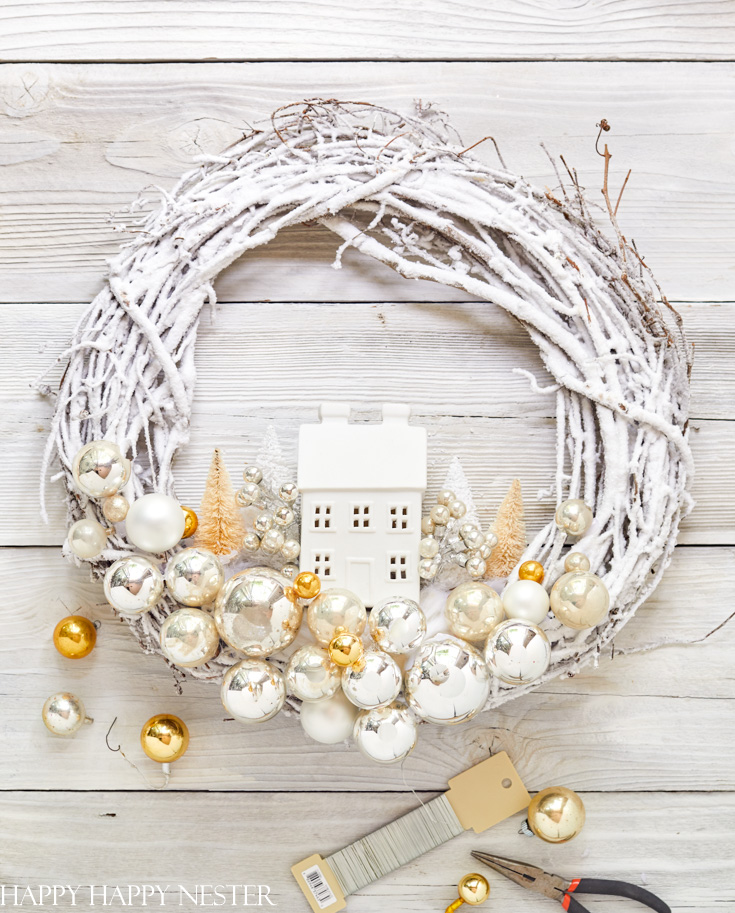
Silver Christmas Wreath DIY
*The following post contains affiliate links
So let’s get busy making my silver and gold Christmas wreath. And like I mentioned earlier, you can use either vintage or new ornaments for this project.
Supplies:
26 – 30 Ornaments (various sizes)
4 Bottle Brush Trees (a mix of white and natural)
Directions:
Step 1 – Glue or Wire House to Wreath
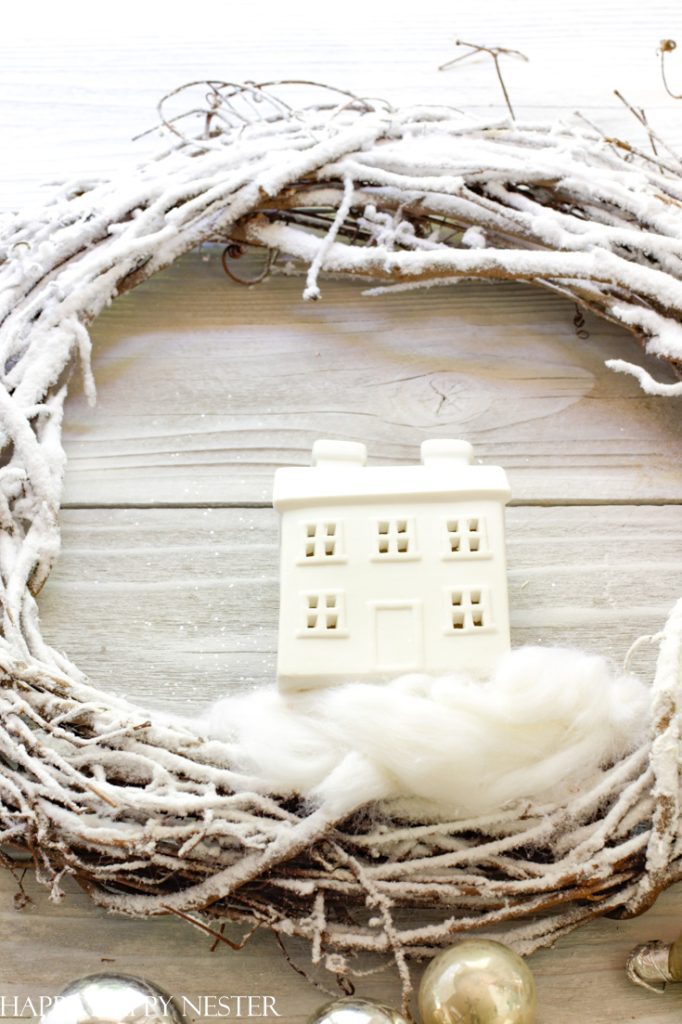
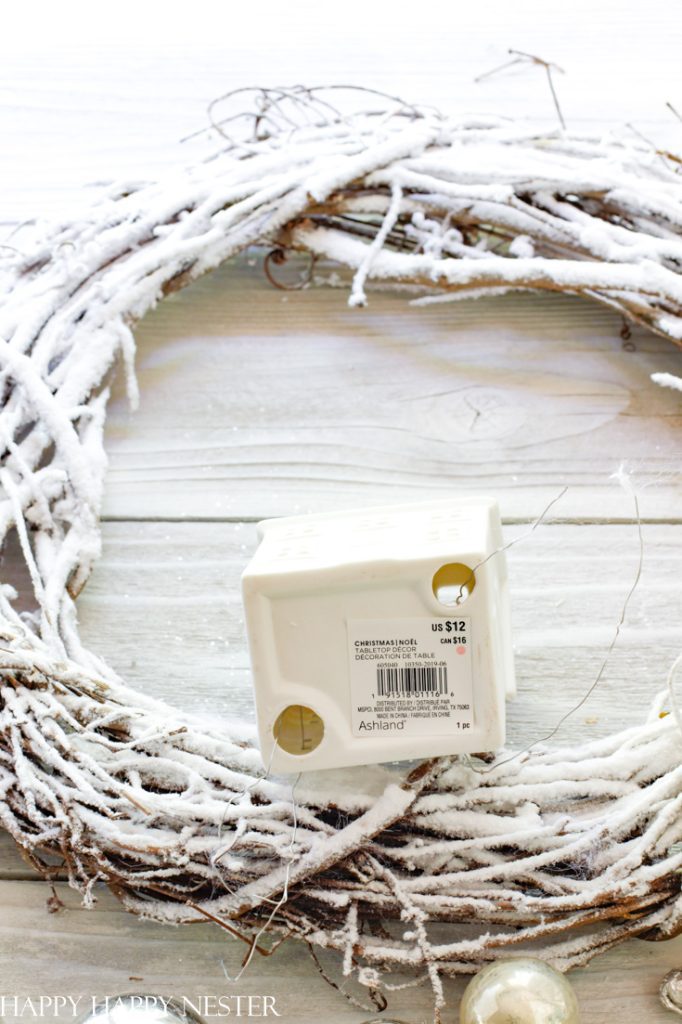
You can glue your house to the wreath or wire it if you prefer. I placed mine on the wreath by threading wires through the holes of the house located on the bottom and weaving it through the back windows. I then twisted attached the wires through the branches of the wreath and secured the house down.
Step 2 – Add Snow
I have some wool yarn around, so I glued it to the wreath. I placed it around the house to create a snowy look. If you don’t have silky wool, you can use cotton balls or nothing at all.
Step 3 – Attach Ornaments
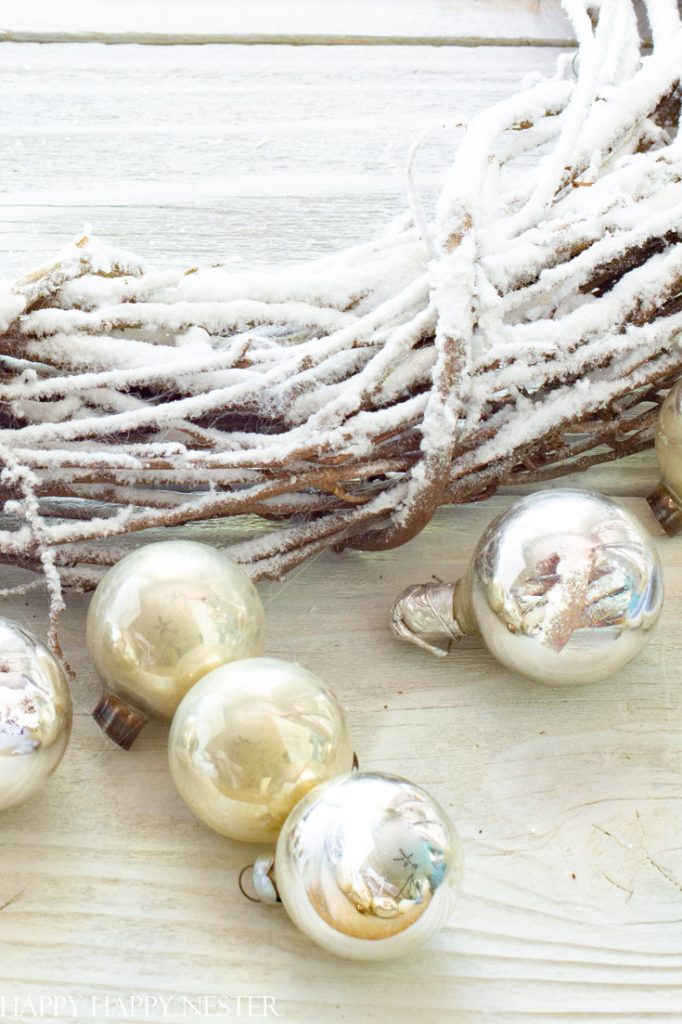
Add ornaments with hot glue. I placed my ornaments in front of the house to create a wall so that the house doesn’t move forward. Also, I have a supply of small gold vintage ornaments that I placed as accent colors. I’m obsessed with small ornaments and so whenever I’m in an antique store I pick some up while shopping. You can also use new ornaments as well.
Step 4 – Attach a Ribbon
This step is optional. I love vintage ornaments as well as beautiful ribbons, so I always add a little bit of them to my wreaths. A velvet ribbon is always welcomed on my projects.
Thanks so much for stopping by for a visit. I hope your holiday home is cozy and beautiful. Let me know if there is any project or recipe you would like to see over here on the blog.
Take care and stay safe!
Cheers,

9 Festive Holiday Wreath DIY Ideas
Silver Christmas Wreath DIY // Happy Happy Nester
How To Make A Simple Foraged Wreath // Most Lovely Things
Beechnut Husk Holiday Wreath // Finding Lovely
Mini Christmas Wreath From Thrifted Sheet Music // The DIY Mommy
Holiday Wreath Hack // My Sweet Savannah
Embroidery Hoop Hanging Ornament Wreath // Tatertots & Jello
DIY Asymmetrical Christmas Wreath // Zevy Joy
Scandinavian Christmas Wreath With Paper Snowflakes // Modern Glam
A Gorgeous Winter Wreath Tutorial // Twelve On Main

- Heart Shaped Brownies Recipe - February 13, 2026
- Framed Artwork from Amazon - February 12, 2026
- Chocolate Covered Quinoa Recipe - February 5, 2026





Sarah @ The DIY Mommy
This is such a cute wreath. I love the silver and gold together.
Debra
Love this wreath as well as the snowy scene you created with white paper garlands in 2020. Please keep your creative ideas coming for easy-to-duplicate decor.