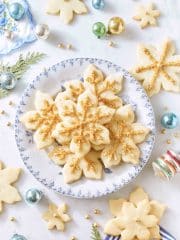
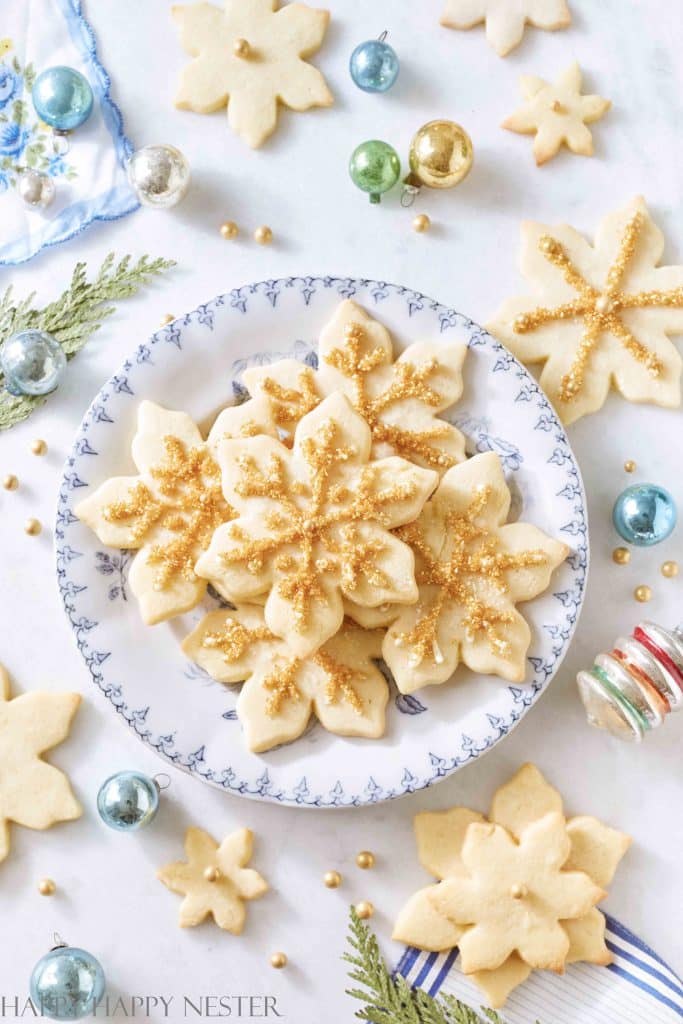
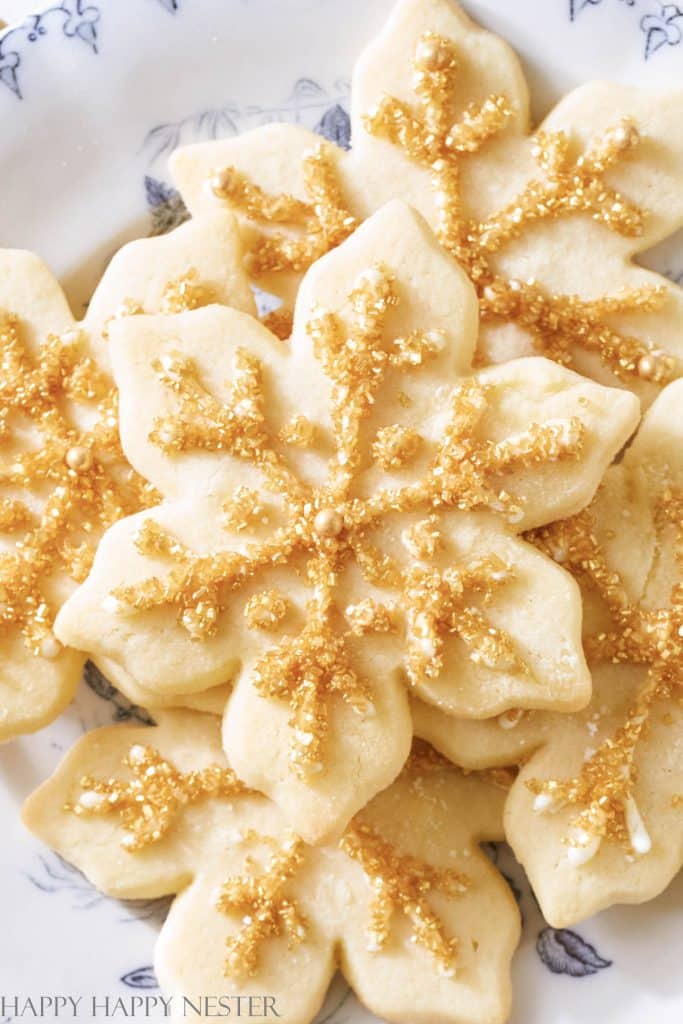
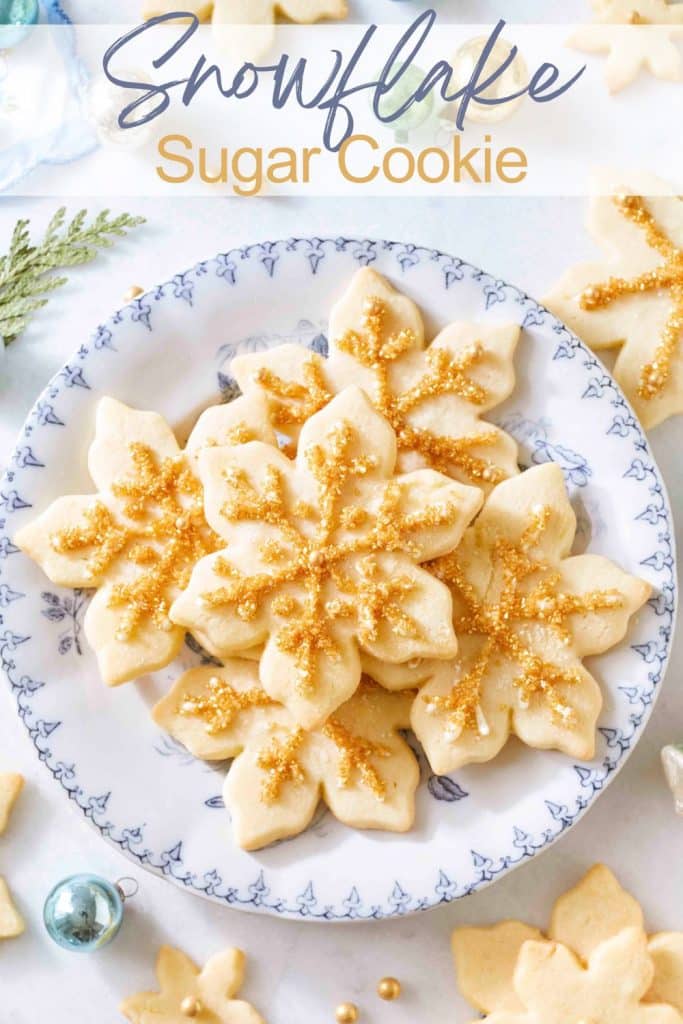
Wow, your friends at your next holiday get-together with our Snowflake Sugar Cookies, each sparkling with gold sprinkles. They’re not just a joy to look at but a delight to eat, too. Bring a little extra sparkle to your celebrations with these magical treats.
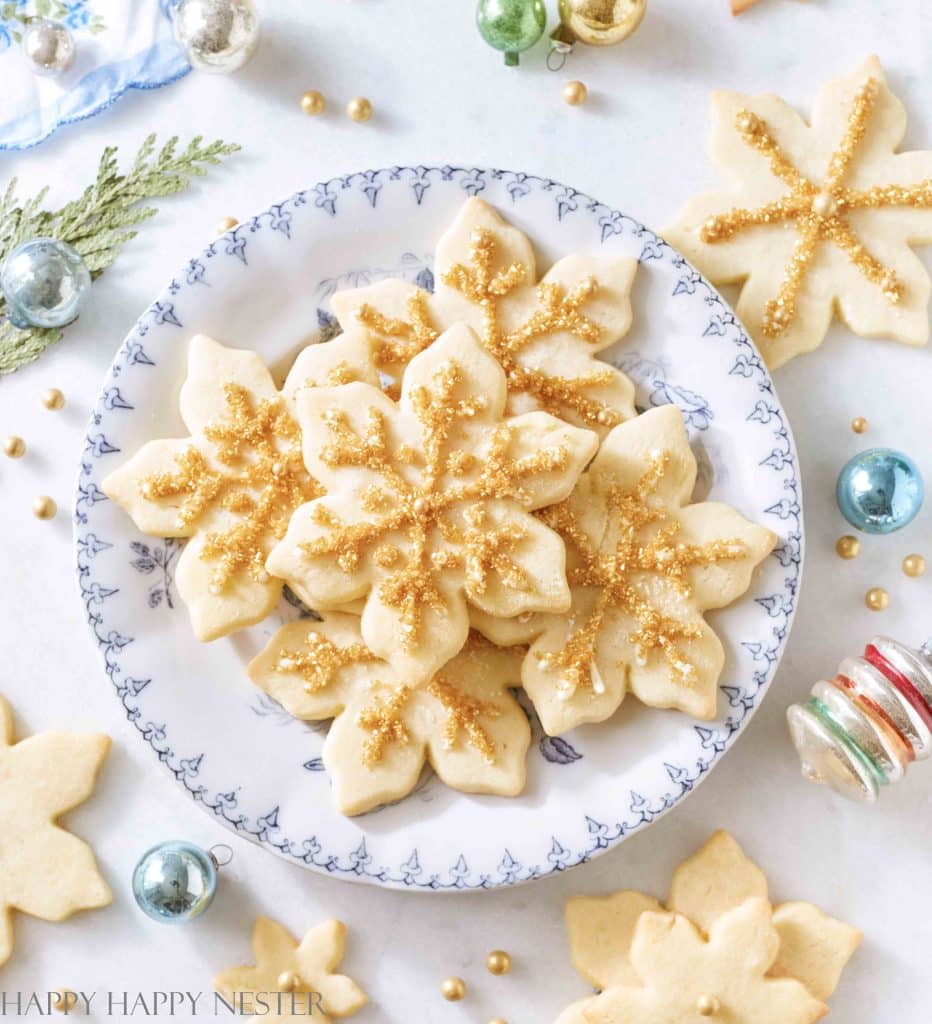
These decorated snowflake sugar cookies with gold sprinkles were on my to-do list, and I finally got around to making them.
I’ve been working on improving my piping skills lately, so why not try these snowflake cookies?
It turns out they were easier than I had expected! Along the way, I picked up some handy piping tips that I’m excited to share.
While I’m here, I also want to give a shout-out to a few other cookie recipes I’ve been enjoying.
TIP ABOUT MAKING THESE SNOWFLAKE SUGAR COOKIES
- Chill the Dough: Always chill your cookie dough before baking to prevent the cookies from spreading too much in the oven.
- Use a Toothpick for Corrections: Keep a toothpick or a sharp pick handy to quickly fix any piping errors on your cookies.
- Thin Consistency Icing: For intricate snowflake designs, ensure your icing is of a thin consistency for smoother piping.
- Use Parchment Paper: Bake your cookies on parchment paper for easy removal and to avoid sticking.
- Practice Piping First: Before decorating your cookies, practice your piping designs on wax paper to get a feel for the motion.
- Add Sprinkles While Wet: If using sprinkles or edible glitter, apply them while the icing is still wet to ensure they stick. I piped a little bit at a time, sprinkled, and then continued pipping.
- Allow Enough Drying Time: After decorating, give your cookies plenty of time to dry to avoid smudging the designs.
SNOWFLAKE SUGAR COOKIES
You’ll absolutely love this crispy sugar cookie – it’s not just super sweet and delectable but also looks as good as it tastes!
Ingredients for Cookies:
- Butter: Butter adds richness and a tender texture to your cookies, ensuring they’re deliciously soft yet firm.
- Sugar: Sugar not only sweetens the cookies but also helps in achieving a golden-brown finish when baked.
- Egg: An egg binds the ingredients together, providing structure and a slight rise to your cookies.
- Flour: Flour is the essential building block of your cookies, giving them shape and structure.
- Vanilla Extract: Vanilla extract adds a subtle but distinct flavor, enhancing the overall taste of your cookies.
- Salt: A pinch of salt balances the sweetness and brings out the flavors of the other ingredients.
- Meringue Powder: Meringue powder is key for icing, as it helps stabilize it and gives it a smooth, glossy finish.
- Powdered Sugar: Powdered sugar creates a sweet and smooth base for your icing, perfect for decorating.
- Warm Water: Warm water thins the icing to the right consistency, making it easier to pipe onto your cookies.
How to Make Sugar Cookies
Step 1 – Make Cookie Dough
Cream the butter and sugar together until light and fluffy. This takes about one minute at low speed.
Add eggs and vanilla and mix well.
Mix flour and salt in a separate bowl.
Slowly add the flour mixture to the butter with your mixer on the lowest speed. Mix for 30 seconds until the dough is thoroughly incorporated.
Step 2 – Roll and Chill Dough
Divide the dough into two parts. Place each between two pieces of parchment paper.
Roll out each set of dough. I rolled mine out to a 6 mm thickness, but it is whatever thickness you prefer.
Transport each cookie dough to a cookie sheet.
Refrigerate the cookie dough for 1 hour.
Step 3 – Preheat Oven
Preheat oven to 350°
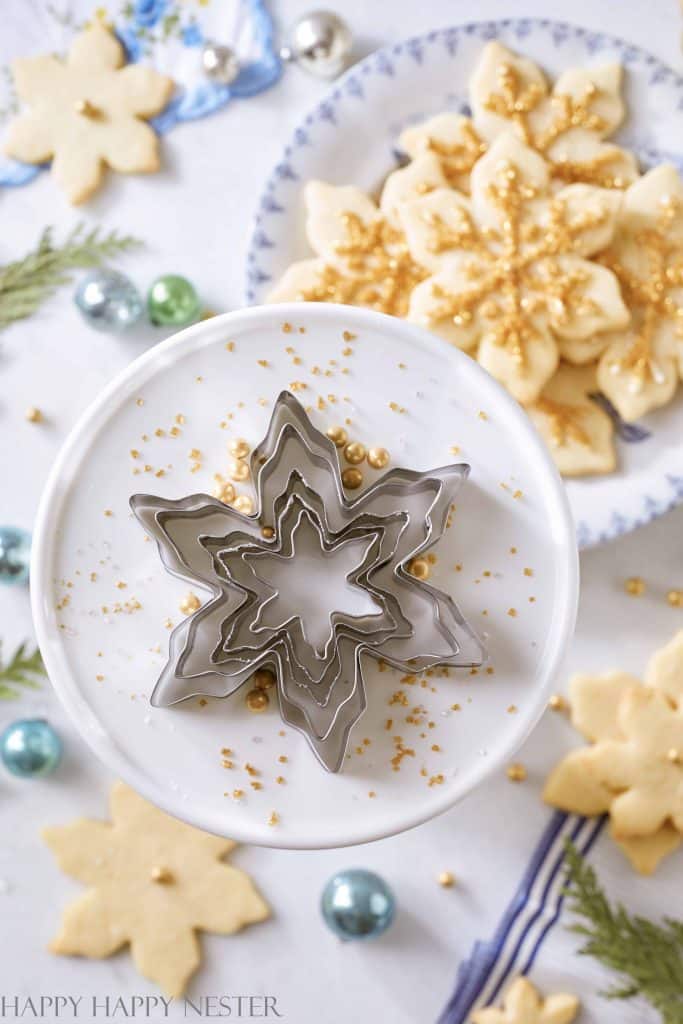
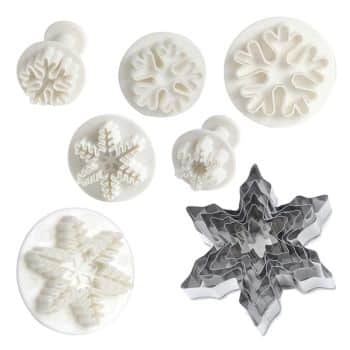
Step 4 – Cut Shapes
Take chilled cookie dough, cut out cookie shapes, and place the cookies on a parchment-lined cookie sheet.
Place cut out cookies back in the fridge for about 10 minutes.
Reroll extra dough and place cut-out cookies back in the fridge for 10 minutes.
Step 5 – Bake Cookies
Remove chilled cookies from the fridge and bake for 8-10 minutes.
HOW TO MAKE ICING
Step 1 – Make Icing
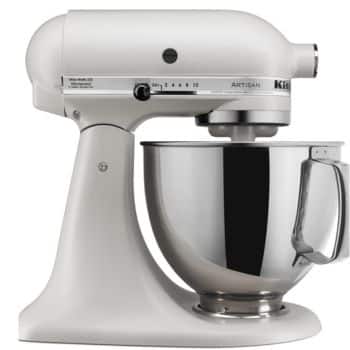
Using your mixer bowl add warm water and meringue together.
Whisk by hand until frothy.
Place the mixing bowl on the mixer, and add the powdered sugar all at once.
Attach the paddle to the mixer and mix the icing at the lowest speed for 10 minutes.
You are looking for a slightly runny frosting. If it is too thick, add small amounts of water to get the right consistency.
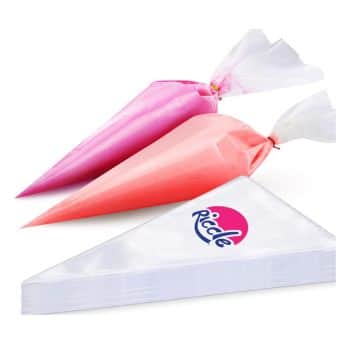
Place icing in a piping bag and cut the tip of the bag. Make sure not to make too big an opening. The snowflake lines are pretty delicate.
Let’s chat about how to frost your sugar cookies.
You’ll want a consistency similar to marshmallow fluff when it comes to icing. If you aren’t familiar with fluff, then look for a frosting that is a bit on the runny side. If you watch my icing video, you’ll see the consistency.
Here is another easy tip: The 10-Second Rule. To check the consistency, drag the end of a knife through the surface of the icing, letting the knife go approximately an inch deep, and slowly count to 10. If the surface of the icing smoothes over in about 10 seconds, then your icing is the correct consistency and is now ready to use.
HOW TO DECORATE COOKIES
Step 1 – Fill Pastry Bag
Fill pastry bag by placing the bag in a tall glass. Fold edges down over the sides and fill bag with icing.
Step 2 – Cut End of Pastry Bag
Cut a small hole on the end of the pastry bag.
Step 3 – Beginning Piping Cookies
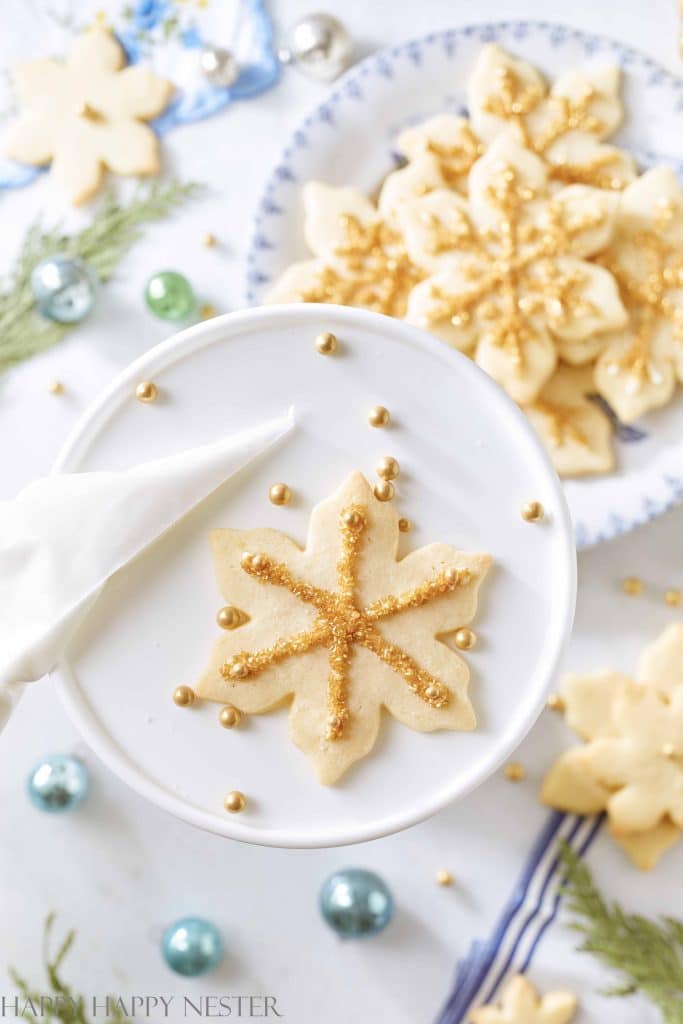
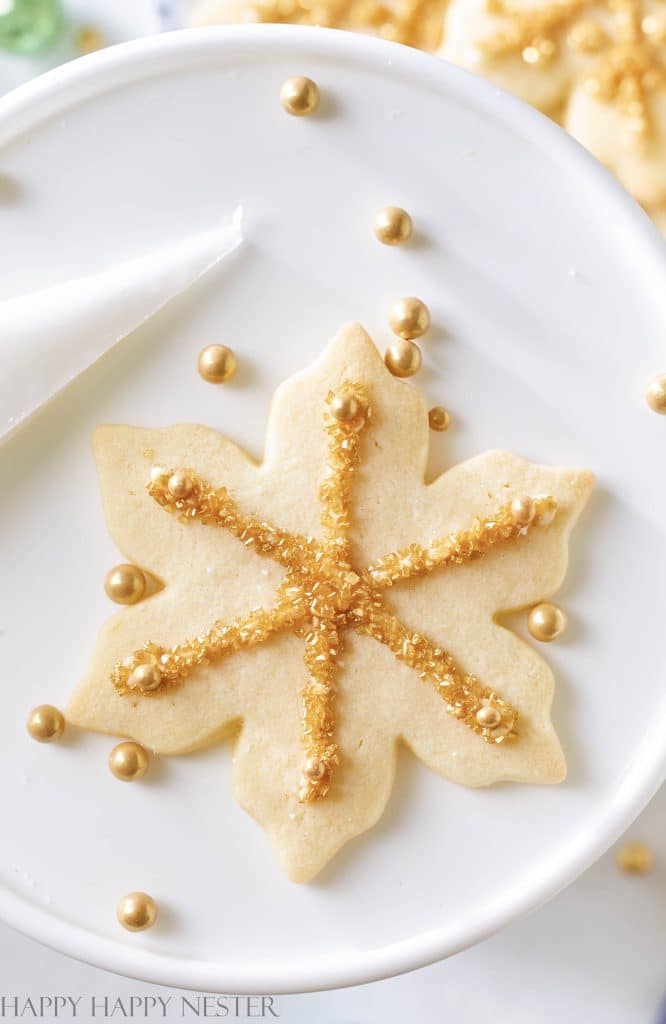
Make sure the sugar cookies are cooled before piping; otherwise, the frosting will melt. To create the snowflake sugar cookie designs, I made lines from one point of the snowflake to the other side. Then, I made one set of branches off this line on each end.
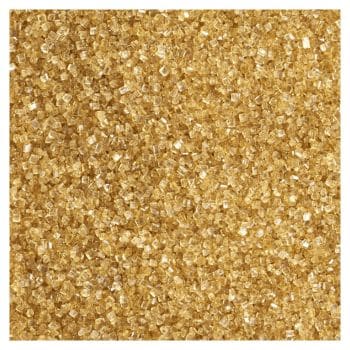
Next, sprinkle the gold sugar on top of the wet icing.
Repeat the above two steps for each point of the snowflake.
Allow the cookie’s icing to harden before storing them and stacking them on each other.
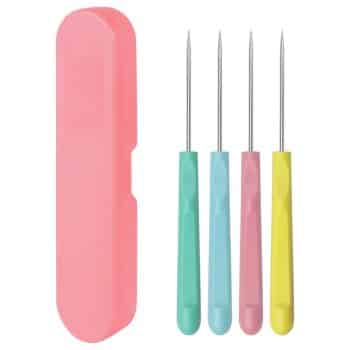
A little tip: use a toothpick or a sugar stir needle to move your icing or eliminate any mistakes.
Sugar Cookie
Ingredients
- 1 cup unsalted butter room temperature
- 1 cup granulated sugar
- 1 egg large
- 2½ cups all-purpose flour
- 1½ tsp vanilla extract
- ½ tsp salt
Instructions
- Cream the butter and sugar together until light and fluffy. This takes about one minute on low speed.
- Add the egg and vanilla and mix well.
- Mix flour and salt in a separate bowl.
- With your mixer on the lowest speed, slowly add flour mixture to the butter. Mix for 30 seconds until the dough is thoroughly incorporated.
- Divide dough into two parts. Place each between two pieces of parchment paper.
- Roll out each set of dough. I rolled mine out to a 6 mm thickness, but it is whatever thickness you prefer.
- Transport each cookie dough to a cookie sheet.
- Refrigerate the cookie doughs for 1 hour.
- Preheat oven to 350°
- Take chilled cookie dough and cut out cookie shapes and place the cookies on a parchment lined cookie sheet.
- Place cut out cookies back in the fridge for about 10 minutes.
- Reroll extra dough and place cut out cookies back in the fridge for 10 minutes.
- Remove chilled cookies from fridge and bake for 8-10 minutes.
- With the extra dough reroll and chill for 10 minutes. The colder the cookies the better they keep their shape when baking. I hope this makes sense.
Nutrition
Royal Icing Recipe
Ingredients
- 3 ounces warm water
- 2½ tbsp merinque powder
- 4 cups powdered sugar
Instructions
- Using your mixer bowl add warm water and meringue together.
- Whisk by hand until frothy.
- Place mixing bowl on mixer, now add the powdered sugar all at once.
- Attach the paddle to the mixer and mix the icing on the lowest speed for 10 minutes.
- You are looking for a slightly runny frosting. If it is too thick, add small amounts of water to get the right consitency.
- Place icing in bowls and add desired colors.
- Cover extra icing with plastic wrap. I place the plastic straight onto the icing preventing air from drying it out.
Nutrition

Click on image to shop the item

Thanks a bunch for dropping in! I’m excited for you to try making these pretty and delicious snowflake sugar cookies.
My family loves them so much that they always try to sneak a few before I can even take pictures! Lucky for you, I managed to snap these shots just in time.
Well, Happy Holidays!
Cheers,

Photo Credits: MyPhotography.com


- Outdoor & Indoor Faux Flowers from Amazon - March 25, 2026
- Meringue Cookies Recipe - March 20, 2026
- Bathroom Accessories from Amazon - March 18, 2026
")


Leave a Reply