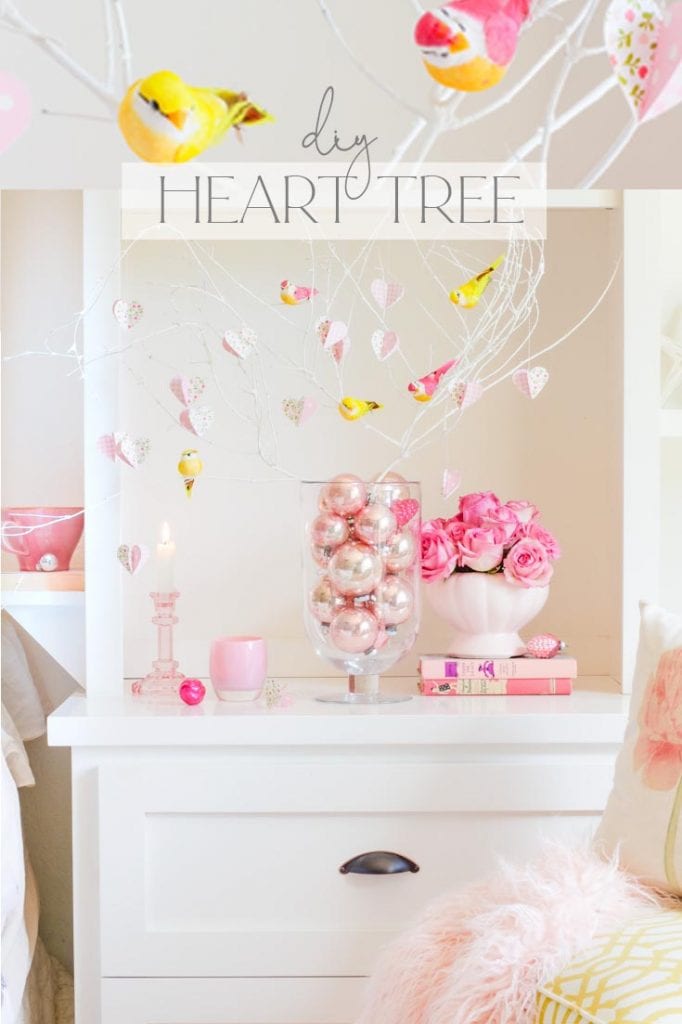
I’m loving my Valentine’s Day Heart Tree! After years of trying to create cute trees out of branches, I finally found a few key things when choosing your stems.
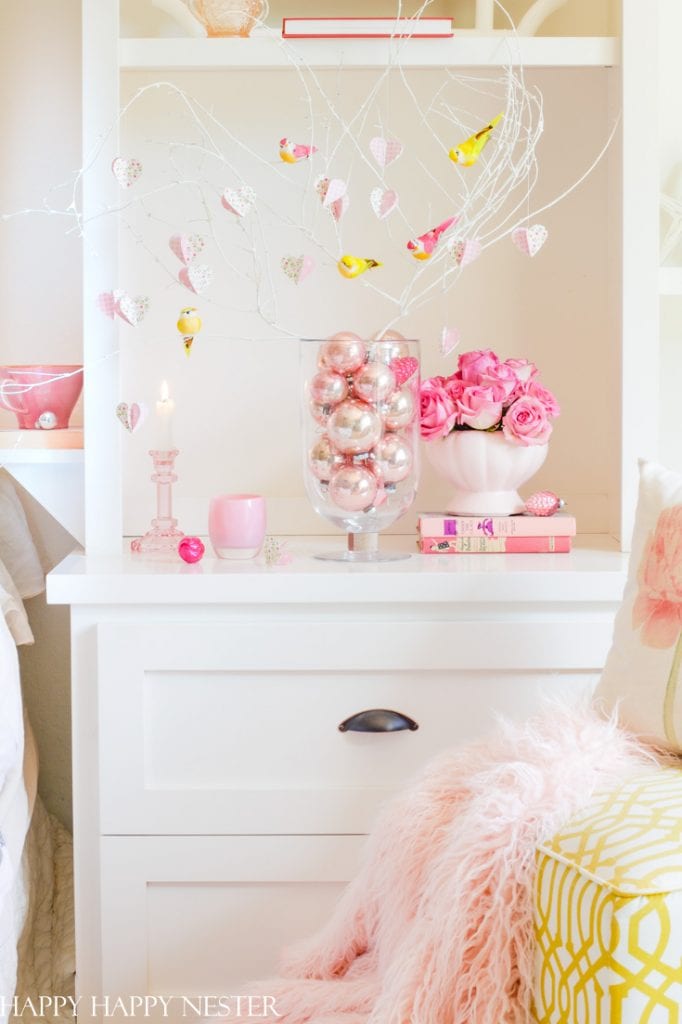
I feel like, for many years, I’ve brought tree branches in our home only to be disappointed in how they looked. Maybe you are familiar with what I’m talking about? They appear like you just plopped some sticks in a vase, and they are sticking straight up with no grace or elegance that you had imagined.
Well, finally, after studying projects with branches, I figured out a few things about decorating with these natural beauties.
But, before we start, I need to mention that my blogging pals and I are all sharing our Valentine’s Day craft projects today. So check out their fabulous posts at the bottom.
Also, in case you missed my recent posts:
- My Favorite Cakes
- Outdoor Tables and Chairs
- My Favorite Floral Desserts
- Patriotic Table Decor
- My Favorite Summer Drinks
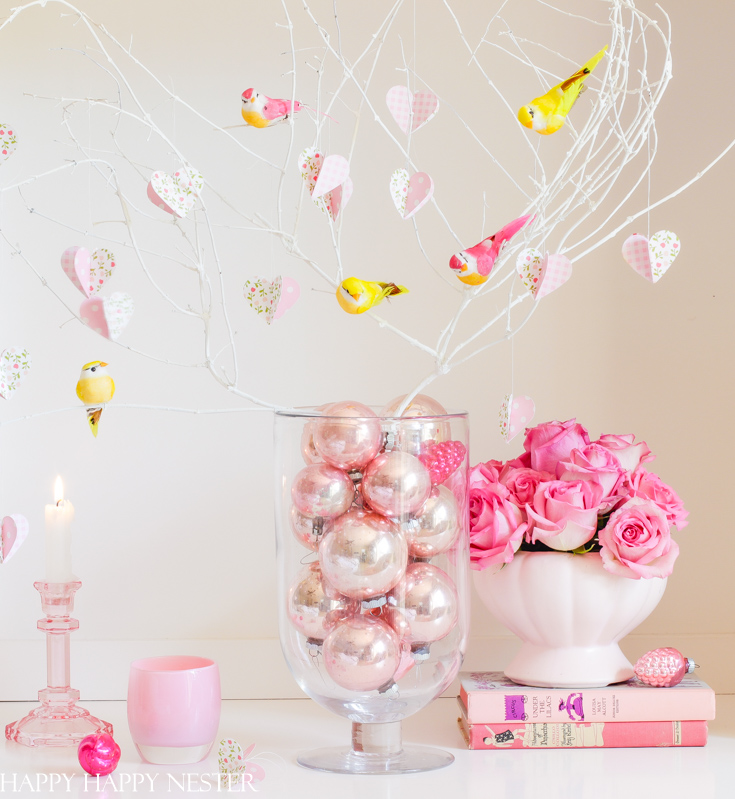
Valentine’s Day Heart Tree Tutorial
Now this is the most important part of the tutorial!
CHOOSING BRANCHES
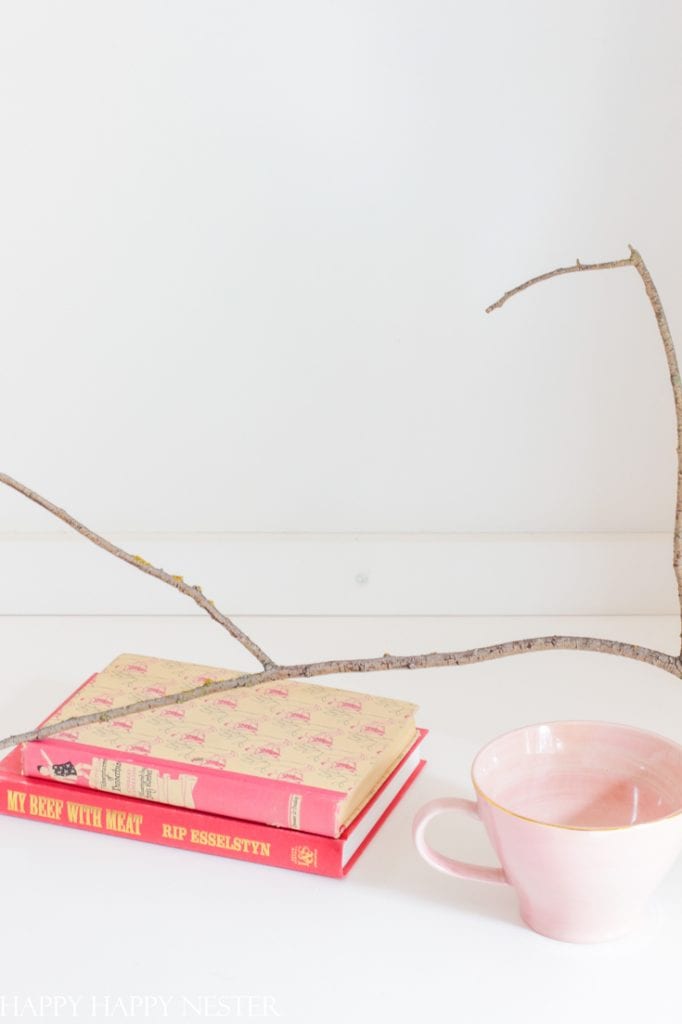
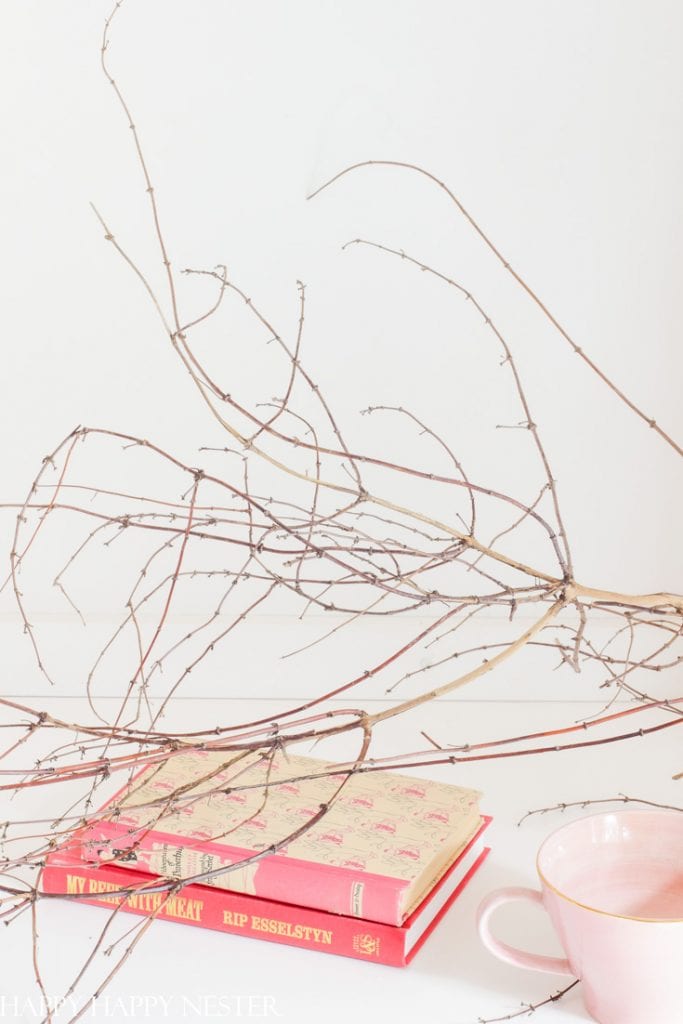
I know that it is tempting to pick up sticks or branches that are solid. But looks at the difference between these photos.
You’ll be tempted to pick up the bare sticks, but fight the urge. The wispy branches are what you want. The fuller appearance has more interest and they look like they are thriving. The little branches are great places to hang hearts from and clip-on birds.

PAINTING BRANCHES
If you decide to paint your branches white, then here is the second most important bit of information.
I love the all-white branches, and I found the easiest way to achieve this is not with spray paint. You’ll be tempted but fight that temptation. The spray paint doesn’t thoroughly cover the branches, and you’ll use up the paint in no time.
Save money and use one of your cans of paint from a home painting project. I went to my supply of paints and used one of them for this project. And I had plenty of paint for these branches.
Supplies You’ll Need:
- Yard Branches
- White Paint ( I used interior wall paint that was kicking around the house)
- Small Paint Brush (I used a small watercolor brush)
- Birds (Optional)
- Hearts (Optional – I’ll be showing how to make these soon)
Steps to Make Your Valentine’s Day Tree:
Step 1 – Pick Your Branches
Like I mentioned early, try and find some wispy branches rather than sticks. The bushier the branches, the better. Plus, if they have lots of fun small offshoots, you can attach birds and hearts to them.
Step 2 – Paint The Branches
I chose a nice day to paint my branches out in our yard. If you live someplace wintery, maybe try painting it in your garage. Place newspaper down and start painting. If it is too cold in the garage, bring the branches inside your home to dry.
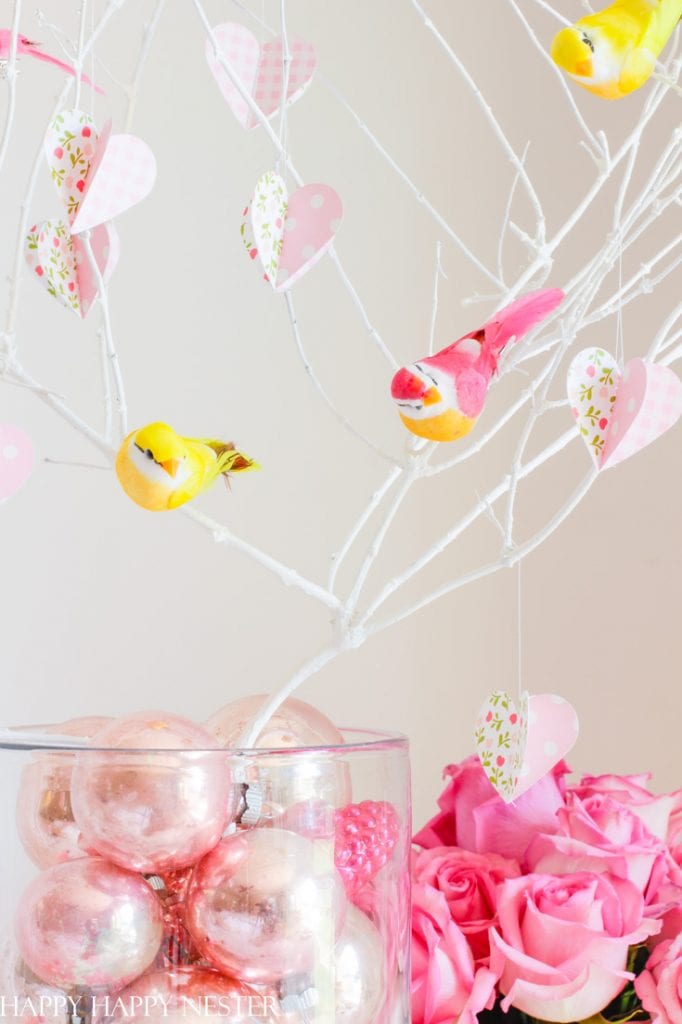
I did place about two to three coats on my branches. I love the all-white look. It is up to you how much you paint yours. I made sure to paint every nook and cranny, but that’s me, the obsessive girl!
Step 3 – Place Your Branches in a Vase
I did a few things with my white branches. I placed them in a vase of pink vintage ornaments. This is a simple and pretty way to display them. I do have one branch that is just sitting on my bedroom shelf. That is a super simple way to decorate with them. And here is the next way to display them.
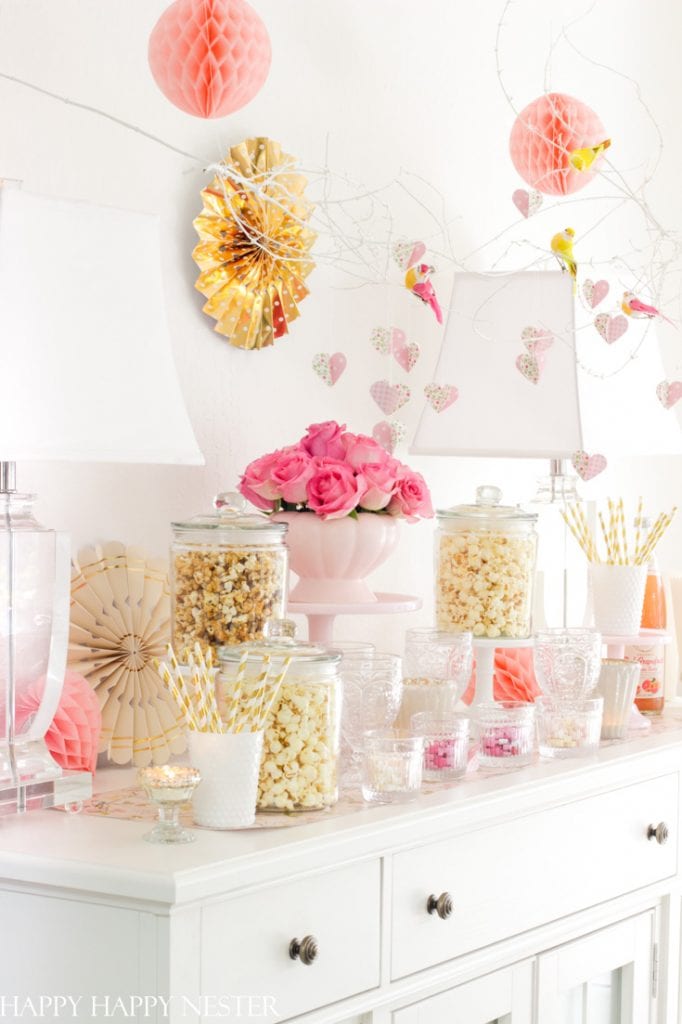
Step 4 – Hang The Branches From the Ceiling
If you want to suspend them from a ceiling, you’ll want some temporary Command Strips Velcro. I like to take the long strips and cut them into segments. Then I attach one section to the ceiling. I then attach my husband’s old fishing line to another piece of Velcro by looping around the piece and tying a knot to secure it. Attach the fishing line to your branch and place the Velcro to the piece on the ceiling. You can view how it looks in this fun Popcorn Bar post here.
The bigger branches required that I hung fishing line from two parts.
I also hung some branches from our dining room chandelier. You’ll see this post next month for Valentine’s Day table post.
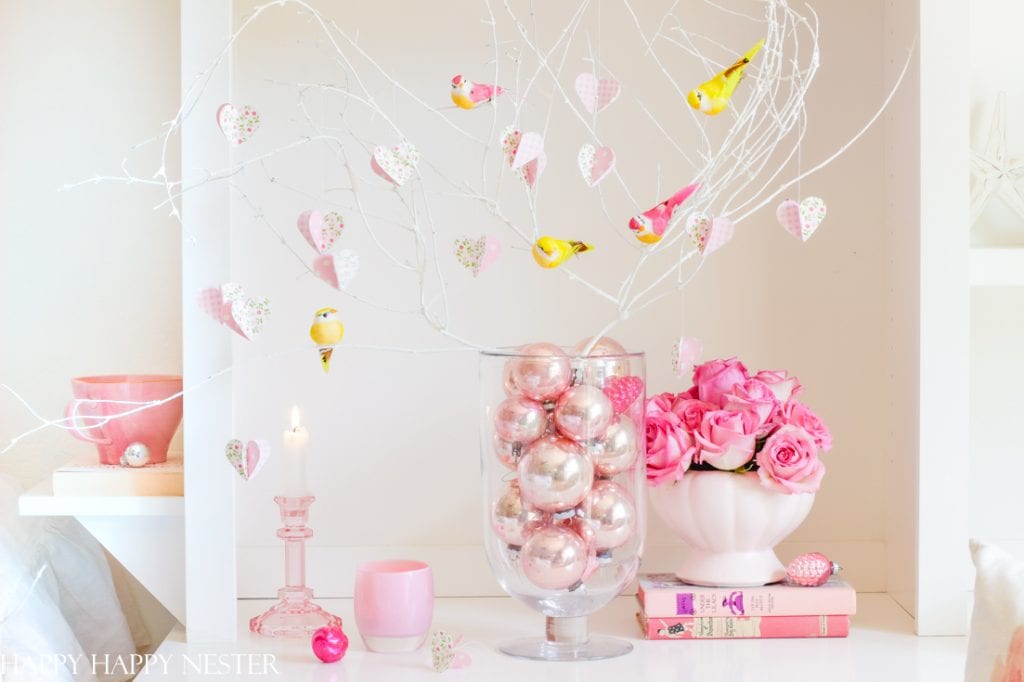
Step 5 – Decorate The Branches
Now here is the fun part. I did make my little paper hearts. I’ve wanted to make them for a long time and finally had the time. They are easy to make, and I’ll have another blog post soon on that tutorial. But in the meantime, you can buy them over here.
I did buy these adorable birds that I can’t get enough of! They clip on so nicely to the branches, and they add that little fun pop of color.
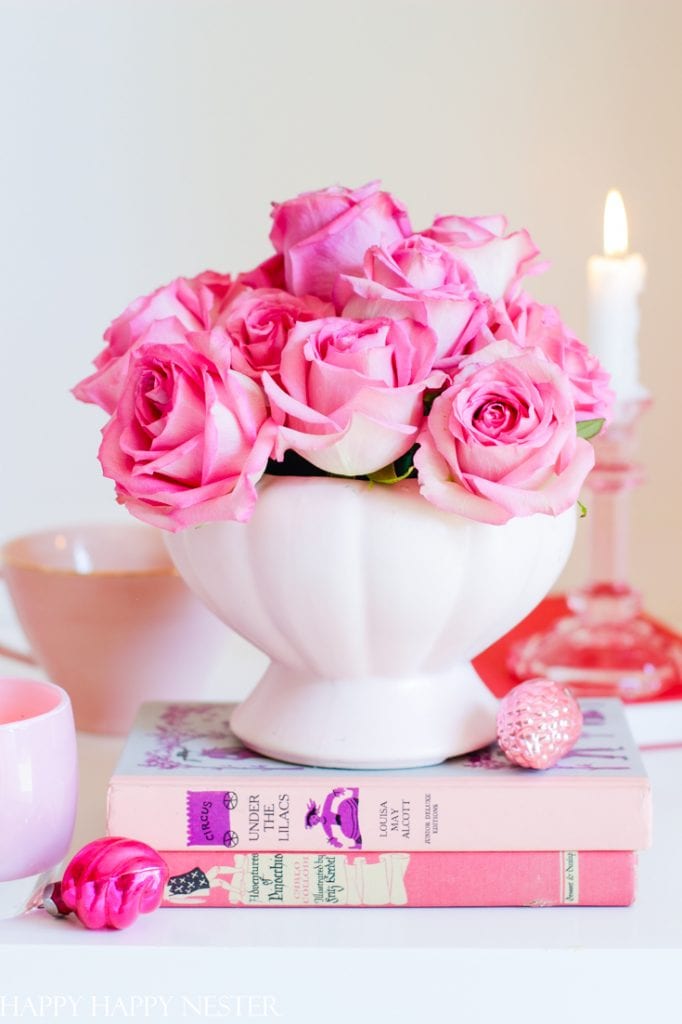
I’m focusing on holiday and seasonal projects, and I hope you are enjoying these posts. It is such a nice outlet for me to craft and share these with you. This Valentine’s Day heart tree is so adorable, and hopefully, it inspires you to create a pretty nest for your family.
Cheers,

10 Best Valentine’s Day Projects
Dollar Store Triple Heart Valentine’s Day Wreath // Tatertots & Jello
Valentine’s Day Heart Tree Tutorial // Happy Happy Nester
DIY Perfume Roller with Essential Oils // Most Lovely Things
Valentine’s Day Decor Ideas // My 100 Year Old Home
Valentine’s Day DIY: Clay Heart Napkin Holders // Zevy Joy
Heart Topiary DIY // Craftberry Bush
Pipe Cleaner Heart Garland // Modern Glam
Home Is Where The Heart Is FREE Printable // My Sweet Savannah
Polymer Clay Marbled Heart Ornaments // The DIY Mommy
Blooming Branches DIY // Finding Lovely

- My Favorite Cakes - July 5, 2025
- Outdoor Tables and Chairs - July 2, 2025
- My Favorite Floral Desserts - June 28, 2025



Manuela Gi
Me encanta tu blog. Me gusta muchísimo todas las cositas tan lindas que haces. Desde España te deseo que sigas alegrándonos los días con tus maravillosas creaciones.
Un saludo,
Manuela
happyhappynester
Gracias, Manuela! Eres tan amable. Gracias por el lindo comentario.